Making a background for an aquarium with your own hands
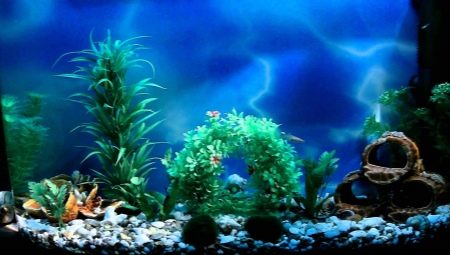
The background gives the aquarium a dramatic look, hides equipment and creates a more comfortable environment for the aquarium inhabitants. The suitable option can be found in the store, but the finished products are designed for a certain standard. Therefore, it is worth turning on imagination and making a background for the aquarium with your own hands.
Minimum costs
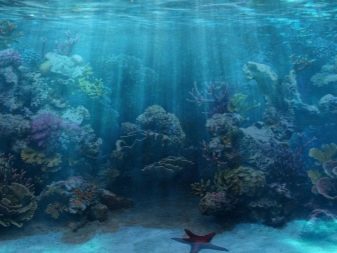
It is worth taking a closer look at decorative films with photo collages or drawings. All the complexity of manufacturing comes down to adjusting the film to the size of the back wall of the aquarium, and then stick it neatly and without bubbles.
There are craftsmen who can make beautiful glass painting. But even in the absence of artistic skills, you can paint the back wall with any solid color. Most often, black or blue is selected for these purposes.
However, experts do not welcome this type of decor, since toxic paint harms fish and living plants. It is impossible to replace such a background, and if there is a desire to change it, the pets will have to buy a new aquarium.
3D volume
Since 3D is considered one of the fashionable design trends, it is worth getting acquainted with the process of making a volumetric background.
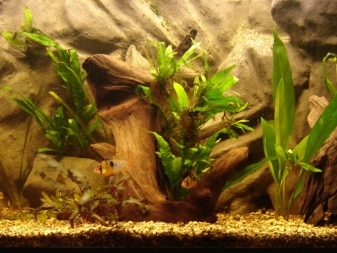
Natural decor
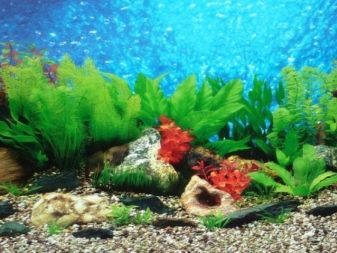
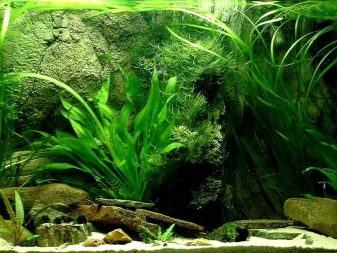
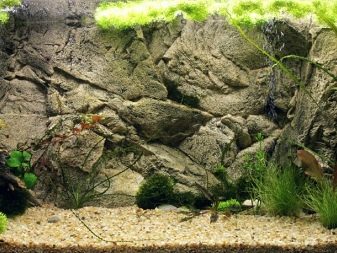
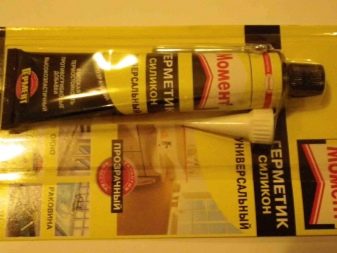
One of the most beautiful design options is considered background from live algae. To make such a background, you need tree bark, fishing line, algae and silicone glue. The technology is simple. The bark is cleaned and washed with water, then the plants are attached to it with a fishing line. Well, then they glue the entire structure to the back wall.
There is a more complex way to decorate with living plants.It will need a metal mesh, several rubber suction cups, fishing line, seaweed or moss. First, two parts are cut out of the mesh, similar to the dimensions of the back wall.
Then moss or algae are placed on the net and fixed with fishing line.
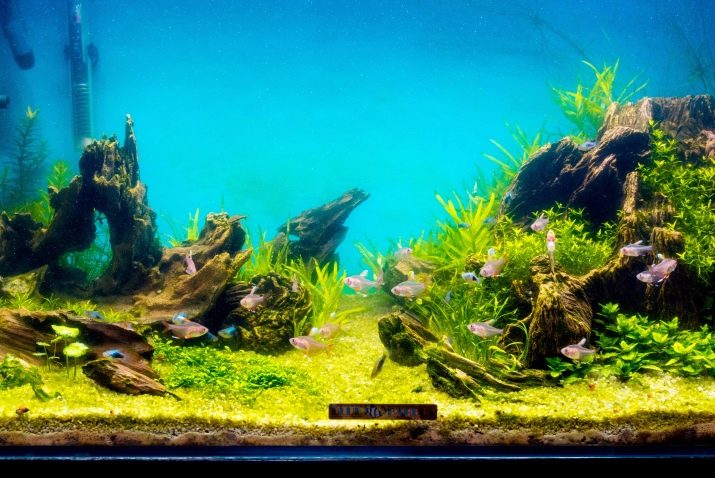
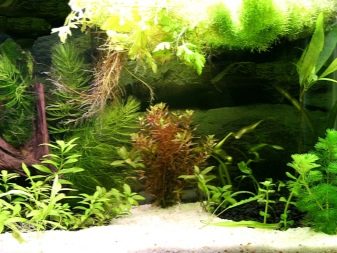
Well, then the mesh is folded in half, the suction cups are placed on the back wall and the background is fixed. At first, it does not look very aesthetically pleasing, but when the moss grows, the aquarium will resemble a corner of the river bottom. It is important that there are no gaps between the net and the wall so that the smallest inhabitants of the aquarium cannot get into them.
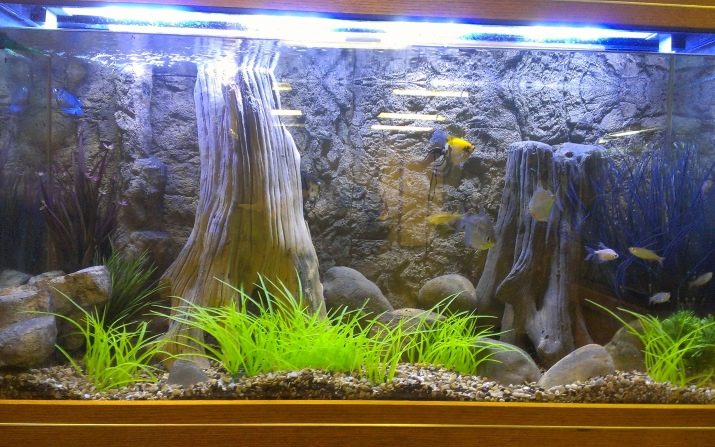
There is another interesting option for decor made from natural materials. For him they take a dark gray plate made of hard PVC, real stones and driftwood. Stones are laid out on the board and filled with silicone rubber.
While the adhesive dries, the driftwood is thoroughly washed. And when the glue dries, the free spaces between the stones are filled with polyurethane foam.
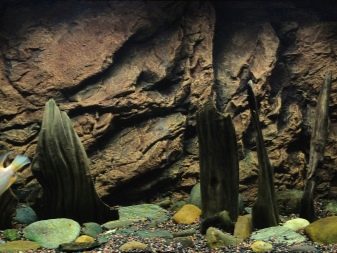
Improvised tree trunks are pressed into the foam and left for three to five hours until completely dry.
Excess foam is removed with a knife, and the decoration itself is carefully polished. Only then can it be placed in the aquarium.
A live background requires some experience and skill, so it is worth taking a closer look at the decorations that can be made from scrap materials.
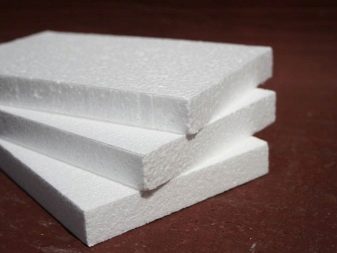
Styrofoam
To create a decor, you need to take a sheet of foam, silicone and tile glue, a stationery knife, acrylic paint (preferably dark) and a brush. The order of work is as follows.
- The foam is broken into uneven parts and glued together, focusing on the dimensions of the aquarium.
- The sides of the decoration are cleaned with a knife.
- Several layers of tile glue are applied to the resulting surface, allowed to dry, and then a thin layer of paint is applied.
- The structure is dried, poured with water and left so for 2 days - during this time it is cleared of harmful impurities.
- At the final stage, the decor is attached with silicone glue.
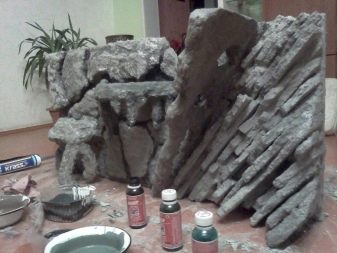
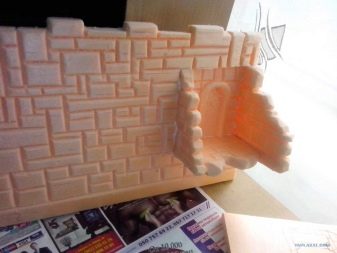
Styrofoam can also be used to build a dilapidated underwater castle.
The process will be more laborious, it will take more time, since doing such work requires accuracy, patience and creative deliberation. Breaking is much easier than building. But the result will definitely please.
In addition to the foam, you will need cement packaging and silicone glue. From the tools you need to prepare a bowl for cement mortar, a brush and a toothbrush, a construction knife, a spray bottle, a pen (marker or felt-tip pen) and sandpaper.
When everything is at hand, you can start construction work.
- Apply the markings of the future structure to the foam and cut it in accordance with the dimensions of the aquarium wall.
- Horizontal grooves are cut with a knife (an indent of 2-3 mm from the line is allowed).
- Vertical grooves are cut.
- In a similar way, an arch is drawn and cut out, which will mark the entrance to the castle. The arch is made on a separate piece of foam.
- After that, all the workpieces are carefully sanded with sandpaper of a suitable number. She also rounds the corners of the cuts.
- Parts of the future lock are fastened with silicone glue and left to dry overnight. For reliability, you can additionally fasten them with toothpicks.
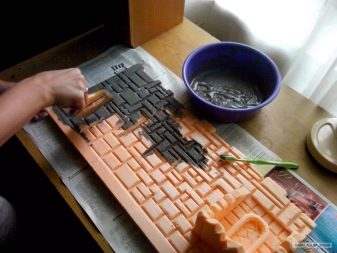
- In the morning, a cement mixture is prepared (in consistency it should resemble thick shampoo) and applied to the decoration in 3 layers.
- After applying each layer, the decor is washed under a strong pressure of water to identify weak points.
- When the last layer is applied, the structure is washed again, and excess particles are removed with a toothbrush. If everything is firmly fixed, the decor is installed in the aquarium.
- The lock is fixed on wedge-shaped foam spacers, fixed with soil.
Polyfoam is a very grateful material that allows you to bring the most interesting ideas to life. You just need to show your imagination and be patient. Then a positive result will not be long in coming.
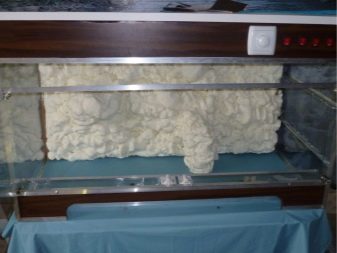
Foam decor
In addition to polyurethane foam, you will need a polyethylene sheet, epoxy and a spatula. You should stock up on soil or pebbles, prepare acrylic paint. The work is being carried out in stages.
- Foam is applied to the polyethylene and evenly spread with a spatula.
- The structure is made heavier with stones and left to dry completely.
- A second - thicker - layer of foam is applied, an arbitrary relief is formed and large flat stones are laid out.
- When the background is dry, a layer of epoxy mixed with acrylic paint is applied to it. This is not the slowest step as the resin thickens quickly.
The finished background is attached to the back of the aquarium with silicone glue.
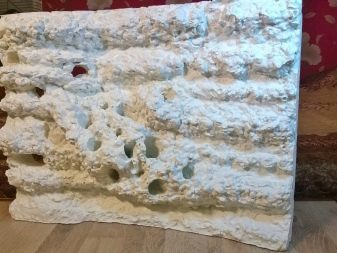
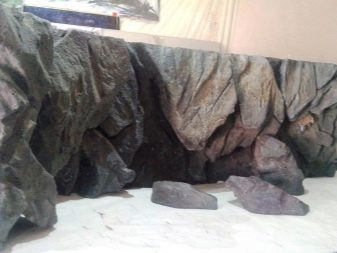
Styrofoam masonry
Expanded polystyrene is another material that is harmless to fish and plants that allows you to create unique designs.
For example, the same masonry will turn out differently for every aquarist.
General recommendations are as follows.
- A rectangle or square is cut out of expanded polystyrene, similar to the dimensions of the back wall of the aquarium. If the container is too large, the background can be made from several parts.
- Then cut out the parts that will be laid out in the second layer. You need to apply layers like brickwork.
- The number of layers is not limited, but for small aquariums two layers will suffice.
- Along the edges, protrusions should be obtained, which give the decor additional volume.
- When the required thickness is made, all parts of the future decor can be glued with a sealant that does not emit harmful substances.
- A day later, they begin to disguise the aquarium equipment: they cut off the corners in the places where the heater and filter are located.
- Then comes the time for creativity - cutting grooves, depressions and caves in which weak fish can hide.
- The resulting decor is cut into several pieces, making sure it fits the size of the aquarium, and then covering it with two layers of cement. Moreover, one is allowed to dry, and before applying the second, the entire surface is thoroughly moistened so that cracks do not form.
At the final stage, the resulting background is painted with green, brown and black paint, and then attached to the back wall with suction cups or sealant. It is allowed to make the decor heavier with natural stones.
This article does not list all the ideas for making a background, but surely the listed options will inspire someone to create their own unique design for an aquarium.
See below for how to set up a background for your aquarium.


