Carrying out an aquarium renovation
Any aquarium owner may sooner or later face a tank breakage or leak. Having figured out in advance how to fix the situation, it will be possible to quickly eliminate the problem at no extra cost.

How do you identify the problem?
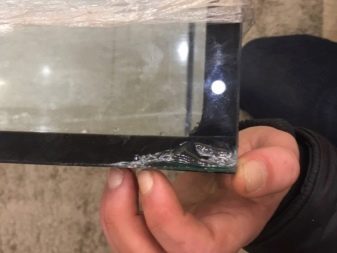
Most of the trouble with an aquarium comes from leaking joints. This problem is easy to spot, but rather difficult to fix. There are several main reasons for a leak.
- This is often due to poor degreasing of the vessel by the manufacturer. The result of this is an insufficient tightness of the fit of the individual parts that form the joints and, accordingly, the impossibility of achieving the required level of tightness with the help of a silicone substance. Sometimes the fault is non-compliance with the technology in production, for example, insufficient glass thickness.
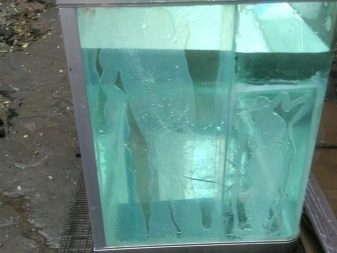
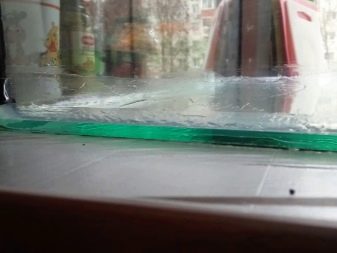
- Glass cracks quite often. This problem is considered more complex, since it is incredibly difficult to locate the leak and eliminate it. The cause of the breakdown may be mechanical damage, frequent blows against the aquarium, or placing the tank next to a heating device or simply in an unfortunate place. Sometimes chipping occurs when scrubbing too vigorously. To establish the place of an invisible leak, it will turn out using a regular sheet of paper, or better - corrugated cardboard. This material absorbs moisture and, when wet, changes its shade to a darker one.
By simply applying the leaf to different walls for 3-5 minutes, you can determine where moisture is coming out of the aquarium.
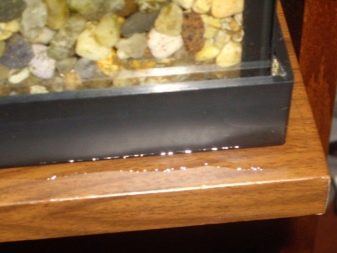

- Most often, a leak occurs at the side joints between the glasses. The next most popular place is the joint between the vertical walls and the bottom. Quite rarely, but still there is a leak in the corner where three glasses converge - the bottom and two side ones.
In some cases, a leak between the two side windows does not even require a complete drain of the liquid. It is enough to reduce the water level so that its surface is 3-5 centimeters below the leak.
Major breakdowns and their elimination
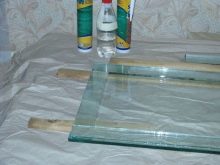
It is not at all difficult to repair an aquarium with your own hands at home. Recovery begins with emptying the tank, which will be discussed in more detail below. Repair can only mean fixing a crack or a full replacement of glass. In the first case, a high-quality sealant is required, and in the second, a solvent used for degreasing, as well as the glass sheets themselves, cut as required. You can cut the canvas using a glass cutter or a similar improvised tool. You can also contact a specialized company with this question.
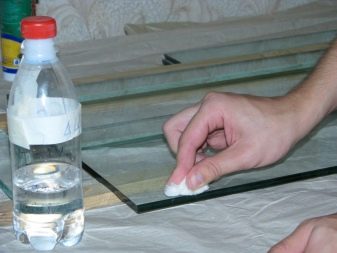
Before fixing the leak, you will also have to do the cleaning of the joints. The remnants of the old sealant are removed with a blade, knife or other sharp tool. The choice of the latter is determined depending on the dimensions of the gap. For example, for a gap of 1 to 3 millimeters, a regular razor blade will suffice. You cannot skip this stage, since the new sealant adheres rather poorly to the old one.
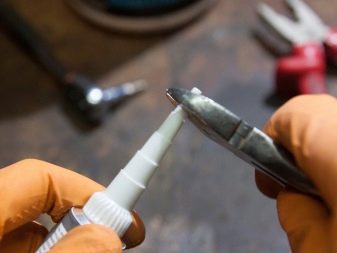
The cleaned glass must be degreased using ordinary acetone or medical alcohol. Next, a new silicone composition is applied using a thin brush.
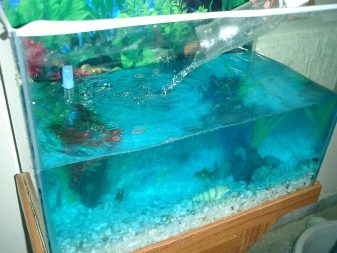
Approximately 24 hours later, the seams should be reassessed using plain white paper. If there is still a leak, then the procedure must be repeated. Next, you need to wait from 24 to 36 hours until all toxic substances from the container evaporate. After that, you can fill the aquarium with water that is suitable for underwater inhabitants, return the soil, plants and the fish themselves.
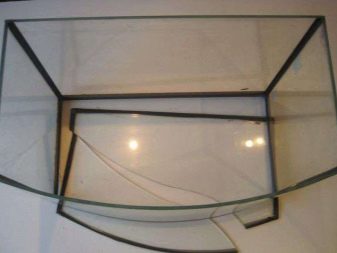
In more serious cases, it is necessary to fully replace the glass covered with cracks. Removal of a cracked part is only possible after cleaning and drying the entire reservoir. In the case of a frame structure, before removing the grooves, it will be necessary to eliminate the silicone or sealant used. The dismantling itself is carried out using a small knife or nail file.
The glue tank will need to be removed using a torch or similar tool. After removing the damaged glass, it is necessary to remove all remnants of the adhesive from the edges of the aquarium. Scrapers, brushes or special solvents will help to cope with this task.
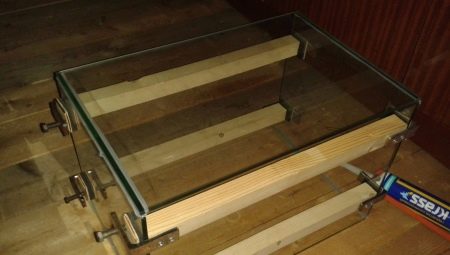
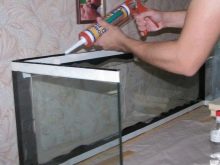
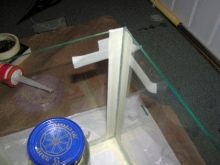
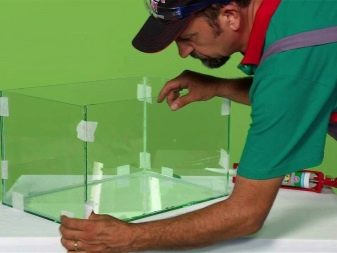
New glass should already be prepared by this time.... All joints and ribs are treated with silicone sealant or other suitable non-toxic substance.
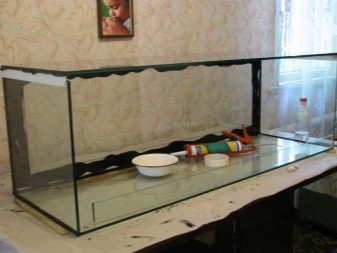
Having placed the canvas in the desired place in the aquarium, it will have to be fixed with ropes or ribbons. Further, all joints are again worked out with a sealant. This procedure will need to be repeated more than three times. The renewed aquarium will dry up to one and a half days.
Its verification is carried out as follows: plain water is poured into the container for 2-3 hours, after which a check is carried out using corrugated cardboard. Then the tank is freed from the test liquid and filled with already settled water, suitable for the inhabitants of the aquarium.
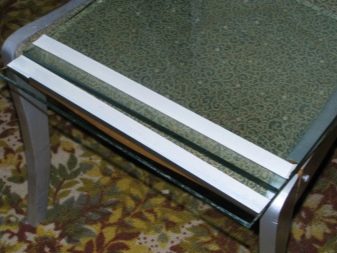
In the event that the bottom is cracked, you can simply stick a new glass sheet over the damaged one. The crack itself is filled with silicone sealant before gluing. In addition, along the entire perimeter of the tank at the level of the new bottom, it will be necessary to form a glass strip, the width of which varies from 4 to 5 centimeters. It not only protects against leaks, but also strengthens the entire structure.In order for the glass strip to look organic, it can be decorated with a suitable material.
A full replacement of the bottom if it is damaged is not recommended, since this process is long and difficult. But you can put a regular patch on the crack. If the bottom seam leaks, then it will have to be glued again.
First of all, there is a complete cleaning of the old silicone, then the sizing of the new one, after which the tank is settled for a week. The next week is devoted to "soaking" - twice a day, all the water in the tank is drained and refilled. If no problems are found, then the fish can be returned to their rightful habitat.

How to glue the aquarium?
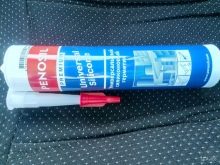
A leaking tank must be repaired with a special silicone glue available from repair shops and some pet stores. The jelly-like substance becomes solid due to interaction with moisture present in the air. In about half an hour, the mass will reach the required consistency. If the aquarium is dripping along the seam, then with the help of silicone sealant it is possible to achieve the initial strength of the container due to the presence of silicon in the composition of the substance.
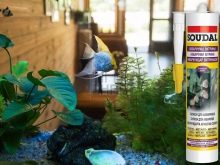
When making a purchase, you need to check for the presence on the packaging of the inscription "for an aquarium" or a silhouette of a fish. Experts recommend paying attention to the Penosil, Soudal or Titan brands, which do not harm underwater inhabitants, but are also not afraid of constant exposure to water.

Specialist recommendations
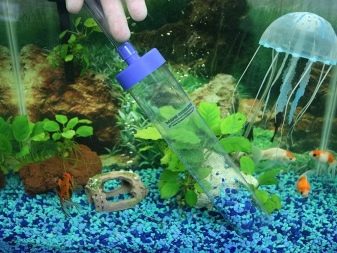
No less important than the aquarium repair itself is the preparatory stage, at which the owner decides the issue of temporary relocation of underwater inhabitants. It is important that a microflora is provided for the fish that is as close as possible to that in the aquarium. This will minimize their stress levels and then return them to the aquarium without any loss. The container for temporary habitation should be chosen approximately the same volume as the aquarium itself. In principle, if the resettlement requires a couple of fish, then it will turn out to do with an ordinary bank.
It is important to fill the selected tank with soil along with the existing plants taken from the bottom of the broken aquarium. Without them, it will be impossible to generate oxygen, which is necessary to maintain the vital functions of fish. There is no need to transfer all the soil mixture and all the plants - enough is enough to evenly cover the bottom of the temporary "house".
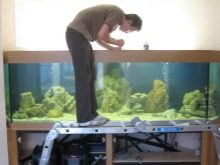
At the next stage, the aquarium is cleared of soil, plants and liquid. The walls and bottom are necessarily washed and left to dry naturally. The existing backlight must be switched off and also dismantled.
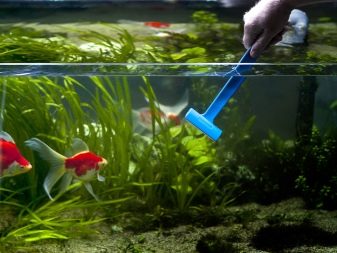
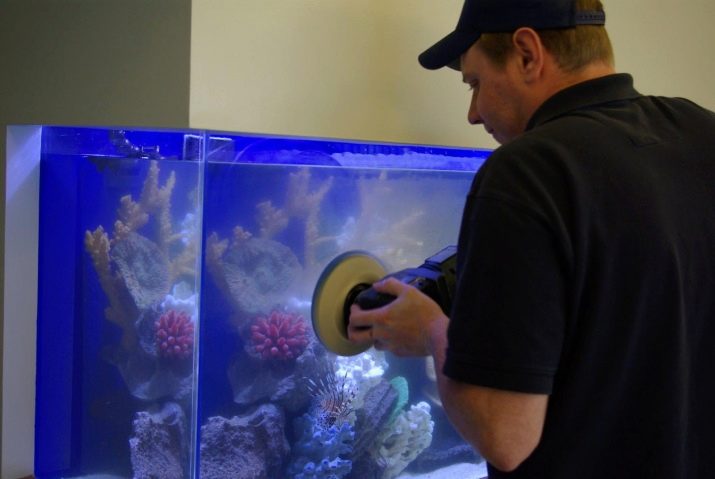
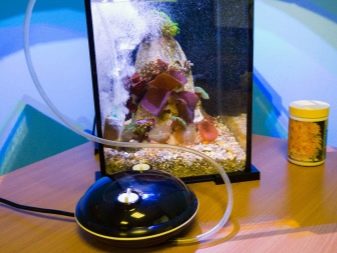
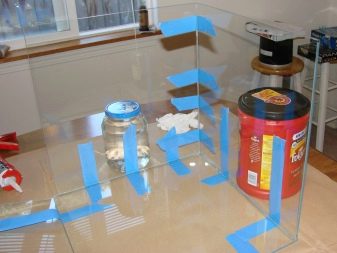
Experts also recommend that after returning the fish to the aquarium for a couple of days, strengthen the compressor. In the future, in order to avoid a similar situation, cleaning should be carried out using a metal scraper that does not violate the vessel's sealing. In addition, at the stage of repair work, in order not to stain the glass of the tank, the space near the seams will need to be closed with a special tape.
In some cases, a damaged aquarium, unfortunately, cannot be restored, so you have to select a new tank. In order not to be mistaken with the choice, it is better to choose a structure made of silicate-type glass, characterized by increased strength, or an acrylic container.
Since some aquariums get cracked from improper placement, it is important to find the right cabinet for it. It must be stable, not afraid of moisture, and also have the required dimensions. Better to give preference to metal models.

In addition, experts believe that in some situations you should not start repairs on your own - it is best to seek professional help right away. It depends on the scale of the problem and on the size of the reservoir itself, as well as on the size of the leak.
There is no point in repairing cheap and small containers at all - it is easier and even cheaper to purchase a new vessel. Complicated procedures that require parsing and assembling the structure are categorically not recommended to be carried out at home, since this process is quite troublesome and requires filigree work.
For information on how to properly repair the aquarium, see below.


