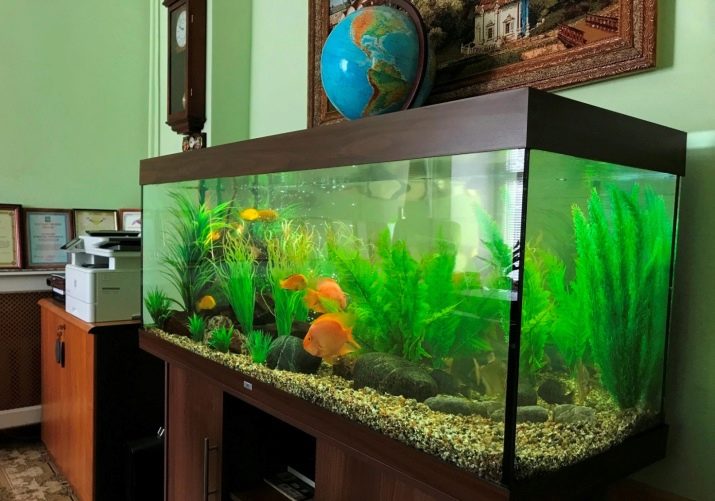
How to make an aquarium with your own hands?
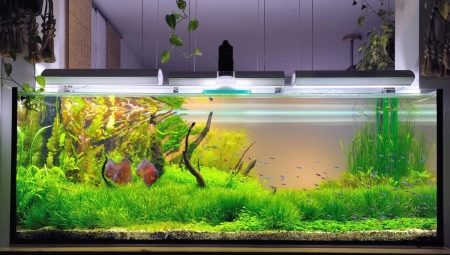
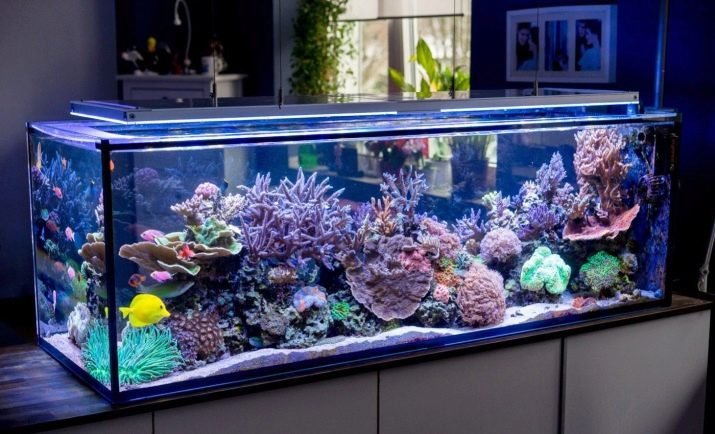
Many of us love animals. Someone prefers to keep a dog or a cat at home, while someone likes something more exotic. These people usually keep skunks, chameleons, or raccoons. And someone is interested in the peace that comes from watching the fish. This category of people will just be interested in how to make an aquarium with your own hands at home.
What glass are they made of?
Before you understand the direct manufacturing process, you need to decide what will be needed for this in terms of materials and tools. The question of which glass to choose will be very important. Not everyone is suitable for creating an aquarium. Usually its varieties are designated by the letter M with some kind of number.
It would be best to use the M1 grade for this. It is the highest, which means that it will really turn out to be a reliable homemade aquarium.
In most cases, it is better to use glass of at least M3 category. Anything below will no longer fit due to its low strength characteristics.
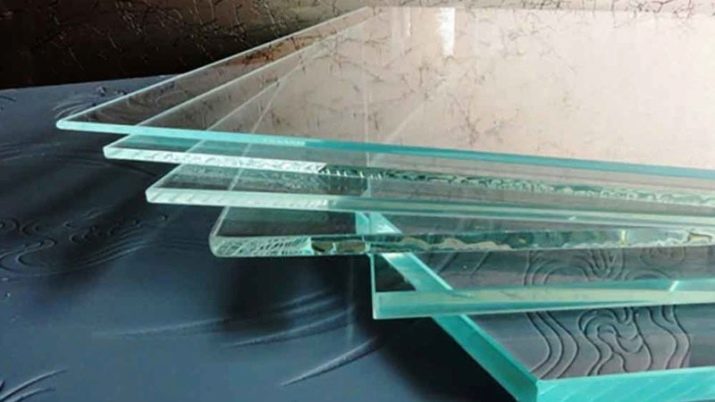
It is best not to reinvent the wheel, and to create an aquarium, usually take display glass.
Silicate or plexiglass is also suitable.
Before purchasing, you must carefully inspect that it is solid, not bent, and there are no inclusions, cracks and scratches on it. If there are any stains on it, then polishing can remove them.
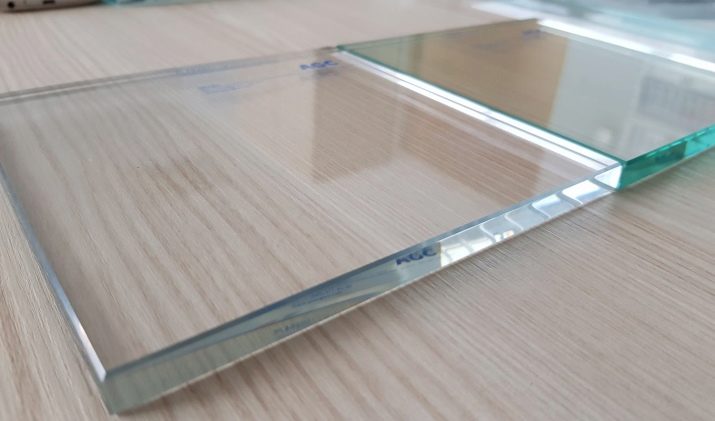
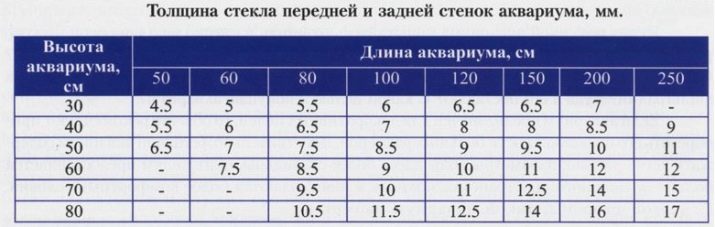
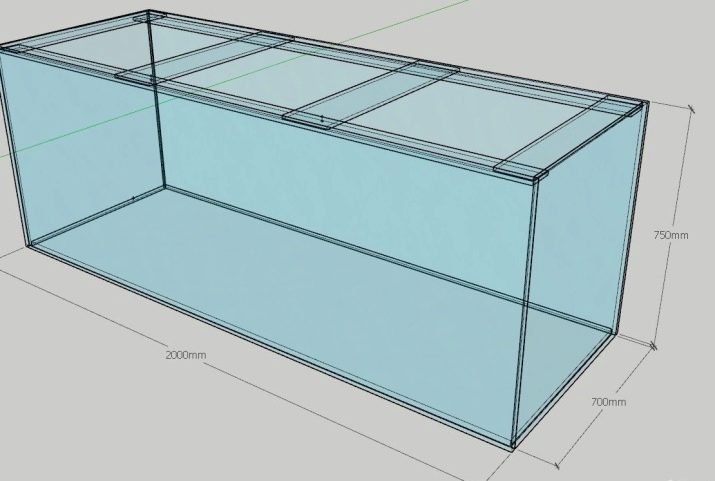
The second important factor in the selection will be thickness. In order to select the glass of the required thickness, the characteristics of the future tank should be taken into account. The volume of the aquarium can be calculated using the following formula: V = LxAxH, where L is the length, H is the height, A is the width, V is the volume.
Each parameter makes it possible to determine the parameters of the future aquarium. The calculations are straightforward, after which the required glass thickness is calculated. But usually the standards in this matter are something like this:
- a container up to 20 liters must have glass with a thickness of 3 mm;
- up to 30 liters - 4 mm;
- up to 80 liters - 5 mm;
- up to 150 liters - 6 mm;
- up to 200 liters - 7-8 mm;
- up to 300 liters - about 10 mm.
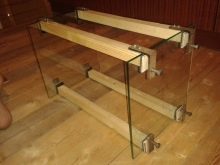
An important point will be the so-called stiffeners. These are special glass strips up to 5 centimeters wide. Thanks to them, the container is resistant to water pressure. They should be used at any volume of the aquarium in order to give it additional strength.
But, in general, these ribs are a prerequisite if the length of the tank is more than 50 centimeters.
In addition, they allow the use of a cover glass from above, and thanks to them, it will be much easier to transport the tank.
Another important aspect is that when the aquarium is more than one and a half meters long, there should be not only stiffening ribs, but also special ties, which also increases the reliability of the aquarium.
Another important point that will affect the selection of glass is the shape of the aquarium. She may be:
- rectangular;
- round;
- panoramic;
- square.
Here everything will depend on the wishes of the person.
And in principle, at home, you can make a container of any shape, except for a round one. Such a container with a convex side can be made exclusively by a glass blower.
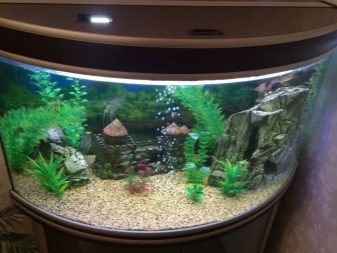
The color of the glass can make a difference, too. But the commonly considered categories of containers are made of transparent or green glass.
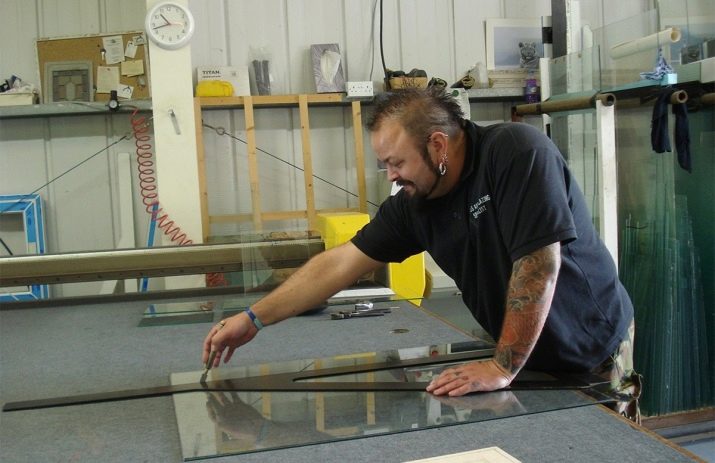
Once the glass has been selected, it must be cut correctly. Here we will immediately say that it is not worth doing it on your own for the following reasons:
- high labor intensity of the process;
- an experienced glazier has special equipment for high-quality cutting of glass.
At least these two reasons indicate that it is better to seek professional help.
Preparation
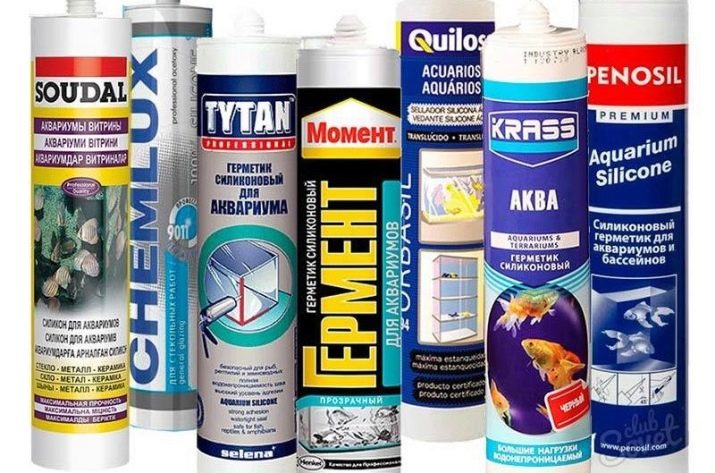
If we talk about preparation, then it includes several stages. First you need to decide which sealant will be used. It is necessary that it be of the highest quality, since it will depend on it whether a tank with fish will leak somewhere in the future. Of course, there are many different substances that can hold pieces of glass together.
But if we talk about the composition for the aquarium, then it should have the following characteristics:
- elasticity;
- non-toxicity;
- maximum strength;
- fast adhesion;
- ease of application;
- high adhesive performance;
- long service life;
- nice appearance.
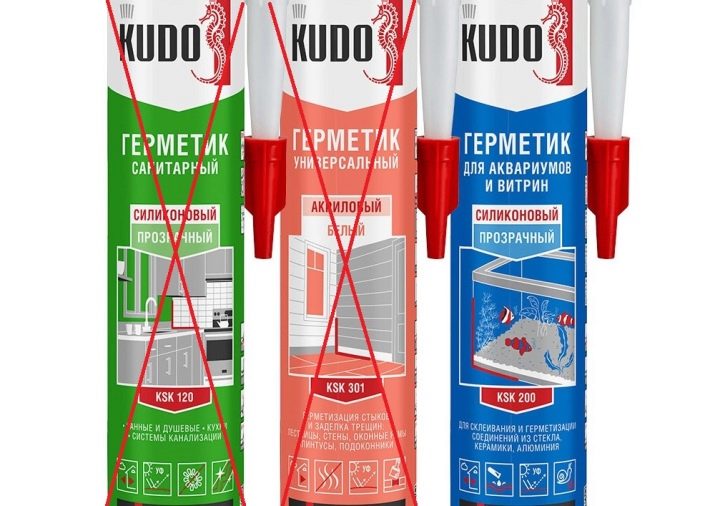
And all of these criteria are met by a silicone-based sealant.
When purchasing it, you should make sure that it does not contain various impurities and is not antibacterial. Otherwise, the inhabitants of the aquarium will die very quickly.
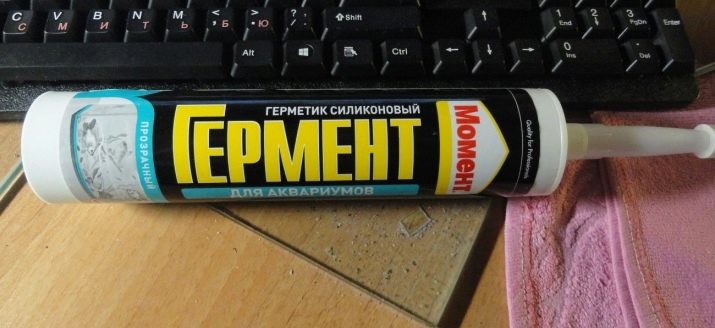
Today it is sold in three colors:
- black;
- White;
- transparent.
The latter is usually used in containers up to 100 liters. If the tank is large, then it is better to choose the first option.
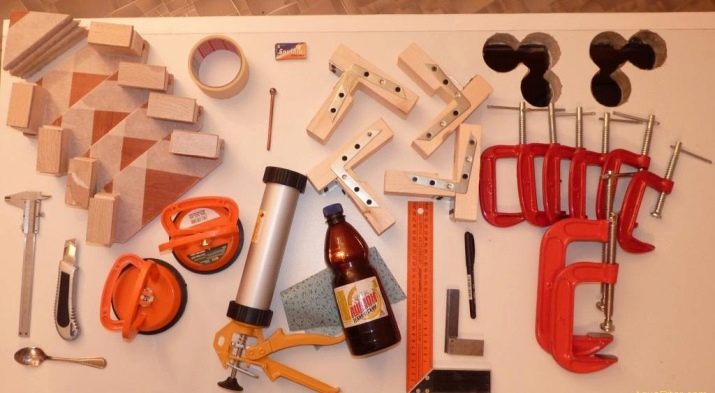
In addition, you will need to have a certain number of tools and materials:
- knives;
- spatulas;
- brushes;
- gap substrates;
- metal corners;
- masking tape;
- silicone with a thermal gun;
- clamps;
- roulette.
In addition, you will need to have drawings or diagrams of the future design.
This is necessary at least in order to carry out the correct cutting of the glass and understand how much consumables will be required.
In addition, determining the size of the future container will make sure that the place where it will be placed is maximally prepared for this.
Manufacturing process
When all the materials have been prepared, the drawings and diagrams are completed, you can start directly making the aquarium with your own hands. The creation algorithm may differ depending on various factors: shape, size, type of glass used, the presence or absence of a cover, and so on.
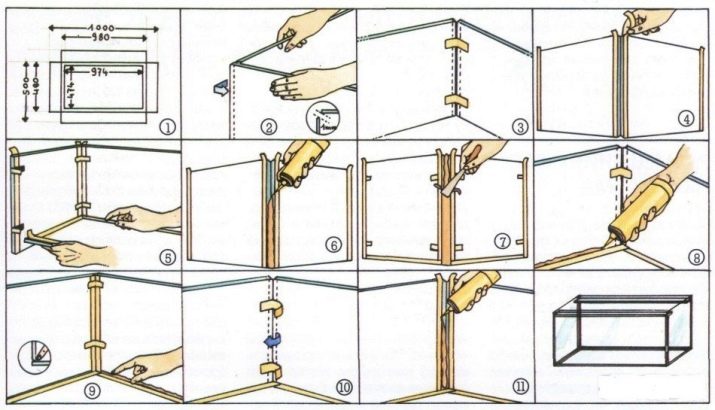
Therefore, we will analyze the main points of creating such a container.
Glass walls
The first stage involves working with glass. The point is that it is necessary to create the structure itself. This will require:
- lay some unnecessary carpet or a large piece of fabric on the surface in order to protect the floor from damage;
- we make special corner-stands with our own hands for glass, they should be parallel to each other and be located vertically;
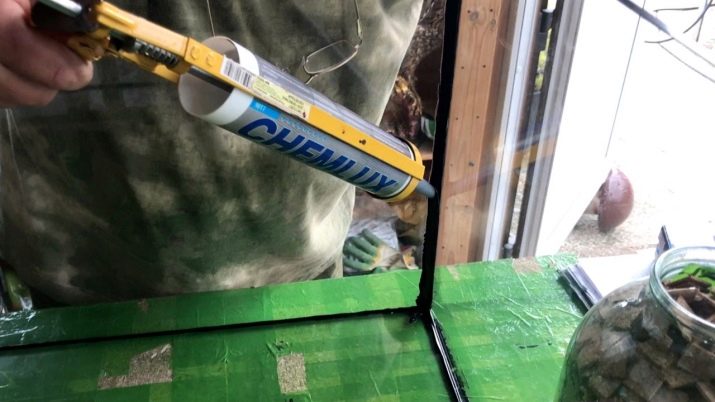
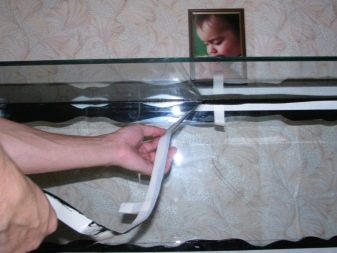
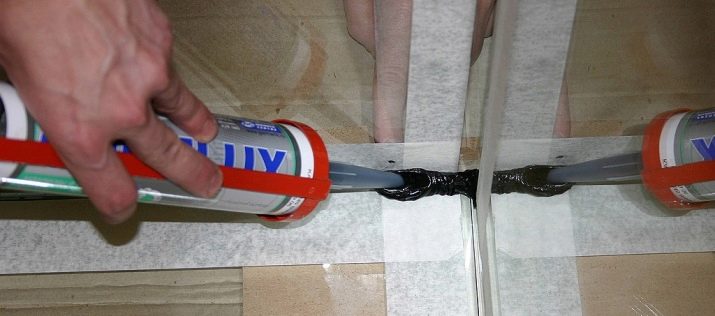
- now we glue the surface along the seam with a special masking tape;
- it is necessary to apply a sealant to the glass sections;
- now glass is lowered onto the glue;
- the resulting structure is turned over, and we apply glue to the sections;
- again we glue the surface with masking tape, after which we spread the glue and press the glass;
- now we attach another side wall of the aquarium;
- we form transverse and longitudinal ties, after which we close the surface with adhesive tape;
- it remains to wait for the surface to dry.
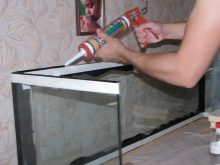
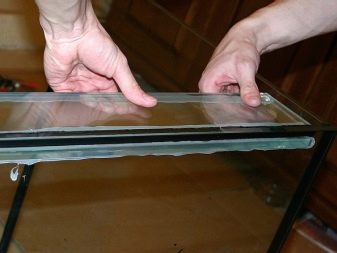
After drying has occurred, it is required to glue the stiffeners as carefully as possible. To do this, you need to put the tank on its side, and then glue the rib with an adhesive.
The quality of adhesion will depend on the thoroughness of spreading the long side of the additional structure.
For the glue to dry, you will need to wait a day or two. After that, the blade is taken and the excess glue that is on the seams is carefully cut off. From the inside, this need not be done if a colorless and safe sealant was used. After that, you can peel off the masking tapes.
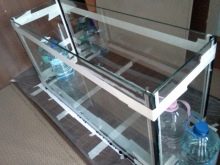
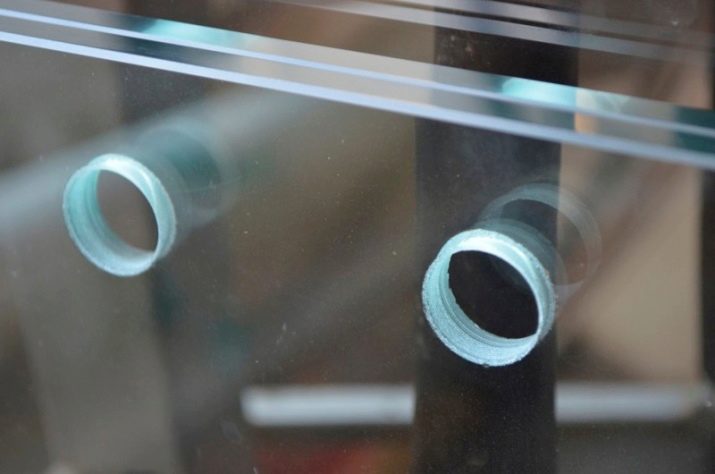
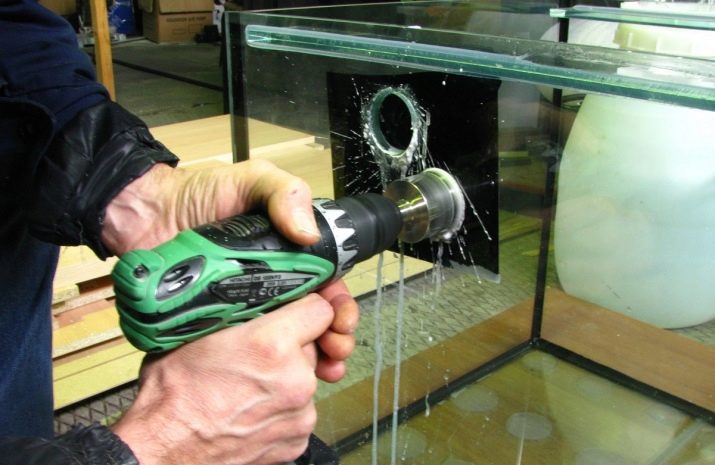
Holes
It would seem that you can already start filling the tank with water. But no, before that, you need to make special technological holes so that you can pass hoses from various filters, wires, place some aquarium accessories, and so on.
It is best to think over their location against the background of creating a reservoir diagram, in order to be sure that they will not interfere with anyone, and that, in general, they can be located in a specific place.
If the aquarium is made of thin glass, then you can usually take a drill bit for wood, which can easily make small holes in this type of glass. Usually they are done on the sides of the lid on the side of the container.
If the lid fits very tightly to the glass sheet, then several holes can be made on the other side, which will allow for better ventilation of the container.
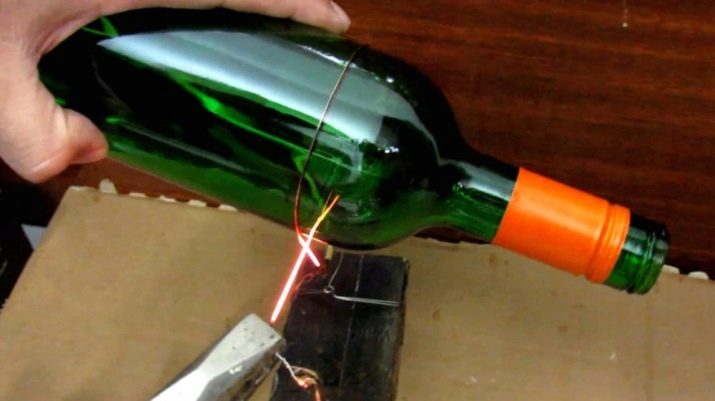
Another option that craftsmen make is that the neck of glass bottles is carefully cut off, after which it is inserted with the edge of the neck outward. Subsequently, it is carefully fixed around the circumference with silicone. Then, on such adapters of a homemade type, you can simply attach hoses to external life support devices.
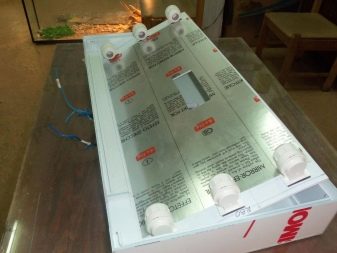
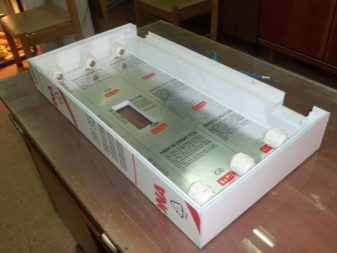
Lid
Another element that a good aquarium should have is a lid. According to some, a fish tank can do without it. But actually it is not. The lid protects the tank from the ingress of various debris and dirt from the external environment into the water. In addition, its presence will not allow the fish to jump out and die. It should be lightweight, easy to remove and made of moisture resistant materials. In the overwhelming majority of cases, lighting is attached to it.
If you decide to make a cover, it is better to make it out of plastic or organic glass.
Sometimes silicate-type glass or PVC is used to create it. The choice of material will depend on the size of the tank and the weight of the material itself.
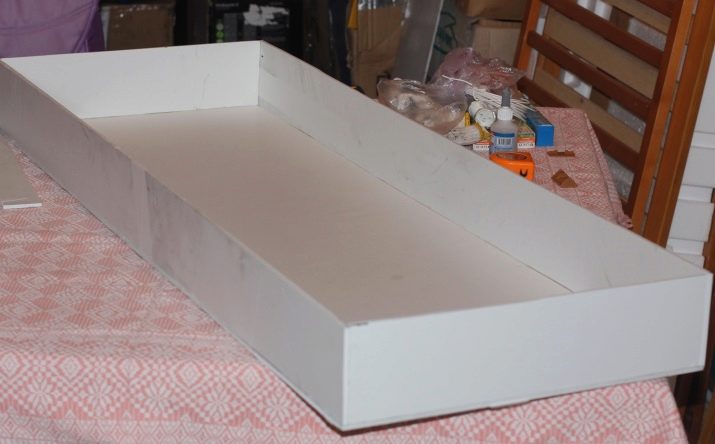
But let's look at the whole process using the example of the use of plastic... To create a lid, you can take plastic with a thickness of about 3 millimeters.It would seem that you can, in general, not suffer, but simply put a plastic sheet on the walls of the tank. But then the access of air to fish will be cut off, which threatens them with death. Therefore, you should additionally make such sides for yourself, which will allow you to raise the cover to a small height.
If there is a container with a large volume and physical dimensions, then the lid will be long. Then, to increase its strength, you can make special plastic stiffeners for it.
The strips of plastic should be fixed to each other with a suitable adhesive.
And if the dimensions of the cover are large, then it is better to strengthen its corners using a metal corner.
Aluminum strips can be attached to the surface from the inside of the lid. This will strengthen it and prepare a place for fixing the lighting equipment.
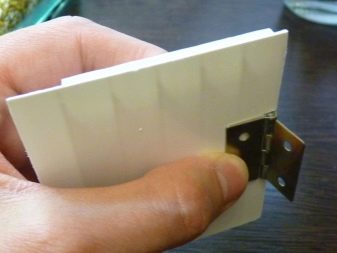
By the way, the process will not be complete if you do not consider attaching the lid to the aquarium itself and installing lighting equipment on it. Once the lid has been made and the glue is completely dry, you can start fixing it to the aquarium. For this, small canopies should be used. Another interesting option for this is the use of a cable duct. Its width will depend on the thickness of the plastic and glass. Loops are attached at the back. The option of how to fix them is up to you: you can either bolt them or just glue them.
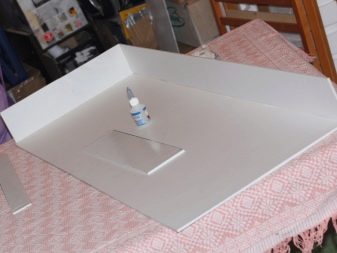
To make the lid conveniently open, it will not be superfluous to make a cutout in front of it.
It is through it that it will be possible to fill the fish with food, which will eliminate the need to constantly open and close the lid.
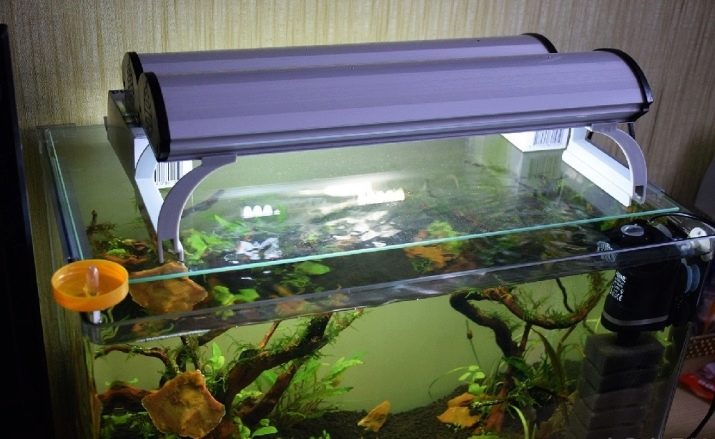
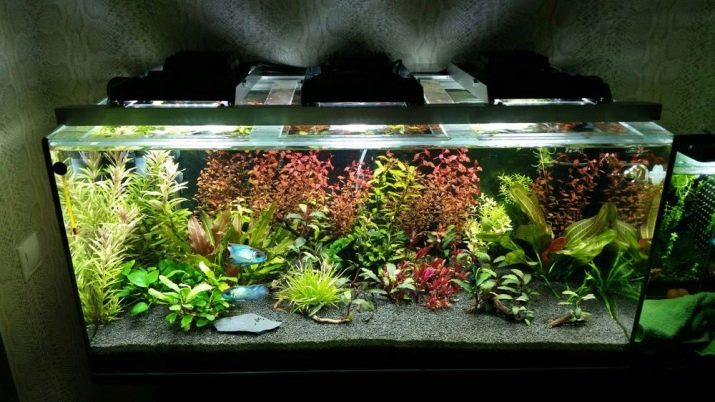
If we talk about lighting, then you should choose it very carefully.
In no case can you do without it, because if the fish can somehow still live without artificial light, then plants will be vital for growth.
And its absence will cause the multiplication of various parasites and bacteria. The color scheme should be chosen at will, but the luminous coefficient of illumination should not be lower than 60 Ra. And the larger the size and volume of the aquarium, the higher this figure should be. Usually there should be two lamps, and they should be of a fluorescent type, because they do not heat up at all during operation, which means they cannot become a source of an increase in the temperature of the water. And the very fastening of the lamps to the cover usually takes place with a pair of bolts on both sides. This will attach both the first and the second lamp.

Thus, we were able to make not only the lid, but also fix it on the aquarium and carry out the installation of lighting equipment.
Specialist recommendations
And finally, a few recommendations that will help novice aquarists make an aquarium in a minimum of time.
The first extremely important point, about which little has been said - use only special sealants without antibacterial properties... The fact is that there are many sealants on the market, but only a small part can provide high-quality sealing of the space between two parts of the glass. The reason for this is the slippery surface of the material itself.
In addition, such formulations often have antibacterial properties. In no case should they be used when creating an aquarium, as they will cause the death of all living things in the tank.
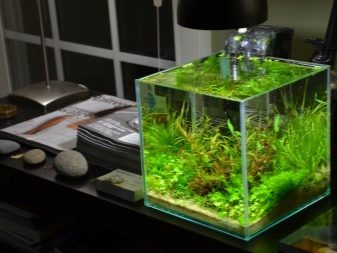
The second tip is that it is much easier to maintain the balance of gases and nutrients in the water in a container with a large size and volume.
Therefore, a novice aquarist should think twice and find an opportunity to make a choice not in favor of a small aquarium, but in favor of a larger one.
Despite its large size, it will be much easier to care for fish in such a container than if you purchase some kind of 30-liter or 50-liter aquarium.
Another important tip is that when a sealant is applied, there should be no air bubbles in it. The fact is that these voids can then cause leaks, because it is clear that due to constant exposure to water, sooner or later, the properties of the sealant will deteriorate and such a bubble in the future may just become the place where the aquarium will leak. And it can be very difficult to liquidate it later, to the point that the tank made with your own hands will simply become unusable.
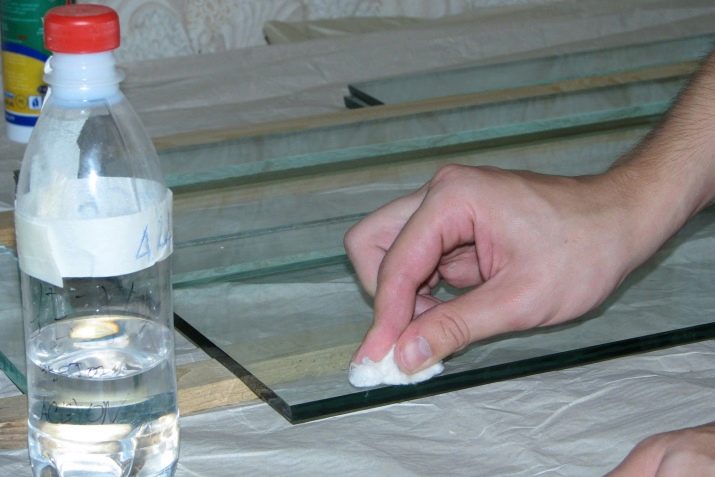
Another tip that will also be important when creating an aquarium on your own - when working with various surfaces, you should treat them with alcohol or, in extreme cases, acetone.
That is, you need to degrease the surfaces so that they can be comfortably glued to each other, and their tightness was, indeed, maximum.
All in all, making an aquarium with your own hands is not as difficult as it might seem at first glance... The only thing to remember is that you must strictly adhere to all the rules and regulations for creating such a container so that it turns out to be really strong, airtight and lasts a long time.
You can get acquainted with the advice of a professional for gluing an aquarium with your own hands in the following video.


