Starting an aquarium: rules and step-by-step instructions
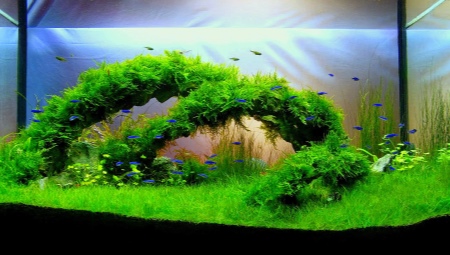
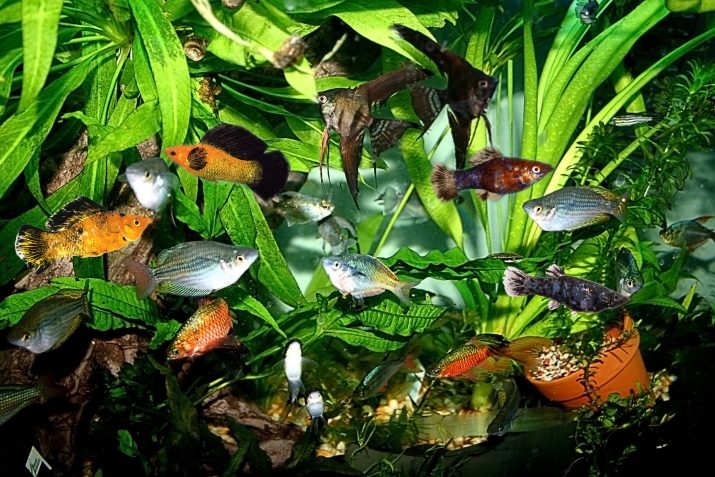
The budding aquarist doesn't just bring new tenants into the house. He arranges a miniature ecosystem bounded by the glass walls of the aquarium. You will have to tinker a lot with its arrangement, but the underwater world will delight the eye, and its inhabitants will surprise with activity and bright color.
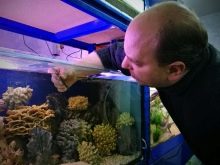
How to wash the aquarium before settling fish?
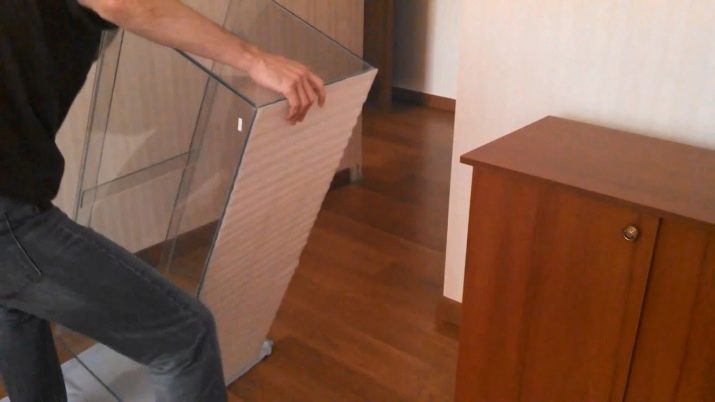
First you need to decide on the shape of the aquarium. Regardless of the displacement, a standard rectangular aquarium is considered the best option for beginners. It is easy to clean and the small 30L and 40L containers do not take up much space.
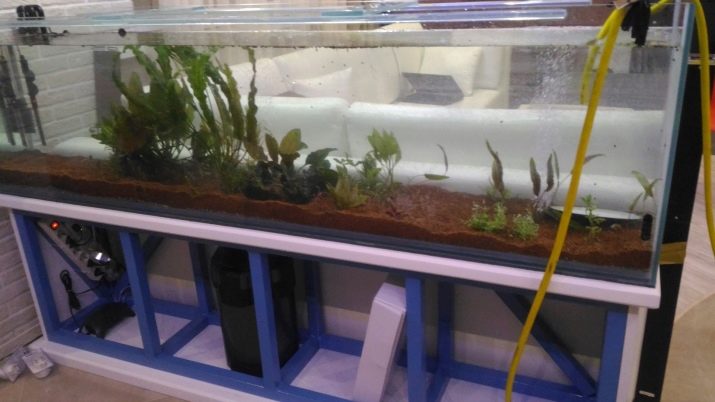
A small container is placed on a table with a flat, smooth surface, an aquarium of 60, 100 or 200 liters is placed on a sturdy cabinet.
A new aquarium does not require a thorough cleaning, but after purchase it should be prepared by rinsing it under cool running water without soap or other detergents.
If in doubt about the cleanliness of the container, rinse it with baking soda or table salt. Use a soft sponge to rinse.
To remove all disinfectant particles, rinse the walls of the aquarium at least four times under a strong pressure of warm water. After that, it is washed again with settled water. For this, ordinary tap water is defended for two to three days.
The aquarium is poured to the brim with the same settled water and left for several days. During this time, the water will draw out sealant residues and harmful toxins. And this measure will also make sure that the container does not leak.Well, then the water is completely drained and proceeds to the next step.

Soil and decor cleaning
The soil adorns the bottom of the aquarium, prevents water from stagnating and prevents harmful bacteria from growing.
But so that pebbles, sand with a coarse fraction or gravel themselves do not become a source of disease, they need to be properly cleaned.
There are several recommendations on this score.
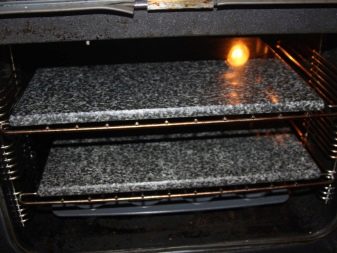
- The most effective method is considered to be the way in which the pebbles are calcined in the oven or boiled on the stove. The cooled soil is rinsed with settled water without chlorine and placed on the bottom of the aquarium with a layer 3-5 cm thick.
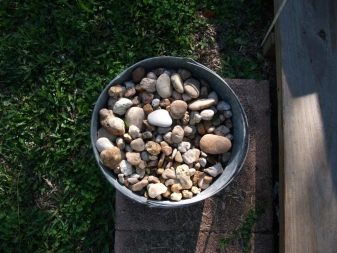
- There is a more laborious option, when the soil is poured into a bucket, poured with cool water and thoroughly mixed by hand. This process is repeated up to five times, until the water in the bucket becomes clearer.
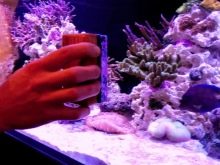
- Decorative shells, grottoes or large stones are thoroughly cleaned with salt or soda, and then washed under running hot water. If during the cleaning process the paint fades or glue seeps out, it is worth choosing another decoration option. Indeed, with constant presence in water, such a decor will emit harmful toxins that will lead to the death of the inhabitants of the aquarium. If the cleaned decor has not lost its presentable appearance, it can be installed on the ground.
- Driftwood from tree roots is cleaned of bark and boiled in salted water for five to eight hours. For greater disinfection, it is allowed to add a weak solution of potassium permanganate to the water. During cooking, the water is changed three or four times, and then soaked for a week in settled water. Only then can the snag be considered ready for installation.


Disinfection of plants and inhabitants
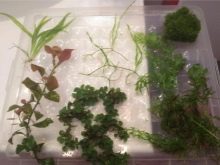
Plants purchased in advance are washed with running and filtered water to remove dirt, earth and sand. After that, they are placed for 10 minutes in a weak solution of potassium permanganate, after which they are washed again.
Then, too long roots are cut with scissors and left in a jar of clean water for four days. After that, the algae are considered ready for transplantation into the aquarium soil. With fish, a more troublesome process lies ahead.
Aeration should be installed in a jar or bag with brought fish and left for several hours. After that, part of the native water is drained and the missing volume from the aquarium is added.
An hour later, the manipulation is repeated and the container is left for two to three hours, after which all the water is changed to aquarium water. After another hour, the fish can be settled for permanent residence.
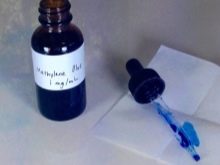
To disinfect snails, place them in a container separate from the fish and add one of the medicines to it. This can be table salt, methylene blue, or a low dose of an antibiotic. The water is changed once a day.
In such conditions, snails live for two to three weeks. During this time, harmful microbes and microorganisms will be destroyed, and mollusks will not pose a danger to fish. Well, then they are settled with the rest of the inhabitants of the aquarium.


Equipment selection
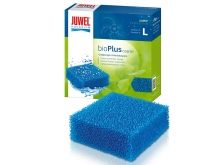
For the successful functioning of the future ecosystem, you should acquire special equipment. This is, for example, a filter that cleans the water from clogging. You should buy a set of replaceable sponges to maintain the purity and transparency of the water.
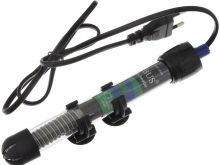
The heater can be used to maintain a constant water temperature in the aquarium., and a water thermometer will allow you to control the slightest changes. The compressor saturates the water with oxygen, the siphon allows you to quickly and effectively clean the soil.

For lighting, it is worth choosing fluorescent lamps or LED spotlights. The latter are considered a more suitable option, since they allow you to emphasize the beauty of the inhabitants of the underwater world.
The list is supplemented by a set of tests for water, which show the hardness and acidity of water, and also allows you to determine the amount of nitrites and nitrates. It is these indicators that make it possible to determine the favorable moment for populating the aquarium with living plants and inhabitants.
The landing net will allow you to remove food residues from the aquarium. Using a scraper, the walls of the aquarium are cleaned of plaque and overgrown algae. To change the water in a timely manner, it is worth keeping a bucket with settled water in the container.
If a lid was not included with the aquarium, it should be purchased separately. This simple device will protect the home water area from dust, and a number of devices are attached to it.


Infusing water
A number of experts recommend pouring water into the aquarium directly from the tap, but this advice is more suitable for experienced aquarists. For those starting up the aquarium for the first time, it is best to settle the water in clean buckets and basins.
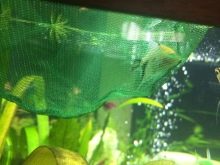
Water should be defended from several days to a week. - it all depends on the quality of water in a particular region. For the period of settling, the containers are covered with gauze. After the infusion period has expired, the water parameters are determined using special tests.

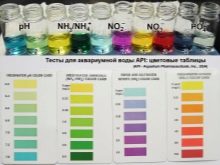
The temperature of the liquid should be at least 22 degrees, acidity - 6.8-8 Ph, hardness - 5-25 units (the specific amount depends on the region). The first indicator can be changed with an aquarium heater.
The second changes under the influence of temperature, aeration, nitrate levels, selected soil and plants. The acidity of the water directly affects the well-being of the inhabitants of the aquarium, therefore, this indicator requires constant monitoring.
The water hardness can be either decreased or increased. In the first case, distiller or melt water is added, elodea or hornwort is planted in the aquarium. In the second, shells, chalk, limestone or coral chips are added. Specific indicators of hardness depend on the type of fish that will inhabit the aquarium.
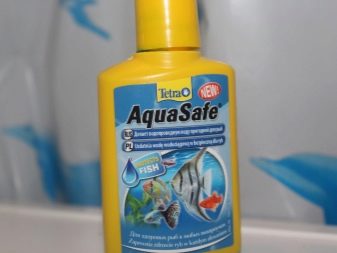
The process can be accelerated by using special water conditioners. These drugs help to quickly purify the water, as they remove harmful substances within a few hours.

However, before starting the aquarium, you should still make sure that all the necessary parameters are in order.
After infusing water, a number of manipulations are performed.
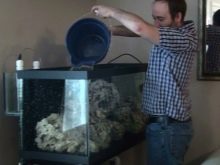
- Water is carefully poured from the container into the aquarium using a ladle so as not to stir up the soil. The liquid is not poured out to the end, since a precipitate of heavy metals forms at the bottom of cans and buckets.
- During the filling process, small particles may rise from the bottom of the aquarium, which will settle within the first three days after filling the tank. If this does not happen, all the manipulations will have to be repeated from the beginning.
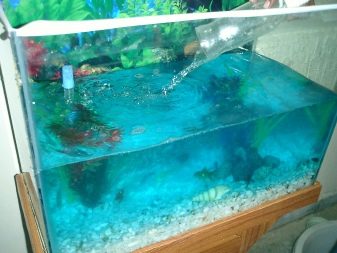
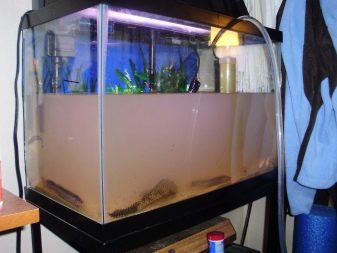
- On the second or fourth day after the flood, the water will become cloudy due to the multiplication of bacteria. Don't be scared, this is a natural process. A few days will pass and the liquid will become clear again. Normally, the water acquires a yellowish tint.
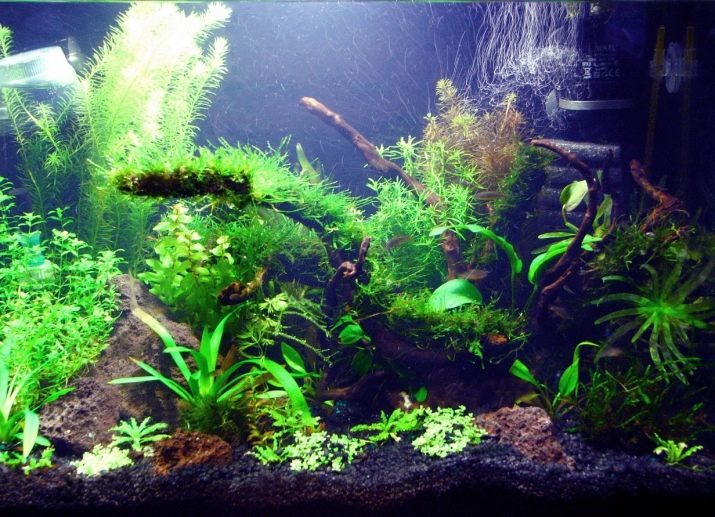
- A filter, a compressor and a heater should be installed and connected in the aquarium (the recommended water temperature is 24-25 degrees). After 5-7 days, you can plant the first unpretentious plants like hornwort, nayas, vallisneria, anubias, elodea, Indian fern, hygrophila or ambulia.
- After that, you can go to the store for a special starter culture with beneficial bacteria, or to your friends - for squeezing from the filter of an existing aquarium. This will create the necessary environment in the aquarium.
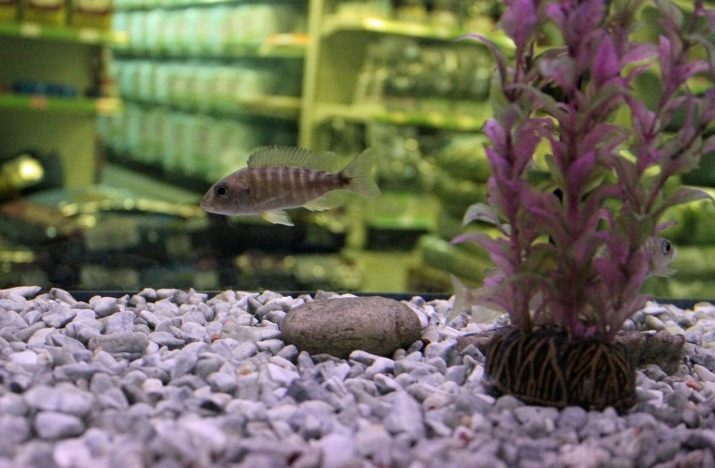
After another couple of weeks, the microclimate will form, and the smell of fresh grass will come from the aquarium. Then you can populate the most hardy fish - barbs, guppies or zebrafish.
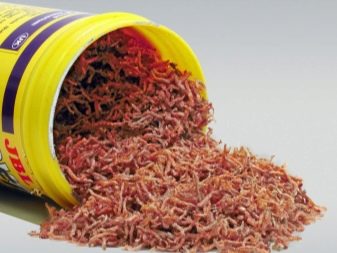
You can feed them frozen, dry or live food. It is important not to overfeed and arrange fasting days to avoid a bacterial outbreak.
The resettlement of the rest of the inhabitants should be carried out gradually, so as not to upset the established balance. The first months require control over the state of the water and the behavior of the fish.
Infusing water is the most troublesome stage and takes a long time. However, starting up the aquarium quickly will negatively affect its inhabitants.Therefore, it is better to once again test the water and make sure it is suitable for the life of the fish.

Step-by-step instructions for starting from scratch
With the main stages of preparation, everything is more or less clear.
But for beginners, it will be useful to know how to start the aquarium step by step.
To properly launch the mini water area, you should perform all the necessary manipulations.
- Prepare settled water.
- Place the background on the back of the aquarium. A film with a picture / photo collage or a volumetric 3D background will do.
- Place the nutrient mixture on the bottom of the aquarium according to the attached instructions.
- Place the primer and decor. The soil is laid out at a slight slope from the back wall to the front. Large decorative elements are placed at the back and side walls of the aquarium. Smaller ones are placed in front.
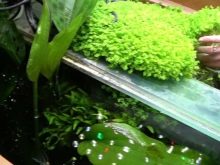
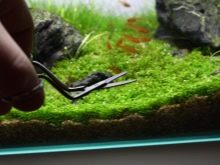
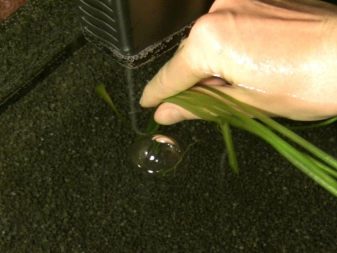
- Fill the aquarium halfway with water and start planting the plants. First, low-growing algae are planted, then tall ones.
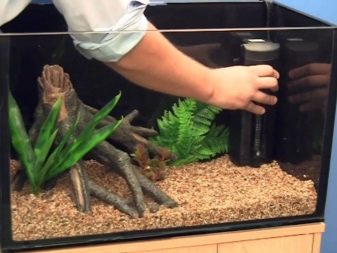
- Fill the container to the top and arrange the equipment. The heater is placed next to the filter for even heating. A compressor is installed outside, and LED lamps are on the aquarium lid.
- You should wait three to four days. When the haze settles and the water becomes clear again, you should test it. If the liquid meets the required parameters, it is necessary to replace a third of the water and put the first two fish and a couple of snails in it.
- Connect backlight, filter and compressor.
- You need to feed the fish the next day.
- Wait 4-5 days. If the water remains clear and the inhabitants are active, the next pair can be launched.
If after a week the water does not deteriorate, and the fish have a good appetite and calm demeanor, the beginner can be congratulated on the successful launch of his first aquarium.
Possible mistakes
There are a number of common mistakes beginners make.
Overpopulation of the aquarium
Often, beginners strive to populate an aquarium with bright fish as quickly as possible and at the same time forget about the biological balance of the underwater world. As a result, a general pestilence begins in the water area, and the pets die in a matter of days. To prevent this from happening, you need to colonize the fish gradually.
Special tests will help determine the condition of the water.
At first, the values of nitrites and ammonium increase, and after a while they fall to zero. When this happens, you can add new inhabitants to the aquarium.
Sometimes beginners do not take into account the capacity of the aquarium. The number of residents should be selected based on 2-3 liters per individual up to 5 cm (half a liter per snail). This is especially important when starting a small aquarium of 20 or 30 liters.
Incompatibility of characters
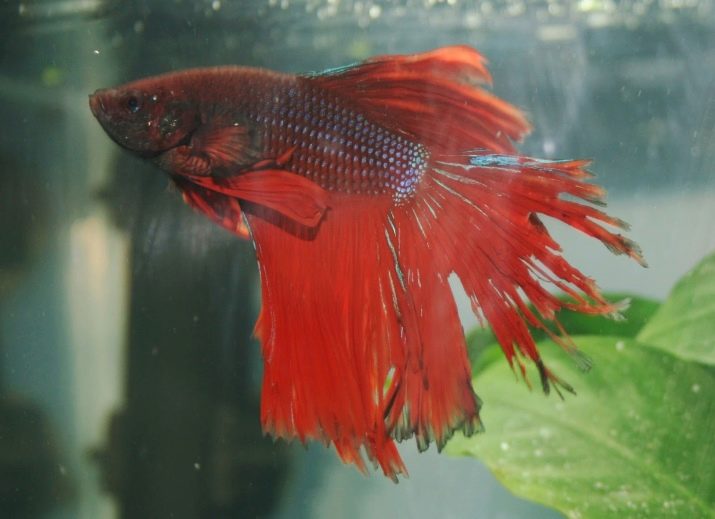
It is not uncommon for beginners to populate predatory and peaceful fish in one aquarium, chasing a bright color or an unusual appearance. As a result, the fish fight, bite off each other's fins, and predators perceive small fish as prey.
In order not to waste time on fighters, beginners should take a closer look at small peace-loving fish.
It is desirable that these were hardy viviparous breeds that do not take root in the most ideal conditions. These are, for example, guppies, mollies and pecilia.
Difference requests
It is important to take into account the difference in the conditions of keeping different types of fish. Some breeds require harder water, others softer, and still others prefer warm tropical water. That's why you need to select species that have approximately the same care requirements.
Beginners should pay attention to cold-water fish, which live peacefully at a water temperature of 14-25 degrees. These include macropods, loaches, some varieties of goldfish, mosquito fish and callahites.
These breeds are unpretentious, they feel good even at room temperature. Slight fluctuations are insignificant for them. It is important that the thermometer does not exceed 25 degrees, since being in warm water ends in the death of the fish.

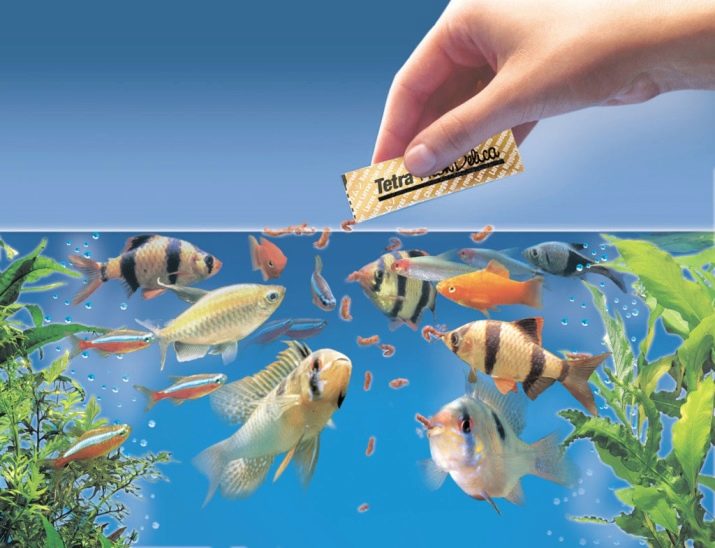
Violation of the diet
Looking at the fish, you might think that they are looking for food all the time. But in fact, it is enough to feed them only twice a day: in the morning and in the evening. At the initial stage, the wards may well get by with one meal per day.
The food should fly away in five minutes, otherwise the fish grow fat, the remains of the food that have fallen to the bottom begin to decompose, and an unpleasant smell of rot comes from the water area.
Excess feed should be removed with a net.
Incorrect equipment operation
It is not uncommon for beginners to notice bubbles on the walls of the aquarium after starting. This suggests that the water taken for the launch turned out to be cold. When the heater began to heat it up to the desired temperature, air and steam bubbles formed.
It is not recommended to launch fish into such water. Wait until all bubbles disappear and the temperature of the liquid reaches the required degree.
Insufficient water filtration is another common mistake. A good filter should purify the entire volume of water three times per hour. If the container is too large, you should think about additional installation of pump filters.
It is better to oversaturate the water with oxygen than to allow the fish to suffocate from contamination.
Illumination with a capacity of 0.35 W / L should work 8-10 hours a day, filters and aerators - 24 hours a day. The equipment should be regularly rinsed with clean water and monitored for proper operation. In case of the slightest deviation, the damaged device must be replaced as soon as possible.
Control and care
The successful launch of the aquarium is the beginning of an interesting journey and gaining new knowledge. After all, the mini-water area needs careful maintenance, and its inhabitants need constant care. For example, you need to partially replace the water twice a week so that the fish do not pick up any sore.
From time to time you need to clean the soil and decorative elements on which algae accumulate and mucus sticks. Live algae need feeding. Periodically, they need to be cut off, since the overgrown shoots block the light.
The water parameters should be checked every week.

If on some day it is found that the fish are keeping to the bottom, swimming in a tight flock and tightening the upper fins, the water must be replaced by at least 10 percent.
After the purchase, the new fish must be placed in a separate container filled with water from the common aquarium and kept there for at least two weeks. If she still looks healthy, she can be moved in with new neighbors.
A similar rule applies to planting new living plants: first, disinfection and mandatory quarantine in a separate jar, and only then - rooting in the soil of the aquarium.
There are no great difficulties, but taking care of the home water area definitely requires increased attention from the owner.
How to start the aquarium, see below.


