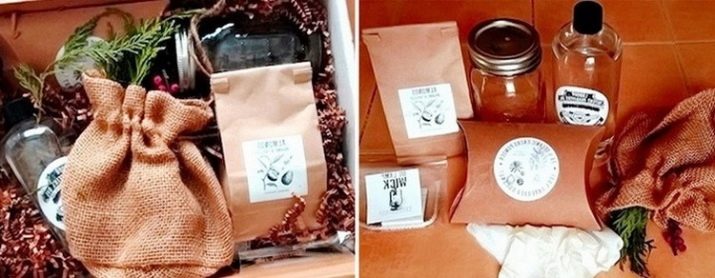
We make an aroma lamp with our own hands
The use of an aroma lamp is useful not only for calming the nervous system, but also for healing other parts of the body, for example, the lungs. It is quite possible to make this device, in which fire and aromatic oils "meet", independently from improvised means.
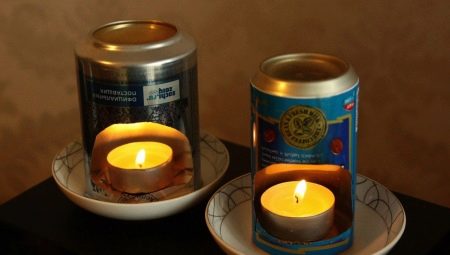
How to make a metal lamp?
To make a metal aroma lamp with your own hands, you need to choose an easily washable vessel. For example, it may turn out to be a 500-700 milliliter can with a smooth top.
For work you will also need:
- sharp knife;
- candle;
- glue;
- hemispherical dishes (bowl, ladle with a short handle, lid or cocotte bowl, suitable in diameter to the jar).
To decorate the product, it is better to prepare shells, sparkles, buttons and other elements.
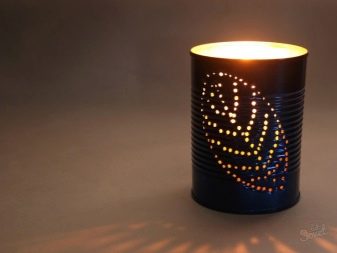
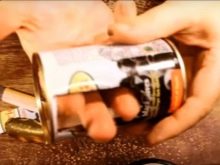
- First of all, a hole is cut on the side of the can, through which it will be convenient to place a tablet candle inside. Previously, a square is drawn on the wall with a marker, starting from the bottom: it will need to be cut off completely or neatly bent inward.
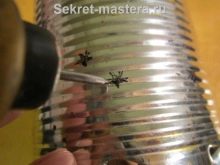
- Further, holes with a diameter of 3-4 millimeters are cut on the surface, which improve air ingress, and small holes are also pierced to prevent the accumulation of smoke. This can be done with a nail, awl or knife.
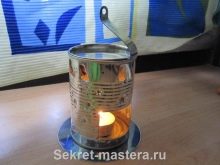
- On the open top, a dish of a suitable diameter is placed, possibly with a bent handle.
- Small details are used to cover the surface of the aroma lamp with glue.
To use the structure, it will be necessary to place a candle inside, and fill the container at the top with water and essential oils.
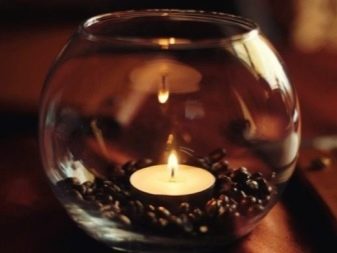
Crafting from a glass jar
At home, you can get a stylish aroma lamp if you use a glass jar as a base.
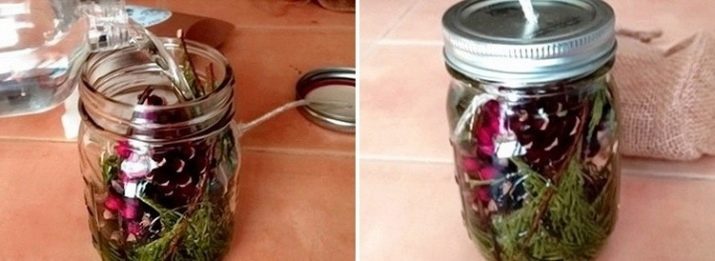
With a wick
To obtain a product with a wick, you will need to take:
- a transparent glass jar with a tight-fitting metal lid;
- ready wick;
- awl;
- paraffin oil;
- a variety of natural materials, for example, twigs, cones, needles, dry buds, berries and leaves.
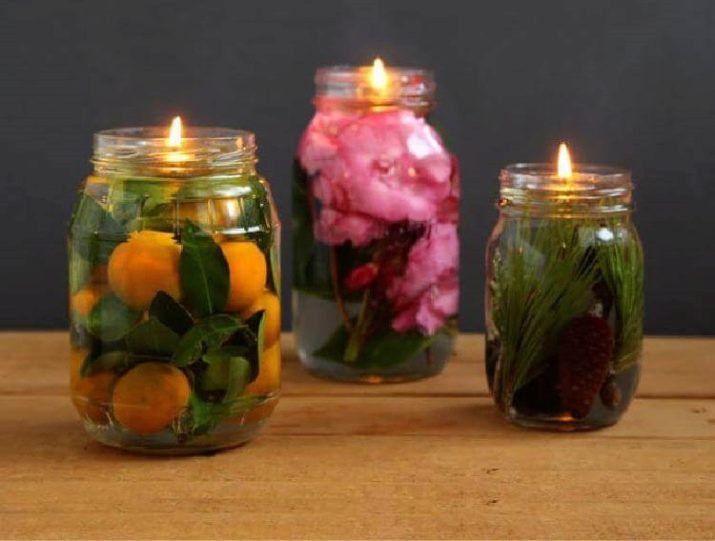
First, the container is carefully filled with fragrant eco-decor, after which it is filled with paraffin oil. A hole is cut in the center of the lid with an awl in such a way that a wick 2/3 of the can can easily pass through it.
When the preparatory stage is passed, the wick must be threaded under the lid, dropping it somewhere to the middle of the jar. During the day, the wick of the aroma lamp should be soaked in oil, after which the product will be ready for use.
By the way, to enhance the aroma, a few drops of essential oil are pre-added to the substance.
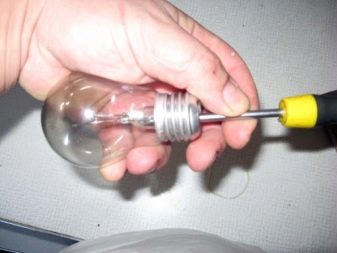
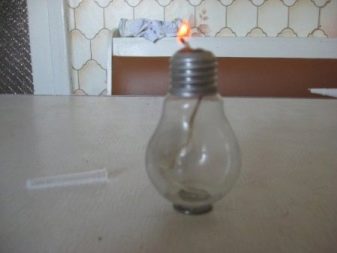
An old incandescent light bulb is also suitable as a glass container for an aroma lamp. The workflow may seem rather complicated:
- first, with the help of a hammer, the core is knocked out at the base, and with a screwdriver the light is disassembled until nothing remains inside;
- a 5-ruble coin is glued to the top of the base on silicone - this is how the base will turn out;
- the flask is filled with medical alcohol and essential oils;
- upon completion, a wick is threaded into the hole of the base, and the edges are covered with cold welding.
Floating candle
A floating candle design will require the use of:
- citrus essential oils;
- 0.5 liters of alcohol or vodka;
- one orange fruit;
- one lemon;
- tablet candles.
A 0.5 liter jar is suitable as a basis for the lamp. After peeling the citrus, the zest is cut into cubes or strips. Half of them are immediately laid out in the jar, and the other is left for registration. Natural material is poured into a glass of alcohol and left for a day to obtain a tincture. At the end of the above period, the remaining zest is transferred to the jar, and the tablet candle is left to float.
Clay making
A beautiful homemade aroma lamp is also obtained from clay, and you can create it according to different master classes. For example, one of them requires the use of:
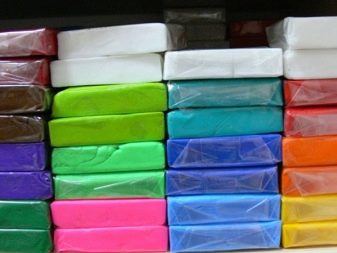
- 150-200 grams of polymer clay;
- mineral paints and a thin brush;
- plastic stack;
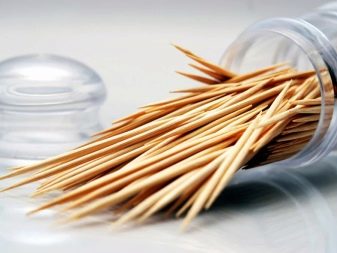
- toothpicks;
- wick or candles.
It is recommended to cover the work surface with foil beforehand.
At the beginning of work, the clay is kneaded until it becomes soft and smooth. The mass is divided into two parts: the first is suitable for the base, and the second for the walls. The further order of work looks like this.
- The bottom of the aroma lamp is formed in the form of a round cake about 1 centimeter thick. Further, sausages are rolled out of the remaining clay. In order to obtain the walls, they will have to be folded one on top of the other until the required height is reached. It is most convenient to level them with water and a stack.
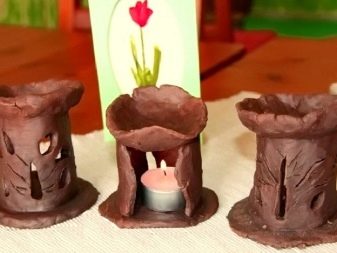
- In the next step, one large hole for a candle can be cut in the wall. and several small ventilation ones, and the top of the lamp is made in the form of a cup. Alternatively, you can stretch the workpiece slightly to form a wick spout.
- The surface of the product is decorated with images applied with a knife or toothpick. The clay structure is first air-dried for an hour and a half, and then baked in the oven.
- During heat treatment, it is important to controlso that the door remains open for the first 10 minutes and the temperature does not exceed 30 degrees. Heating is gradually increased to 200 degrees, and the total drying time of the product is 1.5-2 hours. The finished lamp is removed from the oven only when it has completely cooled down. The patterns on the dried product are treated with mineral paints.
- It will be possible to use the clay aroma lamp for its intended purpose only in a day. If you get a bowl-shaped structure with a spout, then it will need to be filled with an oil mixture and equipped with a wick. In the second case, a tablet candle is located inside the lamp, and the cup from above is filled with heated water with essential oils.

Aroma lamps from improvised means
It will also be possible to make the aroma lamp yourself from materials that are always at home at hand.
From orange
The device, made of orange, must be used immediately, since it does not differ in the duration of operation. To create a lamp you will need:
- one large citrus;
- a tablespoon of olive oil;
- a couple of drops of orange, lemon or grapefruit essential oil;
- knife.
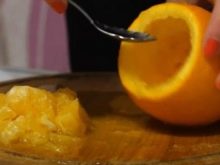
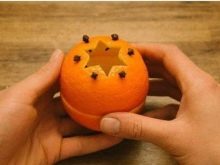
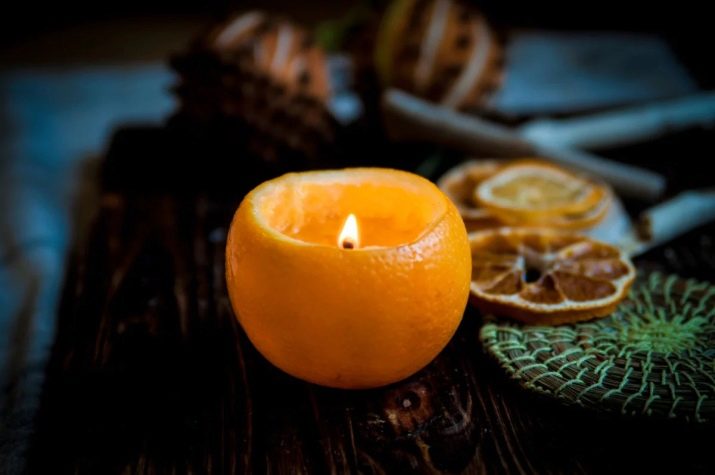
In addition, you need to prepare a white tablet candle. The first step is to cut the orange in half and completely remove the pulp. The inner walls are coated with a mixture of oils. A lighted candle is placed at the bottom of one of the halves. In the top of the other, a neat hole is cut in the form of a circle, star or other figurine, and it is used as a lid.
If you wish, you can decorate it with carnations. To complicate this recipe, you can fill the bottom of the orange with a lot of oil and place a cotton wick instead of a candle.

Another option for creating an aroma lamp involves the use of:
- large fruit;
- paraffin;
- olive oil;
- citrus essential oil;
- needles;
- a pair of wicks.
The first stage is carried out similarly to the previous master classes: the orange is cut in half and freed from the pulp, and the remaining peels are smeared with an oil mixture. A wick is installed in each bowl. Paraffin is warmed up in a water bath, after which it is combined with chopped needles or zest.
It is necessary to pour the hot substance over the orange halves in such a way that the wick looks out over the surface by a centimeter and a half. The resulting aroma lamps will take several hours to cool down at room temperature.
In no case should the devices be put into the refrigerator, otherwise the paraffin will harden unevenly.
From dough
A product made of dough turns out to be very creative. To create it you will need:
- a glass of flour;
- half a glass of vegetable oil;
- the same amount of water;
- wick;
- acrylic paints;
- thin brush.
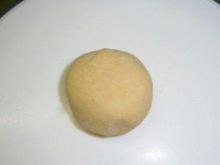
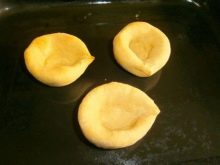
The creative process begins with creating a test. The mass should turn out to be dense, so water should be added to the flour gradually. Part of the dough is rolled out into a cake, and the walls of the bowl and an elongated spout for the wick are formed from the rest of the substance. If desired, the surface is decorated with a pattern made with a knife or toothpick.
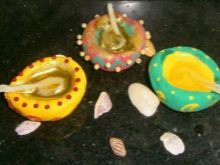
The aroma lamp is baked in an oven preheated to 200 degrees for 15 minutes. The baking sheet on which the workpiece will be placed should be greased with oil. After the product is ready, it will need to be cooled and painted with acrylics. The finished lamp is filled with a mixture of olive oil and 5-6 drops of essential oil. The wick is placed inside so that the tip looks out through the spout.
A high-quality product is obtained even if the dough is prepared according to a different recipe. In this case, a glass of fine salt and a glass of flour are combined with 5 tablespoons of sunflower oil or hand cream. The carefully mixed substance is gradually supplemented with 1-1.5 glasses of water until the mass becomes uniform and elastic. You can add food coloring or vegetable juice to the ingredients to create a colored dough.
Drying the salt dough craft should be done first in the air and then in the oven.
For information on how to make an aroma lamp, see the next video.


