How to make hair curlers at home?
Although today you can buy high-quality hair curlers in almost any hardware store, sometimes you still need to make them yourself. Fortunately, simple improvised objects are suitable for this purpose, and the creation process itself is not particularly difficult.
Pros and cons of homemade curlers
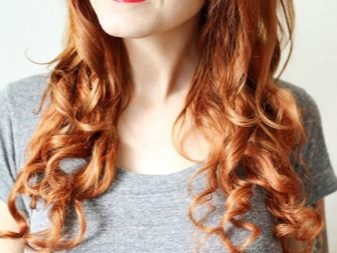
Probably the main advantage of homemade curlers is that the required materials are always at hand. Remnants of tissue, paper or foil are usually always present in the household, and therefore you will not need to spend additional money on devices. A clear advantage is the speed of manufacturing the device - a quarter of an hour is enough to prepare the curlers for use. In addition, getting the result turns out to be quite fast - after 20 minutes beautiful large curls sway on the head.
Since in most cases curlers are made of soft material, they can always be left overnight, and in the morning just slightly correct the styling.
Homemade curlers do not tangle the hair, allow it to breathe, and are removed with a light movement... Another advantage of home curlers can be called reusability - having made the device once, they will be able to use a huge number of times. The relative disadvantage of homemade products is the need to spend some time making them, although the design is really simple.
Also, to obtain a lasting effect, you will still have to spend a longer time with curls wrapped on curlers than when using a curling iron, when the procedure is carried out in ten minutes.If we talk about winding on paper curlers, then the procedure is not always effective - very often, instead of elastic curls, subtle waves are obtained.
How to make it yourself?
Hair curlers at home can be made from almost any materials at hand.
From paper
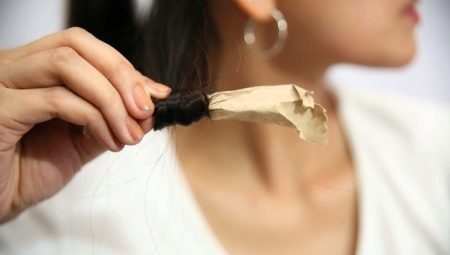
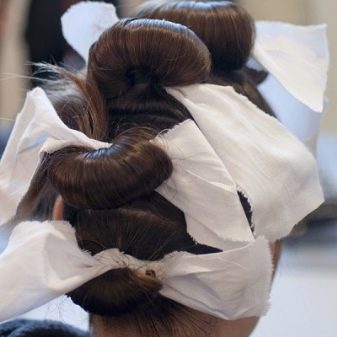
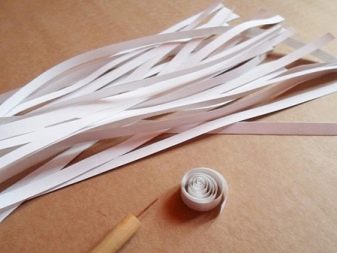
Curler paper is most often used in conjunction with cloth. As newspapers stain their hair with ink, it is better to use white paper for office printing or blank notebook sheets. The fabric should be non-slip and ideally cotton and stretch. You don't have to look for a new flap, just use an old but clean jersey T-shirt. Strips are formed from the fabric, the length of which is from 25 to 40 centimeters, and the width does not go beyond the boundaries of 1-2 centimeters.
A4 paper is cut lengthwise so that the width is 5-7 centimeters for small waves and 9-13 centimeters for large curls. Each paper strip is folded in half so that the fabric strip is mixed in parallel inside. Then the paper is twisted so to form a roll, on which the strand will be wound, and then fixed with fabric ropes.
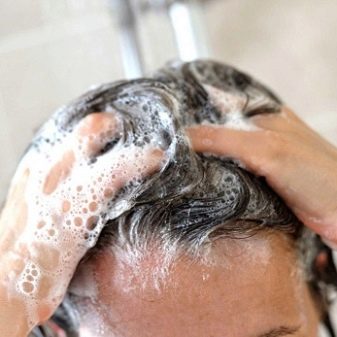
Before using homemade curlers for the first time, it is better to slightly dampen the paper - this way, it will unwind less. Hair should be washed clean, but dried to a semi-moist state... It is also recommended to immediately apply the styling agent along the entire length of the strand. To obtain a lasting effect, you will need to withstand the curlers for almost 6 hours. For reliability, the curling structure can be tied up with a scarf or hidden in a towel. Curls curl from the ends to the inside.
Experts do not recommend using final commit, moisture can make curls less elastic.
In the case when paper is used without a cloth, the hair is curled on the same roller, but the curl will have to be fixed with paper ends, which is not always reliable.
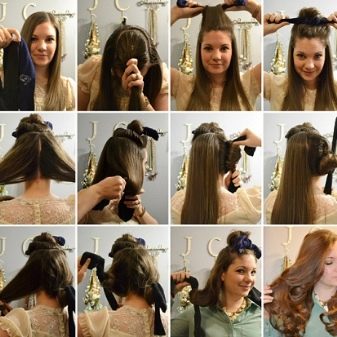
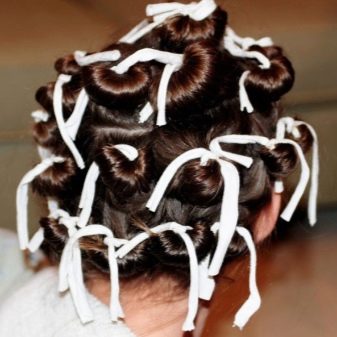
From fabric
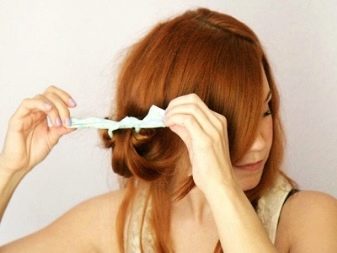
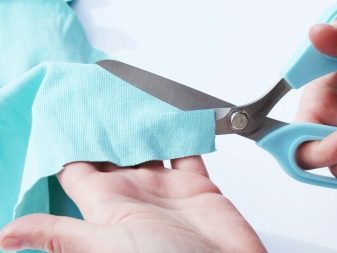
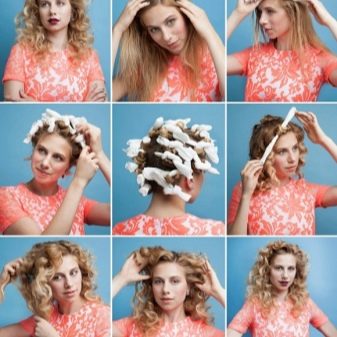
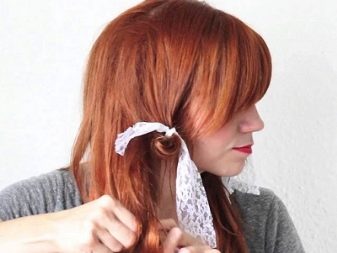
Choosing fabric for papillotes, it is important to ensure that it does not slip, which is typical for synthetics. As a rule, knots made of such material are quickly untied, and therefore wearing curlers will be short-lived. The same applies to nylon or satin ribbons. Use of a thick cotton rag is considered optimal. Ribbons are cut from the selected fabric, the length of which ranges from 20 to 35 centimeters, and the width is limited to 1-2 centimeters.
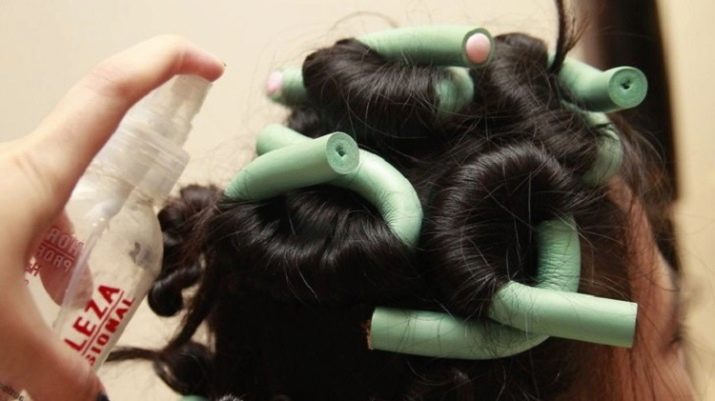
The tip of the curl fits into the middle of the tape, after which it is twisted until it stops. It will be possible to fix the "roll" simply by tying a knot. You can pre-spray your hair with a little water or treat with a styling gel. It is important to remember that the more curlers are used, the more luxuriant the finished hairstyle turns out to be.
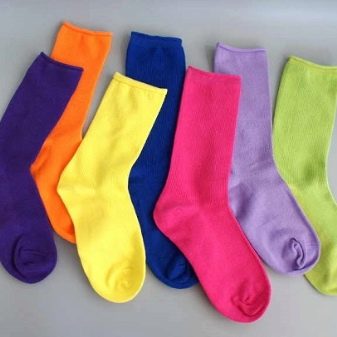
From socks
Surprisingly, you can even make curlers from ordinary socks. The head must be pre-washed, slightly dried and combed in the direction from the ends of the strands... Future curls are treated with a styling product, after which they begin to wind up on socks of sufficient length.
The "curl" can be continued up to the top of the head and up to the middle of the hair. Curls are fixed by tying the ends of the socks. For a full perm, it should take 6 hours or more. If desired, the finished hairstyle can be slightly fixed with varnish.
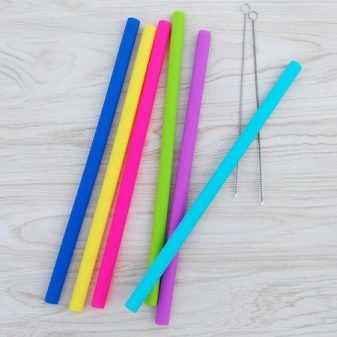
From flexible tubes
The presence of bending tubes, for example, from juice in boxes, also allows you to twist curls in a short time. The amount of material used is determined depending on the length of the strands and the density of the hair... In addition, you will need to fix the structure with something, for example, small crabs or invisible ones.
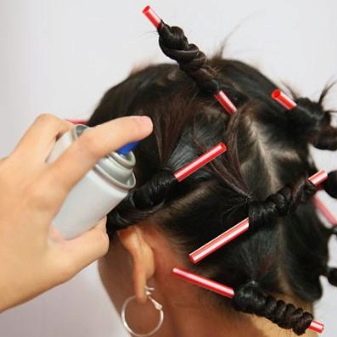
The strands are slightly moistened and then curled around the tubes.You can try to tie the latter with a knot, but fixing with hairpins is also suitable. For convenience, everything is removed under the scarf and left for at least 6 hours.
During winding, the tubes should be placed below the strand, and the movement should be carried out from the roots to the ends of the hair, slightly pulling it.
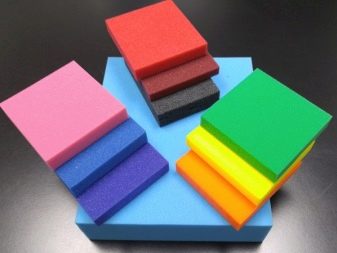
From foam rubber
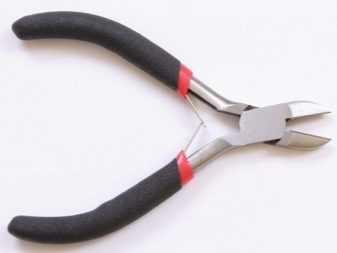
To create foam curlers, in addition to the main sealant, you will need thin wire, scissors or nippers. The material is cut into strips, the length of which is 30 centimeters and the width does not exceed 4 centimeters. The pieces of wire should be 25 centimeters long. Foam rubber is pierced with a metal rod so that one and a half meter pieces remain on each side. The washed hair is only slightly dried, after which it is rolled up from the back of the head. For convenience, you should first make a horizontal parting.
Each strand is combed with a fine-toothed comb, and then fixed on the papillote so that the loops go from the face. Each curl is secured with the peeking ends of the wire. After a couple of hours, you should dry your hair a little, and the curlers can already be removed.
When forming curlers, it should be remembered that for large curls, thick blanks with a thickness of up to 4 centimeters will be required, and for small curls, thin two-centimeter strips will be enough. From 10 to 12 blanks will go for long curls.
With the help of foam rubber, it will be possible to carry out a spiral curling. Again, you will need a high-quality and clean seal, as well as elastic bands for fixing. It is necessary to cut strips, the length of which ranges from 18 to 20 centimeters, and the width is chosen depending on the size of the required curls. If you need to form small curls, then the width should be from 2 to 4 centimeters, and for large curls, a thickness of 5-7 centimeters will be enough.
Each strip is cut lengthwise, not reaching the edge of about 2-3 centimeters. When using these blanks, the strands are wound not from the ends, but practically from the roots, and each starts in a cut. The finished structure is fixed with rubber bands.
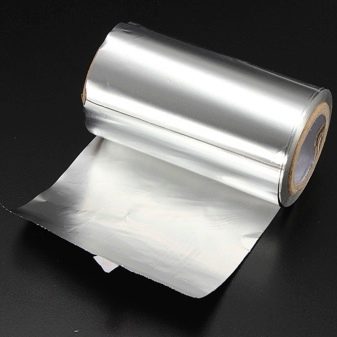
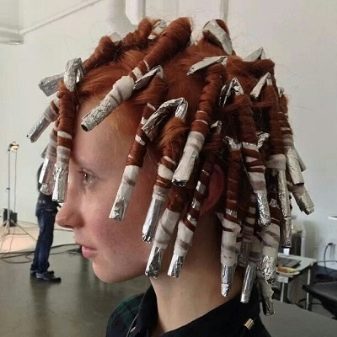
Foil
Foil curlers will also require the use of cotton wool or similar material to add volume. Rectangles are formed from the main material, the sides of which are 18 and 8 centimeters. The cotton wool is twisted with a flagella, placed inside the foil and neatly fixed. Each curl should be positioned in the center of the workpiece, leaving a three-centimeter tip.
First, the tip is carefully twisted, then the foil with a curl, after which everything is fixed with the usual squeezing. You can also just wind the strand around your finger and secure with a ring made of elastic material. The workpieces must be kept on the head for about 3 hours.
Helpful hints
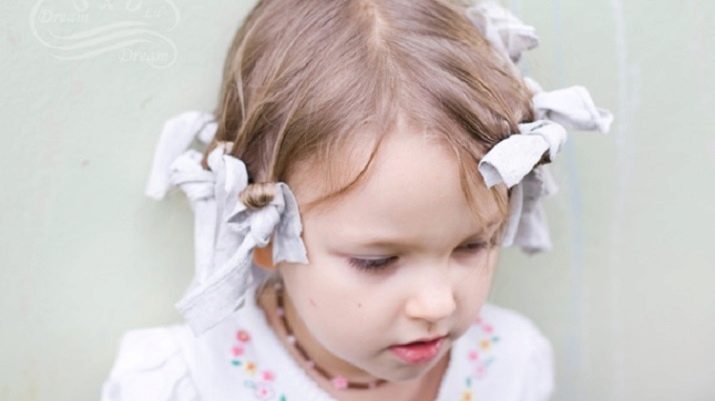
It must be said that curlers made from improvised means at home are used not only to form large "adult" curls, but also small children's curls. For a child, it is better to use soft fabric curlers that will not cause discomfort and will not interfere with sleep, and to form curls before bedtime. As a rule, for children's long hair, about 30-40 papillotes are required.
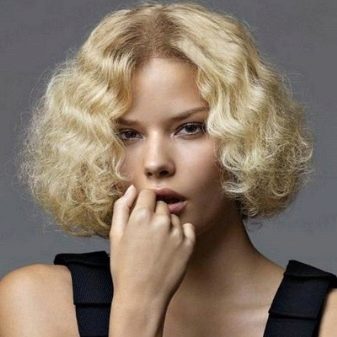
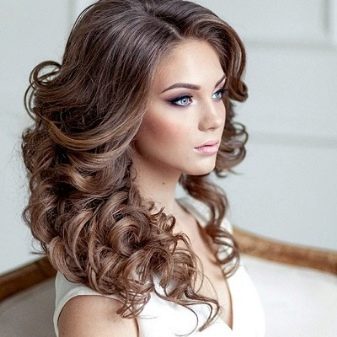
When shaping curls for an adult woman, it should be remembered that small curls are not suitable for everyone, so it is better to give preference to large diameter curlers... Usually, for an adult head of hair, 10-15 large papillotes are required.
For vertical curling, as already mentioned, foam blanks are suitable. You don't need to have long hair to use curlers - for example, fabric curlers are also suitable for cutting a bob. Nevertheless for any length of hair, it is important to pay special attention to curling the strands near the face, which "set the tone" for the entire hairstyle.
To prevent the hair from getting tangled, it is necessary to remove the curlers from the lower curls at the back of the head and ears towards the face. All fixing agents are applied before curling each individual curl.
For information on how to make curlers at home, see the next video.


