Description and installation of cross-country ski mounts

The description of the bindings for cross-country skis allows you to choose high-quality elements in order to quickly and comfortably cover any, even the longest, distances without fear of injury during training. The reliability of the system is the key to the necessary fixation, maneuverability and durability of the skis.

Peculiarities
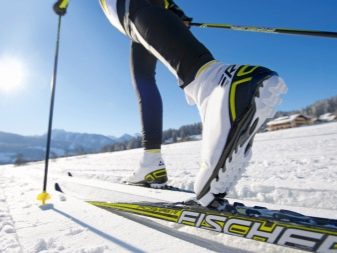
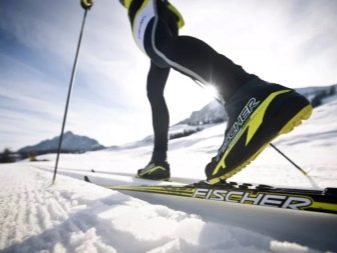
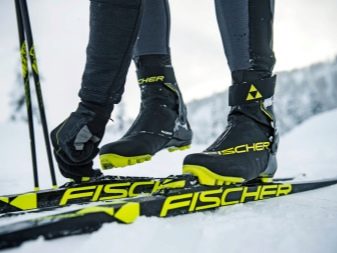
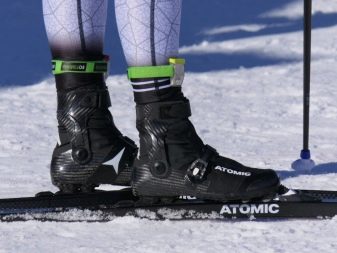
Cross-country ski bindings are an important part of the entire equipment system. They affect comfortable handling, set the exact direction, protect against injury and allow you to move easily and comfortably, enjoying skiing in winter.
To install all elements you can contact specialized centers, or do all the actions yourself... The installation process does not take much time and effort, all the necessary elements are included.
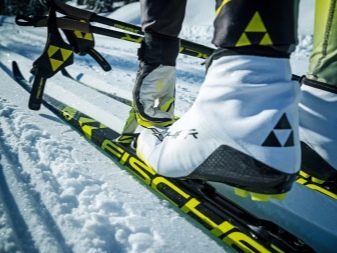
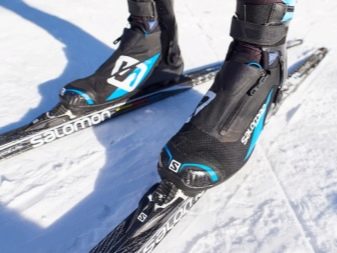
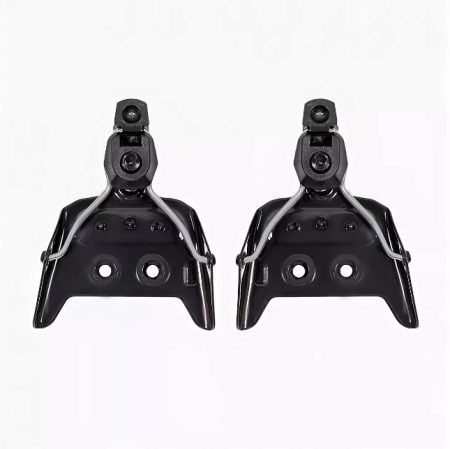
What are the components of the mechanism:
-
heel;
-
front head;
-
pins for fixing ski boots;
-
staples and bends that allow easy sliding while preventing slipping.
All components need to be installed correctly. This takes into account the weight, boot size and other parameters of a particular person. The whole structure is assembled individually.
Type overview
Before choosing the necessary components, you should carefully study what types of structures manufacturers offer.
The types of ski bindings are divided into 2 types according to their main characteristics and structure.
-
Mechanical... Reliable construction, used for many years. Easy to remove and install. Carabiners for mechanical fasteners are expensive. Straps for this type of mount are made of high quality rubber or leather.Of the shortcomings, one can single out the fact that to remove them, you have to bend over and touch the dirt that is on the surface of the mounts.
-
Automatic... Although they are inferior to mechanical fasteners in reliability and durability, their advantages include budget cost and ease of installation. The mechanism is prone to icing.
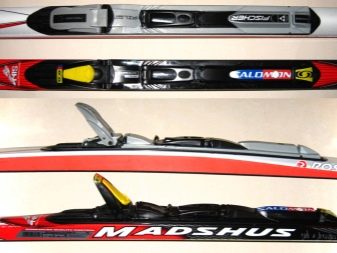
There are several types of ski bindings systems.
-
NN (Nordic Norm). This is one of the very first systems that were used back in Soviet times. The main advantage is the low center of gravity of the thrust bearing. The Nordic 75 system is made of plastic. Such bindings are short-lived, but differ in budgetary cost, ideal for children's skis. They can often be seen at rental locations. Cost from 250 rubles.
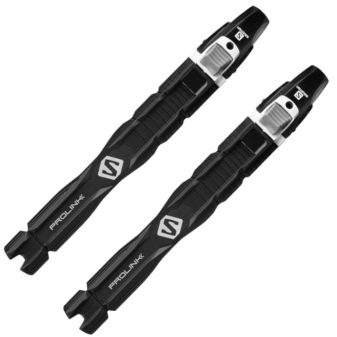
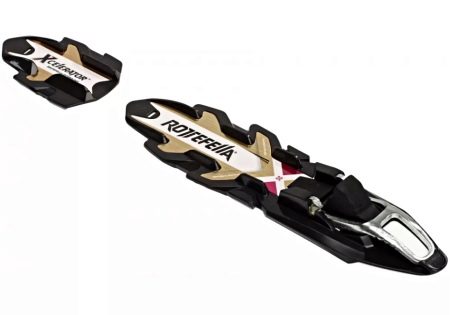
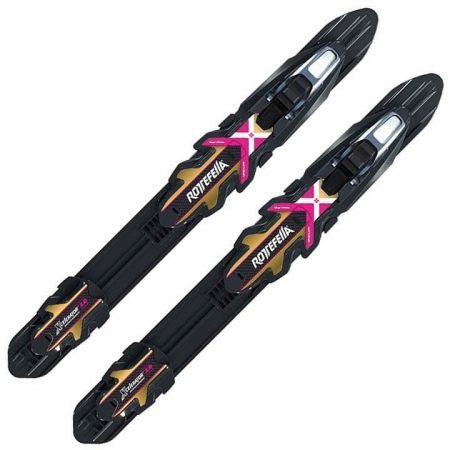
- NNN (New Nordic Norm)... A modern version of the type of Soviet binding, modified and suitable for all variations of ski boots. The country of origin is Norway, the most popular brand is Rottefella. Each mount is equipped with two narrow rails and a cross-thread. Suitable for "classics" and skating. The optimal combination of price and quality.
- NIS... A novelty among the fastening system, which was invented according to the NNN type in 2005. The system was modified and equipped with a board, which, in turn, made it possible to quickly remove and install the mount, moving in the longitudinal plane. Suitable for boots designed for the NNN system. Cost from 1000 rubles.
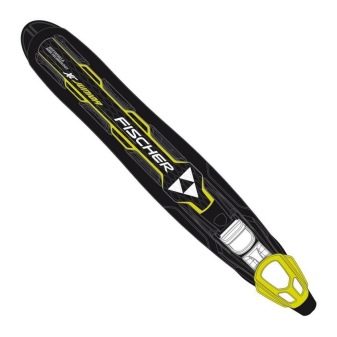
- SNS (Salomon Nordic System). Country of origin - France. Famous brand - Salomon. The professional range of ski boot bindings. It is equipped with wide guides located along the front of which rubber stops are made to better secure the boot and eliminate the effect of slipping. The SNS line contains 2 categories - Pilot (designed for skating) and Profil (designed for skating, classic and mixed modes). Such mounts need to be adjusted in size. Cost from 4000 rubles.

The NNN and SNS systems are the most popular and are used not only for professional racing, but also for beginners in skiing. The systems are equipped with spring or rubber flexors, which allows you to securely fasten the boot.
Selection Tips
In order to find high-quality and reliable bindings for cross-country skis, it is recommended that you read the advice of experienced specialists. The selection is carried out based on a number of characteristics.
-
The choice of the fastening mechanism. For beginners on the trail, it is best to opt for an automatic last. This is due to the fact that any distance is covered in a leisurely mode, and automatic pads are easy to remove and install. There is no risk of injury. For professional athletes, it is recommended to opt for a mechanical mount. It will provide comfort when moving, ease of use, reduce the likelihood of injury, and significantly help increase speed performance.
-
Company manufacturer... The most popular among both amateurs and professionals are NNN fasteners. It is recommended to purchase bindings together with boots, which, in turn, are considered universal and suitable for any type of bindings.
-
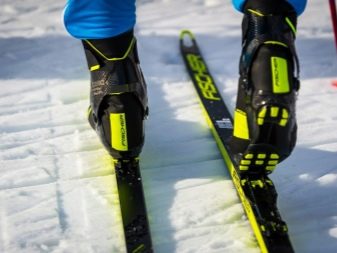
Fastener color... On the gutter there are special marks in the form of rubber stops of a certain color. They should be given special attention. So, white means a hard riding style, green - medium hardness bindings, black - standard, red - are designed for soft riding style.
In many ways, the choice of bindings system depends on cost, manufacturer, quality, physical abilities of the user and riding style. The modern market is overflowing with all sorts of options, all that remains is to make the right choice.
How to install and adjust correctly?
In addition to choosing a specific fastening system, there is also another equally important point - the ability to properly fasten, the ability to make adjustments. The purchased mount can be supplied independently without contacting specialized centers. There are instructions for the mount, if you follow it, the installation process will be easy and carefree.
Do-it-yourself installation of fasteners is carried out in stages.
-
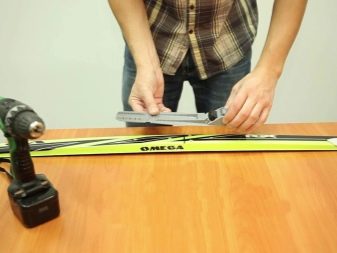
The center of gravity... To determine it, the ski should be placed on a thin and smooth surface, for example, a ruler. Moreover, it should be perpendicular and placed on the edge. Then it should be moved until the balance point is found. The ski should "freeze" exactly parallel to the floor, at this point you should make a mark with a marker.
-
Hole marking. To do this, place the mount so that the front is at the level of the mark. Install the boot into the mount so that its base is centered. For this, markup is initially performed.
-
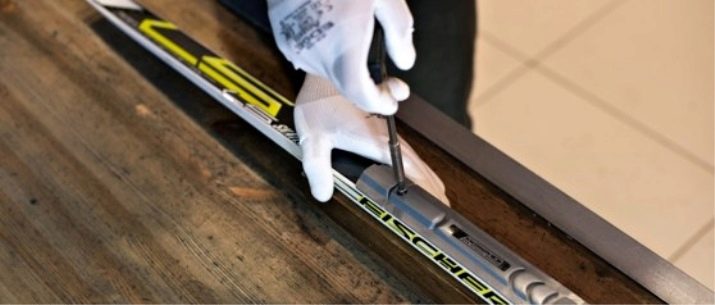
Drilling holes... Then the boot is removed, and in its place, in the area of the retainer, holes are made for screws, preferably with a drill.
-
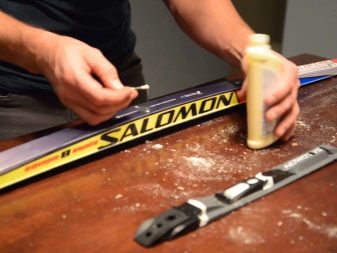
Glue treatment... The holes are blown over, glue is poured into them (it is included in the kit). This manipulation will prevent cracking after drilling, protect against moisture and securely fix the screws.
-
Assembly... The screws included in the kit are cut into the holes. The insert should be done tightly, but pinching is not recommended.
-
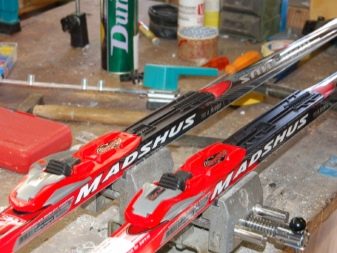
Drying... You can use skis after 10-12 hours.
To avoid errors during installation, you should use simple rules:
-
do not drill through the holes for the screws; a drill with a stop will help to avoid this;
-
do not use ordinary glue for plastic skis (only the one that comes with the kit), for wooden skis, it is allowed to pour a small amount of glue to fix the screws.
The installation of ski bindings does not require special knowledge, a lot of free time and a huge set of tools. It should not be forgotten that absolutely all indicators depend on the correct installation and adjustment - convenience, long service life and reliability of the structure as a whole.
The installation process is described in more detail in the following video.


