How to install ski bindings correctly?
Ski bindings are one of the most important parts of a skier's equipment, on which the life and safety of an athlete will depend.... Therefore, they must be correctly positioned and fixed. This is what will be discussed in this article.

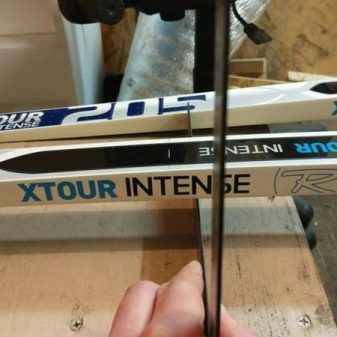
How to determine the center of gravity?
The first step is to locate the point of application of the total gravity. It's not hard. A wooden or plastic ruler is placed on a horizontal surface with an edge. Then you need to put the ski on it with the sliding side up, the ruler must be moved along the surface until the balance is established between the heel and toe of the ski.
When it is possible to achieve this position, then the site is marked with a pencil or marker. In this case, it is important that the line coincides with the place through which the axial fixation of the bracket passes.
You can use another method for determining the center of gravity:
- lift the ski by placing your finger approximately in its center;
- it is necessary to find a point on it so that the ski is parallel to the floor or table and does not tilt.
The center of gravity must be determined in order to ensure the comfort of movement and so that there is no "overweight" during movement.
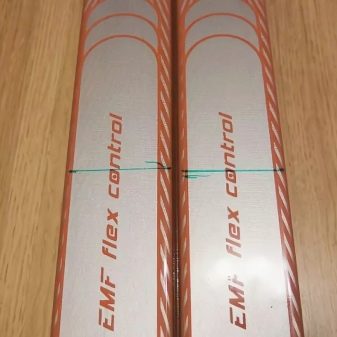
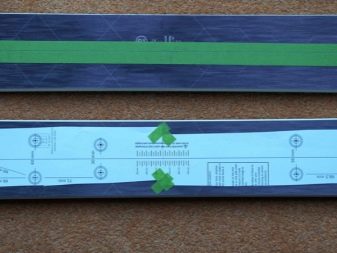
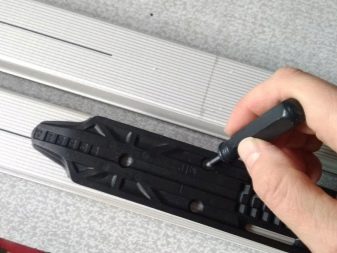
Markup
After the question of finding the center of gravity has been resolved, the stage of marking the holes takes place. For this, it will be good to use a jig, with its help it is easy to determine the location of the holes for fasteners. If such a device is not available, then take a template made of cardboard. Most often it comes with the inventory. And if it was not found, then you can search for the template in electronic form and print it yourself. It's okay if there are no paper patterns, because the markings can be done using an ordinary awl... For this, fasteners are applied in such a way that the exact location of the center of mass converges with the strip where the boots are fixed. In the SNS system, the pivot point is exactly under the mount. The holes are located in front of the center of gravity axis (in NNN). Marks are made with a bright marker through the holes of the fasteners.
Installation instructions
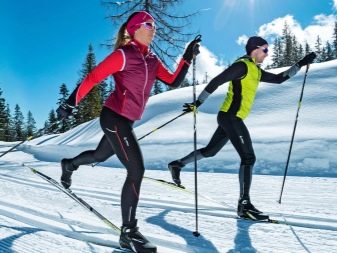
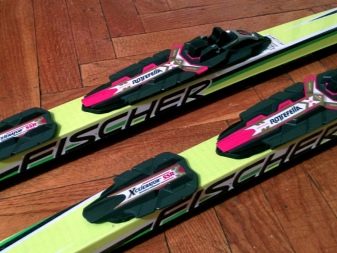
The parameters of cross-country ski bindings depend on the characteristics of the track on which they will be used. When driving on trails located on plains, simple construction and low weight are important conditions. To understand which bindings are suitable for skating, you should familiarize yourself with their main types. On bindings that are designed for skating skis, the elastic (flexor) is stiffer, and for classic skis, it is softer. In the first case, if the flexor is soft, then the skis will dangle. In the classic move, the flexor needs a soft one so as not to interfere with the push off.
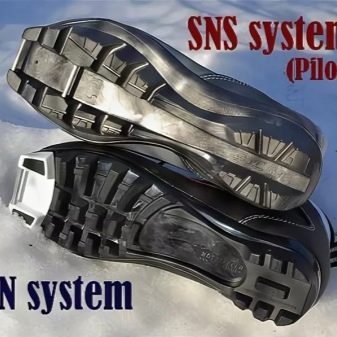
There are 3 types of mounts:
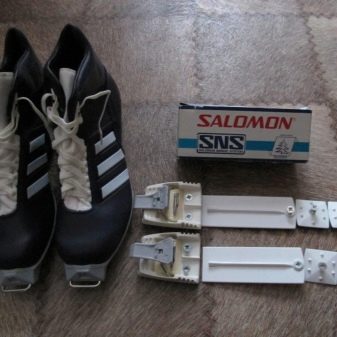
- systemic: NN Rotofella (and modern version of NIS (Nordic Integrated System)), SNS Salomon;
- tough - Nordic Norm 75 mm, also called welt, this is a standard fastening system;
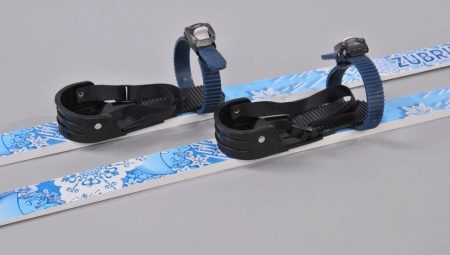
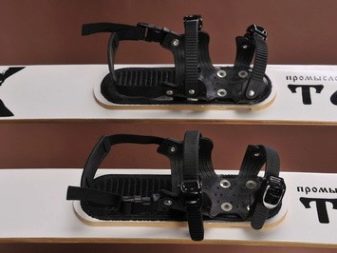
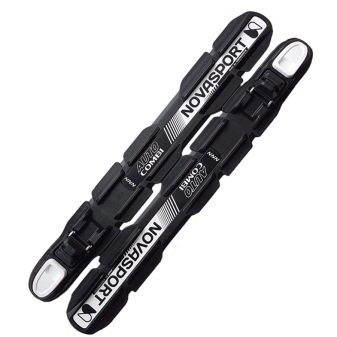
- semi-rigid - straps, buckles, elastic bands.
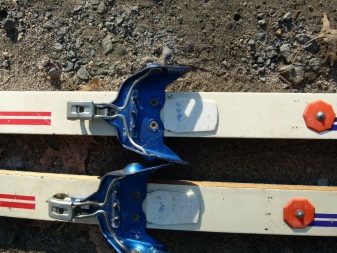
Rigid and semi-rigid mountings are becoming less common. Rigid - these are fasteners consisting of 3 spikes, which are located on a metal plate. It has a springy bow. The advantages of rigid mounts include: low price, ideal for teaching children. Among the shortcomings, it is possible to note difficulties in putting on, the left and right fasteners are poorly separated, a lot of low-quality fakes are sold, and shoes that fit this type of fasteners are now produced less and less.
Among the positive features of SNS mounts are the following: reliability, quality of models, you can choose any model not only for an adult, but also for a teenager or child. Among the shortcomings, it should be noted the need to use special shoes - boots with a rod that goes into the fixing groove intended for this. Plus, these shoes are hard to find on sale. These bindings are suitable for use on a track that has been processed with a special piste preparation machine. This tracked vehicle is called a snowcat.
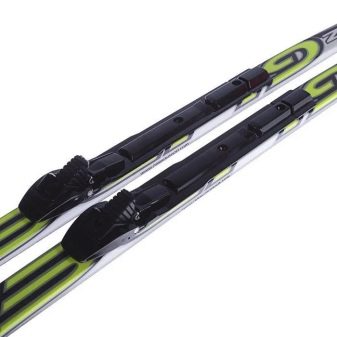
The most popular models appreciated by skiers are NNN... On these, fixation takes place using screws or is put on a set of "slide". Among the advantages of such models, the following are noted: easy choice of suitable shoes, the ability to choose mounts (automatic or manual), low price with good quality, you can choose models for teenagers. Unfortunately, when water gets inside, the mount freezes at sub-zero temperatures.
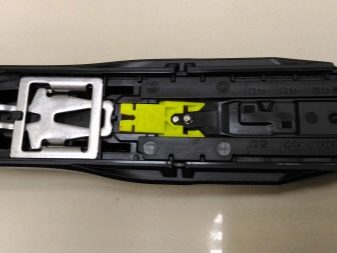
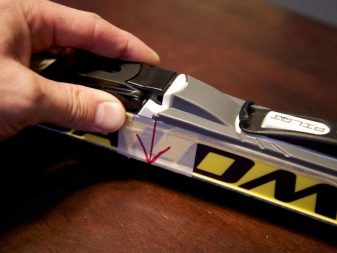
These 2 fastening systems have a groove in order to fix the metal rod in the front part. It must be secured with the center of gravity axis. In the center under this groove there is another one - longitudinal. So it needs to be made to coincide with the line on the upper side of the ski.
The use of the new NIS system made it much easier to place the fasteners - this method is the simplest. Skis with a special platform are required. To install the mount, you need to wind it along the guides until you hear a characteristic click. The foot pad is also installed along the guides. Fix it with the key supplied with the product.
This system makes it possible find the best anchorage position for all skis, depending on the prevailing weather and the condition of the ski track... You can adjust it as needed, you can even directly during training. The same key is used for this. With its help, it will be possible to displace the mount by the required number of "clicks" and fix it in a comfortable position.
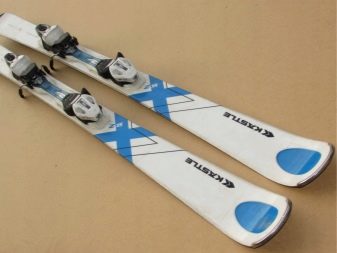
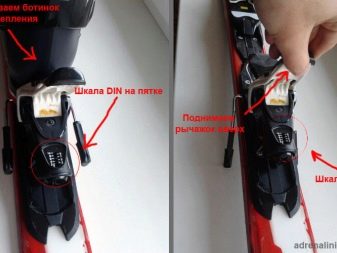
Alpine skis consist of two separate parts and a plate under the toe, thanks to which the friction of the boots is noticeably reduced. The front part is responsible for detaching from the side, and the rear part is responsible for detaching when moving vertically. All models have the same front and rear coverage. Therefore, boots of any brand will do.
Depending on the athlete's body weight, the attachment marker is adjusted... You also need to focus on the skier's experience and how he drives. If a person slides aggressively while skiing, then the ski must be stationary at the attachment point.
The athlete's weight is divided by 10 to determine the defensive response time. If the skier is a beginner, then 1-2 more units must be subtracted from the resulting quotient.... The greatest level of adjustment of ski bindings is approximately 3-4 units from the originally obtained by dividing the number.
Some manufacturers indicate the maximum effort in kilograms. Then you need to subtract 20-30 kg.
In order to find out the correct ski attachment unit, you need to study the diagram presented on the manufacturer's website. This information also happens in the instructions that come with the fastening device. If you have no experience in choosing and buying sports equipment for skiing, you should not make the purchase alone, but rather ask the advice of a sales assistant.
There are many factors to consider when installing bindings. If you are attaching the device to skating skis, they must be moved forward or backward in relation to the balance line. If they are shifted to the front, then directional stability increases, and if to the rear, sliding can be improved.
Some modern models have an axis that is offset back from the toe of the boot. This must be taken into account when installing fasteners.
If there is no self-confidence and there is a fear of ruining expensive bindings or skis, then it is better to seek help from specialists. Sporting goods stores and workshops can help deal with this problem.
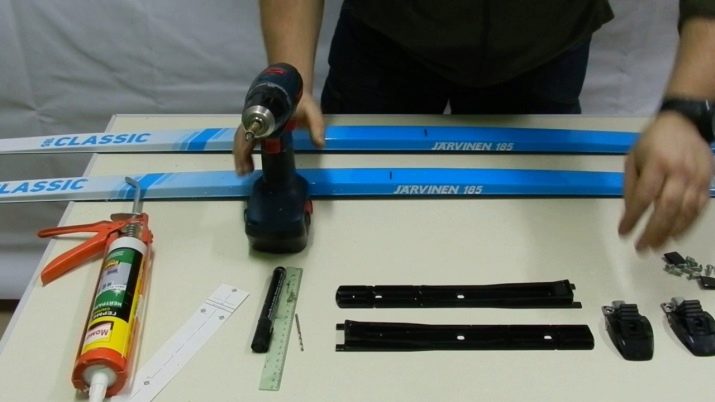
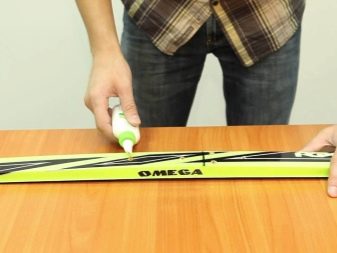
If you decide to fix it yourself, then you need to prepare:
- adhesive composition;
- awl;
- alcohol-based felt-tip pen;
- screwdriver;
- ruler;
- drill.
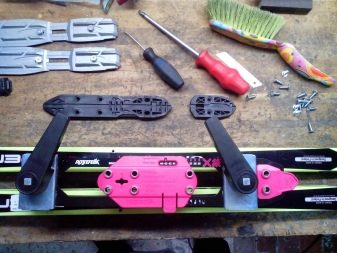
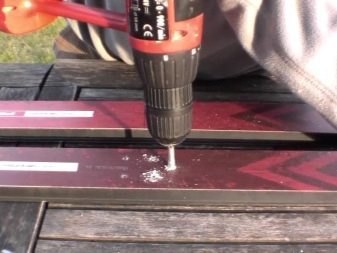
Drilling holes
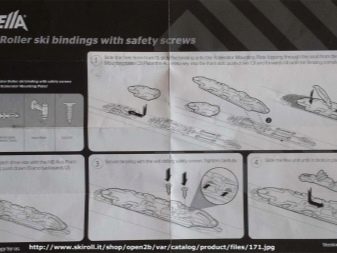
Before you start drilling the grooves, you need to correlate the gap between the holes on the fastener with the distance between the marks that were applied in the previous step (marking). Most often, the instructions indicate in detail how far in depth the screws must be screwed. How long the drill is needed is also written there. The drill for SNS is used 3.6 mm, for NNN - 3.4 mm. As for the depth of the holes, in both cases it is 10 mm. If you use the bar when drilling, you can achieve perfect verticality when making holes.
If a rotary cutting tool corresponding to the length is not found, then you can take any other. Its upper part can be wrapped with electrical tape, leaving the protruding desired length. After that, a low speed is set at which the drill works, and holes are drilled in the places where the markings are located. When the holes are ready, all dust must be removed from them. After that, they need to be filled with wood glue. This will help secure the screws in place and provide waterproofing and strength. Do not use epoxy as the solvent it contains can damage the material of the ski.
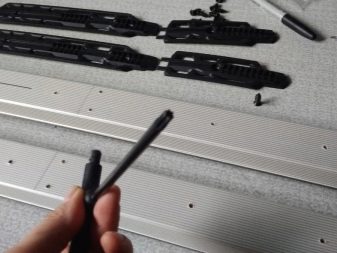
Assembly
After that, you need to attach the device to the holes obtained. Tighten the screws evenly with a screwdriver or Phillips screwdriver. Care must be taken to ensure that there is no displacement along the longitudinal axis. Before screwing on for NN 75, make sure the alignment is correct.
You can go out for a drive after the glue dries well. You do not need to use the product for at least a day.
See the video below on how to attach the mount to your cross-country skis.


