Photo zones for a beauty salon
Since social networks began to be actively used to promote all sorts of goods and services, many firms and individual entrepreneurs began to create pages there and upload photos of their especially successful works to attract new customers. Beauty salons did not stand aside - photos of haircuts and coloring, manicure and pedicure, make-up and grooming procedures appeared in their accounts. However, for a successful presentation, it is not enough just to do the work, photograph and post it. A competent presentation is very important: light, angle and, of course, the background, the creation of which we will talk about today.
Features of the organization
Interior solutions a la "expensive and rich" with many decorative details, voluminous flowers on the walls, mirrors in pretentious gilded frames are leaving the past. In their place are loft, minimalism, hi-tech with their muted colors and clear geometric shapes. And this is not bad for the beauty industry as a whole, since it is on a clean, uncluttered background that object photography is best done.
Let's find out a little more about the design of a photo zone in a beauty salon.
-
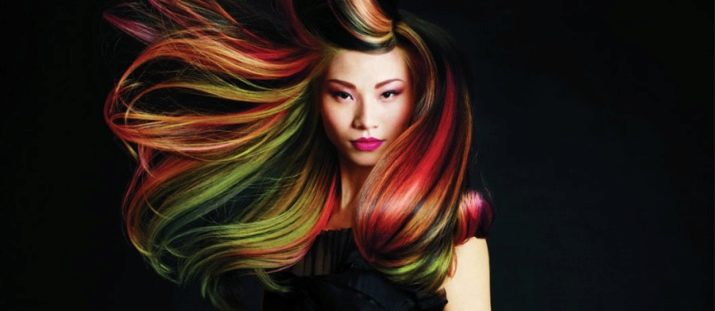
First of all, remember: the background should never merge with the foreground, let alone interrupt it. That is why achromats are considered ideal colors: white, gray and black. With their help, you can demonstrate beautiful coloring, perfect manicure, and chic wedding makeup or hairstyle. However, when photographing, you need to consider what exactly and what color you are showing. Hair dyed platinum blonde will look dull on a light gray background, and dark brown will merge with black.
Therefore, it is recommended to either arrange several photo zones for different occasions, or choose neutral white as a universal option.
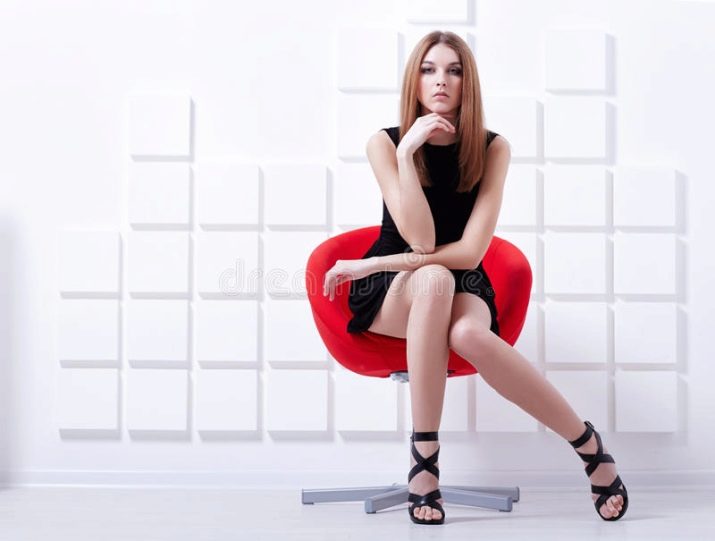
- There should be no unnecessary elements in the frame... You can put the client on a chair specially installed in the photo zone, but you should not put additional decorations there, such as a mirror or a plant in a tub.
-
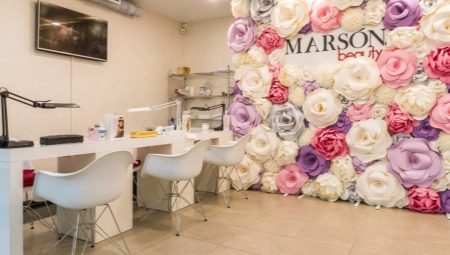
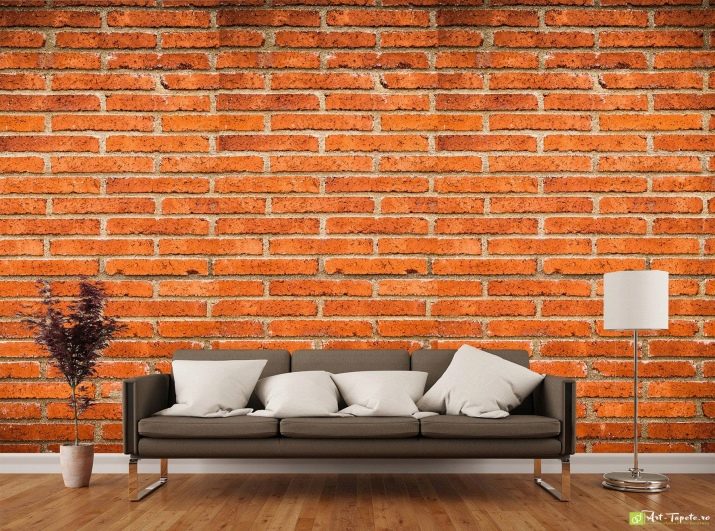
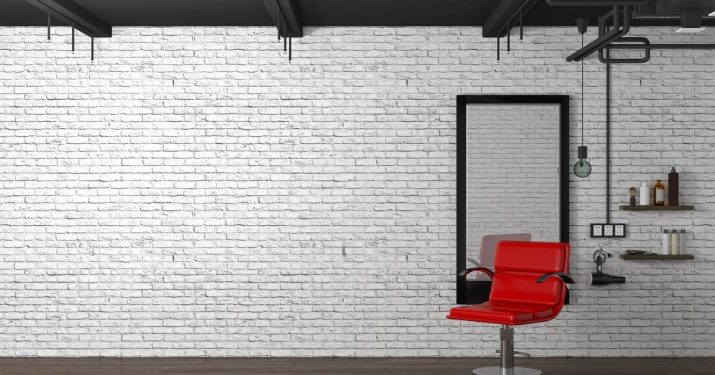
The texture of the photo background does not have to be uniform: for example, stylization for a brick or concrete wall, decorative plaster is welcome.
-
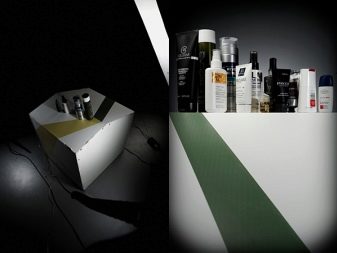
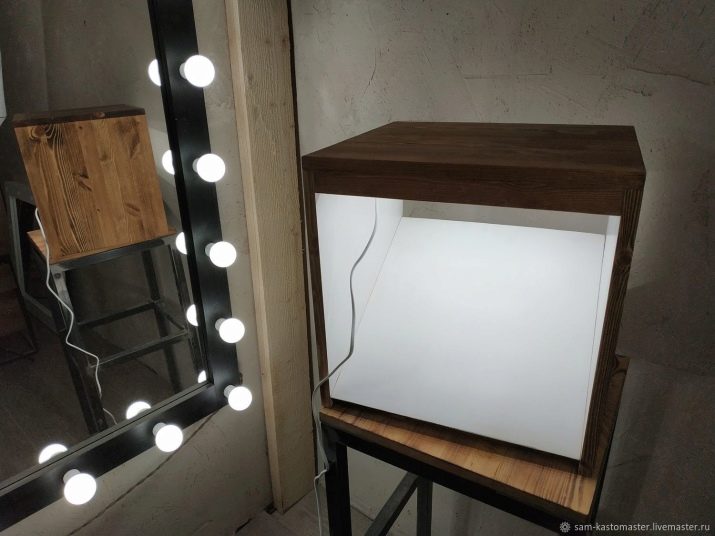
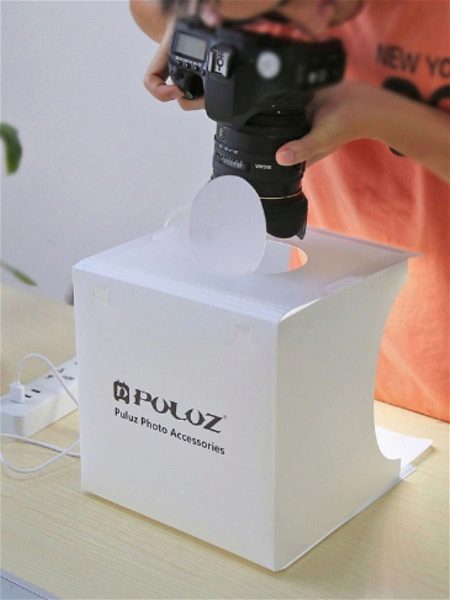
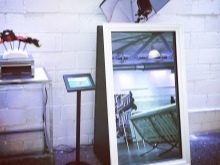
Manicurists can use a special photo box to photograph their work. - a cube with white walls, equipped with fluorescent lamps. The displayed item should be in the photo in its entirety, unless you are photographing individual details (for example, strands of hair after keratin straightening).
-
The recommended size of a photo zone for a beauty salon is 2x2 meters, no less. A mandatory requirement is that the style of the photo zone matches the overall design of the room.
-
As a rule, craftsmen take pictures of their work with a phone, and this is not so bad if a smartphone camera is close to professional technology in its characteristics. And if not? Ugly "handicraft" photographs can scare off potential customers, and present the fruits of your labors in a bad light. What to do? Alternatively, cooperate with a novice photographer on a mutual PR basis. And you can also take a couple of lessons on subject photography from a professional and buy a "DSLR" for your salon.
Interesting options
We suggest you consider 2 options for mounting a photo zone in a beauty salon.
-
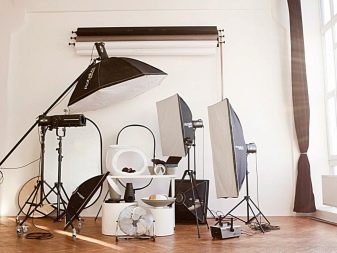
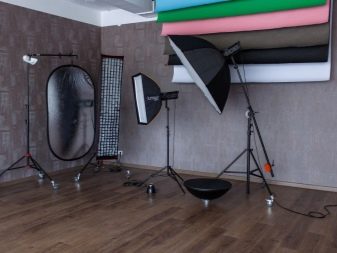
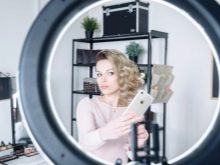
Setting up a mini photo studio... You can purchase a set - a vinyl banner with a photo background, a camera, a seating position and a light source - and install everything in the free zone of the salon. This will free you from the need to think over a composition every time to demonstrate this or that work and will make your page on Instagram or another social network stylish. It is best to choose a circular lamp with neutral white or cold light (warm yellow distorts colors).
-
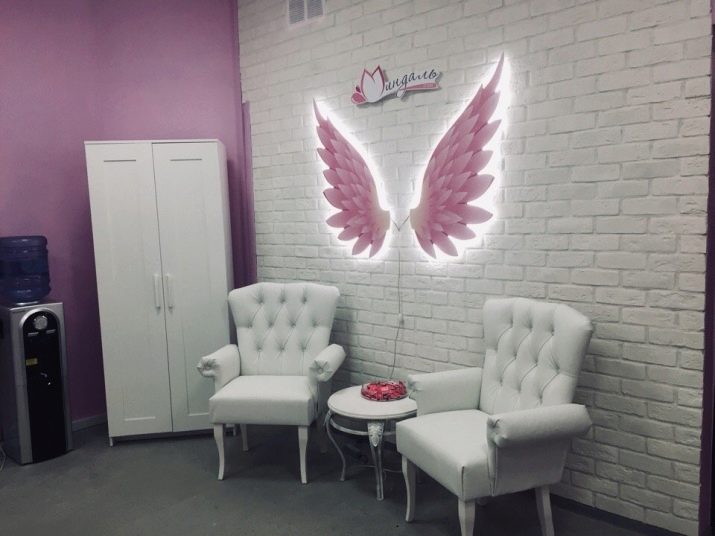
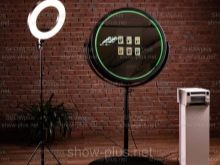
Selfie area equipment... But here there should already be a slightly different approach. It is clear that a client who took a photo in your studio will post it on his page, another question is whether he will mark your location and nickname on it. Therefore, to equip the selfie zone, you can choose a banner with the company's logo printed on it, its individual hashtag, by which it will be possible to find other works of the masters.
In the selfie zone, in addition to an armchair, 2-3 decorations are allowed, but they must be in line with the theme.
How to do it yourself?
Of course, it is desirable that the photo zone in your salon be designed by the designer who has developed the interior concept. Only then will it be possible to speak with confidence about stylistic unity. But if for some reason this did not happen, the simplest photo zone (mini-photo studio) can be equipped with your own hands.
-
To begin with, you have to order a large-format banner print from a printing services company (the size, as we remember, is 2x2 m). You can take a photo of a brick or concrete wall as a basis.
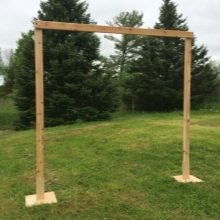
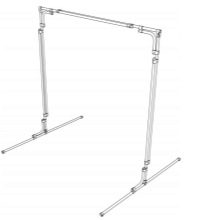
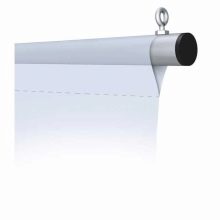
- You will need a frame to attach the banner. It can be made of wood (ideal for loft style) or joker-type metal pipes (hi-tech, minimalism). It will be possible to attach the banner to the upper bar like a curtain in the showroom fitting room, securing the canvas with a construction stapler. Lower the bottom edge of the banner to the floor and carefully lay it there.
-
A chair, armchair or miniature sofa is installed next to this structure.... Exposed light (ring lamp).
You can use cloth instead of vinyl.
It is best to choose materials with a large weave of fibers such as burlap, matting, flax. With the help of drapery on the fabric in the photo zone, it will turn out to create an interesting effect of a three-dimensional background. The fabric is attached to the bar with Velcro.
Beautiful examples
We train watching:
-
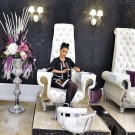
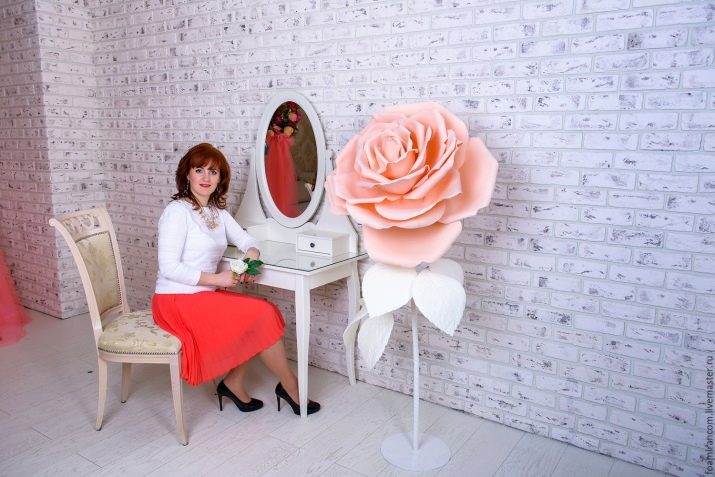
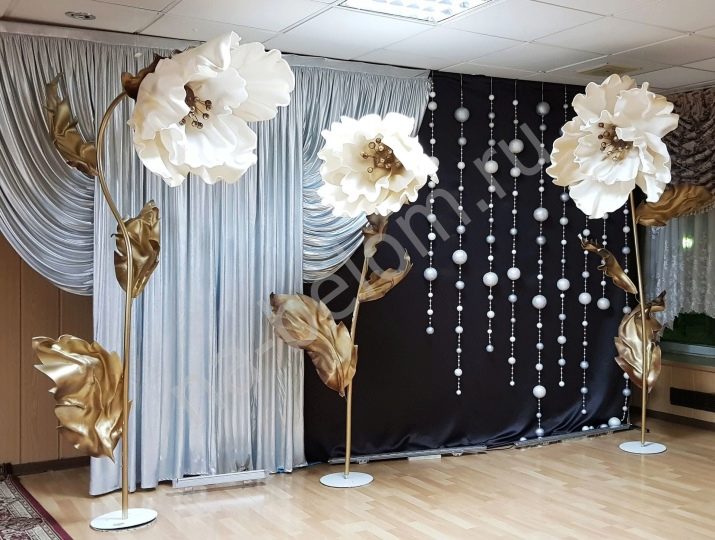
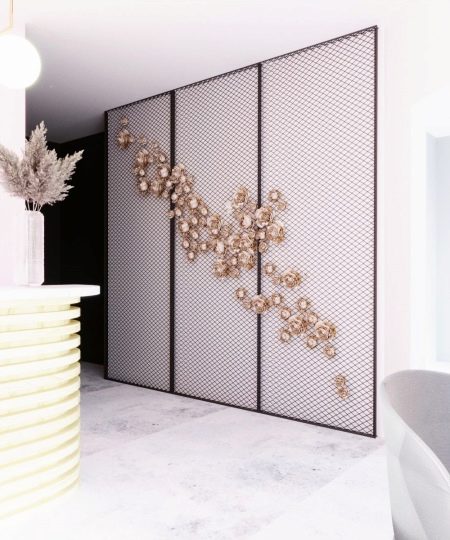
selfie-zone in brown and gold tones with the use of artificial roses;
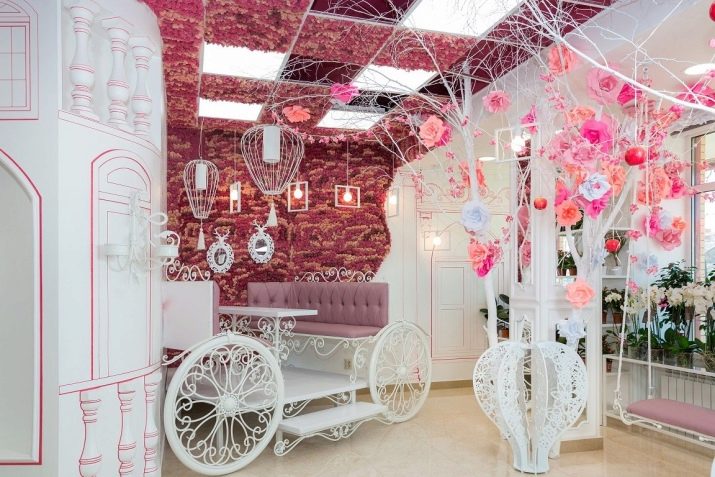
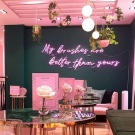
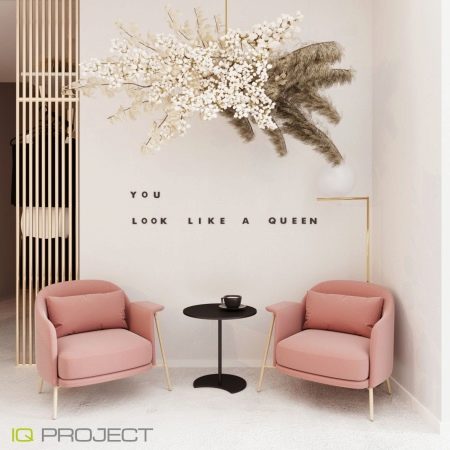
- a photo zone and a place for a selfie, designed as a corner for tea drinking;
-
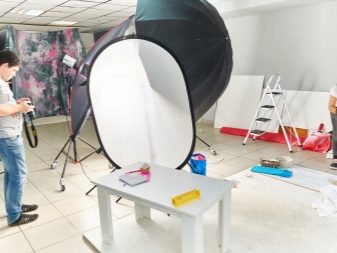
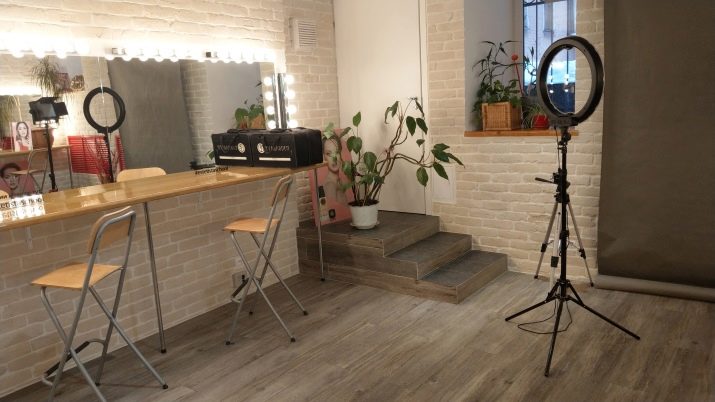
a great example of a mini photo studio next to the make-up area.
The next video will tell you how to decorate a photo zone with crumpled foil.


