All about iris folding for kids
Pedagogy today pleases parents with numerous methods of development and education. Modern children get acquainted with modeling and applique techniques practically from the cradle, and it is becoming more and more difficult to surprise them with conventional techniques.
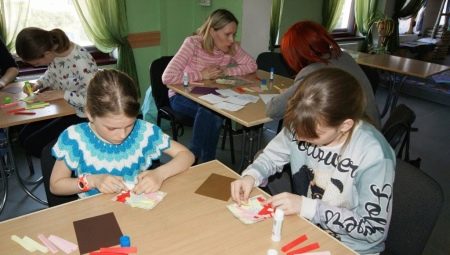
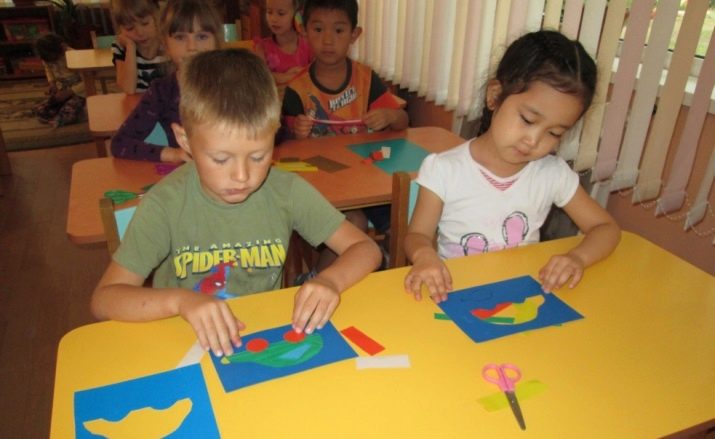
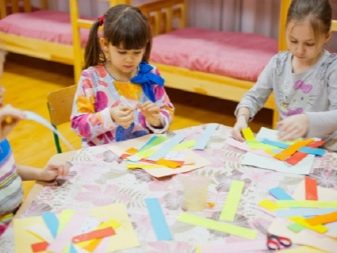
Iris folding for children is an interesting and exciting activity that promotes the development of fine motor skills.
What is this technique?
Iris folding for kids originated in Holland. The technique is considered one of the varieties of applique that appeared more than 70 years ago.

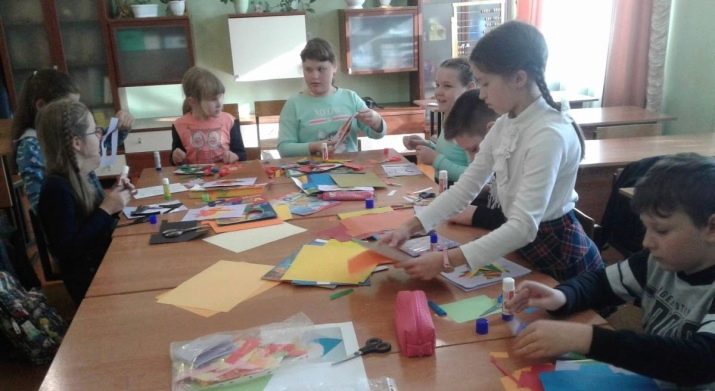
Despite such a long period of existence, in Russia, iris folding appeared not so long ago, however, it was able to interest not only parents of preschool children, but also kindergarten teachers... The technique is often used in the classroom for non-standard types of creativity, speaking out about its positive impact on children.
Advantages of iris folding for child development:
- consolidation of skills in handling scissors;
- development of accuracy;
- development of taste and ability to combine different colors in work;
- development of fine motor skills;
- fostering a sense of beauty and the development of fantasy;
- development of skills in working with various materials, including natural ones;
- consolidation of counting skills.
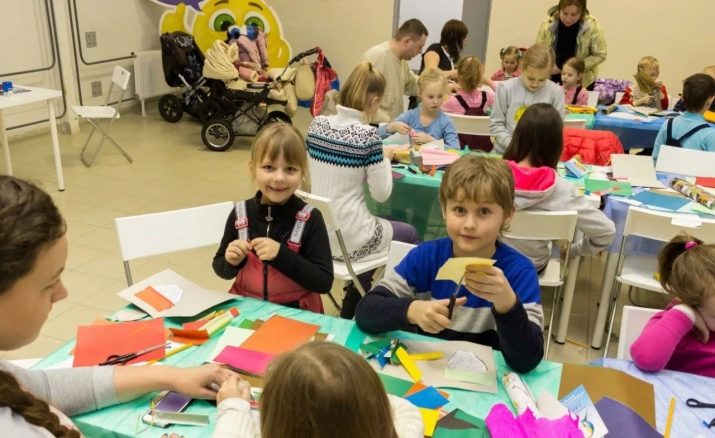
Using this application technique, children are happy to create pictures and postcards that delight with the richness of color and volume. Iris folding means “rainbow folding”. This concept is associated with two inherent characteristics of style. Firstly, the picture turns out to be rainbow and bright, and secondly, its appearance resembles the iris of the eye or the diaphragm of a camera.

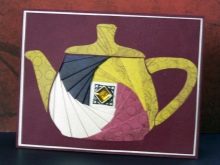
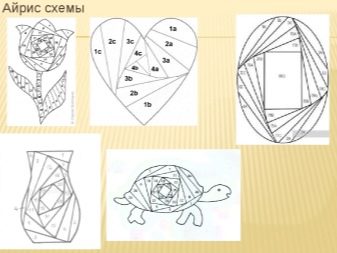
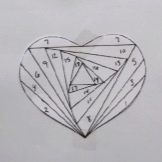
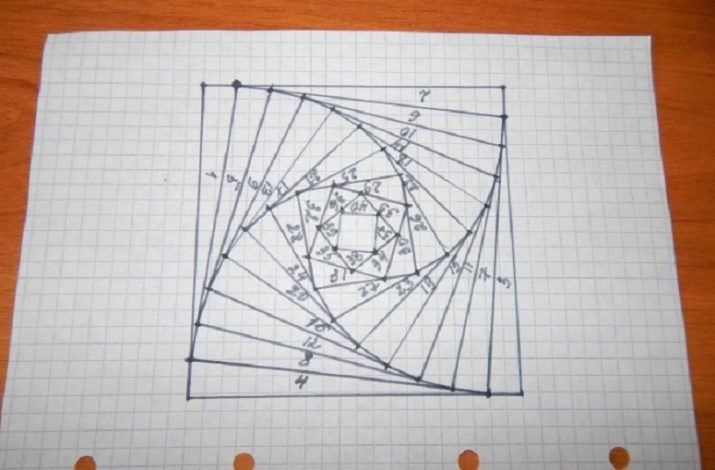
So, the main feature of the applique in this style is the presence of a scheme consisting of one square, into which smaller squares are in turn inscribed.
The sides of the figure are numbered. At the same time, the arrangement of geometric shapes creates corners, which are subsequently filled with colored paper, scrap paper, satin ribbons, fabric, foil, improvised or natural materials.
It should be noted that in addition to the square, triangles and polygons can be taken as the basis of the scheme. When working with preschool children, educators prefer simple shapes such as a square or triangle.
When filling the scheme with colored materials, a three-dimensional picture appears, which must be shaped. This shape denotes any template, for example, in the form of a heart, an animal's figure, a leaf, etc. The base template is cut out of thick cardboard using a clerical knife, and then attached to the diagram itself. Upon completion of the work, the wrong side is closed with another sheet of cardboard.
Iris folding does not require any special skills and can be carried out using ready-made schemessold in stationery stores and art salons or on the Internet. In addition, diagrams can be drawn with your own hand, armed with a piece of paper in a cage, a ruler and a pen.
Simple crafts
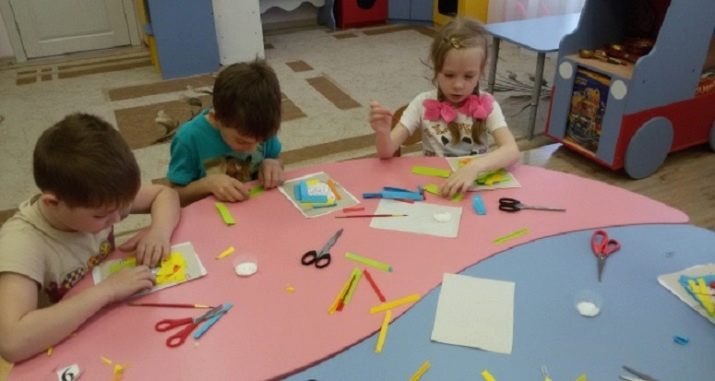
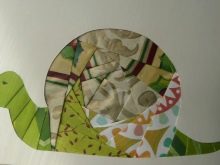
Preschoolers from 5 years old can cope with simple pictures using the rainbow folding technique, and sometimes even earlier, with the child's ability to cut colored paper into strips along the lines and the presence of perseverance. You can also work with children with natural material, for example, dried autumn leaves, however, there is a high risk of damaging the rainbow stripes.
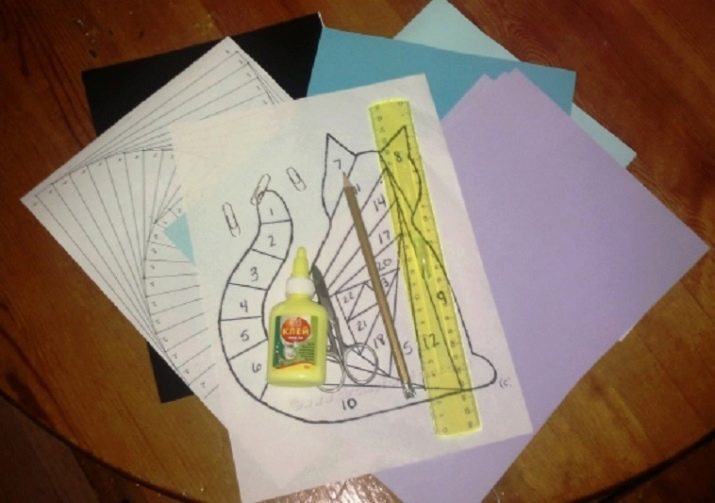
Before work, we prepare the necessary tools:
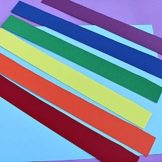
- colored paper;
- scissors;
- a sheet of cardboard;
- ready-made scheme;
- PVA glue;
- Double-sided tape;
- pencil.
A detailed master class will help in an accessible and simple way to explain the task to children and to perform step-by-step and error-free work in this technique. We should start with the preparation of the future parts of our creativity, which is performed with our own hands without the participation of preschoolers.
The algorithm of work of an adult is as follows.
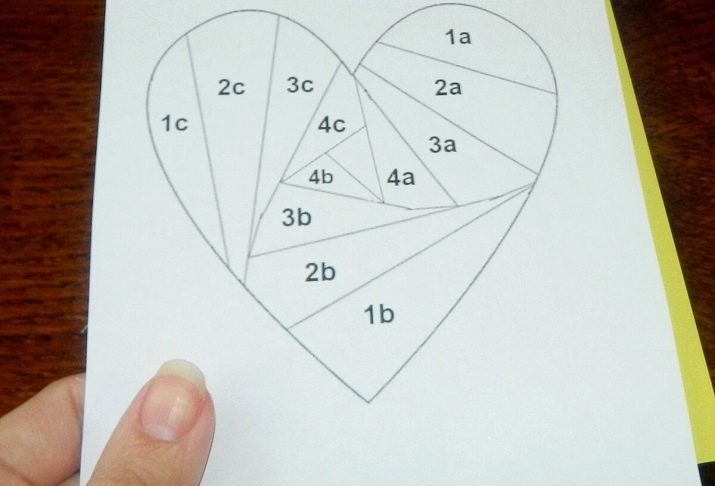
- We print out diagrams with iridescent folding squares in the shape of a heart.
- We cut out the scheme.
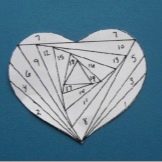
- Preparing templates. To do this, you need to take a sheet of thick cardboard and fold it in half. On one half, in the middle, put the cut-out heart pattern and circle it.
- Using a clerical knife or thin scissors, cut out the heart from cardboard. The figure itself will no longer be useful to us, unlike a cardboard stencil blank.
- Using paper clips, we install the diagram on the front side of the cardboard template so that the iris-folding rainbow squares appear in the hole for the heart.
- We draw sheets of colored paper into strips 3.5 cm wide.
If you didn't find a ready-made scheme, or you just want to get comfortable with this type of creativity from scratch, you can develop a scheme yourself.
This requires:
- take a piece of paper in a cage and draw a square, each side of which is 10 cm;
- clockwise number the sides of the square;
- from each side of the square we count 1.5 cm and draw an inscribed square, which lies at an angle to the main figure;
- number the sides;
- from the smaller square, we also count 1.5 cm on each side and draw another square, smaller in area;
- it is worth numbering the sides clockwise;
- we continue to draw the inscribed squares;
- the last, smaller shape is centered.
The circuit is ready and looks like a camera diaphragm. The geometric shapes in it seem to be folded in a spiral.
This is where the preparatory work of a parent or educator ends and an exciting children's creativity begins. The child's algorithm of actions will be as follows.
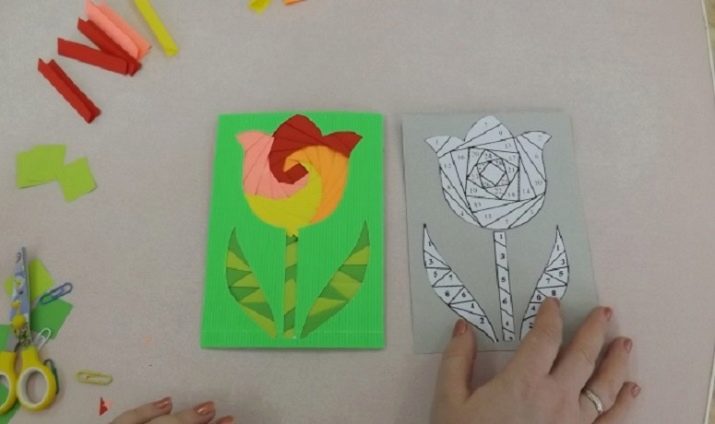
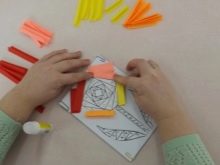
- The preschooler chooses those paper colors that he would like to combine in one work.In our case, we need three different colors.
- We cut the selected sheets of colored paper into strips, which were previously drawn by an adult.
- Fold the strips in half lengthwise.
- We start laying out on the diagram with the number "1".
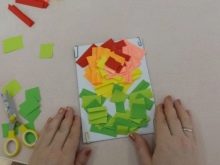
- We continue alternately overlaying the stripes. 3 strip fits 2, 2 on 1, etc.
- We fix each strip with tape or with glue on both sides on a cardboard template. If the strips are too long, their edges are cut off.
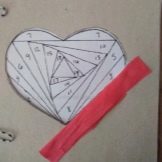
- We coat the other half of the cardboard with PVA glue, apply and close.
- Turn over and smooth the resulting picture.
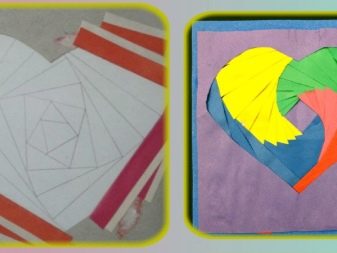
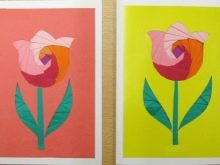
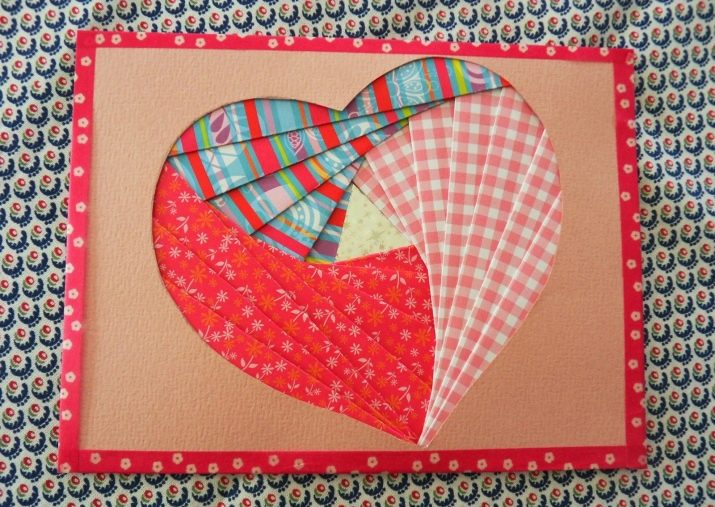
From the finished picture, you can make an independent craft or diversify the postcard with it by gluing it to the front side.
Note that the most simple for a child to perform are large enough paintings with a small number of colors (2-3) and a small number of inscribed geometric shapes.
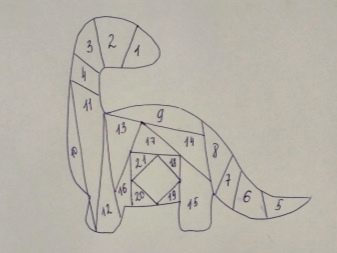
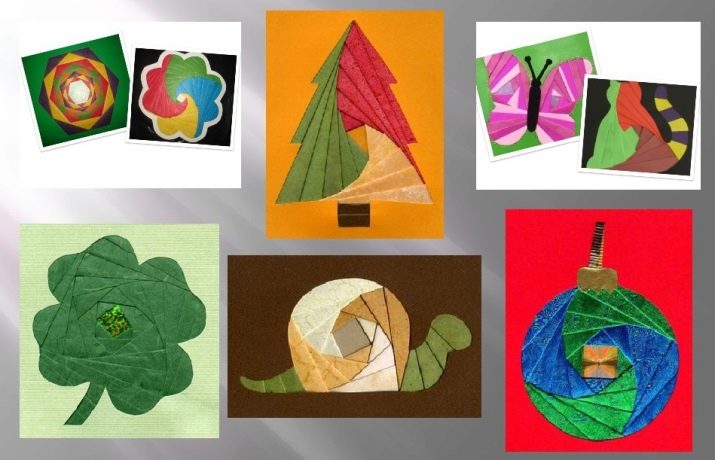
Such crafts include a tree with a diagram consisting of inscribed triangles, a maple leaf, images of fruits, Easter eggs and other figures that do not have subtle bends.
Examples of
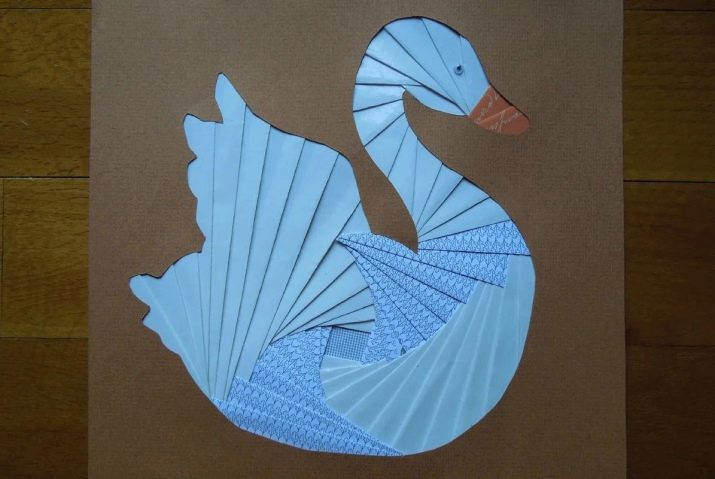
The delicate image of a swan is made of three types of paper, including packaging paper. An eye-bead is used as a finishing element.
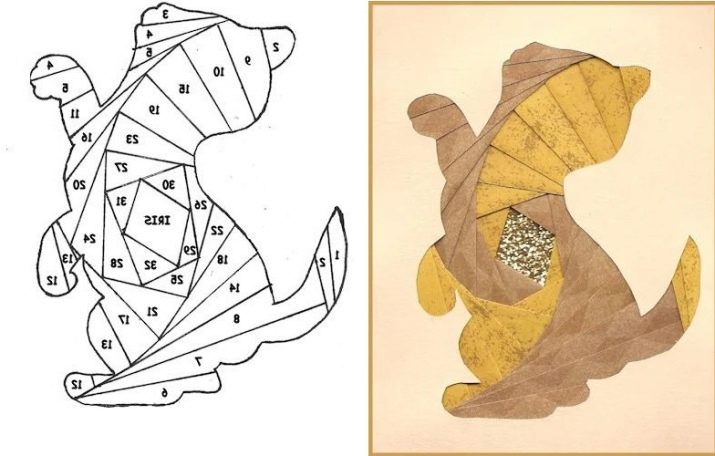
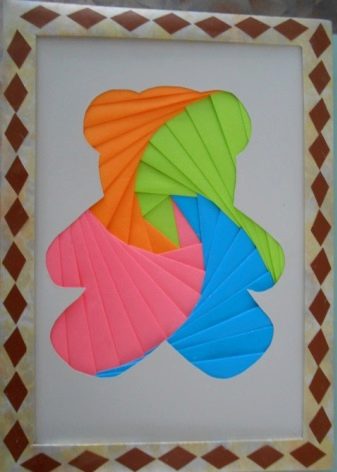
A bright bear cub made of pastel tones of thick colored paper includes four colors and is created using the scheme with inscribed triangles.
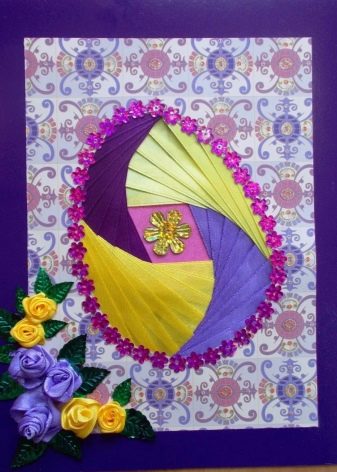
An iris folding rainbow Easter egg has become a bright element of the card. The inscribed rhombus pattern subtler the rainbow folding, while the ribbon flowers and centerpiece décor complement the exquisite postcard.
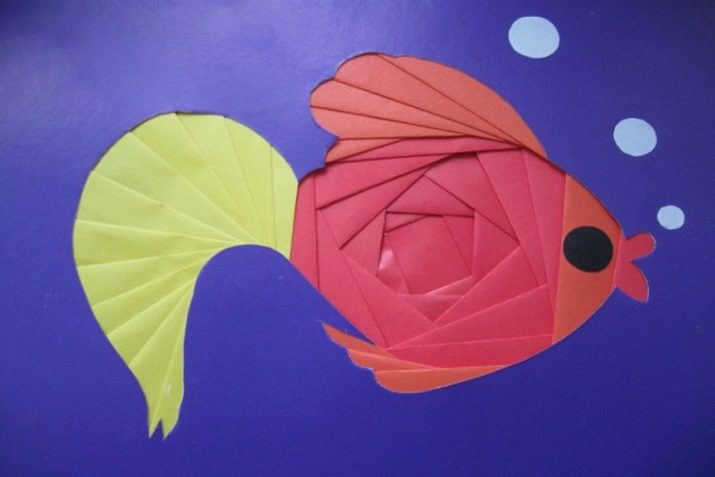
The rainbow fish fold is great for beginners. A small number of details will help the child not to make mistakes and do the work on his own.
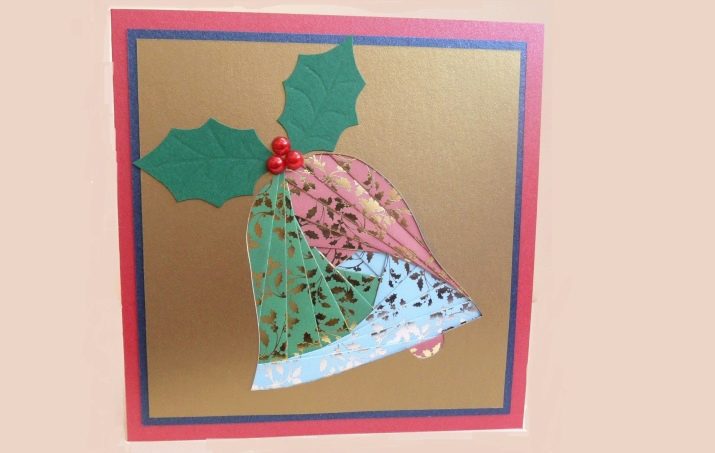
The bell-shaped Christmas card is made of glossy wrapping paper in various tones, but united by one pattern. Bright beads and velvet paper decor became a good addition.
You can also learn how to create crafts using the iris folding technique in the next video.


