Money tree made of beads: description and manufacturing features
The money tree is considered a symbol of wealth and prosperity. Hand-made, absorbing the energy of the creator, it becomes a real talisman. This is a wonderful talisman that you can give your family and friends.
Peculiarities
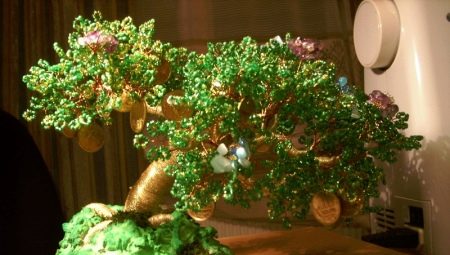
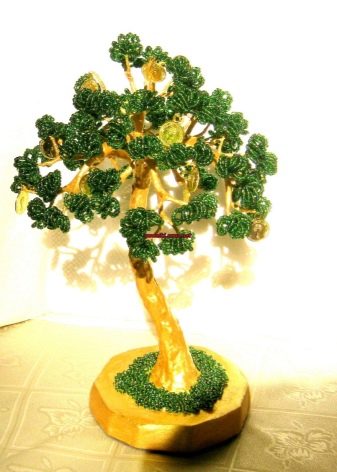
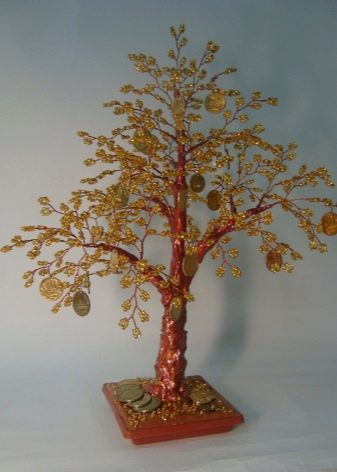
In accordance with the postulates of feng shui, a money tree located in a strictly defined area of an apartment can really attract wealth and improve the financial situation of its owner. In such a product, there must certainly be 10 branches and 10 coins. Why is the beaded money tree so popular? Materials for making it are available. Beads can be purchased at any craft store. The color scheme can be so varied that it will turn out to create a very beautiful little thing with minimal costs. Plus, your souvenir will always be unique and exclusive.
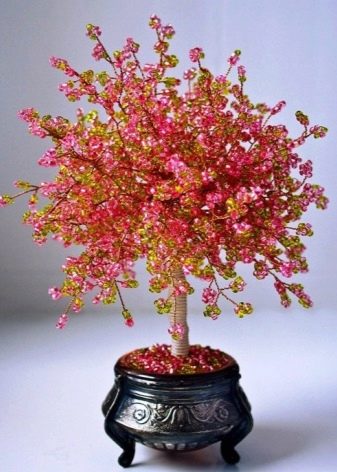
Before starting work, you need to decide on the future type of talisman, its size, color. There are a lot of options: a large tree or a mini version, solid color or using beads of several colors. Beading requires no fuss. It has a calming effect on us.
Gradually creating branch by branch, you get real pleasure from the work done.
Necessary materials
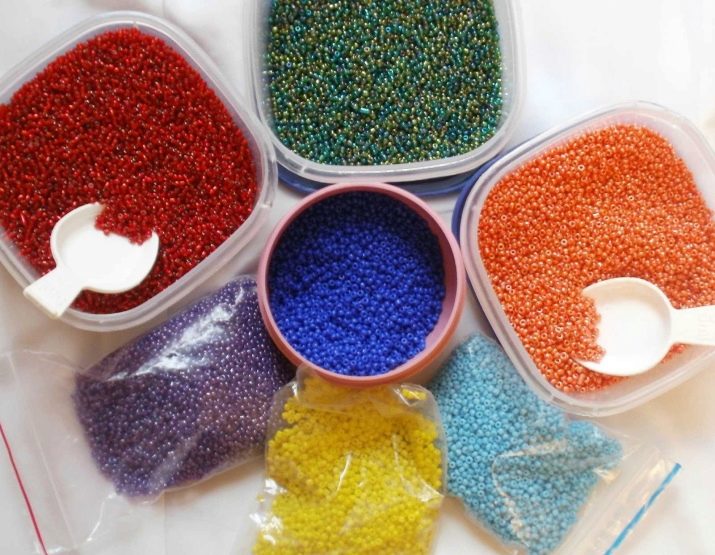
First, collect everything you need for weaving: material and inventory. You can make a list (so you don't forget anything) and go with it to a specialty store. You will need the following.
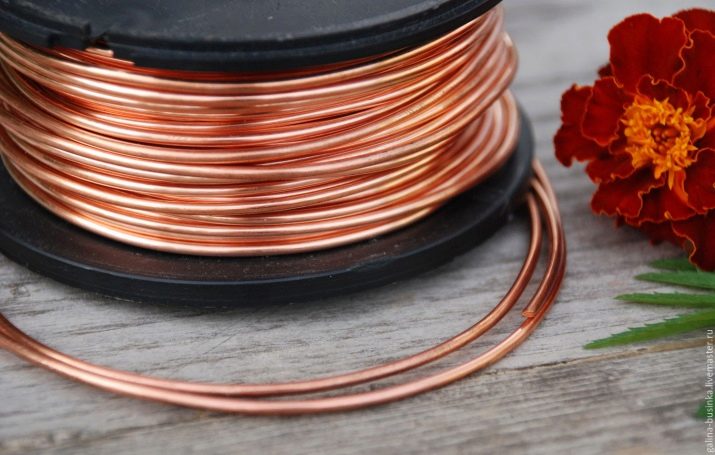
- Wire... It will be the base of the branches and leaves. Pay attention to its quality and diameter. Too thick can be used when making a center barrel.For the twigs, a thin one is needed so that you can string beads on it and give smooth bends and shapes.
- Beads... It all depends on taste and preferences: do you want the tree to be made in one color, with smooth gradient transitions or with contrasting splashes? Equally interesting is the option in gold, which looks luxurious. The size of the material depends on the manufacturer: if it is China, then the 12th size is needed, if the Czech Republic is the 10th. You can combine in one souvenir not only beads, but also small bugles.
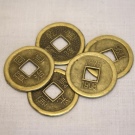
- Coins... They must have holes so that they can be fixed on the branches, so special Chinese coins, which are already provided with holes, are ideal. It is not forbidden to use ordinary coins that we use in everyday life (denomination 10 or 50 kopecks), but drilling holes in them is quite problematic. If you decide on this option, then it will be most convenient to attach this mandatory component of the souvenir using a glue gun.
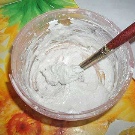
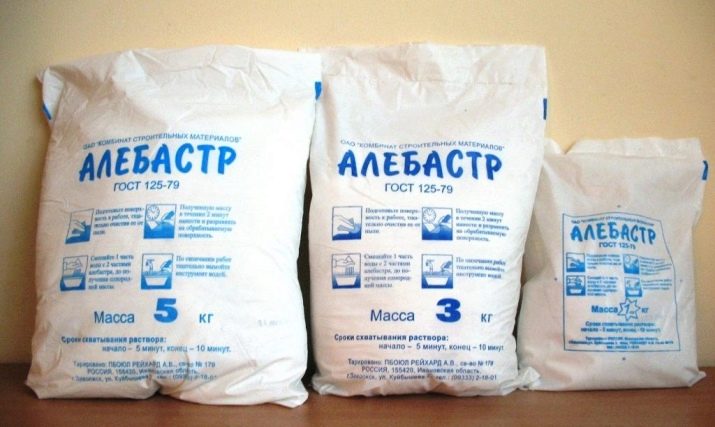
- Gypsum and PVA glue. Mixed in equal proportions, they become a powerful and solid base for a future tree.
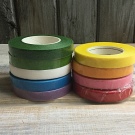
- Floral tape, to hold the bundles of branches together. It can be replaced with an ordinary wide adhesive plaster.
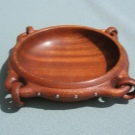
- Pipette... Pay attention to its height. The money tree will look spectacular in a container with low edges. Deep pots are not suitable for this.
- Brush, acrylic paint.
- Varnish to make the barrel shine.

How to make a tree?
Step-by-step instructions will help you make a very beautiful decor element with your own hands. The master class is simple, you can cope with the work without any problems. If this is your first time into beading, try making a small tree first. So you will understand all the features and subtleties of the process.
Leaves
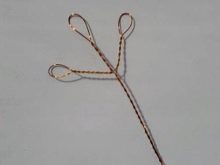
Cut the gold-colored wire into 30 cm long pieces. You can use copper wire. We retreat from the edge 2-4 cm, string the beads so that it covers 2 cm of the wire. Next, we twist the resulting section into a loop, turning it 3-4 turns. Having stepped back 1.5 cm, we form a new loop. To weave faster, immediately put on the wire enough beads for one branch.
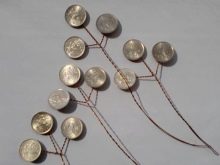
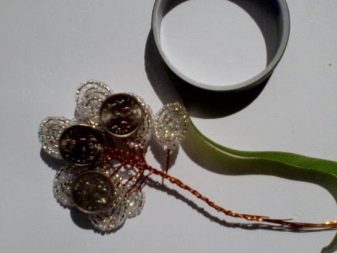
After you have 5 leaves, attach the coin. To do this, string 7-10 beads, thread the wire through the hole of the coin and again the same number of beads so that it is in the middle. We make a loop. Now again you need to make 5 loops, as in the initial stage of work. As a result, one branch consists of 11 elements, in the middle there is a leaf with a coin. To get a full-fledged branch, fold the blank in half (a sheet with a coin in the middle), twist the loops together. The position of the leaves is opposite each other. The result is an element resembling eights located on one wire.
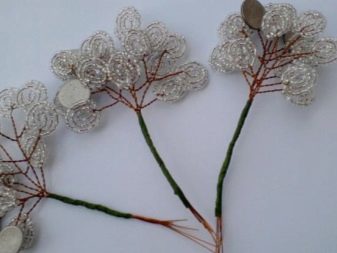
By the same principle, you need to make two more blanks, but already without coins, and tie them into one bundle using a floral tape of adhesive plaster. Do not try to make a perfectly smooth surface, it is better if folds form in some places. This will create an imitation of a tree crown, which you will then paint over with brown or gold acrylic paint. If you want the base of the branches-bundles to be more powerful, use additional wire of a larger diameter, to which you attach the blanks.
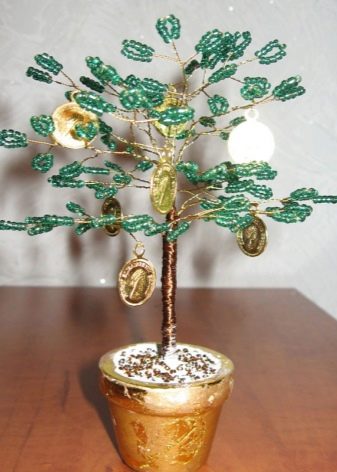
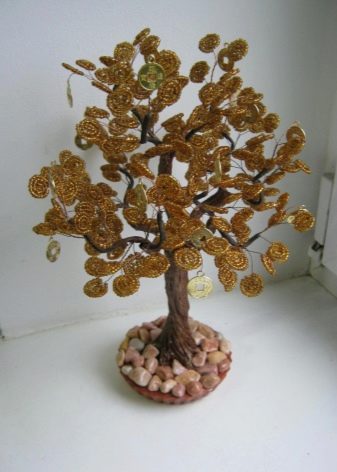
In total, you should get 24 branches with coins, 48 without it. Bundles, consisting of three shoots, again combine into more powerful elements to get 8 large parts. The leaves made by this method look light and airy.
If you need a denser texture, slightly change the weaving pattern.
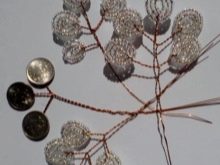
Cast on 8 beads and make a loop, fixing it with one turn. Now we need to create the second row. The number of them depends on how dense you want the sheet to be. We carry out this way 2 or 3 rows, each of which we fasten with one turn. The last row ends by twisting the wire into a twig.Pay attention to the size of these leaves. The souvenir will look harmonious if the sizes of the coins and leaves are almost the same. In this version, the coins are simply attached to the wire with a glue gun.

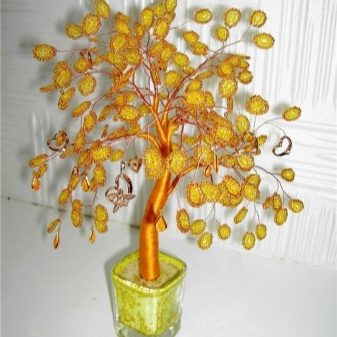
Do not forget about the color combination: golden beads emphasize the shine of yellow coins, white beads - silver ones.
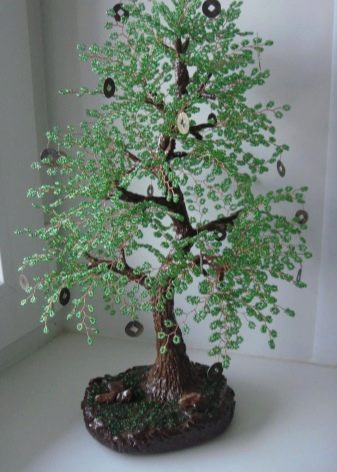
Green branches will look more impressive if you use green and yellowish beads. The more branches you make, the thicker and richer your money tree will be.
Trunk
Once you've made the branches, let's start assembling the tree and creating the trunk. The scheme is simple. We cut off a piece of thick wire 30 cm long, we attach the finished elements at different heights to it with adhesive plaster. Avoid symmetry, create folds to make the finished product look more realistic. Bend the bottom end of the wire to form a large loop.
We prepare a mixture of plaster of paris and PVA glue. We take the components in equal proportions: one tablespoon each. Please note that such a composition thickens very quickly, therefore we do not dilute it immediately in large volumes. We fix the tree in a bowl, the voids can be partially filled with toilet paper. Fill with the mixture. With its help, you can additionally give the crown texture, bring out a kind of roots in the lower part. In this form, we leave our souvenir to dry.
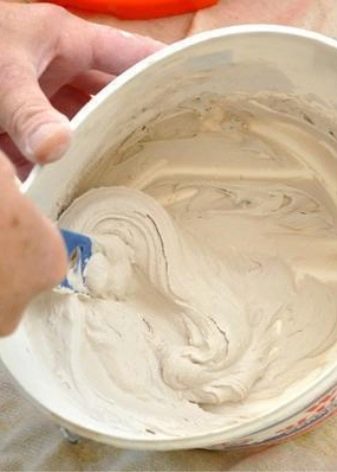
A mixture of glue and plaster can be replaced with alabaster. After it dries, take a regular gauze or bandage, dip it in a more liquid mortar and make a textured base. The gauze will stick easily and the folds will look natural and textured.
Design options
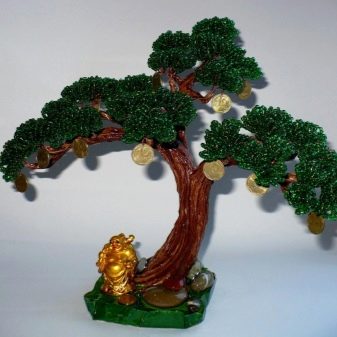
We start painting when the entire workpiece is completely dry. The trunk color can be either brown or gold. If you opted for brown gouache, then it will need to be varnished. It will fix the paint and give the "bark" a spectacular gloss. The final stage is additional decor and base design. Place coins in the roots, securing them in a chaotic manner with a glue gun.
Tie a red ribbon on the trunk or pot. She is also a symbol of wealth.
The base is not necessarily a bowl. You can do without it. Alternatively, use a cardboard tube on which cling film or foil is wound. Cut it into rings of different diameters: from 1 to 4 cm. Make 4 of these cardboard rings. From them you need to build steps. To make the joints look more aesthetically pleasing, remove part of the ring so that a little more than half of it remains. It is convenient to fasten such arcs together, forming a staircase. Leave the largest ring unchanged.
We fasten the blanks at their base with an adhesive plaster or a hot glue gun. We form the steps so that they go under a slight bend. We take a small cardboard box, put a tree and steps in it. Gently fill in with alabaster. After the mixture is dry, remove the box. It turns out a kind of platform with steps, which you can decorate at your discretion: paint, scatter coins or beads, lay artificial moss, shells, beads, etc. We straighten the branches so that the coins hang slightly, and are not in a strictly vertical position.
There are no special requirements for the color scheme of the money tree - you can even make it in blue-blue or pale pink tones.

See the master class in the following video:


