Felting: history of appearance, types and choice of materials
Homemade handicrafts are quite common today, and everyone can choose a variety to their liking. In the event that you want to master some kind of universal technique that allows you to create beautiful things from clothes to paintings, you should turn your attention to felting.
What it is?
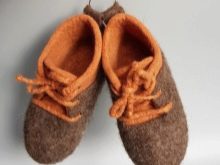
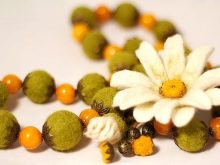
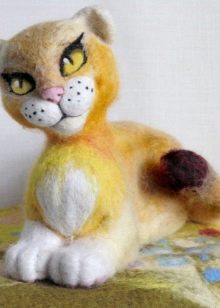
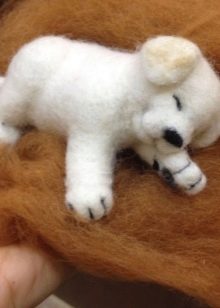
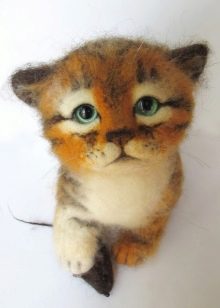
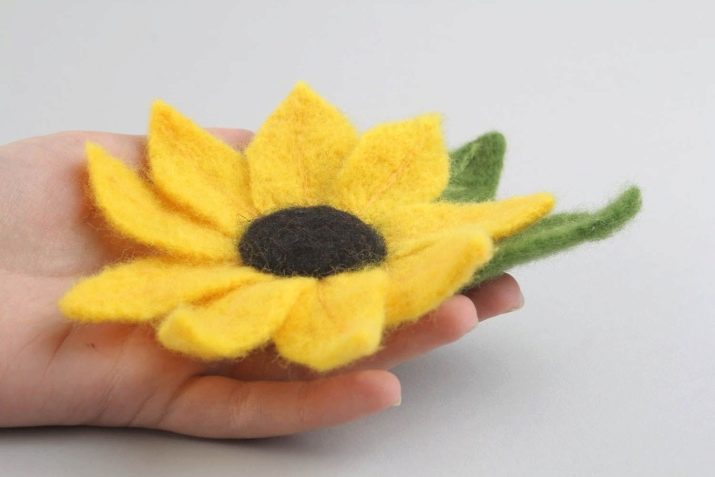
Felting is a felting made of wool, which is currently very popular. This technique allows you to make not only unusual interior elements or toys, but even shoes, jewelry and clothing. The essence of felting is that bulky wool is transformed into a very dense felt. This works only in the case of natural wool, the fibers of which are able to interconnect.
History
Despite the popularity among modern needlewomen, felting appeared many years ago. Nomadic peoples actively used this technique to make shoes, carpets, and even parts of portable houses from felt. Some time later, wool appeared in their everyday life, from which they began to knit items of clothing and everyday use. Felting began to be used as a needlework in the 16th century. In the 19th century, the first machine for felting wool was constructed, which greatly facilitated the process of making household items.
Views
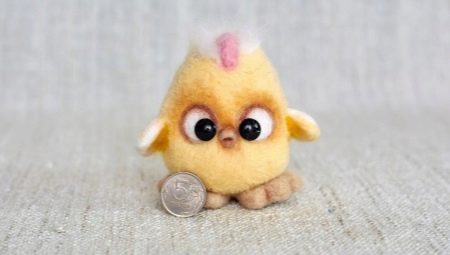
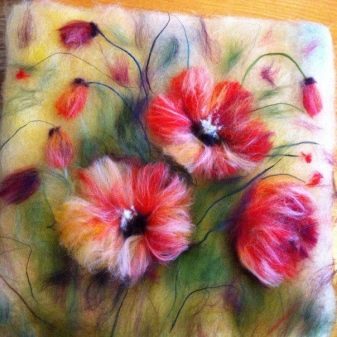
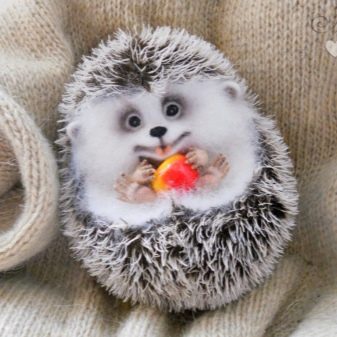
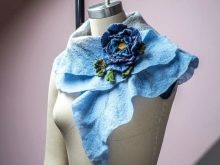
Experts distinguish two basic types of felting - wet and dry. The implementation of the first option is impossible without the use of soapy water, due to which the friction of individual fibers is stimulated. This type is used to create flat objects such as paintings, towels, clothes or decorative capes. Dry felting is done when the wool is pierced with special tools. This technique is indispensable for creating voluminous objects, for example, toys or jewelry.
Quite often, both types of feliting are combined in one product. For example, if a toy animal is made, then the body itself is created using dry felting, and ears, paws and clothes - already when using wet.
Dry felting is more common and is suggested for beginners.
Tools and materials
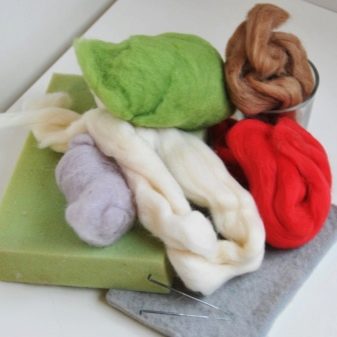
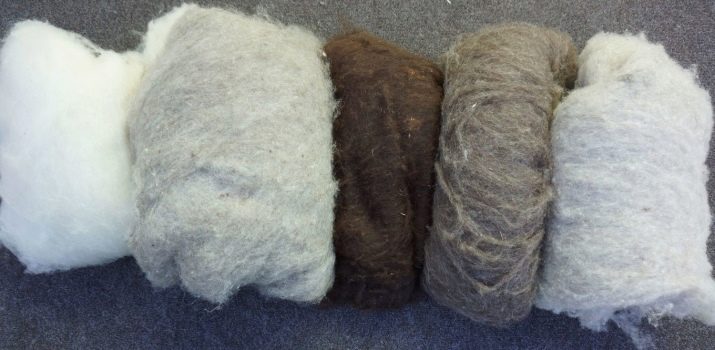
If we are talking about dry felting, then the set of necessary tools and materials will always be the same, no matter what thing is planned. The wool itself must be rough or half-thin and must be dyed. Another important condition is that the material should be chosen non-spun - yarn is not suitable for this technique at all. Excessively thin threads can be damaged by the needle being used, which in turn can lead to a pass. The material is presented in stores either in the form of a ribbon or in the form of carding.
Do not forget that during work, the material shrinks significantly, and therefore a sufficient amount of stocks should be purchased.
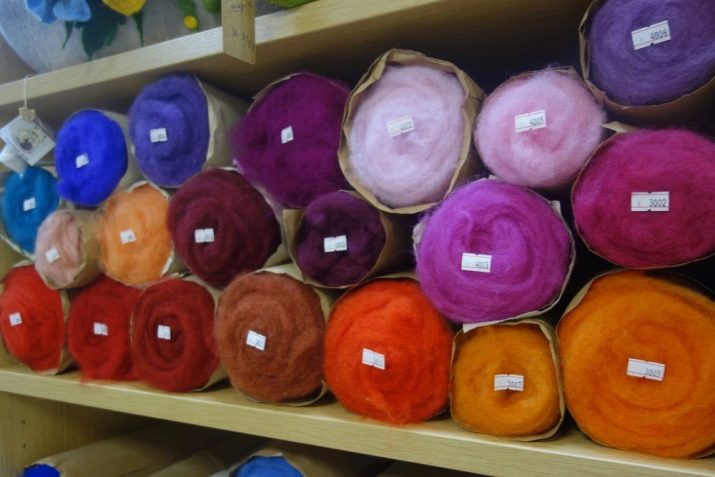
Some craftswomen decide to use a cheaper unpainted wool called "sliver" for the warp, and then cover it with high-quality material. This option is not very successful, since the sliver does not roll away enough, the insides of the toy turn out to be soft, and therefore it does not hold its shape. In general, experts recommend choosing coarse and thick fibers, since they are the ones that have the ability to fall off faster.
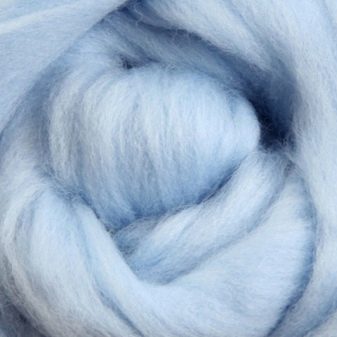
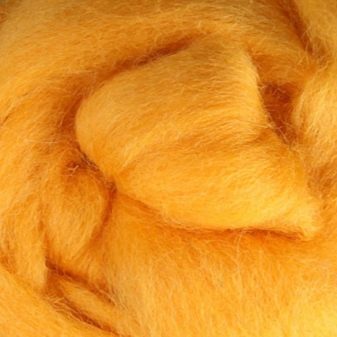
Coarse felt sheep's wool is used to embody ideas in boho or ethno style. The fleece, which is a small hair of sheep, is mainly used for stuffing or as a backing when creating capes and rugs. Camel wool allows you to create toys without any foundation. Semi-thin sheep wool is suitable for decorating ready-made items. Angora goat wool with a silk effect is also suitable for decorating already formed items.
The needles for creating felt must be special: have small notches in their lower part. If you stick such a tool into the wool, then the fibers will begin to cling to the notches and, due to this, intertwine with each other. The needles will be required in different thicknesses. As a rule, felting begins with the use of thick tools, and then changes to thinner ones. In fact, thick needles are necessary for the felting itself, which implies the processing of wool, medium ones allow you to shape, and thin ones are responsible for small details and adjusting the remaining traces.
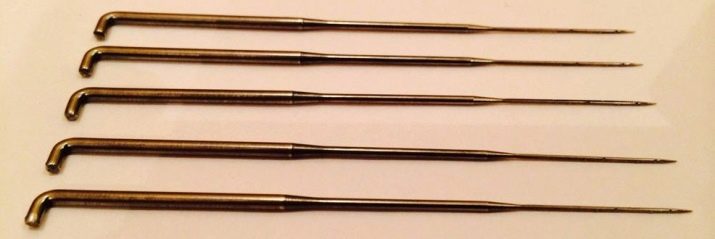
The needles can also have different sections, which differ in the number of rays - three or four. The triangular tools are used to get started, and the star tools are used for finishing. It is better to choose products from overseas production. The felting brush will ensure the safety of both the hands of the craftswoman and the work surface.
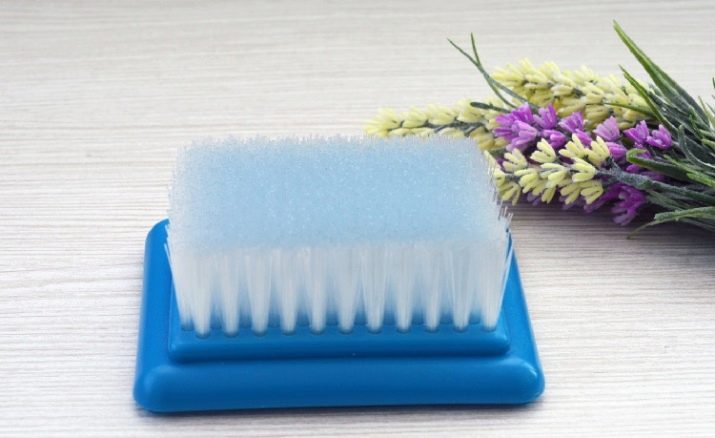
To save money, it can be replaced with a standard dishwashing sponge.
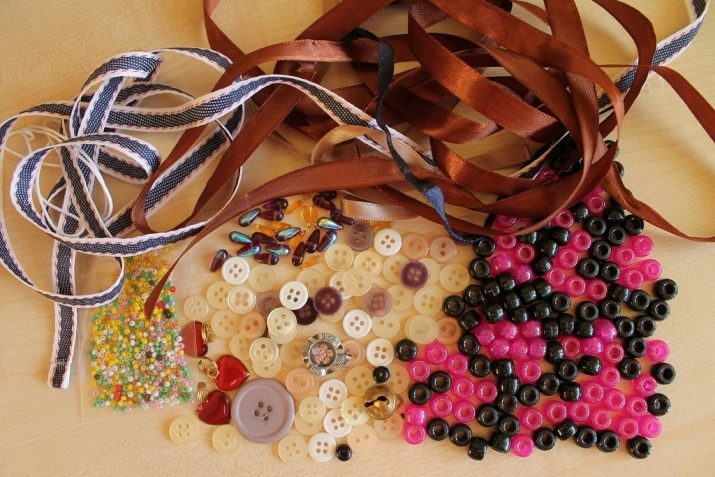
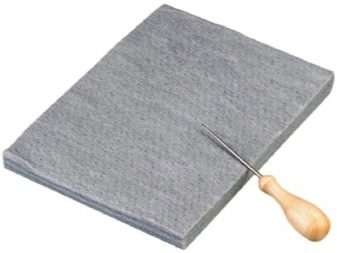
During needlework, a piece of wool will be placed exactly on this surface, after which it will be actively pierced with needles. Additionally, it is worth placing a piece of viscose to prevent damage to the finished product on the bristles. You can also use special thimbles made of leather or rubber to protect your fingers. We must not forget about a variety of decorative elements: buttons, beads, beads, ribbons, lace.
For wet felting, in addition to the same materials, you will need a rigid mesh, for example, a veil or mosquito net. For convenience, a special felting mat and air bubble wrap will come in handy. Both with dry and wet felting, in principle, a synthetic winterizer is used, but not all craftswomen have a positive attitude to this. This material is used to create volume and is covered over with non-spun wool.
Where to begin?
To understand exactly how to make a product using the felting technique, it is better to find some simple master class on the Internet and implement it. For example, it can be a flower brooch made on a frame. To create it, you will need basic materials and tools: wool, thin needles and wire, the thickness of which is 0.4 millimeters. In addition, a brush used for the base, PVA glue, acrylic varnish, scissors, beads with a diameter of 7 to 10 millimeters, soapy water and a brooch fastener are useful.
- First of all, a frame for a brooch in the form of a leaf is formed from the wire. Then a green strand is pierced with needles, being on the base and under the frame. The size of the piece should be slightly larger than the size of the sheet. Turning the wool over, the piercing must be repeated, since the processing procedure is done on both sides. The ends of the sheets are folded.
- A wire frame is again placed on the workpiece, and the edges are formed with needles, and the color is made more natural with the help of dark green wool. So that the borders between individual colors do not stand out too much, it makes sense to iron the sheet with an iron.
- The petiole is formed by gluing a piece of the twisted wool directly onto the wire. Then branches are formed from a piece of white wool, in the middle of which a bead is placed. The ball is dipped into a soapy liquid and rolled in the hands. The strings that stand out should be trimmed with nail scissors. Cutting off the top of the resulting ball, removing the bead and creating 8 cuts, it will turn out to make a lily of the valley flower. Ready buds are dipped in a mixture of water and acrylic varnish.
- To make lilies of the valley, it remains to string the blanks on the wire, twisting the wool if necessary and forming the core. For secure fixation, glue is additionally used. At the very end, a finished twig, a leaf and a clasp for a brooch are fastened.
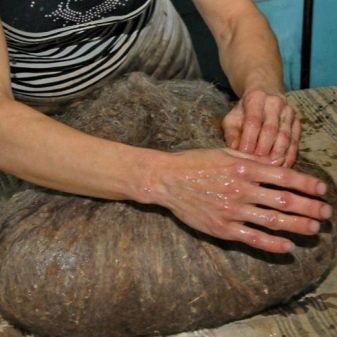
When choosing a wet felting technique, you will need a soapy liquid into which the woolen pieces will be dipped. Therefore, this solution is prepared in the first place: a piece of soap is rubbed on a grater with large holes and filled with a couple of liters of freshly boiled water. After mixing the substance, it must be allowed to infuse for about 2 hours. In principle, the use of liquid soap is not prohibited.
The work itself will be carried out on a bubble wrap located with bubbles upward. The first layer on it is the base layer, on top of it - the background, and then the layer with the picture. All of them should be thin, perpendicular and overlapping. The workpiece is treated with water using a sprinkler, after which it is covered with a net and soaked in soapy water. The uniformity of impregnation will be ensured by a conventional rolling pin. Finally, everything is rubbed by hand.
See the basics of felting for beginners below.


