Features of wet wool felting
Today, wet felting is a very popular and demanded type of needlework. Not possessing high artistic skills and dexterity, anyone can master this craft and easily create a variety of things, accessories and even paintings.
History
Felting from wool is considered an ancient technique for creating products. Its age, according to scientists, is more than 8000 years.
It is believed that the first felted wool product was the carpet in Noah's Ark. It was not created by human hands: in a confined space, the animals of the ark rubbed against each other, the wool fell to the floor, was moistened and hoofed into a single canvas.
Felting from wool is considered a traditional craft of the peoples of the East and Asia. Felted wool products are still used daily in household use. The basics of felting, a variety of ornaments and techniques for creating products are different for each nation. The main bearers of the traditions are Turkmen craftswomen. Image stylization and ornaments in the form of a ram's horn are popular in the creation of products to this day.
Archaeologists in the burials of Altai Mountains discovered wool products from the 4th-5th centuries BC: animal capes and clothing. Now these finds are on display in the Hermitage. In Mongolia and Buryatia, products were created in one color and decorated with fine stitch threads.
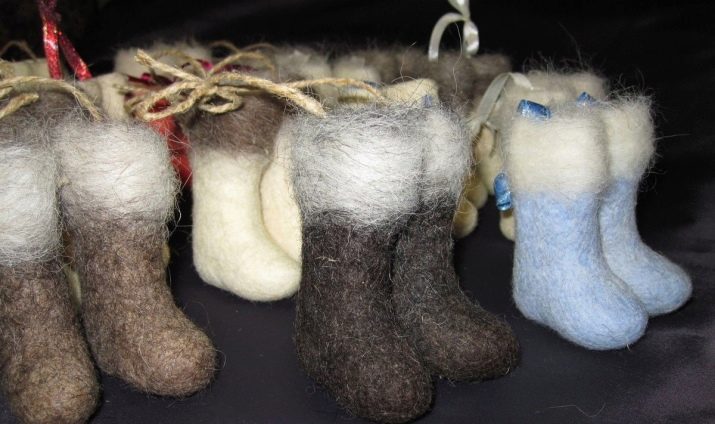
The Slavs mainly created woven cloth from wool of natural colors. Felt appeared in Russia during the period of the conquest of the lands by the Mongol-Tatar yoke. The most common and favorite felted product to this day is felt boots.
The Slavs also created pouches for tobacco and all kinds of products for household needs.
In European countries, felt was produced by rolling wool with rollers and in containers with water under the action of a vortex flow. Even then, methods of wet felting of wool products were used. In the twentieth century, the creation of felt acquired an industrial scale.
Description
The process of wet felting involves weaving and interlocking the fibers of the wool. This is due to its structure. Sheep wool has a very loose structure of scales, which allows you to create clothes, toys and accessories by pushing. You can use not only sheep's wool, but also camel, yak or llama wool. Due to the compaction of wool fibers, a dense fabric is obtained - felt.
The interweaving of the fibers also occurs due to the laying of layers of material or shear at a certain angle, warm water, soapy water and, of course, the hands of the master. Vegetable, synthetic, or damaged fibers of improperly dyed wool will not be suitable for felting.
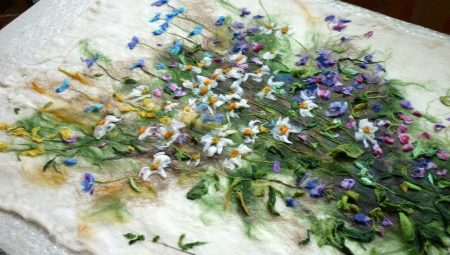
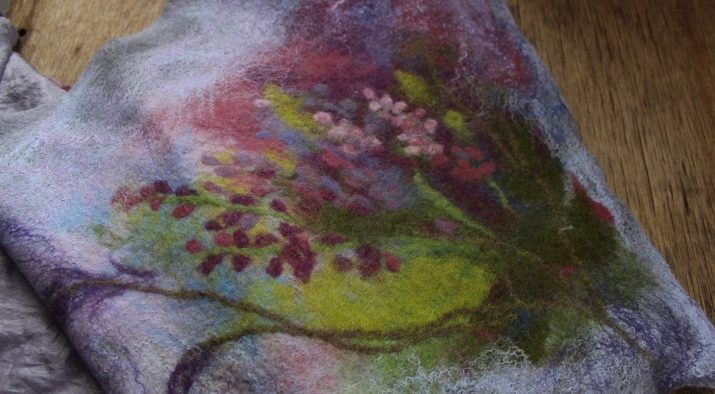
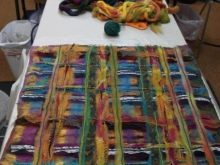
When creating products, you can use a variety of colors, inserts from silk and nylon.
Tools and materials
There are not so many basic materials and tools for wet felting.
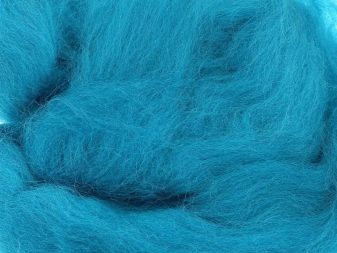
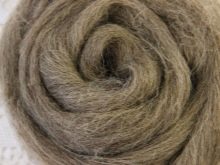
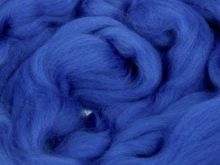
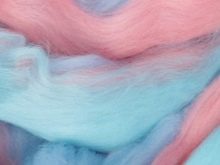
- Wool. Today, handicraft stores offer a wide range of different types of wool and a variety of its colors.
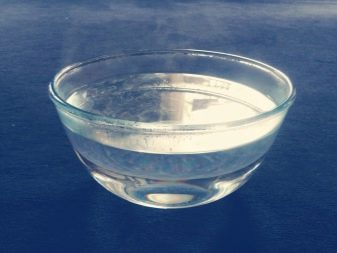
- Water... The use of warm water allows the scales of woolen fibers to open more strongly, the process of shrinking becomes faster and easier.
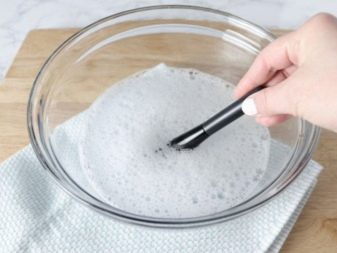
- Soap solution. Better to choose liquid soap or detergent for washing baby dishes.
- The hands of the master. The wet felting process is done directly by hand.

This type of felting is a very laborious and rather lengthy process.
Modern craftswomen have learned to make their work easier with the help of special devices. Therefore, in addition to all of the above, additional tools will be needed to simplify the work.
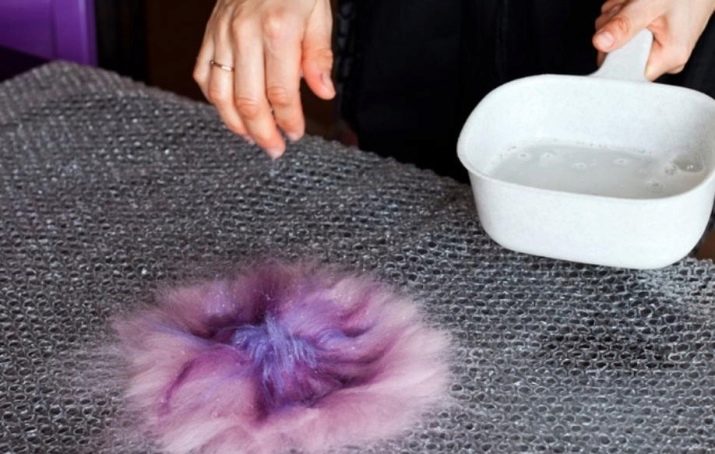
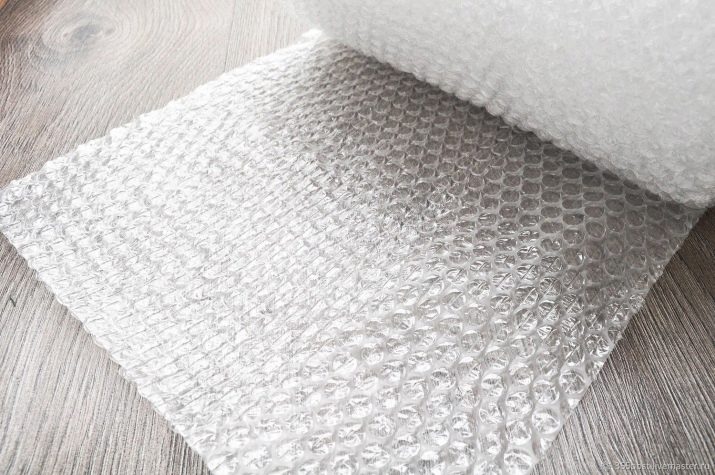
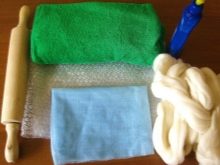
- The rug on which the wool will be felted. Typically, bubble wrap is used. Any other covering materials that have a rough surface and do not allow moisture to pass through will perfectly cope with this task.
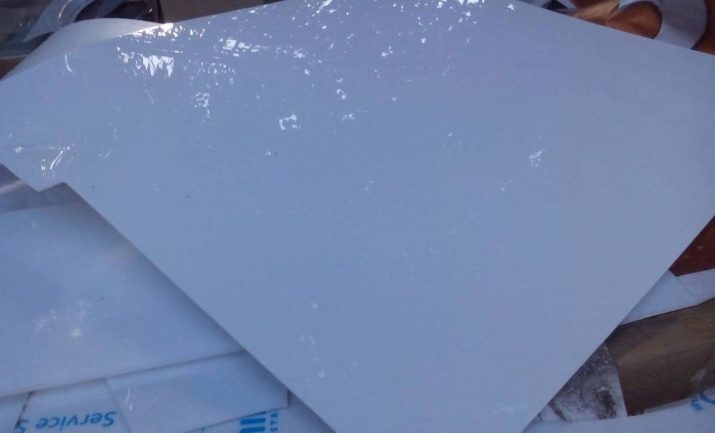
- A piece of thin polystyrene. It can be found in any hardware store. This is a laminate underlay. It is used to cut the future product. Due to the plasticity of this material, the pattern can be easily removed from the wool during the creation of the product.
- To apply a soap solution, it is useful to get a spray bottle or a special watering can with a nozzle (outwardly it resembles a syringe). If these tools are not available, you can use a regular dishwashing sponge.

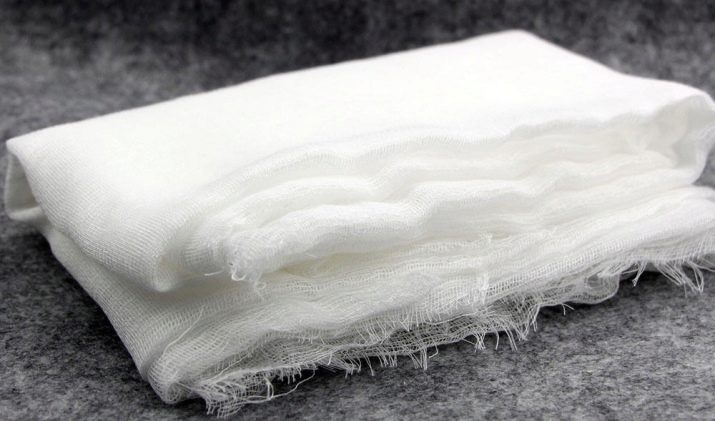
- Mesh, a piece of tulle, thick gauze. The spread wool is covered with a net after wetting and the process of shrinking begins. The mesh prevents the wool from shifting.
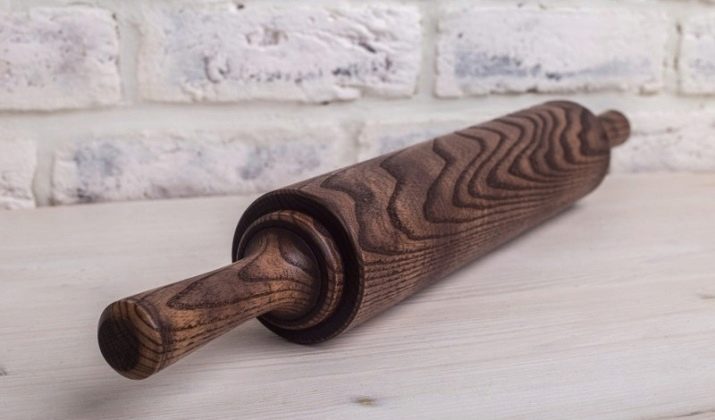
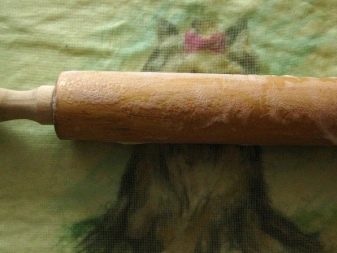
- Rolling pin or round stick. Thanks to the rolling pin, the product can be dumped faster, especially if it is large.
- Vibration grinder. This tool is often used by experienced craftsmen. The sandpaper on the machine's working surface is replaced with a film. Thanks to the vibrations, the skeins of wool fall off and fasten together faster.
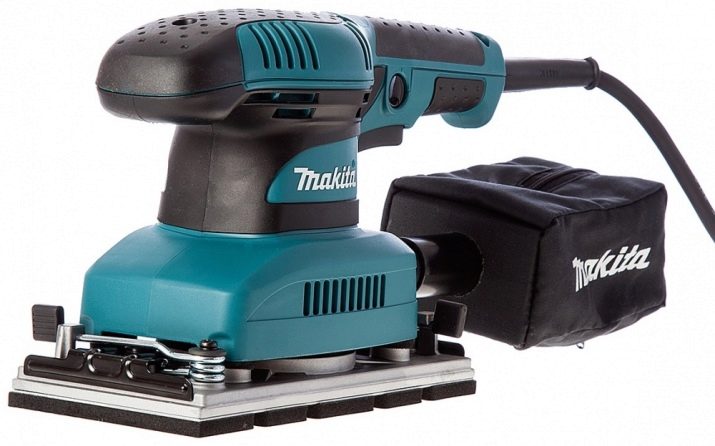
It should be noted that the machine sometimes does not cope with the felting of the inner layers of the product.
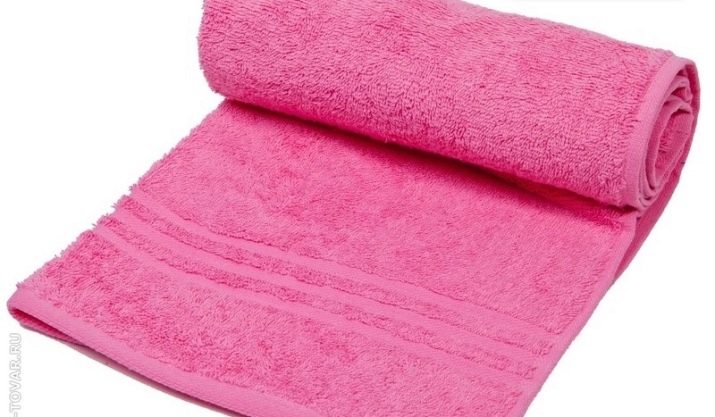
- Cloth or towel. Conveniently absorbs excess moisture and soapy water.
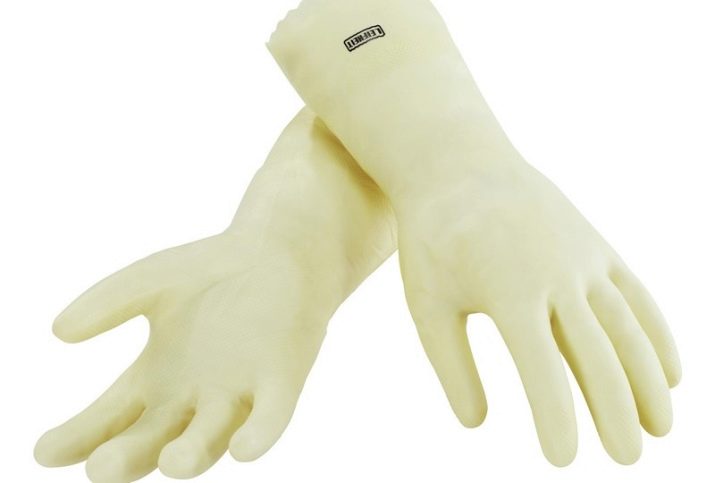
- Gloves... Sometimes, with prolonged work, the skin of the hands can be damaged. Gloves are used to protect her.
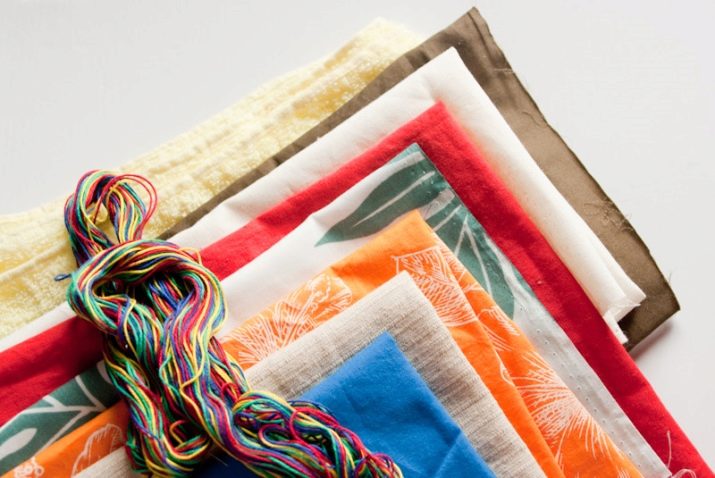
- Additional fittings to add exclusivity to the product: pieces of silk, fabrics, yarns, nylon fibers.
With the above materials, felting will become much more pleasant and faster.
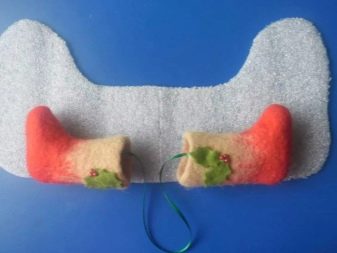
Felting wool, as a rule, is used of several types: fine, semi-fine and combed. The thinnest, fluffiest and softest is merino wool. It is better for beginners to start working with fine wool, since it does not require very long rolling and fits perfectly into the product.It makes scarves, hats, boas, mittens, booties for babies pleasant to the body.
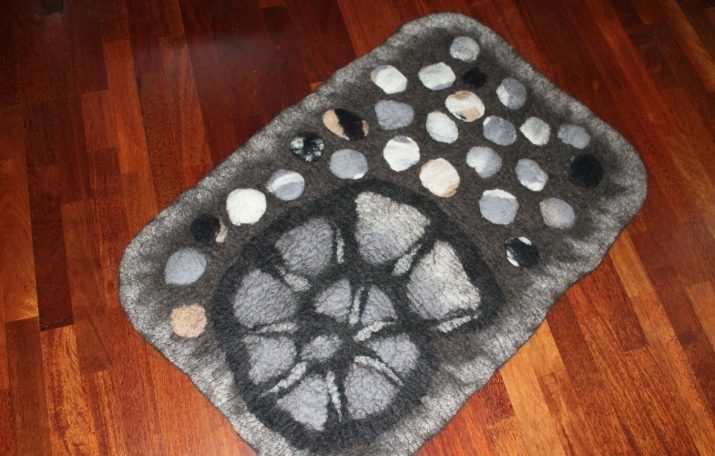
Semi-fine wool is suitable for felting bags, insoles in shoes, slippers. And the coarsest wool is suitable for making dense garments. It falls hard and takes a long time.
Felting can be done on gauze, silk and other lightweight fabrics. The technology for any options for creating a canvas is the same.
Execution technology
The work of the craftsman's hands is the main and main tool in creating products using the wet felting technique.
The technology consists of basic stages.
- Creation of a pattern for a future product. It is important to remember the basic rule: the wool in the finished product will shrink 1.5-2 times. Based on this, all measurements of the future product must be increased by 1.5-2 times.
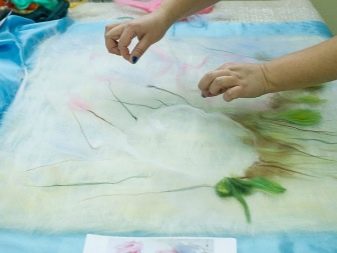
- Wool layout. Depending on what kind of product is being made, the types of layout are also different. Wool, laid out with piles at 90 degrees, will not stretch during the pushing process. To create flounces, bends and bulges, layers of wool should be laid parallel to each other, changing the location of the base of the hems and their ends.
- Formation of a cloth from pre-moistened wool, shrinkage with an increase in the strength of the material.
- Rinsing the product to remove soapy water.
There are many wet felting techniques. To understand the intricacies of work to the smallest detail will allow a master class of one of the options for creating clothes.
- First, you need to create a pattern for the future product, which will subsequently be used to lay out the woolen fibers. Prepare the workplace: lay out bubble wrap or other moisture-resistant rough cloth.
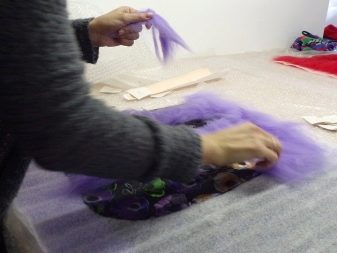
- The pattern is laid out in a checkerboard pattern, in parallel or in a pigtail (weaving method). They are neatly pulled out of the woolen ribbon with a fist grip. It is desirable to control the number of layers and the thickness of the layout. Sometimes needlewomen specifically measure the amount of material on the scales that will be used to lay each layer.
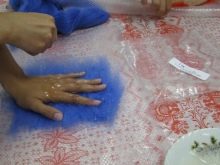
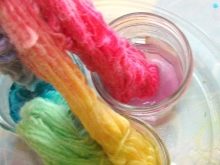
- The prepared wool is moistened with water and soapy water and carefully covered with a net. With light pressing movements, it is necessary to soak all products with soapy water. The sacks should "stick" to the pattern. If the product requires layout on both sides, then the pattern is carefully turned over, the frames are laid out on the reverse side in the same order and moistened with soapy water.
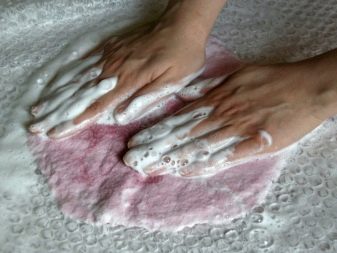
- Gloves are put on to protect the hands and the felting process begins with gentle stroking, rubbing movements. At this stage, it is necessary to check that the wool does not roll onto the net.
- It is important to check the initial wool roll. To do this, you need to gently pull the villi of the canvas. If they do not stretch and are firmly attached, you can make cuts (if necessary) and remove the pattern.
- After the initial rolling, felting begins with hands, a rolling pin or with a bamboo mat. You can roll and throw the product like dough. From this, the shrinkage process will occur faster. At the end of felting, the fabric of the product is rinsed out of soapy water and dried naturally.


Filtration is a very exciting process. Clothes made by wet wool felting are very warm, pleasant to the body, comfortable to wear and care for. It is easy to clean and washable in cool water.
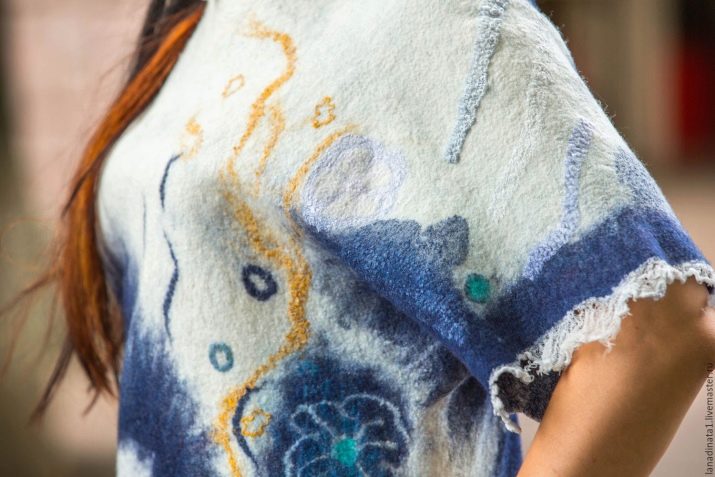
Among other things, these are exclusive products that no one else will find.
There are certain nuances and secrets that each master develops through personal experience.
- If the wool "froze" and does not fall off, then the fabric of the future product can be rinsed in hot water and the soap solution renewed.
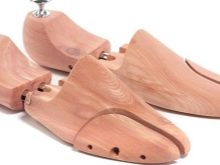
- When felting slippers, felt boots or booties, it is convenient to use shoe pads. This will make it much easier to create the shape.
- The checkerboard layout does not stretch when folded; when laying out in parallel, it will turn out to make shuttlecocks and stretching the canvas.To make the edges of the canvas even, when wetting, it is important to gently fold the hair fibers and align them.
- You can roll the product more than at one time. To do this, it is necessary to maintain the moisture content of the fabric, but avoid "acidification" of the wool.
You can watch the wet felting master class in the video below.


