Pizza technique in patchwork
Surely every craftswoman, after creating the next masterpiece, leaves herself a few scraps of fabric in the expectation that someday they will definitely come in handy. The patchwork pizza technique is ideal for this purpose, it opens endless creative horizons not only for experienced needlewomen, but also for those who are just taking their first steps in creativity. Let's dwell on the features of this technique and give a master class for making stylish, unusual things.

Peculiarities
Everyone knows that patchwork is far from the easiest kind of applied art - it involves painstaking work... To create masterpieces in the patchwork style, preliminary development of the pattern is required, the thought of a combination of shapes and colors, as well as the finishing of the product itself on a sewing machine.
That is why, against the background of all existing patchwork sewing techniques, the “pizza” style stands out favorably.
The popularity of the method is explained very simply - there is no need to cut it at all, any craftswoman can cook such a pizza, even if she does not have any skills in working with fabrics and threads. You do not need to select flaps by texture, size and color type - the shade solution can be absolutely chaotic. In fact, the "pizza" technique is an endless field for your imagination at a minimum cost.
The main place of any design is occupied by the very scraps of fabric that many dressmakers simply throw away, not even realizing that these pieces can be given a "second life".
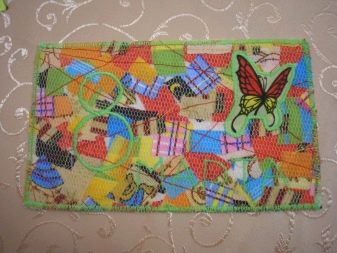
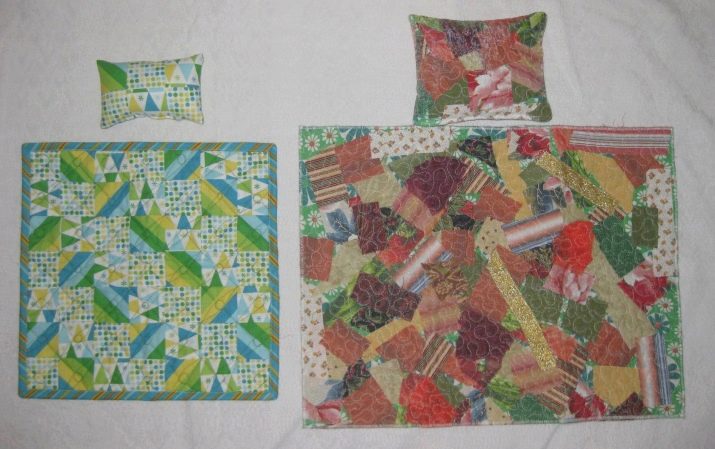
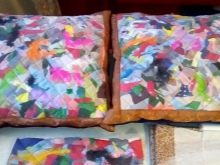
The cloth, sewn using the "pizza" technique, turns out to be dense and quite textured, it can be used to make interior pillows, pillow cases, kitchen potholders, blankets, as well as cosmetic bags and beach bags.
What do you need?
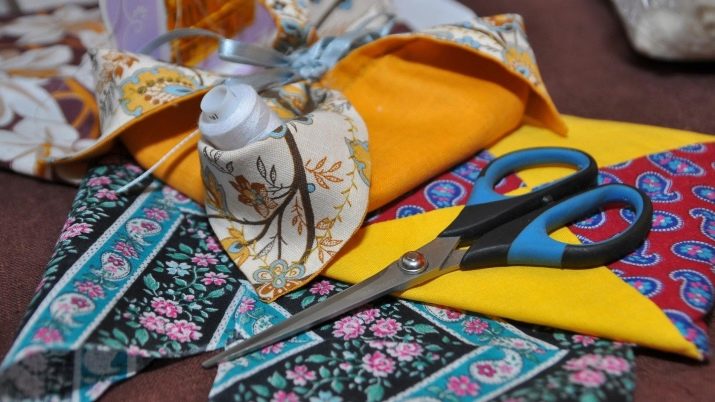
To make interesting bedspreads, panels, bags or chair covers using the "pizza" patchwork technique you will need the following materials.
- Textile - the basis of sewing is satin, calico, felt or cotton. You can also use jersey or glutinous jersey if you plan to use the fabric in one layer.
- Flaps - they can have the same shades or be contrasting, they can be large squares or small stripes, the use of corners, circles, hexagons and triangles is allowed.
- Fabric adhesive - it is best to use a dry powdery composition. It is necessary so that small fragments of the canvas do not get lost when scrolling and the printer is not lost, this is especially true if you plan to use multi-layer application.
- To secure the picture, you need a fabric for the top. - it can be mesh, chiffon, organza or guipure. The material should be solid.
- To finish the finished product, you must use lace, braid or ribbon.
- And, of course, standard tools requiredthat are used in any type of sewing are threads, needles, a sewing machine, pins, scissors, as well as a fabric chalk pencil and a long ruler.
How to do it?
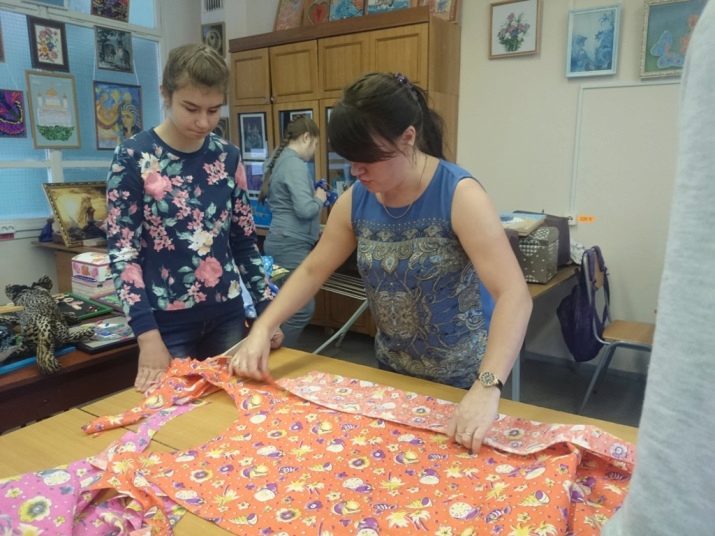
Let us dwell in more detail on the peculiarities of the "pizza" patchwork technique using the example of three typical products. A kitchen potholder making workshop involves a few simple steps.
- The base material is laid out on a firm, horizontal surface for easy handling.
- Draw a square, circle, triangle or hexagon with chalk... If you do not have the necessary templates at hand, then you can always use the tools at hand - for example, a saucepan lid, a hoop or an old box.
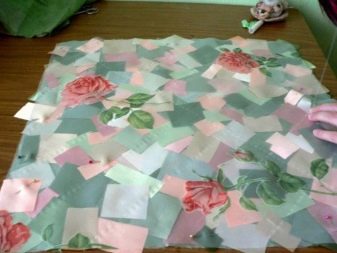
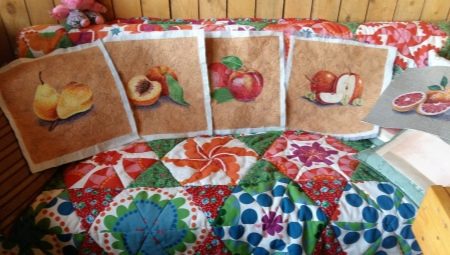
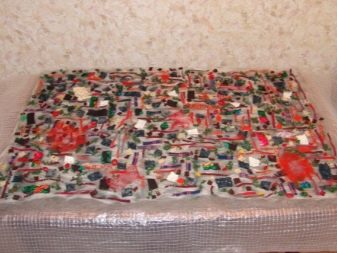
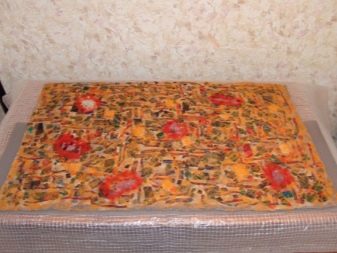
- If you took adhesive knitwear as a base, then you can immediately start attaching the flaps. If not, then for the first layer it is advisable to sprinkle the base with glue powder in order to make it as convenient as possible to work, and only after that season the "pizza" with prepared scraps of fabric. Juicy, saturated shades look very stylish, they give a spectacular contrast - that is why experienced craftswomen usually start working with the formation of a layer of patches of red, green and brown.
In fact, this combination resembles the same pizza, only on matter.
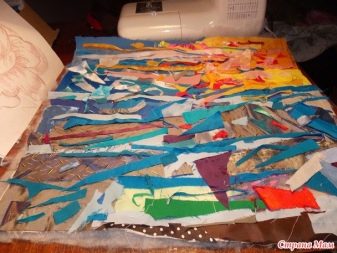
- Start work from laying out large flaps, fills in all the resulting gaps with smaller ones.
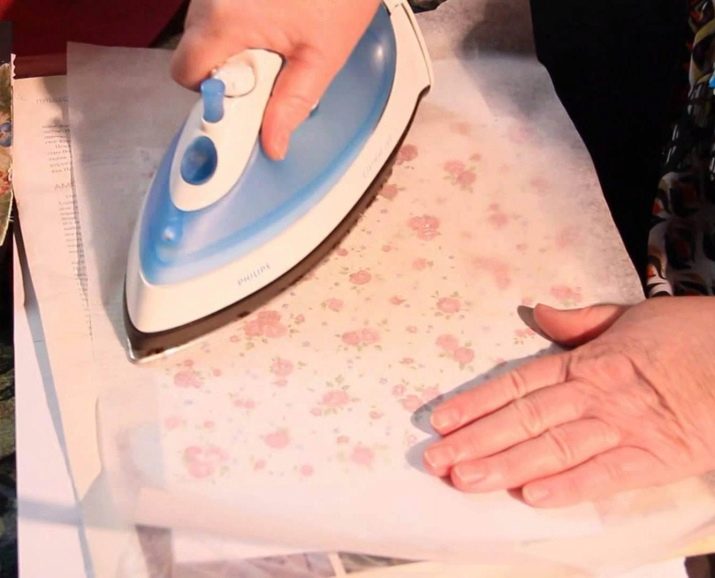
- When the main creative part is completed, the workpiece should be ironed, having previously put a sheet of parchment on it - under the influence of an increase in temperature, the adhesive composition is activated and will fasten the flaps together.
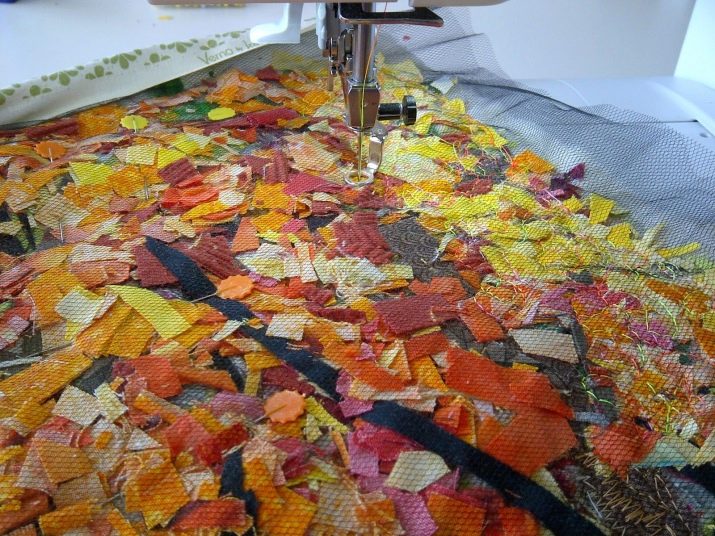
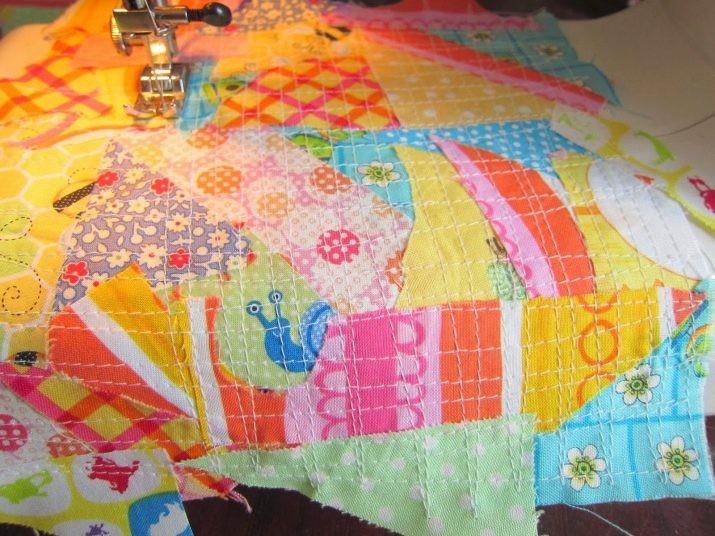
- If you plan to make a few more layers, then the procedure will be the same - apply powder and fix the fragments of fabric. It may seem strange, but after all the manipulations, half of the work will already be done. You just have to cover the workpiece with organza or mesh, fix it with safety pins on the material to avoid distortions and sew on a typewriter.
For pizza quilting, it is best to use decorative stitches; the product should be stitched every 1.5-2 cm.
- On the prepared contour quilted product cut and sew the edging.
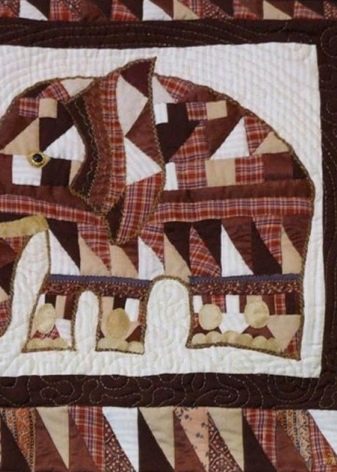
For interior decor, you can make a panel, it should be slightly complicated by adding a synthetic winterizer to the composition. For the base, it is best to use a cotton cloth. The flaps can be very different - floristic, ethnic or monochromatic.Patterns cut from any old unnecessary thing, for example, T-shirts, curtains or bed linen, will come in handy - it is desirable that they be large, as this will greatly facilitate all further work. Additionally, for the manufacture of panels, you will need soft tulle or organza of any light shade. Beads, bugles, beads or woolen threads are used for decoration. Step by step, the whole scheme of work is as follows.
- The cotton base is laid out on a wooden or plastic surface. A synthetic winterizer is distributed on it in an even layer and covered with another layer of cotton fabric. By the way, even old kitchen towels can be used as a basis, while the drawing on them has absolutely no meaning.
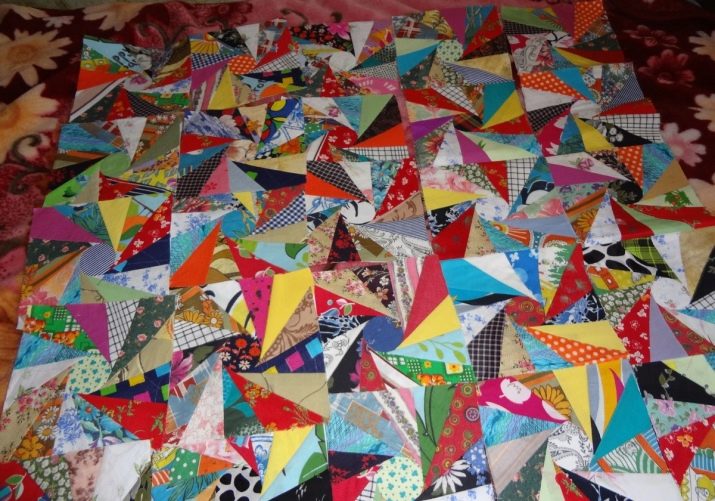
- Large scraps of fabric are laid out on the resulting workpiece. - they can be distributed according to shades or not adhere to any order at all. Adding bright color accents looks very stylish. In short, you can try any option that will match the overall color scheme of your interior.
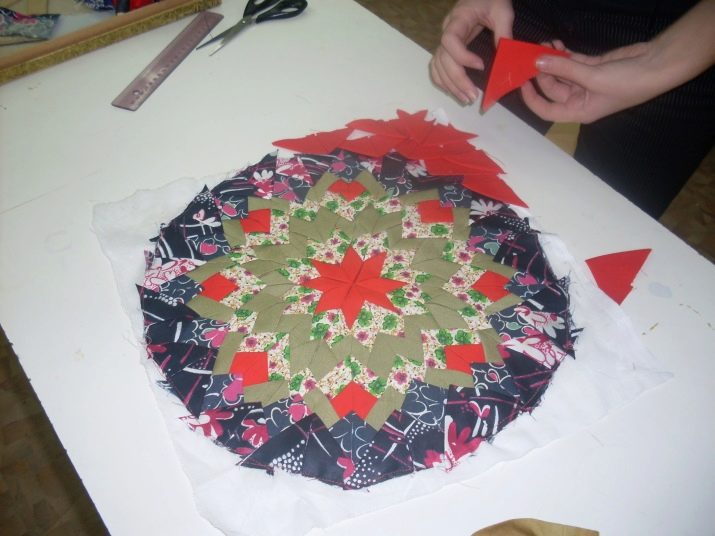
- The resulting free spaces are covered with small chips of small flaps. At this stage, you can add a little creativity: the patterns cut in advance are laid out on a patchwork base in such a way that you get a stylish panel.

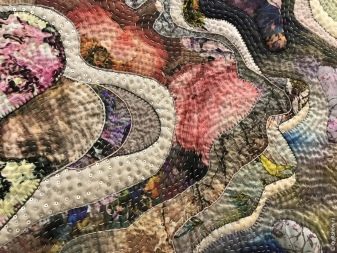
- When the whole composition is ready, it is covered with chiffon or thin tulle, the patterns around the perimeter are fixed with pins and stitched. First, the pattern is sewn, and then the rest of the product. It is better to use a wavy line - in this case, the finished products will look more aesthetically pleasing.
- If the seam turns out to be not even enough and flaws are noticeable in some places, do not be upset, all this can be corrected at the stage of decoration. Any flaws can always be masked with sequins, beads or beads. As a result, you will not only correct the shortcomings associated with the lack of skill, but also add volume, shine and individual chic to your panel.
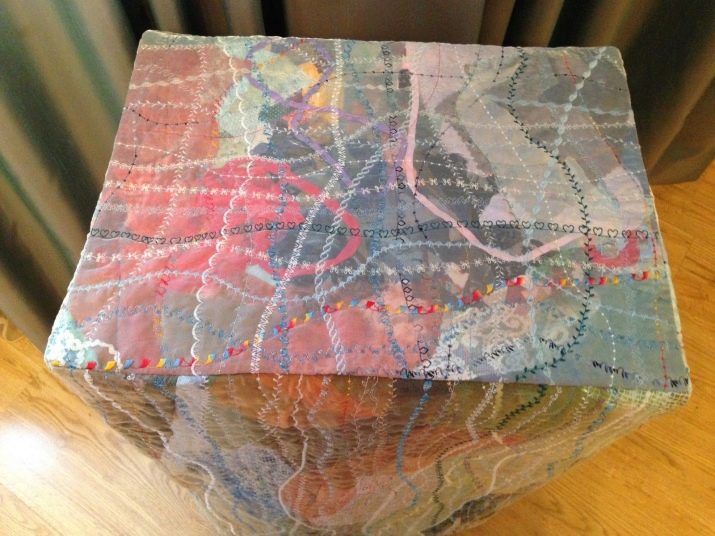
- At the end of all work, the edges are stitched with dense lace or ribbon... The panel looks like a real work of art that can decorate any apartment, make it unique and bring an original atmosphere into the home.
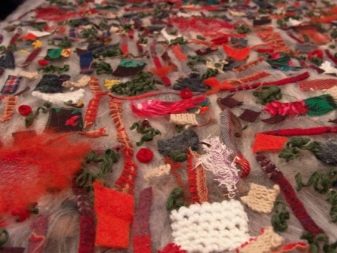
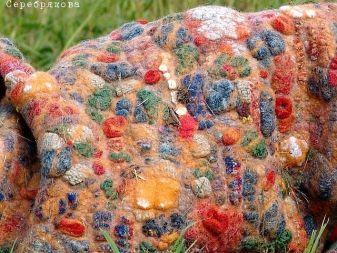
For lovers of felting, we can recommend a master class on making a woolen blanket using the “pizza” patchwork technique. The basic rules here change a little - thick wool and delicate merino wool are taken as a base, it is best to use a material of several shades. You will also need shreds, laces, mesh, and ribbons.
Since the technique is based on the use of felting, you will need a special GSHM, if there is none - then you can prepare small covers in advance and manually weld them with needles.
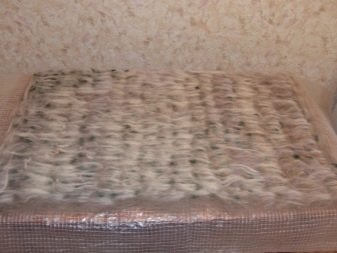
- To begin with, lay out the base of the product from hard wool.... The second layer should be delicate merino wool - it is advisable to take a blank of a neutral nude shade.
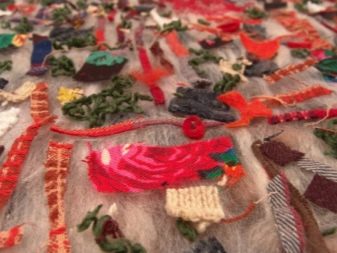
- Scraps of fabric are spread on the prepared surface, laces and woolen threads, you can also use absolutely any knitted ornaments (leaves, nets or flowers).
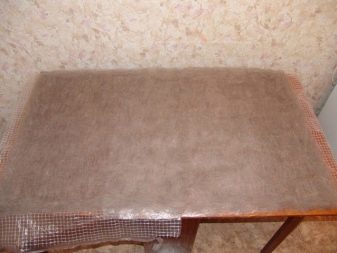
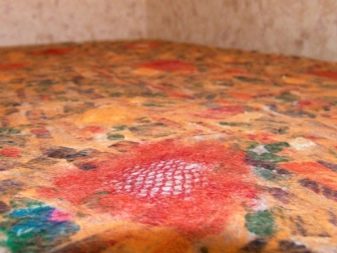
- The pizza prepared in this way is topped with colored merino, the decor, decorated with edging, looks especially beautiful.
- Then the future blanket should be rolled with a special machine or manually with needles.... This is a rather painstaking work, therefore, most often, small panels are made in this technology. The resulting products look very stylish and exclusive; they can be used to decorate a handbag, hang on the wall as a picture or sew on a bedspread.

Beautiful examples
We offer you a selection of the most interesting ideas for patchwork needlework in the "pizza" style.
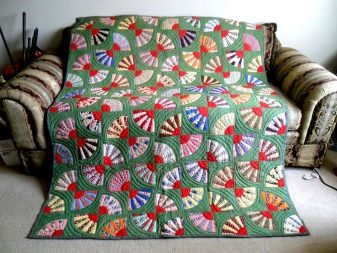
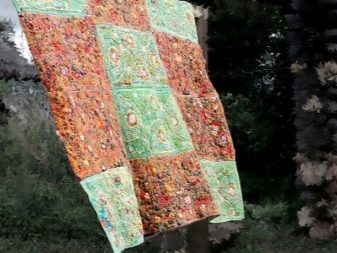
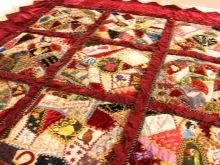
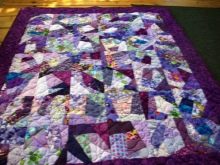
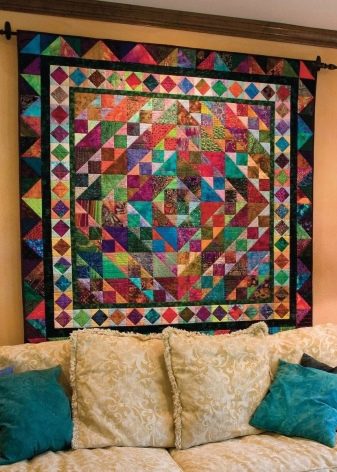
- Plaid and bedspreads using the "pizza" technique are very stylish.
- Decorative panels on the walls create a special comfort in the house.
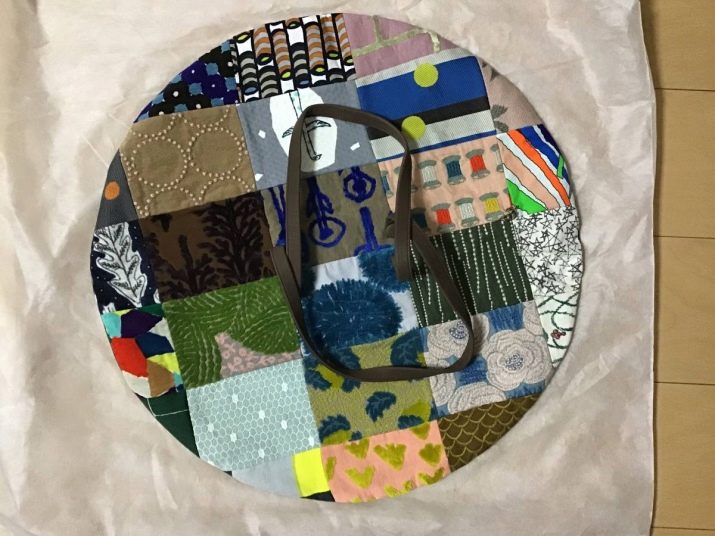
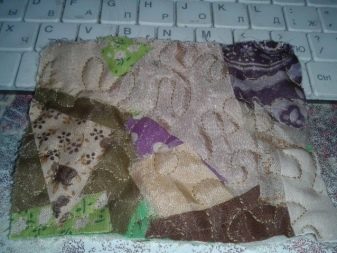
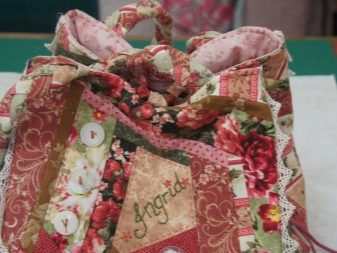
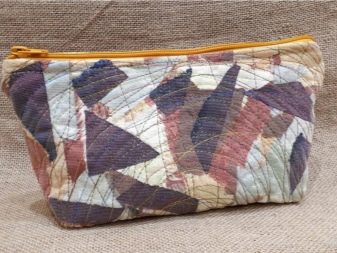
- "Pizza" can be the basis for the creation of stylish bags and cosmetic cases.
Patchwork sewing for beginners using the "pizza" technique is presented in the video below.


I sewed a lot using the pizza technique, I love this technique.