Collar for a cat: features, selection, manufacture and application
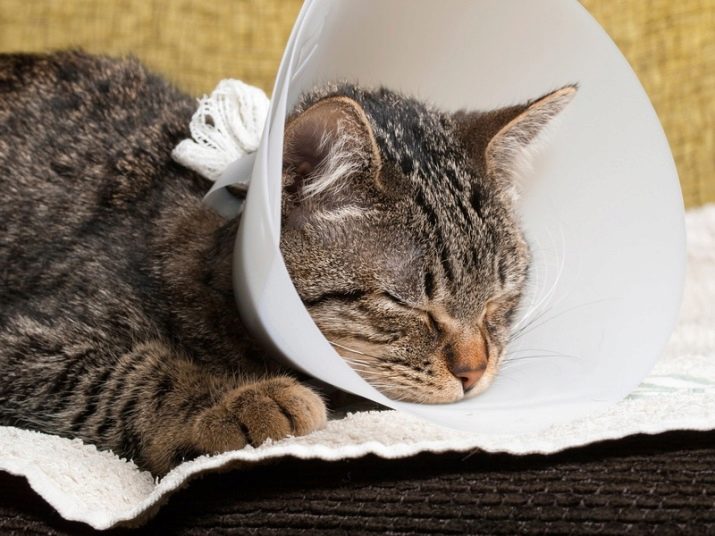
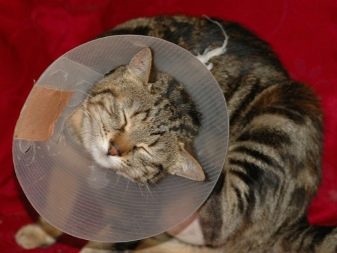
A collar for cats is used mainly after surgery to help animals recover faster. After such manipulations, they very much weaken, there is also a high probability of infections. Therefore, such an accessory is very often simply necessary.
What it is?
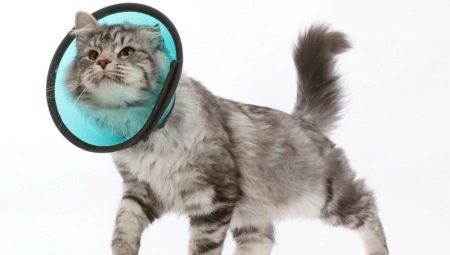
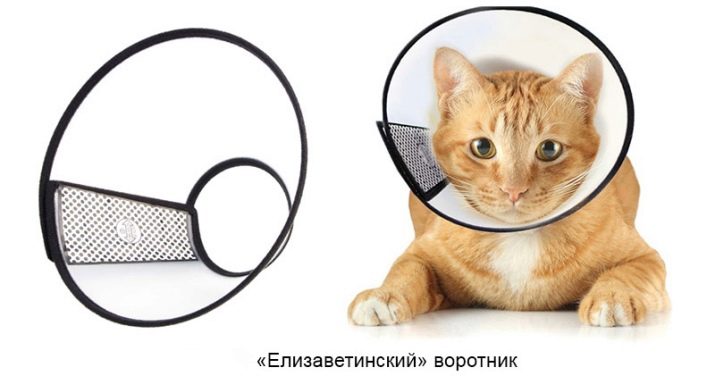
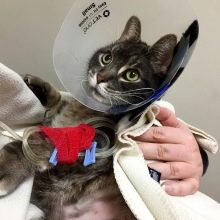
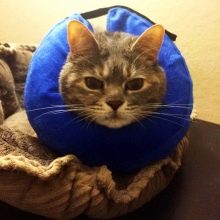
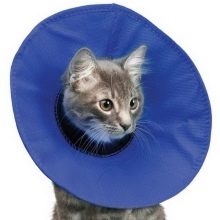
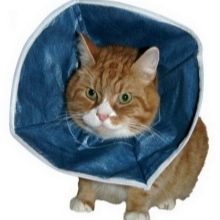
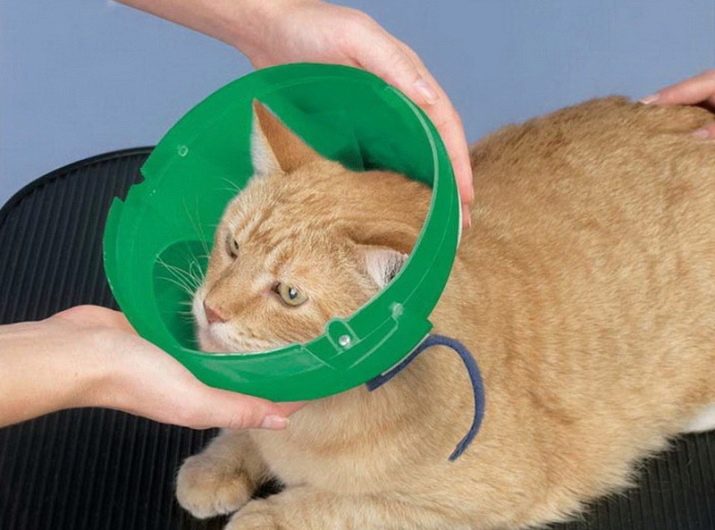
This collar is also called "Elizabethan". Such a device is used for medical purposes and has a protective function. It prevents the animal from licking and helps the wounds to heal faster. And cats do this because at their genetic level it is inherent in them to heal themselves with the help of licking. Since they have a substance in their saliva that helps quick healing. But still, it contains not only beneficial properties, but also various bacteria that can lead to infection and the spread of infection.
An Elizabethan collar is required in the following cases.
- To prevent the animal from removing the bandages after surgery.
- Prevents the cat from licking the stitches to prevent infection.
- Does not allow combing wounds on the head.
- Protects wounds from injury.
- Helps wounds heal faster and absorb various medicines. These can be ointments or drops.
- Prevents the animal from licking medications.
- Interferes with removing the bandage from the head.
- Helps apply flea drops.
- Protects the structure in case of fractures.
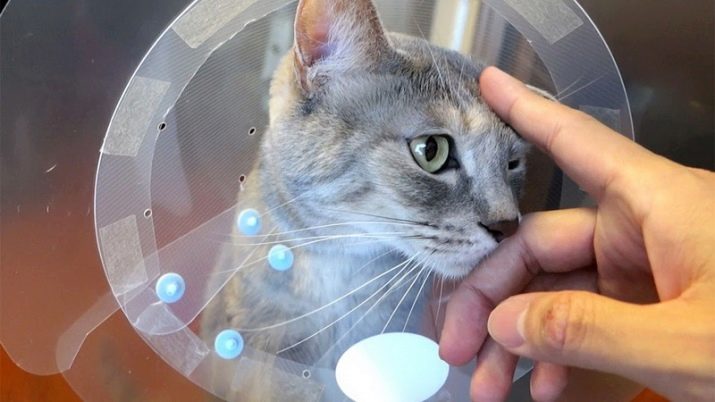
This device is tapered and its fields form a fence around the head. Also, the collar can be inflatable. It helps a lot during the recovery period of the pet, when it is necessary to prevent the cat from licking wounds.It is also very often used to treat a cat's fur with agents from parasites, the components of which, if ingested, can harm it.
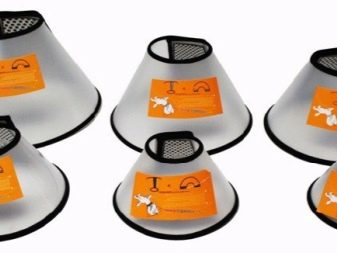
An Elizabethan collar can be purchased from a veterinary clinic, specialty store, or you can make your own. Regardless of which option you have chosen, there is one mandatory requirement for the device - it should be as comfortable as possible, not squeeze your neck or dangle on it.
How to choose?
Finding a postoperative collar that fits perfectly is problematic. After all, he must be comfortable, strong, and also of a suitable size. When choosing a collar for your pet, you need to follow some rules: the collar should be comfortable to use. So that it does not cause discomfort to the pet, the part that is adjacent to the neck should be soft. You can sheathe it with fabric.
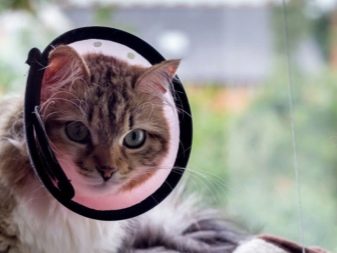
- Satisfactory height. The collar should not block the pet's view, because he may start to worry and will not get used to the new "equipment". Also, the collar should not be too low, then it will not interfere with the cat.
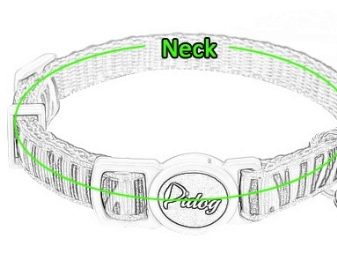
- Right size. It also makes a huge difference. Before purchasing a collar, it is imperative to measure the diameter of the neck, as well as the distance between the neck and the tip of the nose. Because if the accessory is small, then it will press, but if it is large, it will dangle, and the animal will crawl out of it without any problems.
- Strength. The collar should be strong, hold its shape well and fasten. The cat should not take it off on its own. But also it cannot be too tight for the animal to breathe calmly.
How to do it?
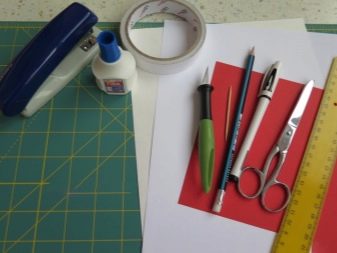
There are times when there is simply no opportunity to buy this device. But you should not worry about this, as it is easy to do it yourself. You do not need various tools that only craftsmen have, everyone in the house has everything you need. To create a collar, you can use items such as:
- cardboard;
- plastic bottle;
- flower pot.
When making this accessory, you will also definitely need a comfortable, wide and not very rigid collar in order to attach a collar to it. You can also use a harness. In this case, the load will go not only on the neck, but also on the spine, which will greatly facilitate the wearing period. By following the instructions, you can easily make an Elizabethan collar.
Lightweight plastic
This option is the simplest. For him, you can take the simplest stationery folder. If you cut it, you will end up with a rather long blade. For this design you will need:
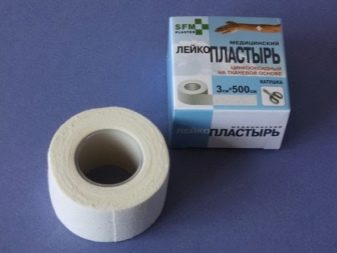
- sticky tape, adhesive tape, or double-sided tape;
- stapler with large brackets.

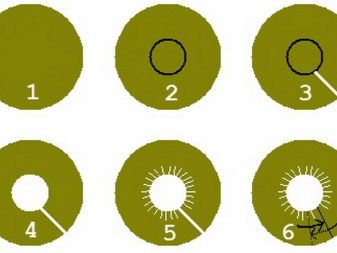
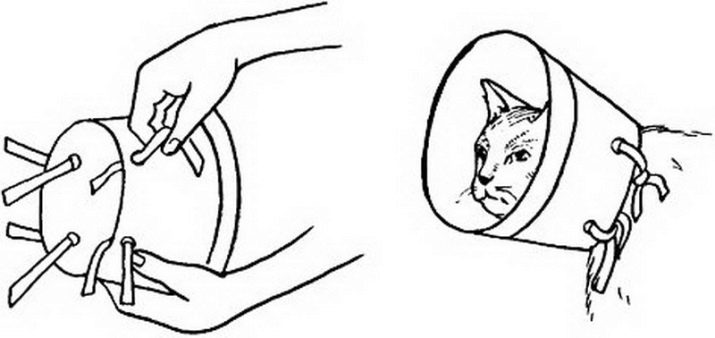
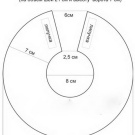
Before you start creating, you need to take measurements: the diameter of the neck and the distance from the neck to the tip of the nose. Then we take a sheet and draw two circles on it. The smaller one is the neck. And in order to draw a larger circle, you need to measure the length of the head from the smaller one, but 3 cm higher than it is. Then, inside a small circle, draw the next circle, it should be 3-4 cm smaller, the collar will be attached there.
Next, we cut out the sample and do not forget in reserve. In the event that you are in doubt about the length, then cut the circle longer, and then simply shorten it. Draw a straight line from edge to center and cut out a sample, a small circle, along it. Its also mode 5-6 times perpendicular for future loops.
The sample is ready, now we try it on the pet. Correct if necessary. Then we put the pattern on the plastic and transfer all measurements to it. We fold what we did for the loops, fasten it with a stapler and fix it with adhesive tape so that the ends from the staples do not interfere. And we insert a collar or harness there.
Trying on the collar again. If all is well, then we connect it in the place where the incision was made, and we fasten it with a stapler or double-sided tape.The main thing to remember is that the collar will also need to be worn on the pet. If he has a bandage on his head, then you should not fix it with staples. Please note that the distance between the collar and your neck should be at least as large as your finger. If it is smaller, it will rub and cause discomfort, and if it is too large, the animal will easily remove the collar.
This is the easiest way to create an Elizabethan collar at home. There is no need for any special skills and various equipment. The only drawback is poor strength. The collar will fit while the animal is recovering from anesthesia, but after that the cat will begin to actively move, itch, and in connection with such actions, the collar may not withstand.

If you have thin plastic (soft cutting board), then you should give preference to it. The collar will be more reliable, and its edges can also be processed so as not to provide inconvenience.
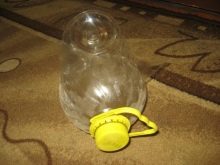
From the bottle
The main task when creating a cat collar from a bottle is to choose the right container of the right size. For these purposes, two-liter bottles are mainly used. Where the neck is located, we find the diameter that is most suitable for the girth of the animal's neck. Then we decide on the length, make marks. Cut off the neck. And according to the marks we cut out the future collar. The result is a cone. And to put it on an animal, you need to make a vertical cut.
Lacing holes must be made on both sides of the cut. They can be made with a screwdriver or scissors. And to make it easier to do, the tool can be heated with fire. You can also make lacing with a gypsy needle. Before inserting the ropes into the holes, they must be treated or covered with a plaster. Because if this is not done, then the cuts can harm the pet.
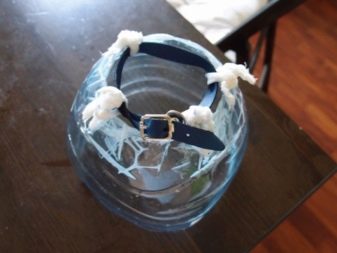
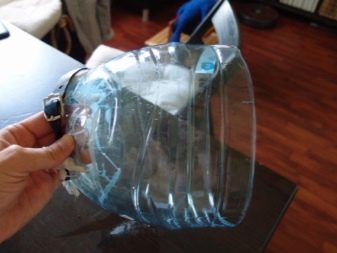
If you are a handicraftsman, you can improve this accessory by simply stitching a soft case.... Then you need to attach loops to the neck collar, into which the collar will be threaded. Even if your cat is not very active, you still need to secure the structure well. All edges must be soft.
If you have chosen this option, then you will definitely need to check that your pet can eat, sleep and actively spend his time. About an hour after putting on the collar, take it off and check for chafing. If you find traces, then it is worth adjusting the design.
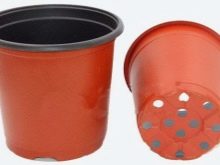
In the same way, you can make a collar from a flower pot.
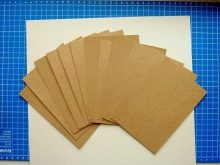
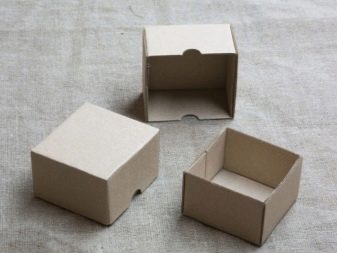
Made of cardboard
This collar option is very easy to assemble. Cardboard will fit any box. You will need to take cardboard, cut out a semicircle from it, the same length as the collar on which it will be attached. This can be done with tape, a stapler, or a needle and thread. The edges can be long and overlap. But there is nothing wrong with that.
To make a more reliable neck collar, you will need tools, as in the previous version: scissors, a stapler and tape. The sample for the future collar is suitable for any option. Also take measurements: the diameter of the neck and the distance from the neck to the tip of the nose. We make a similar scheme according to the measurements taken, transfer it to paper and cut it out.
We try on a sample, if necessary we can customize it. When creating such an accessory, thin cardboard should be used. Then we transfer the shape to cardboard, cut out and fix the loops. Then we put a collar or harness in them. Trying it on again. When the edges are longer, it is more convenient to put on the collar when it is open.
This collar is suitable if the animal's head or part of it is damaged.
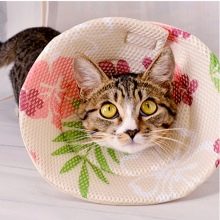
Soft fabric
In the event that your pet has to wear this collar for a long time, then you just need to take care of the comfort. Cats quickly adapt to food and water intake in such a device, but they still feel uncomfortable sleeping in a plastic collar. Of course, the fabric collar is more difficult to sew, but it has three big advantages:
- lightness - there is less stress on the neck;
- softness - does not interfere during any action;
- washable.
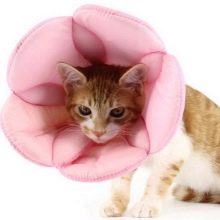
This type of collar should be sewn from cotton or linen. Since this fabric is easily deformed to keep its shape, rigid struts (pieces of plastic) or reinforcing materials can be used. A fabric collar should have 2-3 layers. Fringed edges. When creating such an option, the same dimensions are measured as in other cases, but the length can be made shorter.
Where the cut goes, we fasten it with Velcro or make lacing (be sure to leave a margin). Before you start sewing, prepare the collar loops, they should be made of soft fabric and rather wide (there will be less stress on the neck). The disadvantage of this option is that such a collar does not hold its shape well if the animal constantly tries to take it off.


But you can make it so that this device covers only the cheeks, and so that the animal does not take off the collar, it must be fixed tighter, but not overdo it.
How to put it on?
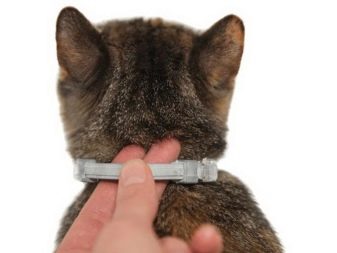
There are times when the vet did not put the collar on the animal, or when you did it yourself. In such cases, the question arises: "how to put it on correctly?" To do this, you need to follow some simple rules. First you need to measure the cat's neck so that the collar fits. It should not dangle, but also not put pressure on the neck.
Then prepare the collar. Clip it to your collar or a piece of soft cloth. In the event that the animal is scared, then take it, wrap it in a soft towel and calm it down. You need to put on the collar very carefully so as not to harm. Many animals do not like being put on foreign objects, and cats can behave aggressively. In this case, you will need an assistant.
Then the cat will have to be held by the scruff of the neck. After her head is in the collar, try to calm her down. Then attach the collar to your neck. Make sure nothing is crushing or dangling. There should be a finger gap between the collar and the neck.
The collar may only be removed with the permission of your veterinarian.
What if he shoots?
Most pets adapt to the collar long enough and intend to remove it at first. In most cases, this is an adequate response, but there are times when it indicates improper use, which brings stress and inconvenience to the pet. You can understand this by how much time has passed since wearing.
In the event that the cat tries to remove the structure for the first time, then there is nothing to worry about. You can train your pet. You just need to pay attention to him, you can sit him on your knees, play with him. This will help the animal get used to the collar. And if a day or more has passed, then it is worth finding out if the collar does not bring discomfort (it is tightly tightened, the corners bite, closes the view). Otherwise, it should be replaced.
For information on how to make a do-it-yourself veterinary collar for a cat, see the next video.