How to make an organizer for cosmetics with your own hands?
The girls use a lot of makeup to create attractive looks, and each has had a storage problem. Homemade organizers are not only practical, but also unique. You can upgrade the product to fit your needs.
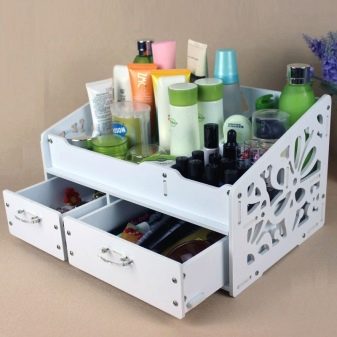
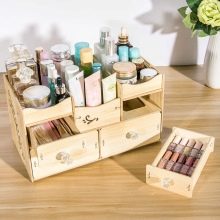
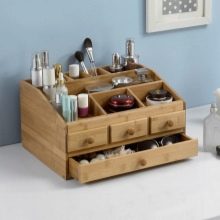
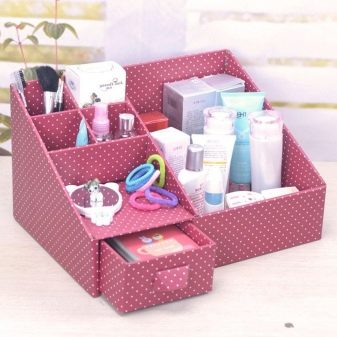
How to make from wood?
Stacking cosmetics in a small chest of drawers is quite convenient. You can decorate the product to your liking, so it will definitely decorate the interior.
Do-it-yourself organizer for cosmetics can be made of plywood or wood. It is necessary to use material with a thickness of no more than 10 mm.
When using solid wood, plywood or MDF, there will be no problems. It should be noted that chipboard is fragile and cannot be milled. Cutting out additional decorative elements will not work.
Required materials and tools:
- a sheet of plywood (wood) measuring 15.25x7.25 cm;
- paper or machine for grinding;
- jigsaw;
- screwdriver;
- glue;
- fasteners;
- clamps;
- putty;
- primer;
- dye;
- a brush or roller of a suitable size;
- pencil;
- paper.
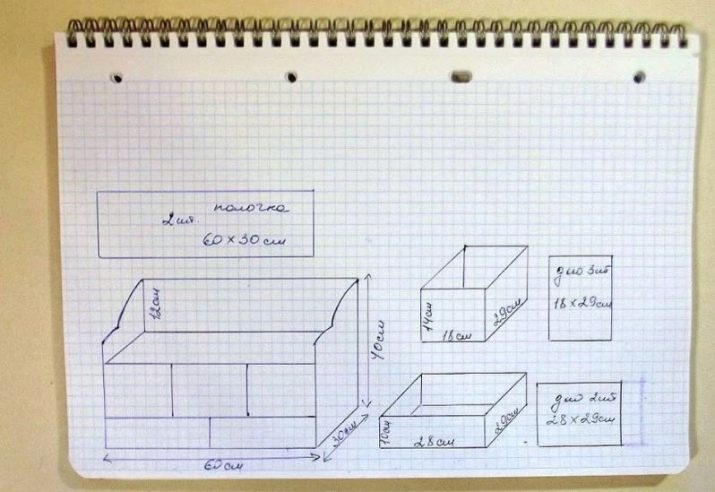
First you need to make a drawing of the future organizer. You can draw at your own discretion or using ready-made templates. To make a chest of drawers measuring 30x40x30 cm, you need:
- draw all functional and decorative elements;
- make a sketch with straight or rounded edges;
- draw boxes and internal shelves;
- make a detailed drawing of each significant detail with dimensions.
High-quality preparation will make the manufacturing process as simple and enjoyable as possible.
Step-by-step instruction.
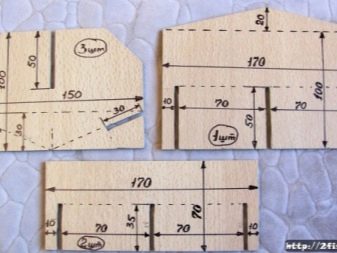
- Make all the necessary sketches with a scale of 1: 1 on paper. Attach the patterns to the plywood and draw with a pencil all the necessary parts of the organizer.
- Using a jigsaw, cut out all parts of the future product.
- Grind the cut areas to maximum smoothness. It is at this stage that the parts should be re-measured and the dimensions should be adjusted if necessary.
- Cover all elements with a primer. It is convenient to use a brush or roller of a suitable size.
- Sand the surface of the chest of drawers again. Use fine grain paper to bring the product to perfect smoothness. If necessary, some areas can be re-primed.
- Apply putty. You should use a compound that is intended for wood. Such material allows you to hide chips and cracks, irregularities of any kind. Wait until the putty is completely dry.
- Grind every detail of the future product again.
- Paint all elements with a brush or from a spray can in several thin layers. It is best to use a water-based or two-component formulation. It is not recommended to use other paints because they can release toxic substances. In contact with cosmetics, hazardous components can get on the face and body.
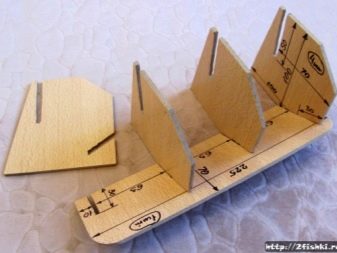
- Collect all parts into a single product. You can use glue or nails to connect. It is imperative to fix the organizer with clamps so that all the parts are well fastened.
- Add decorative elements as desired. Can be decorated with sequins, ribbons, beads, artificial flowers. Also, such a chest of drawers can be decorated with drawings.

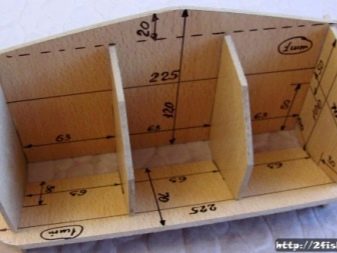
When making a chest of drawers, you can make drawers. In some cases, it is advisable to install guides. In this case, the width of the box is reduced by 26 mm compared to the internal dimension of the body.
As an addition, you can use accessories in the form of small handles for easy opening.
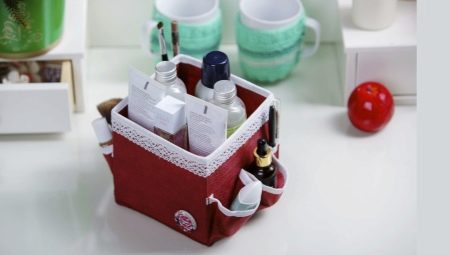
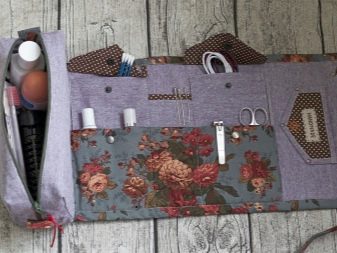
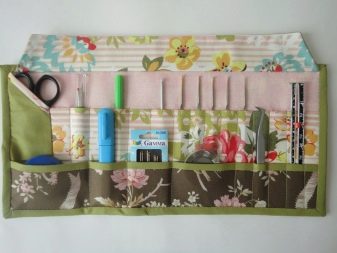
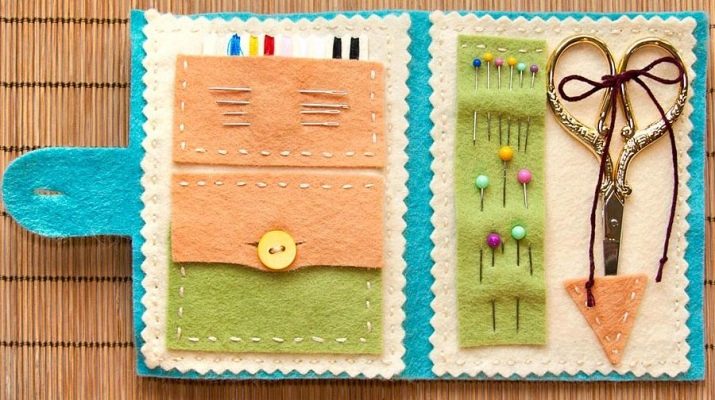
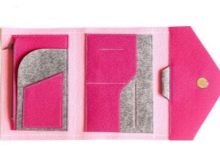
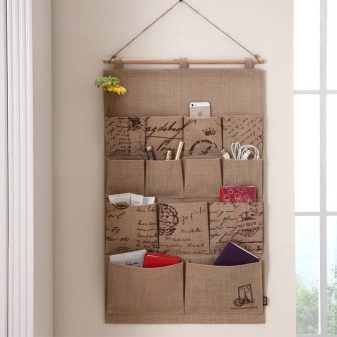
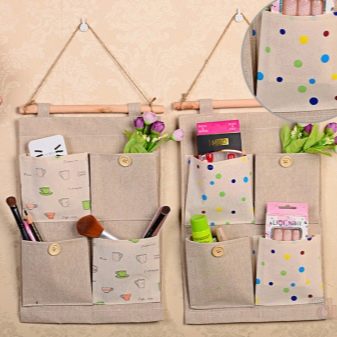
Master class on creating from fabric
A simple case can be used as a travel cosmetic bag. The product is usually made with many different pockets and compartments.
Before starting production, you should prepare drawings with dimensions and allowances for seams. You can sew such an organizer not only with a typewriter, but also manually.
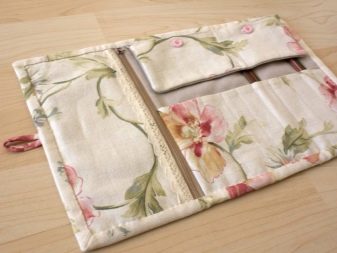
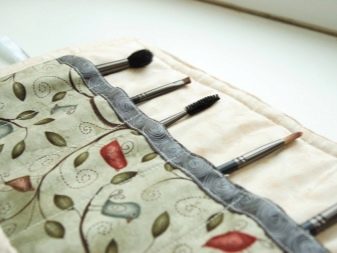
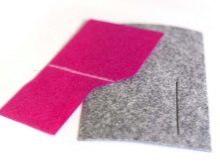
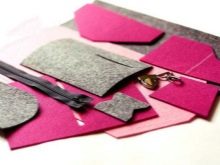
The use of felt will be relevant for those who do not have much experience in making anything from fabric. The case can be twisted with a tube, which makes it as compact as possible.
Required materials and tools:
- 2 pieces of felt;
- braid or Velcro;
- needle with thread;
- scissors.
The first piece of felt should be 30-50 cm long and 20 cm wide. It all depends on the needs, it is important to maintain proportions... The second piece of fabric should be 2 cm longer and about 10 cm wide.
Instructions for making an organizer.
- Connect two pieces of felt so that on one side the edge coincides in width and length. Sew the smaller piece to the main one on the smaller side.
- Sew the pocket. It is not worth pulling the thread, the seam should be free. This pocket will hold mascara, lipstick or other bulky items.
- Sew on all remaining sides of the bag.
- The organizer must be closed. Sew on tape or Velcro.
- If desired, you can sew on additional decor. Felt can be decorated with simple cross-stitch or satin stitch embroidery.
If you wish, you can make a fabric organizer that is attached to the wall. Follow the same instructions, but additionally attach a loop for the hook. A more difficult option involves stitching two pieces of fabric and placing the cardboard between them. Pockets of the desired size are sewn onto the base from above.
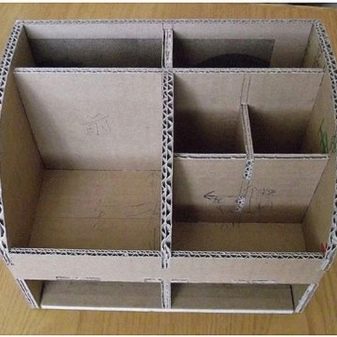
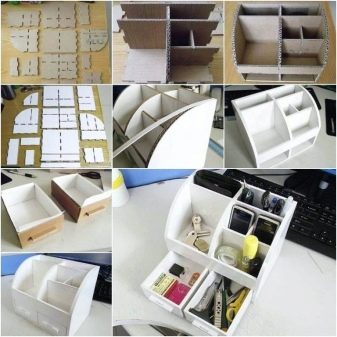
Making from box and paper
Before starting work, you should carefully examine the set of cosmetics. It is important to decide in advance what and where will lie. Next, you need to make a drawing indicating the size of all departments. It is convenient to use a box of shoes or equipment as a basis. Partitions can be made of cardboard.
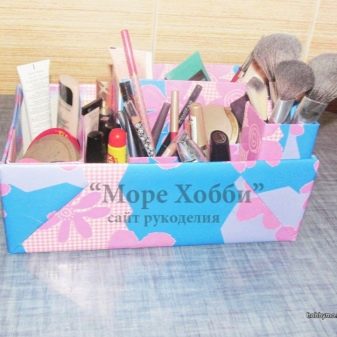
The brushes and pencils section is best designed with paper towel tubes. The simplest option for decorating a box is paper. It is enough to glue the base and all the details with a decorative layer.
A step-by-step scheme for making an organizer.
- Glue all partitions inside the base. You can use hot glue or regular PVA.
- If necessary, additionally make a stand for lipsticks or small items.
- Cover the entire organizer with putty. It is important to apply it evenly to the face and slots of the box.
- Cover the entire organizer with white acrylic paint. It is necessary to work out the inner part so that there are no empty spaces left. This will prevent the negative effects of moisture on the finished product.
- Paint the organizer any color you want.
- If desired, make stencils and decorate the product with drawings. It is convenient to just attach the workpiece and treat the surface with a sponge and paint. It is important that the stencil does not move during operation.
- Wait until the paint is completely dry.
- Turn the box over and work the bottom. You can glue a layer of paper, cardboard or fabric. In this case, the organizer will last long enough. The ideal option would be to use a washable material to decorate the bottom.
What else can you make an organizer out of?
The beauty box will bring tangible benefits to every girl, and making it with your own hands guarantees the uniqueness of the product. Moreover, in this case, you can control the number and size of departments, depending on the cosmetics that will be stored inside. It is noteworthy that a simple chest of drawers can be made as a gift to friends or relatives.
An organizer made from scrap materials is practical, attractive and as budgetary as possible. It is easy and simple to make a basket of newspaper tubes. All you need is a cardboard stand, paper, glue and a lot of patience.
The product is durable and colorful. If desired, the organizer can be spray-painted.
A plastic storage chest of drawers is easy to make from office paper trays or simple bottles. In the latter case, cut the product to a suitable size. Parts of the bottles are glued and painted. The decor can be absolutely anything.
Quite an interesting option for making an organizer from a sheet of metal. The base is mounted on the wall and decorated in any way. Can be attached to the metal surface of the shelf. A more interesting option would be to attach cosmetics with small magnets.
To learn how to make an organizer out of cardboard, see the video.


