Shells on nails: design features and techniques for creating a manicure
The shell nail design is great for the summer season. During a vacation on the seaside, its use will also be relevant. In this article, we will look at the technique for performing this manicure and how to create patterns suitable for this color scheme, as well as find out the latest fashion trends.
New design
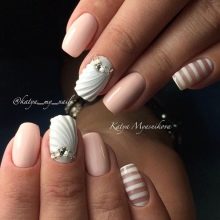
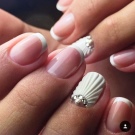
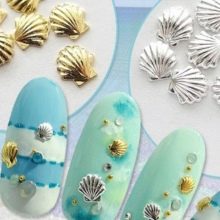
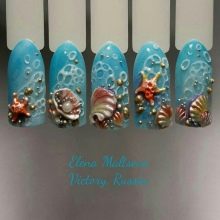
The novelty of the season is the embossed seashell on the nails. The seashell can be drawn. Metal, plastic, natural small shells are often applied to the nails, complementing the print with other marine attributes. The pattern looks luxurious on long and short nails. The relief gives the image a special effect.

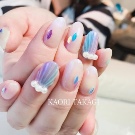
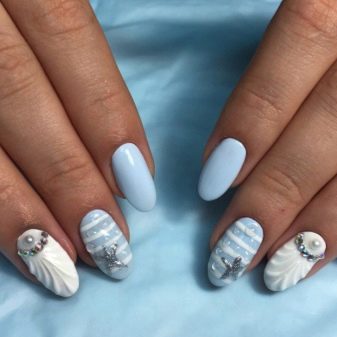
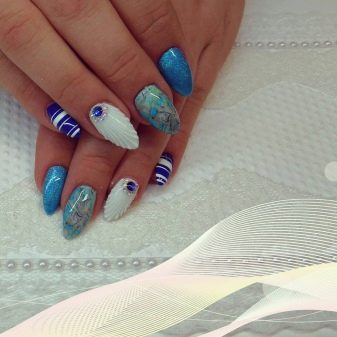
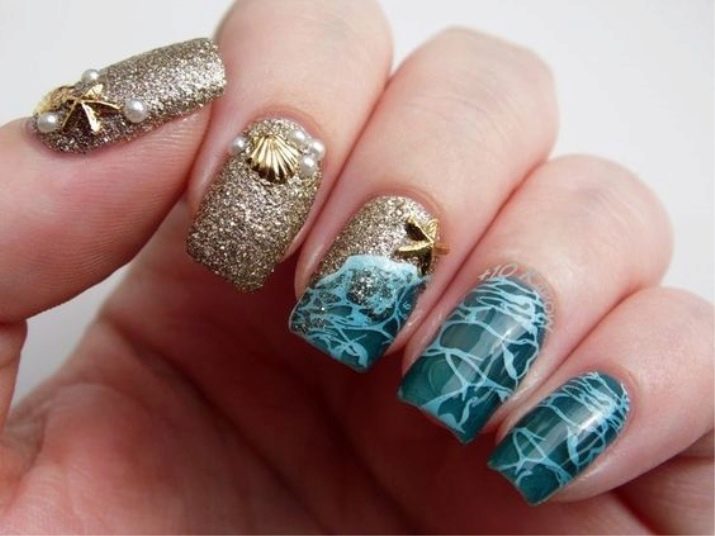
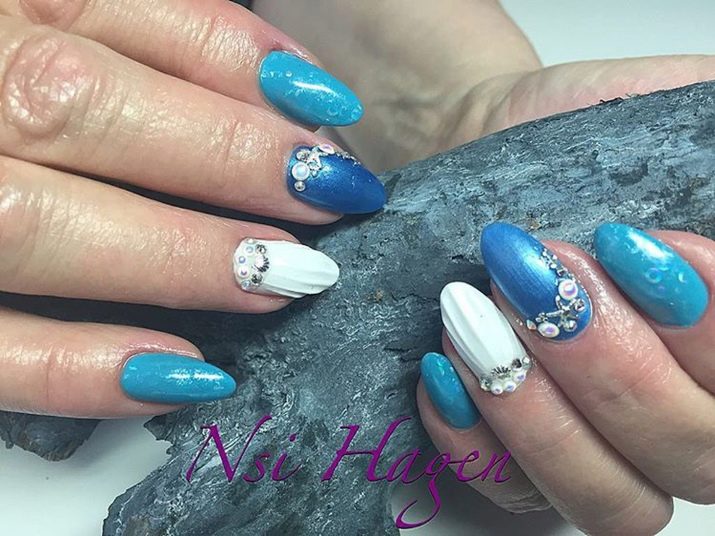
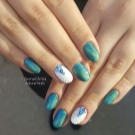
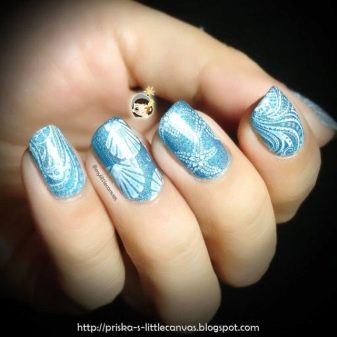
The trend is the navy blue manicure. The shell pattern fits perfectly into the azure, sapphire, heavenly tone.
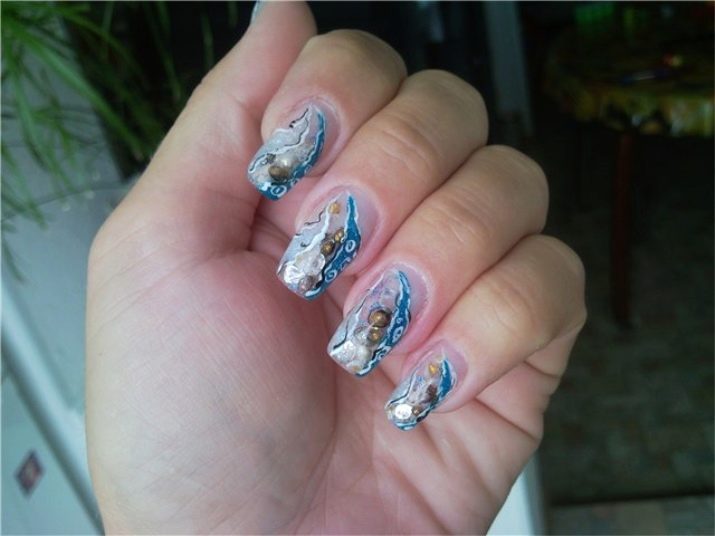
Better not a bright color, but a delicate, discreet color. The shell placed in the surf image looks original and impressive.
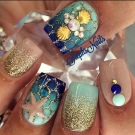
At the peak of popularity today, aquarium design. Fish, shells, marine life are placed in the midst of algae. The coating is made with transparent varnish. The manicure is very effective and elegant. The aquarium version looks fantastic on long nails with a pointed shape.
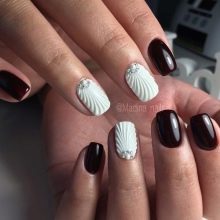
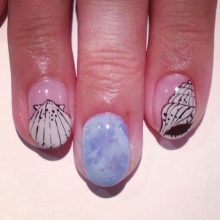
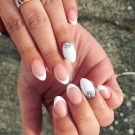
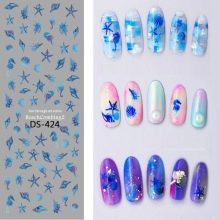
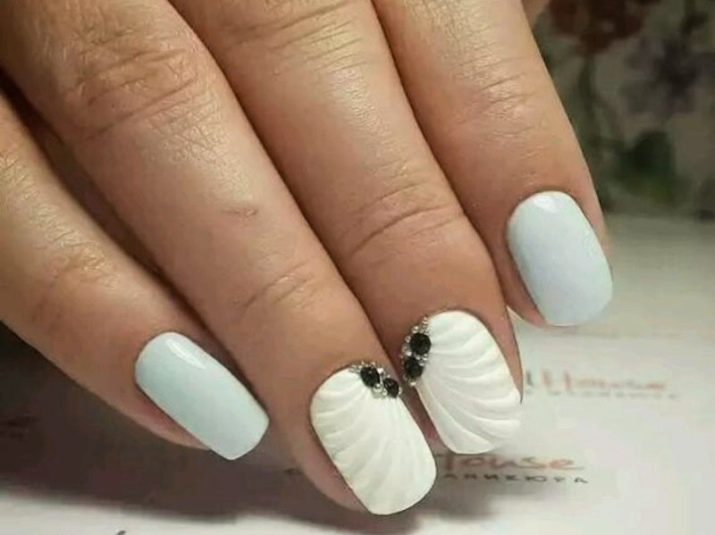
New for the season is the placement of the seashell in white, blue and blue streaks of marble manicure.
Nails with embossed seashells and huge bulging water droplets on adjacent nail plates combine beautifully. It is fashionable to combine matte nails with a transparent glossy texture.

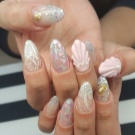
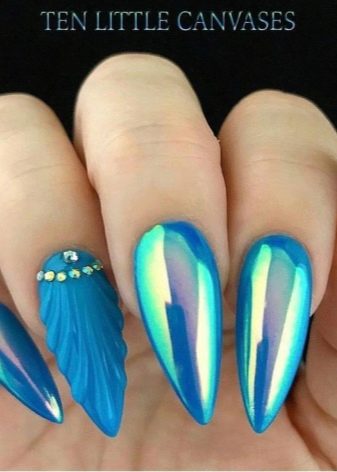
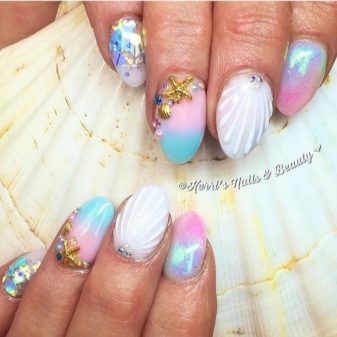
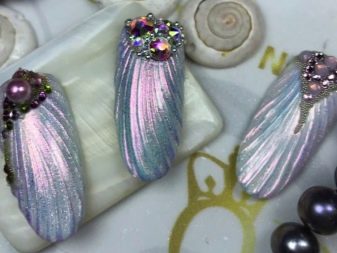
Holographic manicure with seashells is gaining popularity. Pearlescent nails shine, shimmer, shine in the sun.A 3D effect is created. A chic drawing is suitable for any festive event.
Combinations of shades and decor
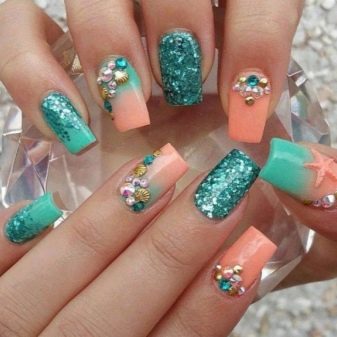
When creating a marine theme design, it is necessary to take into account the ratio of decor and color scheme. Manicure goes well with light summer dresses and sundresses, white trousers and blouses. It is advised to place the drawing on one or two fingers. On each nail, the print will look heavy and tasteless. Aquamarine shades are fashionable this season, so you can safely choose a similar color for a manicure.
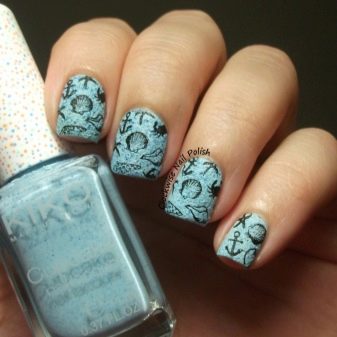
Mother-of-pearls, golden sand, starfish, anchors have become integral elements of marine manicure. The drawing attracts others with its embossed details. Wavy blue lines and turquoise folds mimic the surface of a seashell. The pebbles fit well into the design.
It is necessary to use decorative ornaments in moderation so as not to overload the manicure with them.
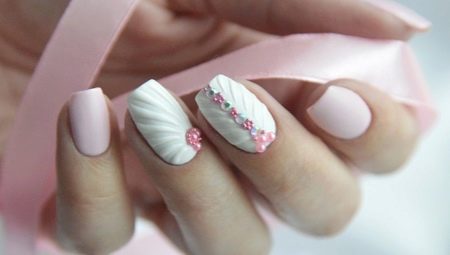
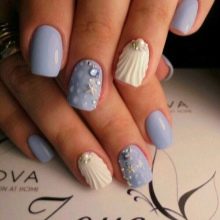
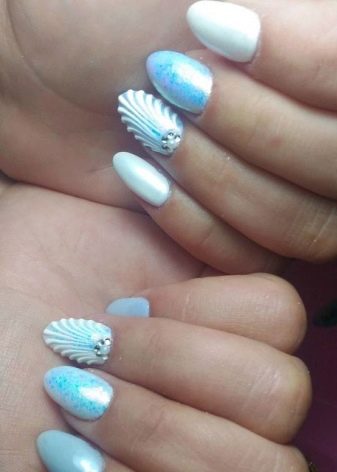
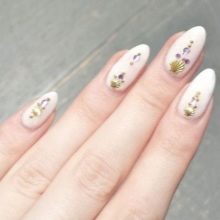
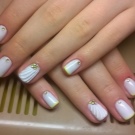
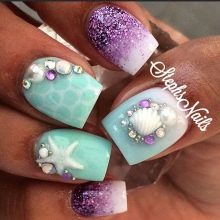
Calm and delicate tones of light colors are ideally combined with the image of a sea shell. It is no coincidence that white is most often used. Pink, blue, beige shades fit perfectly into the image. This print looks natural, as if the shell lives in its natural environment. Rhinestones and beads give a solemnity to the manicure.
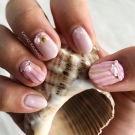
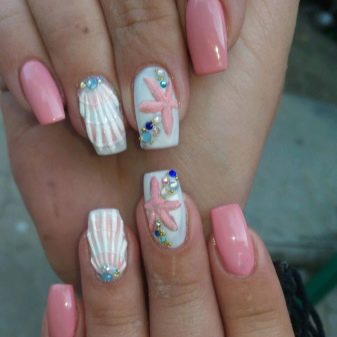
Pink shades have always been trending, especially in addition to the underwater theme in the form of a white seashell and starfish. The look is complemented by multi-colored rhinestones. But to avoid oversaturation, the design is done on only two nails.
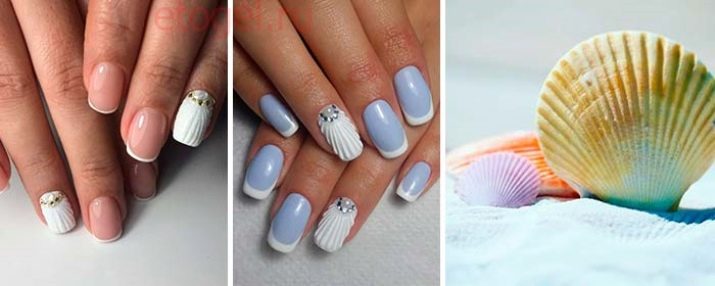
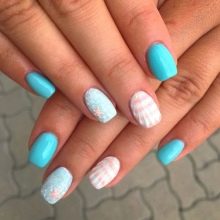
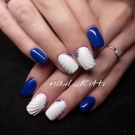
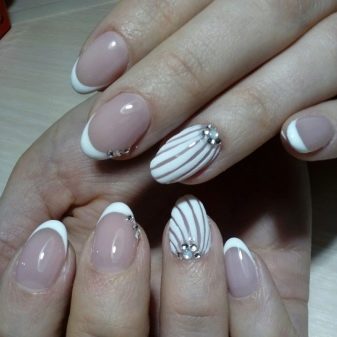
Short marigolds do not need to be overloaded with decor. One nail can be decorated with a shell, the other with transverse stripes, the rest of the fingers will look good with a monochromatic coating. White and blue are ideal.
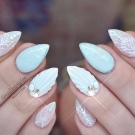
The square and rounded edges of the nails resemble the silhouette of a shell, so the pattern fits perfectly with these shapes. On oval and almond-shaped nails, the shell looks good too. Mother-of-pearl and real shell shards add spice to the design.
In the salons, they try to recreate the natural roughness of shells, applying a matte top coating on top. When using a glossy gel, the surface is treated with a buff. The addition of velvet sand helps to achieve relief without additional decorative elements.
You can very neatly cover the ribs with glitter. They shouldn't be conspicuous.
Ways to create a picture
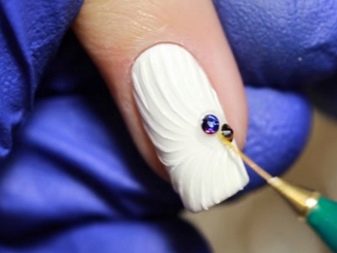
It is best to form a drawing with gel paint. It does not blur, contributes to the creation of clear contours, preservation of the volume of the shell. When drawing lines, it is recommended to expand towards the free edge. The arched lines give the shell a natural effect.
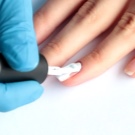
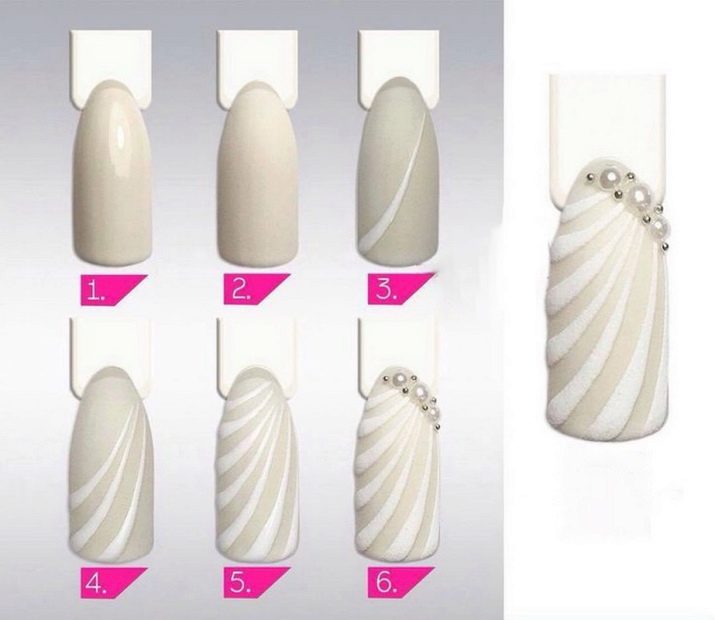
Step-by-step instructions for creating a manicure:
- file to give the desired shape to the nails;
- degrease the surface;
- apply a base coat and dry;
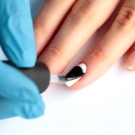
- make a layer of gel, dry thoroughly;
- repeat the previous action;
- apply top, dry, remove the adhesive layer;
- draw straight or arcuate vertical stripes (6-7 lines) with gel;
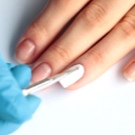
- dry the layer;
- do not remove the adhesive layer;
- cover with gel again;
- cover with acrylic powder;
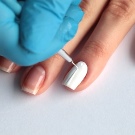
- dry in a lamp;
- shake off excess powder with a brush;
- do not cover with a finishing top to avoid loss of velvety.
The second method of performing a manicure differs from the previous one in the absence of powder. After the final drying in the lamp, the finishing top must be applied. The shell is obtained without impressive volume, but peach and cream tones bring tenderness and sophistication to the design. The shell looks more natural.


The third way to create a voluminous shell attracts many resort-themed manicure lovers. The relief is achieved using a transparent gel applied with a brush over the colored surface. The funds are applied a lot, they are covered with a colored gel on top. Then comes the top coat.
Rhinestones or beads look good on a relief surface. They are applied with a special pencil on a transparent gel, leveled and dried in a lamp.
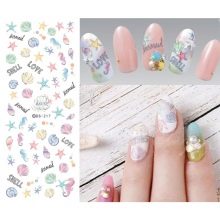
Stickers
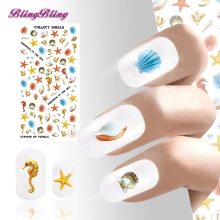
There are a huge number of marine-themed sliders. This is the most convenient way to reproduce a drawing at home:
- cut out the desired fragment;
- immersed in water for 40-45 seconds;
- use tweezers to separate the desired pattern from the base of the slider;
- attach a sticker with a shell to a nail plate covered with acrylic or gel;
- leave to dry completely;
- cover on top with a securing top.
It is very easy to glue sliders on nails coated with ordinary varnish without treatment with acrylic or gel. They are applied with tweezers to the dried one after applying the second layer of colored varnish. To fix the picture, press it with a cotton swab, removing irregularities and air bubbles. A clear hardener varnish is applied from above to strengthen the picture.
Brush
Only a professional can create a unique print with a thin brush. This is a very painstaking job, and not every beginner can handle it. It is desirable to supplement the design with the image of a starfish, anchor, golden sand. Objects of different shapes can be made in any angle. Lines carefully drawn with a brush should be close to each other. They may not be able to reach the 2 or 3 mm hole.
The likelihood of skillfully creating a shell on sharp-shaped extended nails can only be achieved with the use of a thin brush.
Stamping
An innovative way of applying a pattern to the nail surface using special impressions is called nail stamping. This does not require professional knowledge of the brush, no drawing skills are required. An important point is the correct implementation of the technology for drawing a picture. Complex nautical attributes are applied to the nail without any extra effort.
The image on the nail surface can be applied independently at home. A small silicone or rubber stamp will help you create the seashell print. For a more convenient process of applying a pattern to the nail plate, it is best to take a transparent stamp, which is used to transfer the picture from a stencil coated with a suitable varnish. Excess varnish is removed with a special scraper. You can use a metal disc with an engraved shell.
Execution technique
With the help of transparent gel paint, the shell can be made voluminous. Carefully drawing lines on top of the color gel will make the relief stand out. You will need to apply 3-4 coats of paint. You should choose a product without an adhesive layer, then you will not need to put a top on top. The relief of the object will remain unchanged.
The following techniques are popular.
Design with one subject focusing on multiple nails. The shell, which is located simultaneously on two marigolds, looks unusual. The petals of the object were stretched in different directions. They can be united by rhinestones located in the picture as a connecting link.
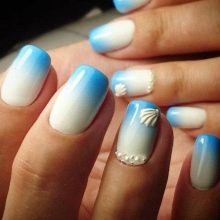
Gradient ombre manicure. The surface of the nails shimmers, reminiscent of the sea. The shell sprinkled with multi-colored powder amazes others with the effect of a kaleidoscope. For ombre, yellow, emerald, blue and blue shades are perfect.

At the height of fashion, "naked" manicure in the style of negative space. The sink can be made directly on the base coat. Colored varnish is not used. The shell is decorated with acrylic powder. Various decorative elements are placed next to the hole.
- The effect of a split seashell. The original design is created from the purchased ready-made decor depicting a broken seashell. The particles should be immersed in the base base and dried thoroughly. Then a finishing clear varnish is applied. The shards can be presented in a wide variety of colors.
Inconvenience will be caused by the grasping of the decor components for clothes and hair. A manicure is not suitable for everyday use.It can be made for a beach disco or other specific event.
- Plastic shells. The technique of performing a manicure does not take much time. You just need to glue the finished image to the nail. Blue and beige shades fit perfectly into the print. The sequins are also combined with the decor.
Modeling of seashells with 3D plasticine. The sculptural gel is plastic. With the help of plasticine, you can form a voluminous shell. A small, bouncy brush will help create the image. A finishing gel is required.
See below for a master class on "Shells" design.


