Lip manicure: original ideas and tips for their implementation
Much attention is paid to manicure design today. What ideas are not found today in the vastness of the network, while among them a manicure with lips stands out. This trendy design allows the woman to be in the spotlight.
Nuances of color and shape
When choosing the best color combination for your nail design, you can build on the garments or accessories available. Considering that a manicure made with gel polish will stay on nails for at least two weeks, it is better to choose calmer tones of pigmented varnishes. And also in this case, the style of clothing will be a decisive factor, for example, shocking personalities, on the contrary, prefer everything that is bright and stands out from the crowd. The color of the manicure will depend on the shape of the nails., because on short and flat nail plates, the light tones of the base will visually shorten the already insufficient length and expand the shape. At the same time, on long nails, dark shades will already require a more careful choice, since long nails with bright decor will look very different than short and moderately long ones.
When choosing one or another color, you need to correlate it with your images so that the manicure harmoniously complements, but does not break the fashionable bow.
Color combinations
Depending on the chosen clothing and women's style harmonious color combinations can be called background and lip combinations in the following colors:
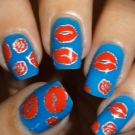
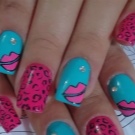
- blue with gold and white;
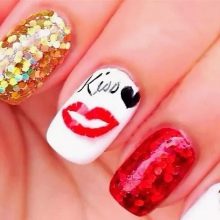
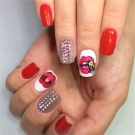
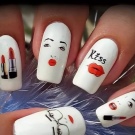
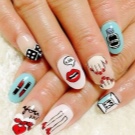
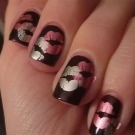
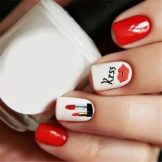
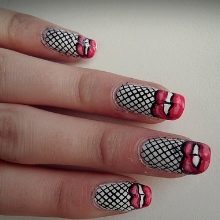
- white with red and black;
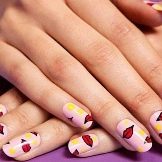
- nude or beige with black and burgundy and white;
- white with marsal, black and gold;
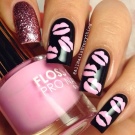
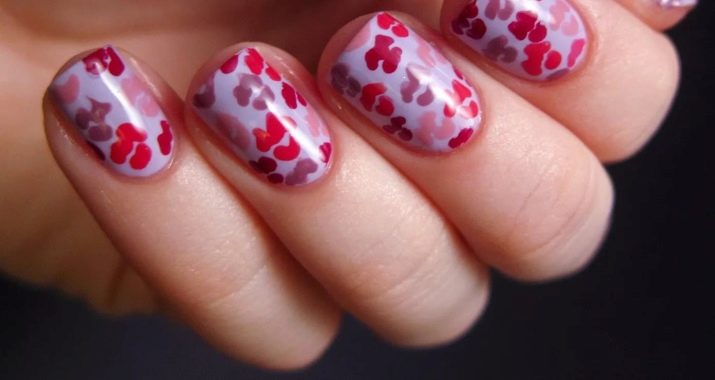
- red with pink;
- milk and terracotta with black;
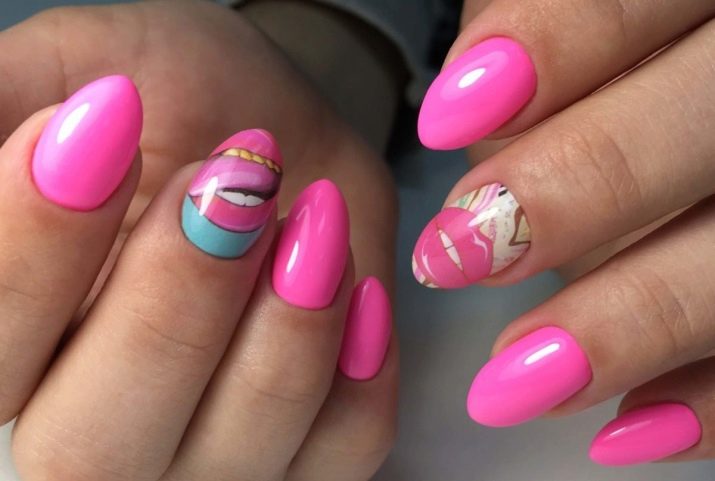
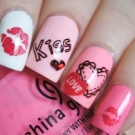
- white with pink and red;
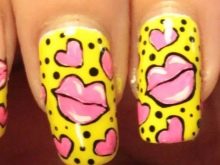
- white with fuchsia and black;
- sandy with coral, white and black;
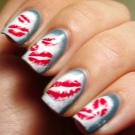
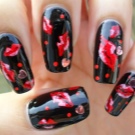
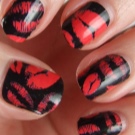
- black with red;
- white with gray-pink;
- gray-blue with white and red.

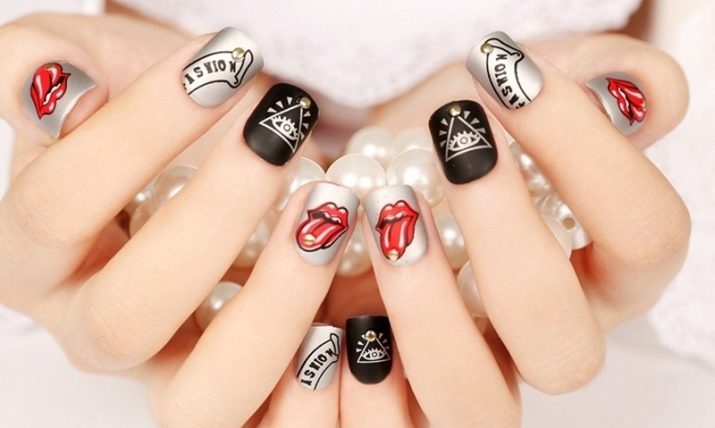
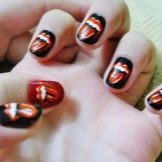
In addition, drawings can be not only colored, but also monochrome. For example, made in black on a white base, or vice versa.
Design techniques
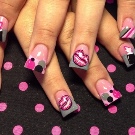
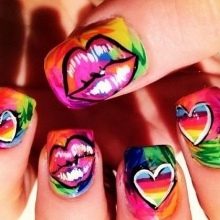
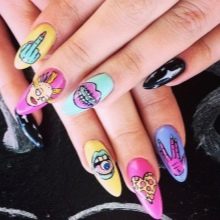
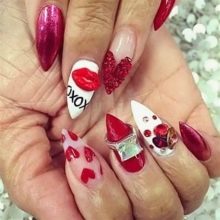
Considering the different possibilities of decorating, you can decorate your nails with an unusual pattern in three ways. The first of them involves hand-painted lips, and sometimes the whole composition. The lips can be simple, in the form of prints, with a tongue or chupa-chups. Someone depicts them together with part of the face, someone complements them with stains, giving the appearance of a watercolor painting technique on a wet background. Manual creation of a drawing is so convenient that it does not limit the master in choosing the best design. Drawings are created in different ways: one master uses a thin brush for this, another likes to work with dots, the third even uses special pens with acrylic helium dyes. Sometimes modeling gel is also used in design, creating a three-dimensional print with its help.
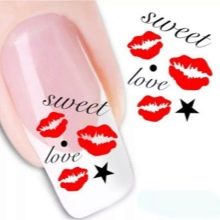
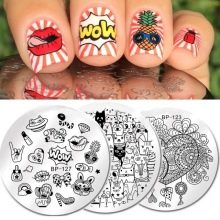
Everyone chooses their own technique, while it will be easier for a beginner to work with a brush or pen. Those who want to decorate an accent nail quickly and professionally can purchase ready-made plates or stamps with an engraved pattern for design. This method of decorating a manicure will allow you to create a high-quality pattern from thin lines in a matter of seconds, and most of these patterns can be colored at your own will. If there are no stamps, and drawing seems like a daunting task, you can buy ready-made stickers with lips. It is not difficult to glue them onto prepared nails. It will take no more than a minute along with straightening the nail. After the final sealing, the nail will look like it was done by a professional nail salon master.
Professional advice
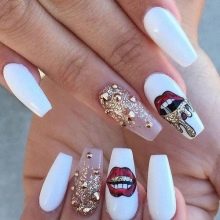
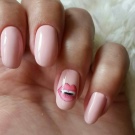
A lip manicure is a rather spectacular, but peculiar design of nails. No matter how much you want to embellish a design of this type, you will have to take into account not only fashion trends, but also the compatibility of decoration elements. The first thing to consider is the dosage of the accents themselves. In order for the lips on the nails to look stylish, expressive and not lost against the general background, you will have to reduce the number of accent design nails. Lips with a drawing will look good if they do not repeat on other nails of one hand. In this case, it is allowed to repeat to another or a similar pattern, which will be even more useful.
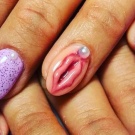
If you plan to use rhinestones for decoration, it is important to pay attention to the size of the lips: small lips together with large rhinestones will look ugly. In this case, it makes sense to replace the rhinestones with gold or silver glitter. There should not be any flowers or other distracting drawing from the main theme. For a print, it is advisable to use no more than four contrasting shades of acrylic paints. Anything superfluous will affect the general view and simplify it.

The location of the lips is carefully chosen. You can pre-set a point so that the drawing is in the center of the nail plate, and not skewed to one side.
If you want to use a stamp, you can decorate it not with colored paints, but with gold or silver gel polish. However, in order for it to look beautiful, you cannot overlap the black outlines of the picture, which make the image more expressive. At the same time, it is undesirable to complicate such a pattern with other patterns, and even on one accent nail plate. It will no longer look beautiful, because the attention will be divided both on the lips and on another image.
How to do it yourself?
Drawing lips is actually not that difficult. For this, it is worth considering an approximate technology using acrylic paints.You will need the main pigment for the background, white for the base (if the pigment is dark or bright), lip varnish, a brush (dots) and decor (if desired). The print is created step by step in different ways.
Imprint
This option includes the following steps:
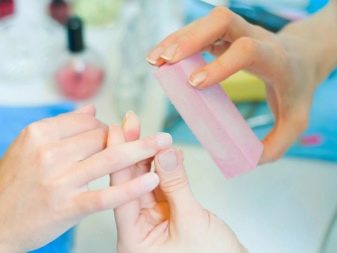
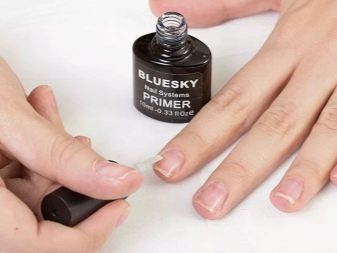
- a base coat is applied to the prepared and sanded nail with a thin layer and dried in a lamp;
- the nail is covered with a layer of pigmented base varnish and dried;
- apply another layer of background pigment and dry again;
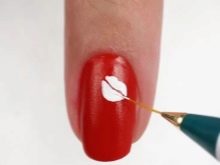
- if the background is dark, paint the base of future lips using white gel paint;
- the outlined contour of the two lips is filled with white paint and dried in a lamp;
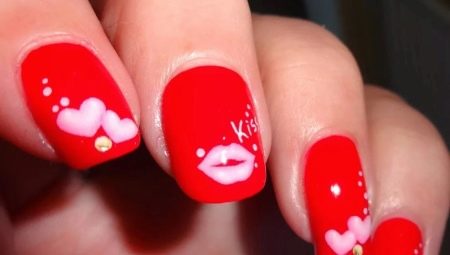
- the white base is filled with red or pink (gold, silver or other tone) gel polish, covering the entire white color;
- the nail is dried in a lamp and volume is added to the lips using black paint (small strokes are drawn along the contour of the lips outside and inside);
- after the next drying in the lamp, the design is fixed with a layer of top coat, which is also dried for hardening.
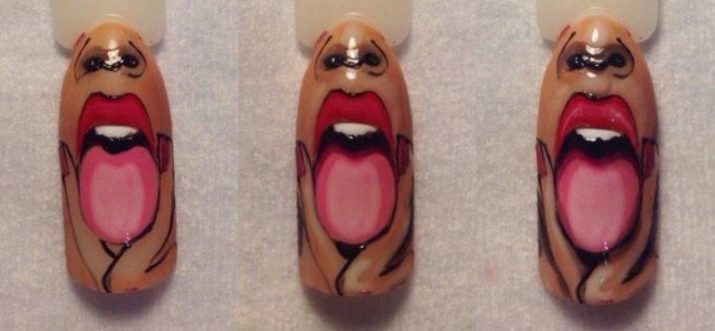
With tongue
If you want to paint lips with teeth and tongue on a white background, you can do without a white backing, because in this case there is no dark base that overlaps the original color of the red (pink) pigment. For such a design, the following steps are worth following:
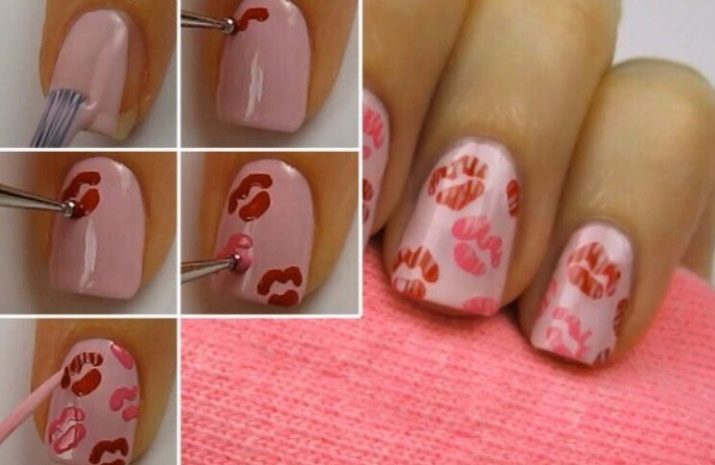
- after painting the nail white and drying, draw the contour of the lips with red acrylic gel paint using a thin brush;
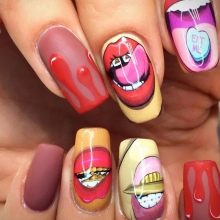
- the mouth is drawn open, leaving room for the teeth and tongue;
- under the lower lip, paint on a small semicircle and paint over it (this is the future language);
- with thin strokes, first outline the contours of the upper teeth, then paint over the tongue under them on one side;
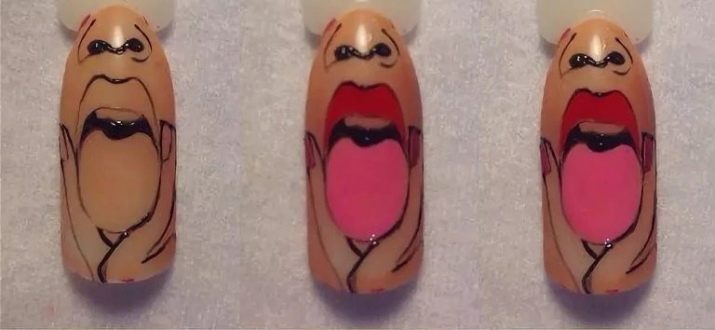
- take black paint and outline the teeth, the contour of the lips and tongue;
- the part remaining inside the mouth is also covered with black, a shadow is painted on the tongue;
- the nail is dried in a lamp, after which it is covered with a layer of topcoat and dried again;
- if the top is selected with a sticky layer, remove residual stickiness.
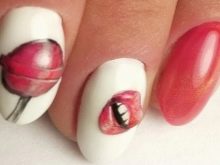
With cherry
To draw a more complex lip design, such as a cherry in your mouth, you will have to spend more time sketching. So, it is worth adhering to the following sequence of actions:
- after the nail is painted white and dried in a lamp, they take a grayish paint and outline the kennels of the future drawing with thin, barely noticeable lines;
- first, just below the center of the nail plate, draw a small circle (cherry), on top of it - the upper lip, below - the lower one;
- the contours of the lips and cherries are filled first with burgundy and then pinkish paint, creating the effect of volume;
- inside and on top, paint a layer with light pink paint, leaving room for the teeth;
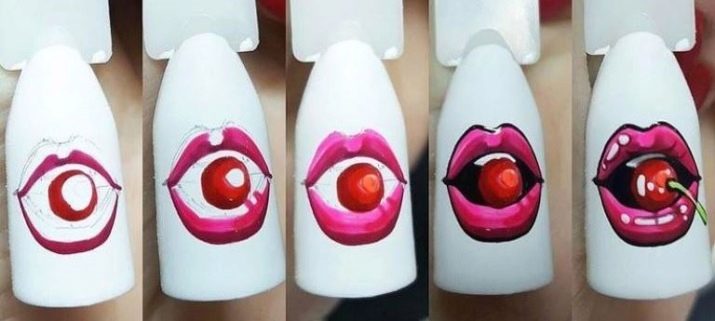
- they take black gel paint, circle their lips, a cherry, paint over everything inside the mouth, except for the teeth;
- a cherry twig is painted with light green paint, then an outline is given to it in black;
- white paint creates glare in the picture;
- the print is dried in a lamp, then covered with a layer of finish and subjected to final drying.

For information on how to make a voluminous manicure with lips, see the video below.


