How to make a shoe glassage yourself?
Old shoes have lost their former shine, but you can't even part with them? Don't rush to throw away your favorite pair of shoes. Try to update it using a simple procedure called glassage.
What it is?
Glassage is a French word and, like all French, carries a certain chic and brilliance. Glassage is the polishing of shoes, which makes even old shoes aesthetically attractive, giving them their original shine and hiding wrinkles. Glassage also protects it from external influences, including water.
You can do it on shoes exclusively from natural smooth leather.
Glassage can be both amateur and professional. The first time you come across a technique, you can spend up to two hours polishing, but with proper skill, the time will be reduced to 30 minutes.
Professional glassage is performed only by an experienced master. It takes a lot of time, but the effect lasts much longer, and the appearance of the shoes usually turns out to be much more advantageous.

How long does the effect last?
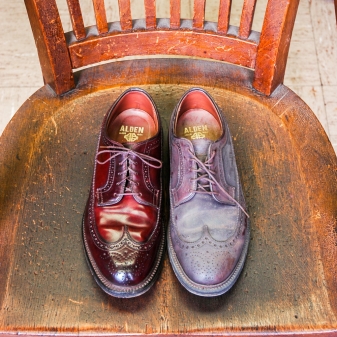
The service life of the glassage directly depends on whether it was made with high quality and how often you wear shoes. With rare wear of shoes, the effect can last even a year, with frequent - several months.
It is necessary to properly care for shoes with glassage, from time to time wiping the toes with a slightly damp cloth. Do not scrub your toes with a brush: this procedure will damage the glassage.
Forces and means
Glassage can be asked to be made by the master. But if you have a desire, then it is quite possible to perform the procedure yourself at home. It will not only give your boots a fresh look, but also protect against the harmful effects of chemicals that are littered our roads.
It is important to bear in mind that glassage is a long and painstaking procedure.If an experienced craftsman can cope with such work in 20-30 minutes, then it can take a few hours for an amateur newbie. Therefore, we stock up on patience, take perseverance, accuracy, a great desire to help, and start preparing the funds.

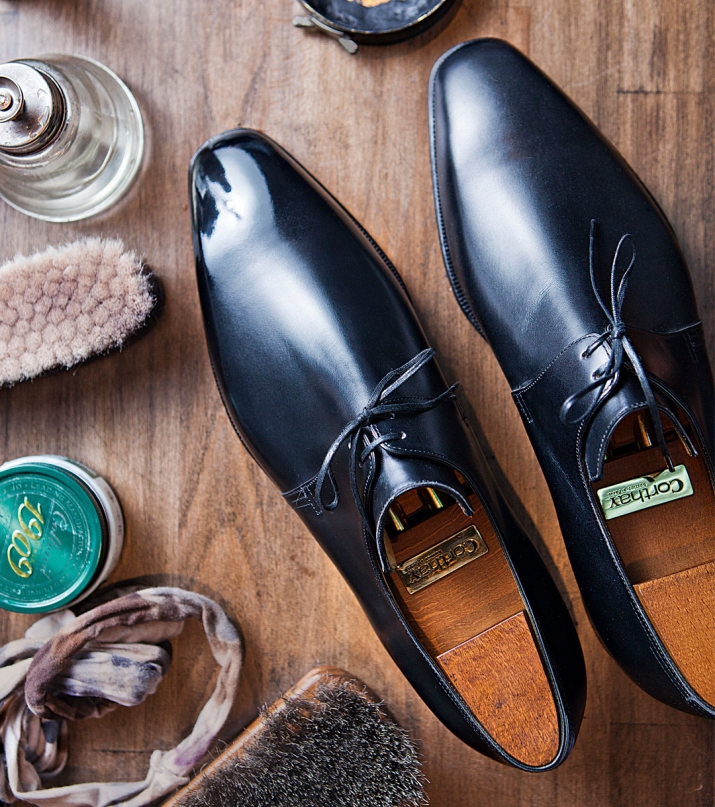
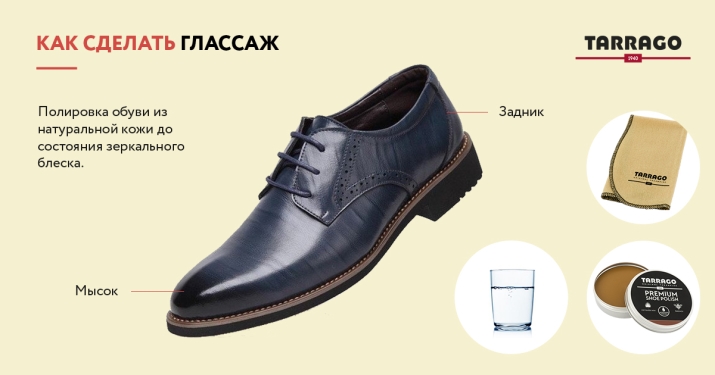
For the glassage we need:
- A small piece of cotton cloth. Some people advise using velvet or fleece. The main thing is that the fabric is soft, but at the same time dense.
- Gutalin. Try to choose the closest color to your pair of shoes, if not, go for a neutral one.
- A small container of water.
- Rubber gloves or a fingertip (available at the pharmacy).
- Metal knitting needle, bamboo stick or tweezers.
The place where you will perform the glassage should be well ventilated and have excellent lighting. Shoe-polish is not a French perfume, it is better to get rid of its smell quickly.
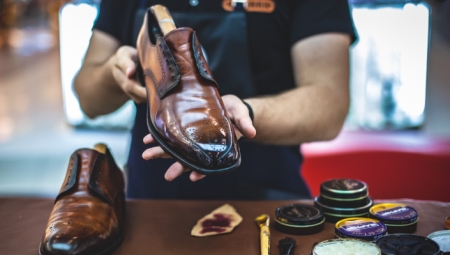
Execution technique
First, we inspect the shoes for contamination. Weed, specks of dust can make your work useless. But cracks and creases are easily eliminated by means of glassage. Better to "stuff" the sock with paper or cloth. Ideally, you can use a wooden or plastic mold for this.
First of all, the nose of the shoe is exposed to glassage - it does not bend when walking and always remains in sight.
Some also do it on the backdrop, which is only suitable for big aesthetes. Firstly, the back part is not as conspicuous as the front, and secondly, constant friction with trousers or jeans does not allow you to maintain the effect for a long time. Glassage is not done on the vamp and ankle boots.
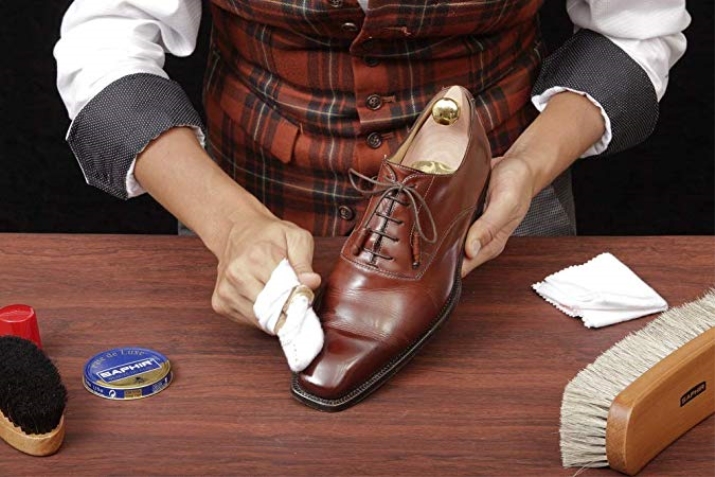
You can proceed to the ironing procedure only after cleaning your shoes and processing with a nourishing cream.
Stages of the glassage.
- We put on a finger rest or a thin rubber glove on the whole hand on the index finger.
- We wind the fabric around the index finger. It is important that it fits snugly and that the “tails” do not interfere with your work. So wrap your finger as if you were doing a tight bandage while stretching.
- We dip our finger into a jar of shoe polish. We just do it very carefully. We need very little money.
- We begin to draw circles on the cape of the boot. Movements should be soft, without pressure, counterclockwise. We continue the procedure for 10-15 seconds.
- Apply a drop of water to the surface to be treated. Just a drop, no more. If you don't have an eyedropper at hand, do it with a knitting needle or bamboo stick. We continue in a circular motion.
- Make sure that the finger that is bandaged with a cloth remains slightly damp at all times. The key word is "slightly". As you already understood, the voice is a delicate matter. It does not tolerate rudeness.
- Apply the next thin layer of shoe polish. Now movements can be not only circular. Rub the product both along and across.
- Another drop of water. Repeat this cycle until the surface of the skin literally shines.
Important! With each next step, your movements should become more and more gentle. At the finish line, it will be light touches. By the way, next time it will take much less time to maintain the effect - just a few minutes.
Caveats
- Excessive shoe polish or water can have the opposite effect. The surface of the shoe will "swell", become covered with bumps or stains.
- Pressing too hard will cause the shoe to crack or crease.
- Cheap products may not work or even ruin the surface of the boots. Use shoe polish, the price of which is at least 400 rubles, the packaging will last for a long time. It's cheaper than a new pair of good leather shoes anyway.
- If at some point you see that all your efforts do not give a result and the shoe does not become shiny, continue the procedure the next day, when shoe polish and water are well absorbed.
- If something went wrong, stains appeared or shoe polish lay in an uneven layer, bumps appeared, mercilessly part with the results of the work done.Remove the applied product with a stiff brush and start over. In this case, as in the popular saying, only patience and work will grind everything, and in the literal sense of the word. But the result is worth it.
So do not part with your beloved old pair of shoes, the ironing procedure can return it to its former appearance. And saving several thousand rubles on buying new shoes will also not be superfluous. As a last resort, seek help from a shoe shop. The shoemaker will do the job for you, which again turns out to be far more profitable than going to the store and buying a new pair of leather shoes.