Californian blond: features and technique of staining
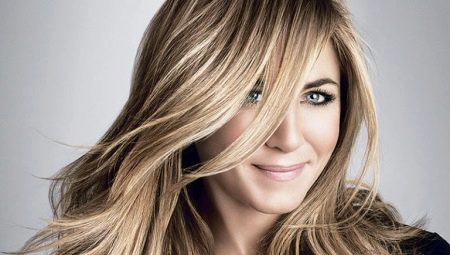
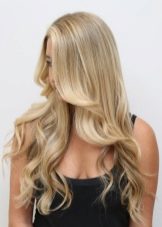
The sunburned strands are reminiscent of a pleasant seaside vacation. However, this effect can be created without exposure to the sun. California highlighting, fashionable for several years, allows you to achieve a similar result using a special technique. Let's figure out who the Californian blond is for and how this procedure takes place in the salon.
Peculiarities
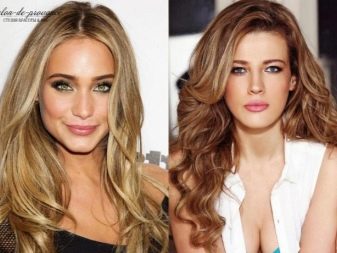
The main task of such coloring is to achieve the most natural effect of hair burnout. Under the influence of ultraviolet light, the pigment disappears unevenly. Therefore, during this procedure, several shades are used to get a smooth transition from one to another.
Individual strands are dyed. At the same time, the roots remain darker. The ends, on the contrary, become lighter. Sharp contrasts are unacceptable, shades are selected very carefully. As a result, the strands look quite noble.
The advantages of the Californian coloring are obvious.
- Lightening occurs only for a few tones, not all strands are subjected to the procedure. In addition, hair is dyed in an open way (without heat treatment, foil), which reduces the level of damage to the hair structure.
- As a rule, clarification is carried out, slightly receding from the roots. This eliminates the negative effect of the dye on the scalp.
- The regrown roots look natural, which makes it possible to visit the master less often.
- This technique allows you to sometimes leave moderate gray hair without painting over it. At the same time, gray hairs harmoniously merge into the overall picture, becoming invisible. Of course, this is only suitable for girls with blonde hair.
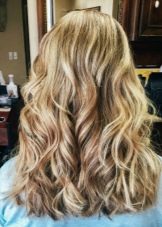
- Due to the color glare, the hairstyle becomes visually more voluminous, the hair seems thick.
There are few downsides to this technique, but they are still worth noting.
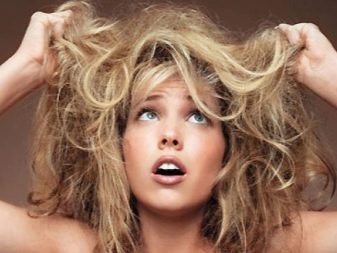
- Lightening strands even with the most gentle formulations leads to their dryness. To maintain the healthy shine and strength of your hair, and to avoid breakage, it is important to thoroughly care for your hair after the procedure.
- The cost of such staining is high, because the process is quite complex and painstaking. However, at least once every 3 months you will have to visit the salon to renew the effect.
- The process is lengthy (takes at least 3 hours).
Who will it go to?
The effect of naturally burnt strands is suitable for almost any girl. However, it requires an individual approach in terms of the selection of shades.
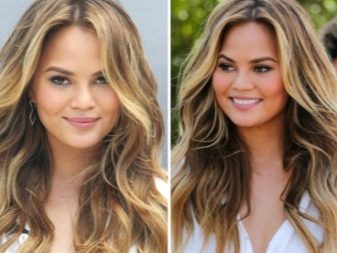
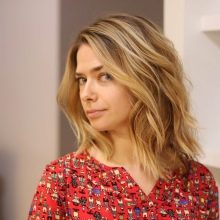
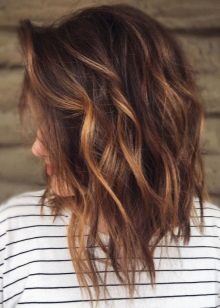
- Owners of light brown hair color can have both "cold" and "warm" color types... Depending on this, the hairstyle can be diluted with various shades (wheat, cream, platinum, ash-ice, etc.). Sometimes, for greater versatility, the master adds not only light, but also dark tones (at the level of natural color, but with a different shade).
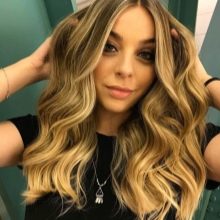
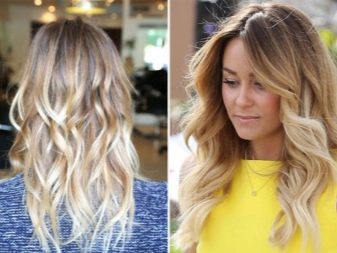
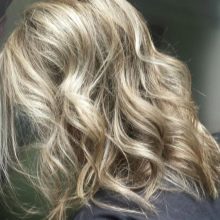
- Natural blondes can refresh their look with strands of any light tones (you can choose milk, pearl, Scandinavian blond, etc.). For depth and visual increase in volume, you can add a darker shade to the roots. However, in this case, you will have to visit the master more often, because the grown roots will be striking.

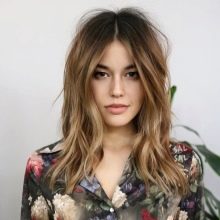
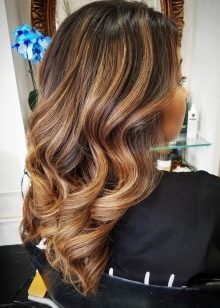
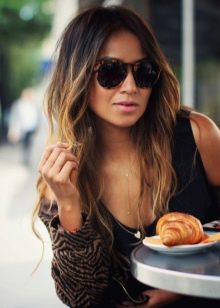
- Girls with brown hair and "warm" appearance will go with honey, amber, nutty, caramel tones.... Let's say a golden blond.

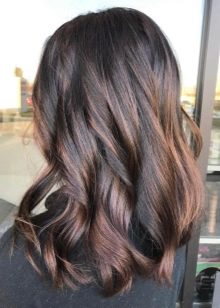
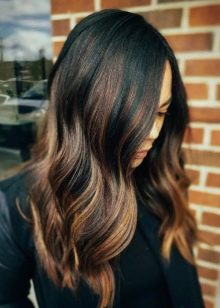
- On dark hair, chocolate, coffee, cognac tones can play with beautiful highlights. You cannot lighten the strands too much. The stark contrast will negate any attempts to achieve a natural effect.
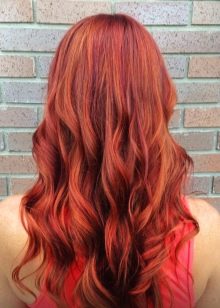
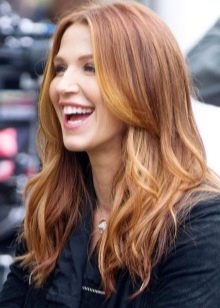
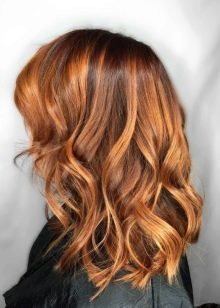
- Even a red-haired beauty can have Californian highlights. The fiery mane can be supplemented with honey, orange notes.
Staining technique
As already said, smooth transition between colors is achieved by using several shades (sometimes up to 6). When choosing colors good taste and knowledge of the basics of color is important... The process itself is also not easy, so trying to do it yourself at home is not recommended.
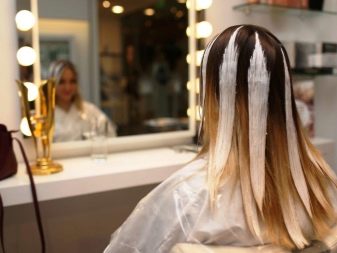
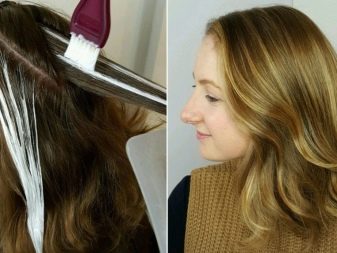
Hair is divided into strands according to the chosen principle. A brightening composition is applied to the right places, indented from the roots. Usually the ends are subject to lightening, as well as strands framing the face, bangs. Then toning with a soft ammonia-free dye is performed.
The composition is applied to the hair with vertical strokes. A thickener is added to the paint, which prevents the product from spreading and accelerates its drying on the strands. This is usually beeswax.
The master constantly monitors the color change process. About 5 minutes before achieving the desired result with a damp brush, he distributes the composition through the hair from bottom to top... This smooths out the transitions between shades.
Hair length
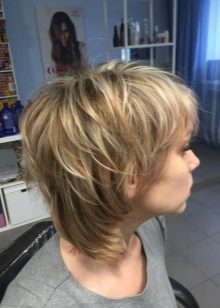
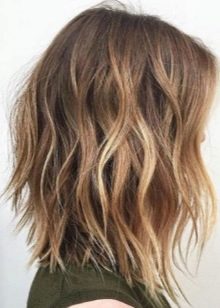
The technique is used on hair of different lengths. Even the owner of short hair can update her look with interesting coloring. With the help of this highlighting, you can visually make your hairstyle more luxuriant. The Californian effect will look good on the square too. This option is not suitable only for those who have a geometric haircut assumes a clear "ladder". Highlights can smear the structure intended by the hairdresser.
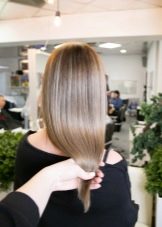
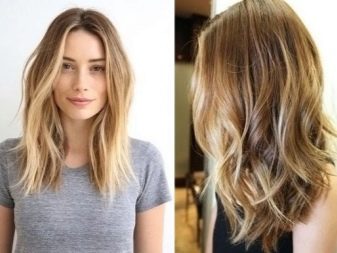
The medium length is very convenient for the colorist, as it gives room for creativity. Here, the transitions are usually smoother than in the case of short hair.
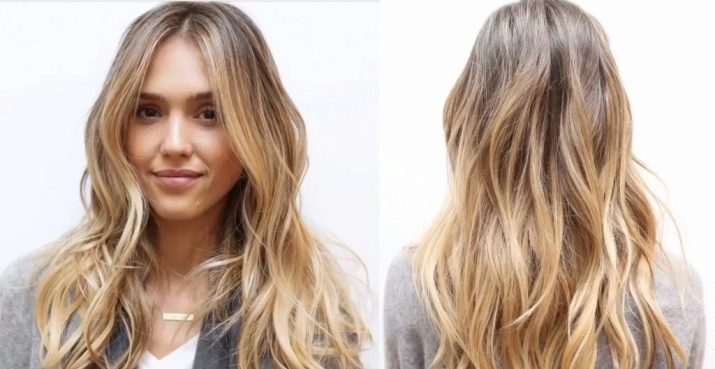
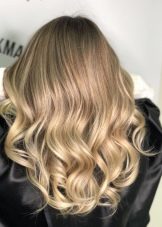
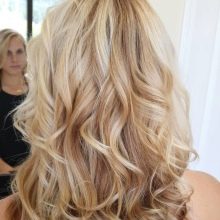
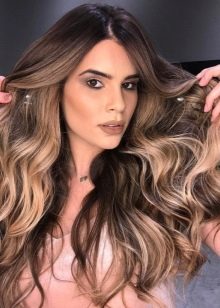
Long hair dyed in the Californian technique looks especially luxurious. Unlike short and medium lengths, where mainly the upper hairstyle is processed, attention is also paid to the deep strands here. This is not surprising, because in natural conditions, such a pattern of hair burnout can also be traced.
How to do it yourself?
If you nevertheless decide to save money on going to the salon and perform complex techniques at home, there are a number of points to consider. For the experiment, it is better to take shades close to the natural color. You can lighten the strands by 1-2 tones without pretreatment with a bleaching composition. In addition, with a slight difference in tone, staining errors will not be noticeable.
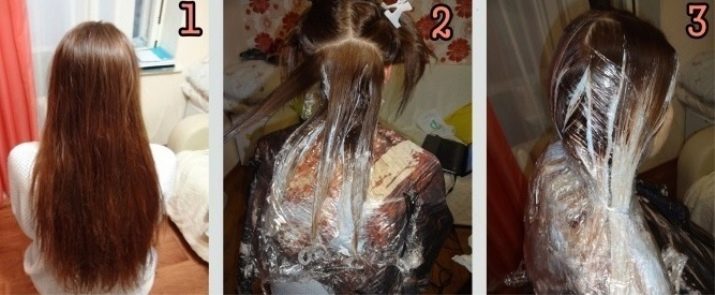
Divide the strands in a checkerboard pattern and make ponytails out of them. This will make it easier to apply the dye. Remember that it should not fall on the root zone.
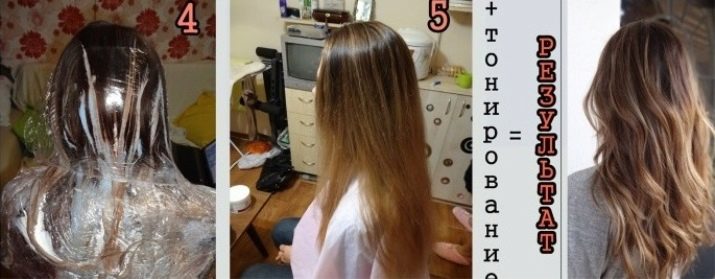
Apply a lighter shade to the ends. Apply a slightly darker shade to the middle part. All actions are performed with a dry brush. 5-6 minutes before washing off the paint, “walk” over each strand from the bottom to the top with a damp brush. This will smooth out the transitions.
Care
After the procedure, the use of mild professional shampoos and conditioners is recommended. Don't forget about moisturizing and thermal protection sprays.
When going outside in summer, use UV-protected products. This will keep your curls from drying out and losing elasticity.

For a Californian blond dyeing workshop, see below.


