Role seam on overlock: what is it and how to do it?
An overlocker is a sewing machine that is used to overcast sections of various fabrics. Thanks to the overlock, the edges of the fabrics do not crumble and retain their neat appearance for a long time. However, edge processing is far from the only feature of this machine. The set of functions of the overlock also includes the execution of a role seam. This seam can be poured on all modern sewing machines. Getting started, you just need to deal with a number of features.
What is a rolled seam?
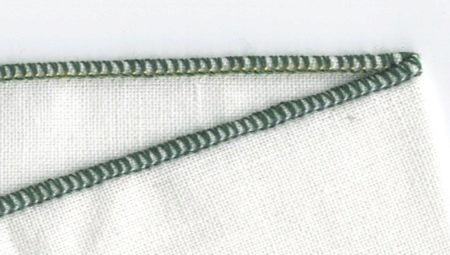
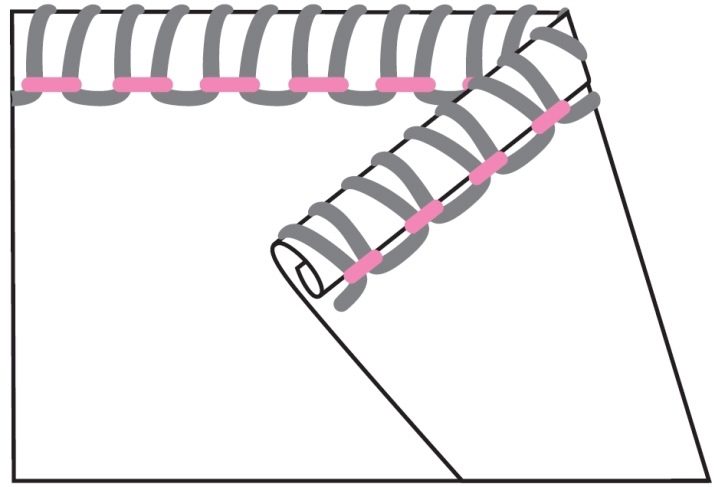
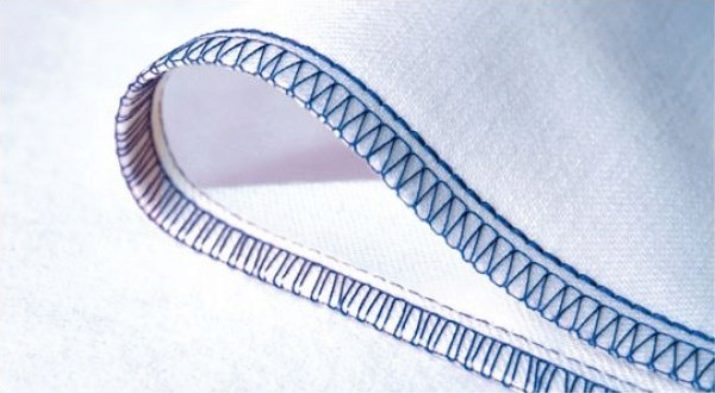
In different sources, several names of this seam come across: hemming, roller, opikovka. The rolled hem will look like a twisted stitch. This result can be achieved by means of the necessary actions with the overlock tensioners. A roll stitch is a tight stitch that runs at the very edge of the garment, with frequent stitch repetitions.
Role stitching capabilities:
- the edge of the product becomes stronger;
- threading a nylon fishing line increases the number of folds on the frills;
- when stitching the petticoat, the hem becomes more voluminous;
- allows you to gracefully bend the edges of the fabric without stretching, if you set the correct settings;
- even unification, if you first deal with overcasting, and then fastening the parts at the same interval;
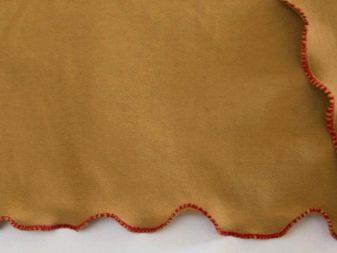
- the butt seam can also become decorative.

Basically, the roller stitch is performed on clothes with flounces and ruffles, for example, dance or carnival costumes. It can also be used to work with tulle and knitwear.
Main types
Consider the types of hem seams, distinguished by the number of spools in work.
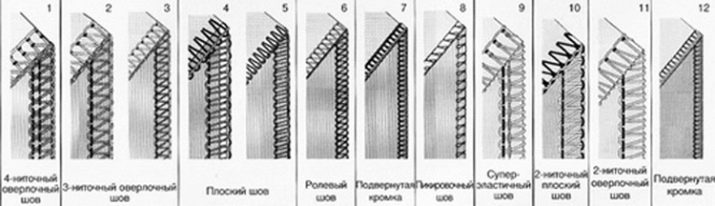
Two-strand
It is used on materials that need to be handled with extreme care, where the number of threads needs to be reduced. The process uses the needle and the looper from the bottom. This look cannot be done on conventional models, only with the help of overlocks with converters. The needles that are not involved in the seam are blocked by the converter to release the needles needed for the seam.
Three-thread
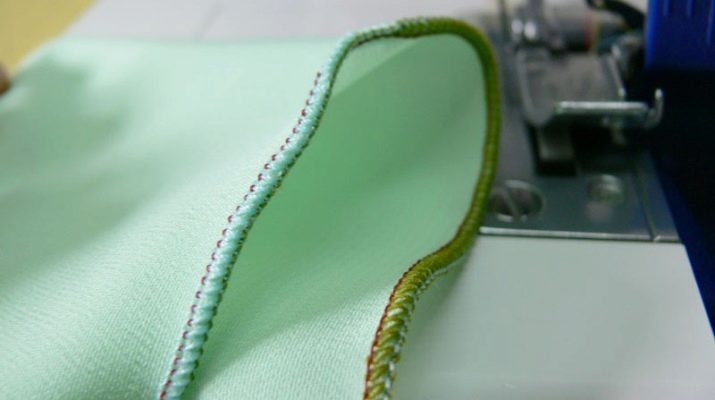
It is the optimal alternative and is available on all overlocks, as the 3 thread is the standard stitch. Thanks to it, you can overcast the edges of soft, opaque products. To create additional decor, you can choose a thread that is different from the fabric in color.
Four-strand
To complete it, you need to use two hooks and two needles. It is much stronger and denser, although outwardly it does not differ in any way from a three-thread seam. It is advised to use when finishing the hem of long dance dresses or skirtsto maintain the durability of the material and a neat appearance.
Five-line
In fact, this is the adhesion of a two-strand and three-strand seams, in the center of which there is a coherent single-strand seam. Perfect for high-density fabrics such as denim.
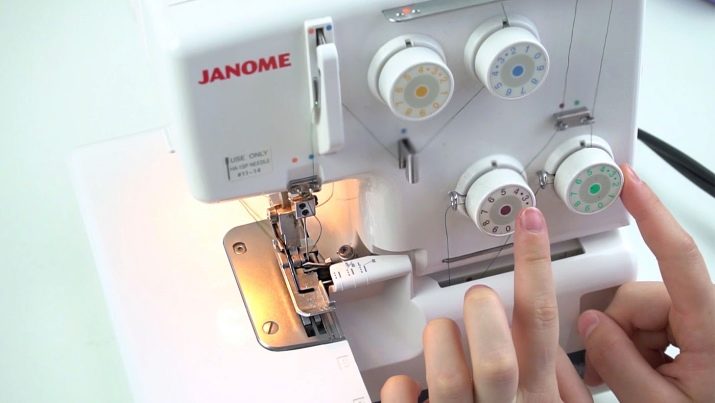
Thread tension levels
It is important to consider the level of thread tension to start rolling over the overcast. By adjusting the tension, stitches of various sizes and shapes are produced. The overlock has a special wheel that performs this function. Overlock models are available that include built-in controls. She herself adjusts the required values, taking into account the required seam.
In standard models, the wheels are located on a plane or on one of the rods, which contributes to the implementation of the same tension on all threads.
How to adjust on overlock?
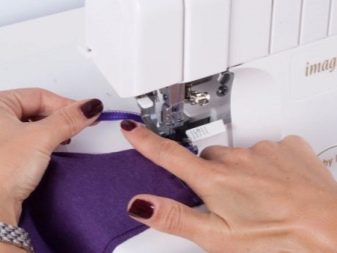
After you have readjusted the overlock for the hem seam, sew the first stitch to check the thread tension. Take a closer look at the accuracy of the rolled seam. If the stitches are straight and do not collect the fabric, then we leave the thread tension unchanged.
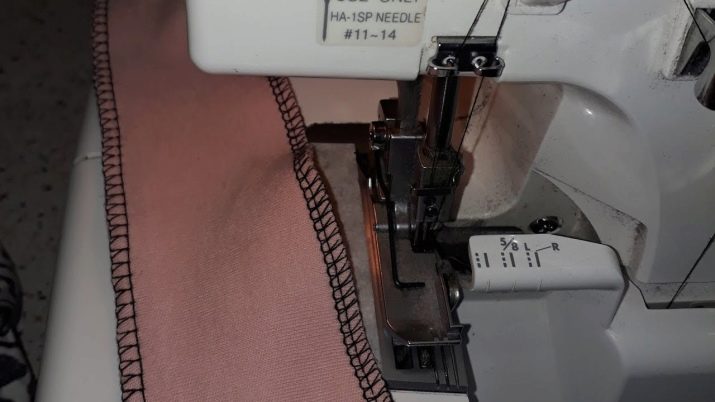
Due to the fact that the machine knife is inaccessible, it remains to correctly place the fabric on the working plane. Align it with the right edge of the foot. You can adjust by following the mark just below the foot.
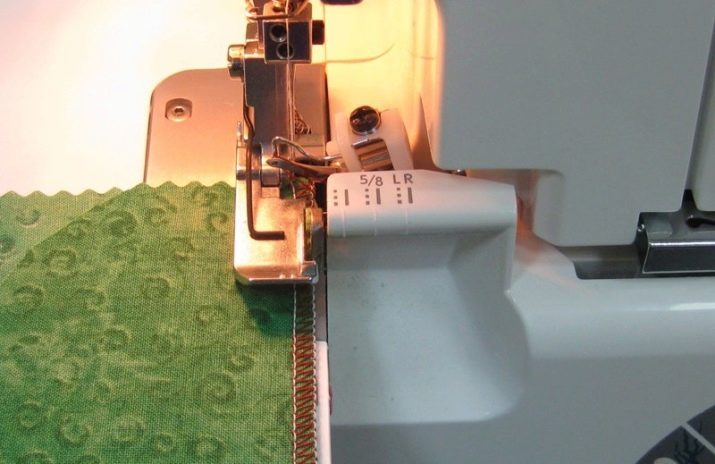
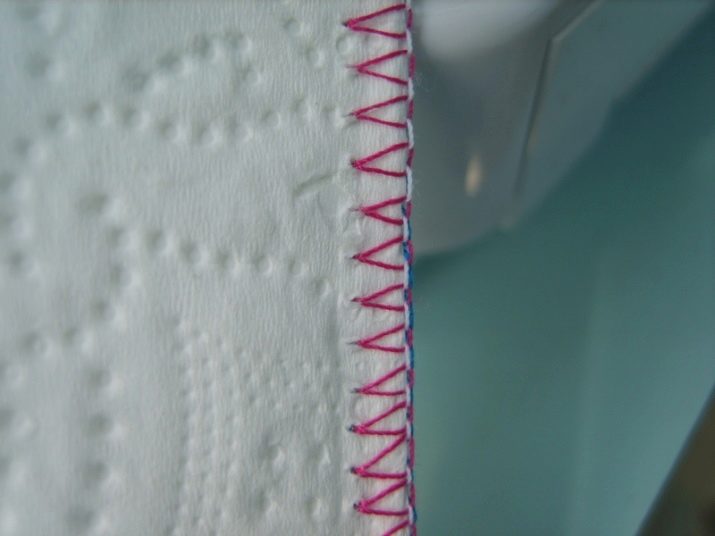
We sew one more line. As a result, a narrow and beautiful rolled seam with a width of about 2 mm from the edge of the product should come out. The following reasons will indicate that it is necessary to change the thread tension:
- the loops are not tight enough, free and easily dismantled due to the lack of correct tension;
- the thread gets tangled and makes different stitches.
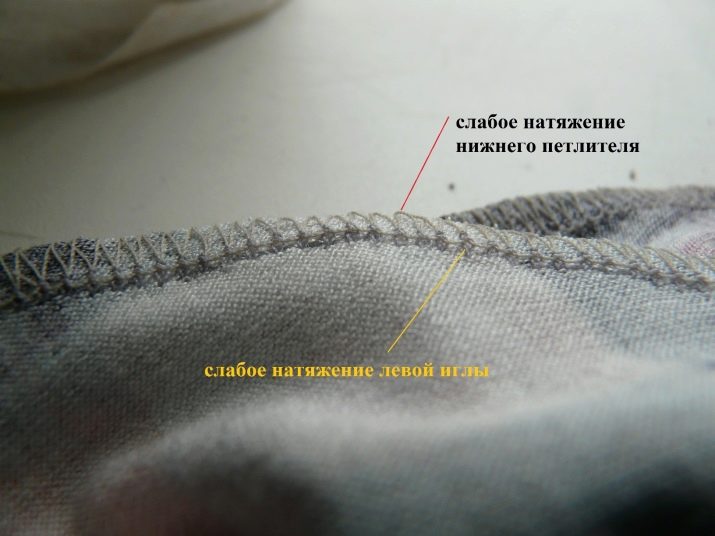
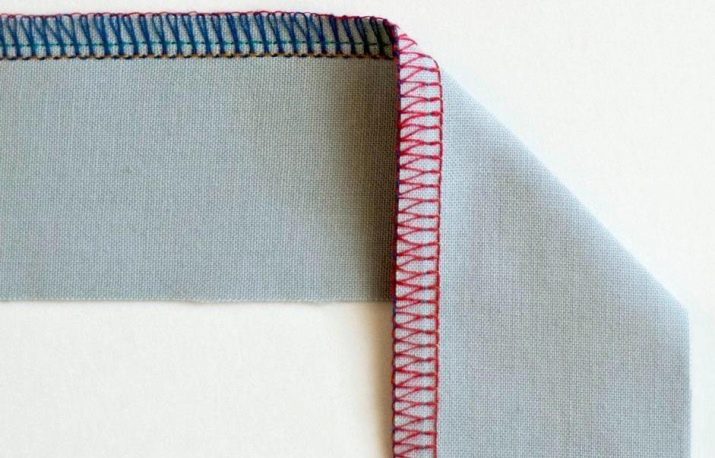
In such a situation, you can add tension to the machine's threads, and then sew a few more stitches. Be careful not to wrinkle the fabric or gather around the edges. The elasticity of the product does not depend on the seam, the correct setting allows the material to stretch well. The seam protects the fabric from fraying quickly and looks pretty attractive, so you don't need another trim over the edges.
Making neat seams will not be a problem, as it might seem at first glance. It is only necessary to take into account all the recommendations that were listed above and monitor the accuracy of the outgoing line.
Poor quality stitches may signal that you need to check if the thread is correctly threaded into the overlock. If everything is fine, then we check the thread tension.
Work instructions
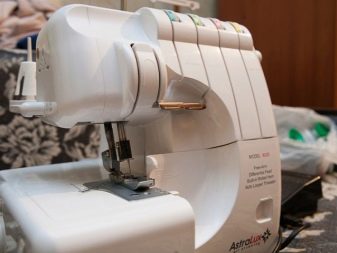
Consider the AstraLux 820D and Family ML645D models. There will be no comparison of different cars - the setting is practically no different.
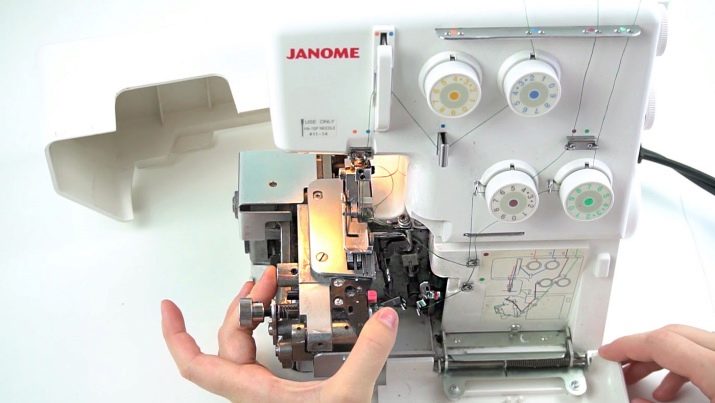
- Lower all needles to their lowest position.
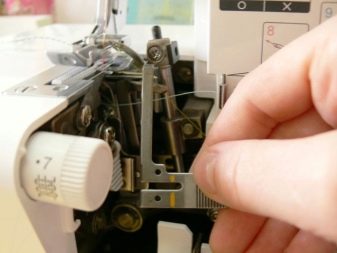
- Move the lower knife. Open the left panel to get to the hidden device of the car. Here is the part that disables the knife. Press it, then turn the knife in your direction, lowering it lower.Do not overdo it - the part can be easily moved aside, subject to correct manipulations.
- Find the typewriter switch. It is usually set to a standard stitch. Switch to the "R" position. To do this, press on the part located next to the lever. When the lever is in the up position, the overlock seam will become extremely narrow.
- Replace the panel. You can now set the stitch length selector to the "R" position.
- Thread the threads according to the seam frequency.
There is no need to change the stitch plate on the AstraLux.
Recommendations for a double-thread rolled seam:
- it is necessary to remove the thread of the upper converter;
- install the upper looper converter;
- the tip of the converter should fit into the looper eye;
- the role of the converter is that it feeds the bobbin thread.
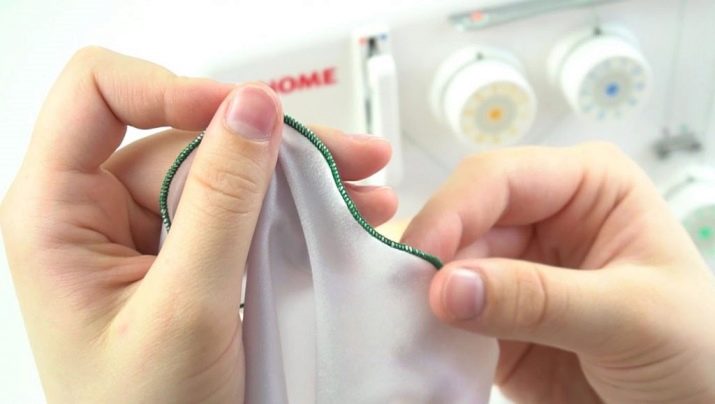
Now all that remains is to thread the fabric and start overcasting.
To complete the seam requires patience and accuracy, since the work is painstaking and difficult. The smallest damage will lead to the fact that the appearance of the thing deteriorates and you have to start over.
Helpful hints
- Check the operation of all parts: foot lift, handwheel rotation.
- Remove the left needle if you are not going to sew a four-thread stitch.
- You can customize the product according to how you want it to look. It is not always possible to obtain the correct settings from the instructions. In most cases, the user will have to independently select the correct parameters. You can look at the information on special forums or sites where other craftswomen share their knowledge in detail. You can test your settings on a small piece of cloth.
- When processing, try to hold the fabric so that it does not slip.
Try not to rush if you don't have enough experience with a roll seam.
For information on how to set up a rolled seam on an overlock, see the next video.


