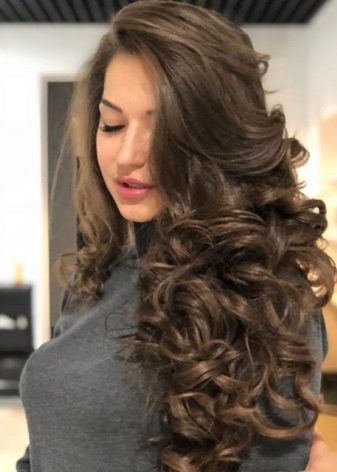
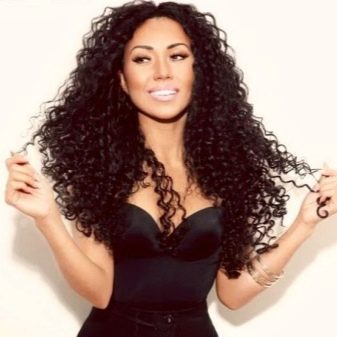
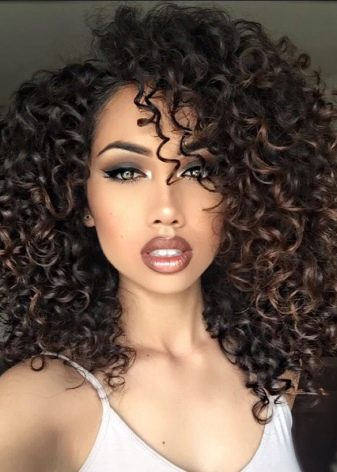
How to make beautiful curls at home?
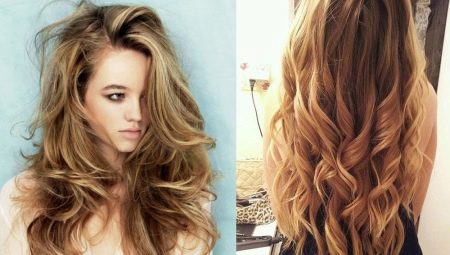
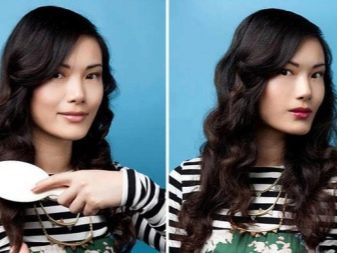
Beautiful curls have always been the pride of girls. It seems that creating perfect waves or curls is possible only in beauty salons. Many girls, having tried to wind their curls several times at home, despair, since the desired result is not always obtained. We will tell you how to easily and effortlessly make a beautiful hairstyle with curls in various ways.
Preliminary preparation
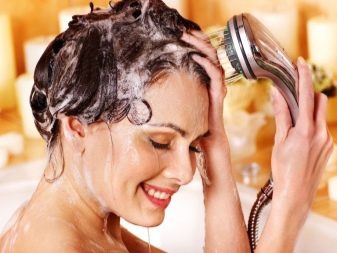
It is necessary to understand that elastic, even curls will turn out only on a clean head. Therefore, the main condition is that before you start your hairstyle, you need to thoroughly clean your hair from dirt using ordinary shampoo.
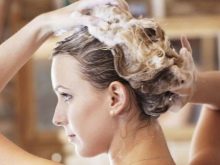
Some stylists advise using special means to make the curls last longer. These include balms or mousses for curls.
These products are intended not only for those girls who have naturally wavy hair, but also for those with straight strands. They will make the curls more elastic, preventing them from developing.

In order not to get confused in the stages of preliminary preparation, we propose to proceed according to the following plan.
- Wash your hair with shampoo. If you use a balm, then you will need to apply a minimum amount.
- Blot your hair with a towel. Do not rub and twist them, as wet curls can be easily damaged.
- Next, apply the heat protectant over the entire length.... For different brands, it can be presented in the form of a spray, foam or mousse. Choose the one that you like best. This tool must be applied at this stage, since then we will dry our hair with a hairdryer.
- If you have time, it is better to let the strands dry naturally, and only finally use a hairdryer to add volume at the roots. If there is no extra minute, then immediately use a hairdryer. Equip yourself with a round comb (brushing), and, lifting the strand from the roots, run it along the entire length. This method will allow you to set volume, direction and dry your hair at the same time.
- It is best to apply a fixing agent before styling. This can be a foam, spray, mousse, or gel. It will allow the hair to last all day.
- Next, we choose the most the best way to curl and start styling.

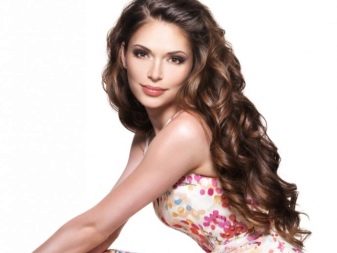
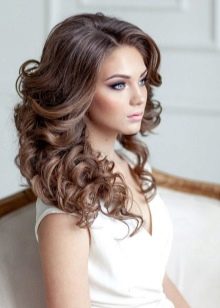
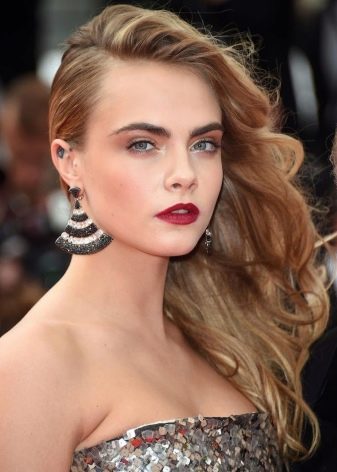
How to make waves correctly?
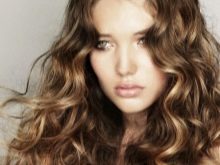
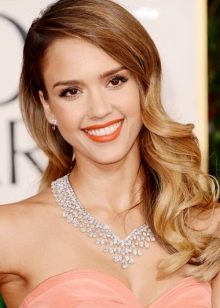
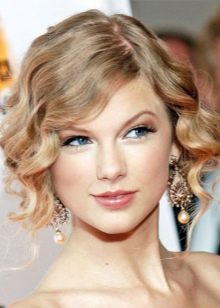
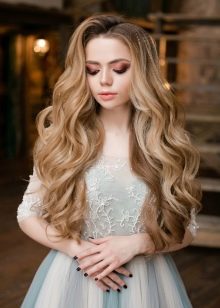
Sometimes girls and women do not want to do exactly curls or curls. They don't always look natural and appropriate. But light waves always look natural. In addition, this hairstyle adds volume and romance to any look.
But not everyone knows how to make beautiful waves on their own. Here are several ways. You don't need special skills to bring them to life. With a minimum of effort, you will get trendy and natural waves.

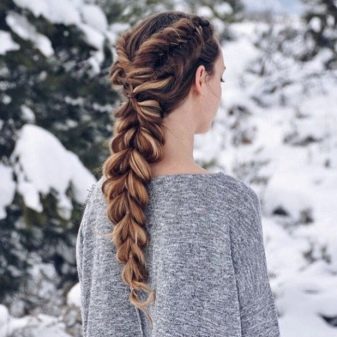
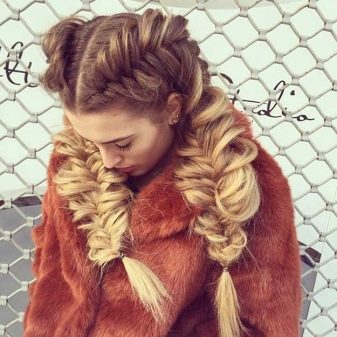
Braids
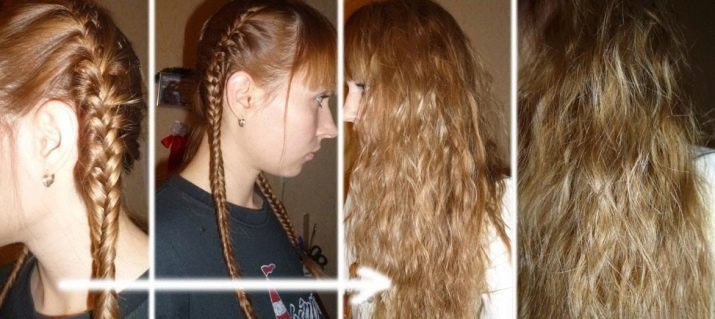
Our grandmothers have tried this proven method on themselves. Braids are back in fashion today. You can easily braid a braid even in the office. And the main plus will be that in the evening it will be enough to dissolve it and amaze everyone with gorgeous waves on your hair.
If you don't feel like wasting time styling in the morning, then braiding your braids at night will be enough. It will be much more comfortable to sleep with them than with curlers. To create the most basic braids, you only need a comb and rubber bands. Braiding them for yourself is not difficult. Depending on whether you want large waves or small ones, choose the size of the braids. The larger the braid, the more voluminous the wave will turn out in the end.
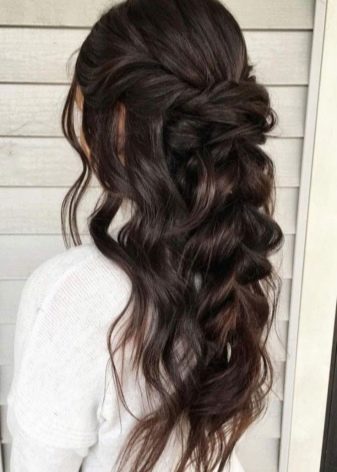
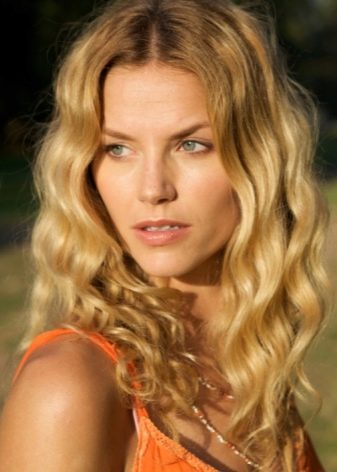
Natural waves
This method is quite simple, but it will take time. If you don't have a hair dryer or other gadgets at hand, you can simply dry your hair naturally by giving it direction. As you dry, squeeze the strands in the palm of your hand, lifting them from the bottom up. This will be especially true at sea.
If you do nothing, the hair will dry out in a random order, without volume and desired frizz. Therefore, after you have dried them with a towel, do this procedure periodically. This will give them the natural shape they want and dry in the right position.

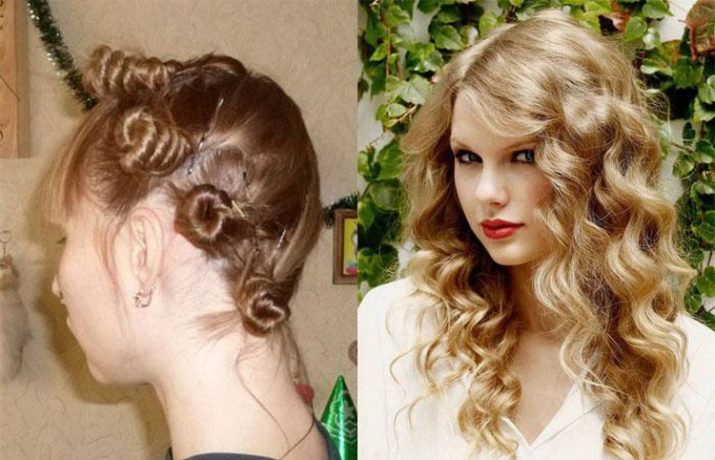
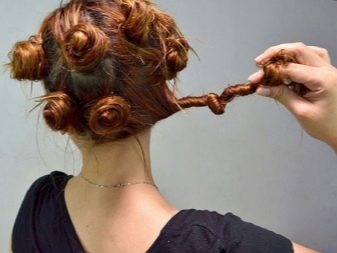
Harnesses
A great way to effortlessly create beautiful waves. Separating a small section from the total mass of hair, twist it into a tight bundle. As it twists, it will rise up. Lay it down on your head, securing it with invisibility.
If you don't even have invisible hairpins or hairpins at hand, then you can try to fix the harnesses without additional devices. To do this, wrap the end of a tightly twisted bundle several times around its base. Next, thread it in the middle and drag it up a little until you feel that it is tightly fastened.
The same rule applies here as in the case of braids. The larger the tourniquet is, the more voluminous the wave will turn out.
Long to medium hair will work better with larger waves. On short ones, the big wave will be simply invisible.
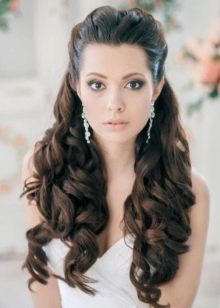
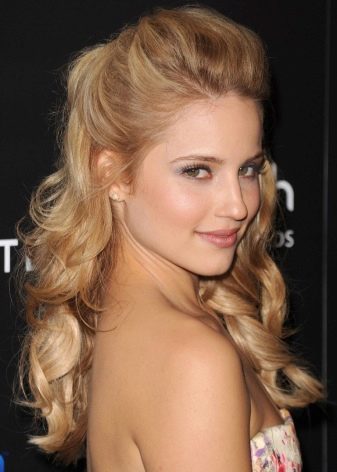
The hairstyle with waves in retro style deserves special attention. None of the above methods will work for its creation. The retrowave will be a great addition to your evening look. It looks very elegant and aristocratic. Let's consider the stages of its creation.
- Part your hair with a side parting. Most often, the bulk of the hair is left on the left side. The wave will fit on it.
- Next, you will need to separate the back of the hair. To do this, part from ear to ear through the crown.
- Pin up the part of the hair that remains near the forehead. Next, you need to build a bump on the back of the head from all the rest of the hair.This can be done using a special donut or elastic band and invisible.
- The most important part comes - the creation of the wave. Here we cannot do without a gel. Apply it liberally over the entire strand left in the front. Next, start shaping the waves using a fine comb and clamps.
- To create the first wave, comb your hair back and a little to the side, and secure with a clip. Now lay the strand in the opposite direction. Use an iron to create a beautiful curve. Make a fold up between the two clips you have already installed, and hold it down with an iron for a few seconds. If the iron is not at hand, then you can form this fold with another clamp.
- Continue to form waves. When you go behind your ear, the tip of the strand can be wrapped around the bump and secured with invisibility.
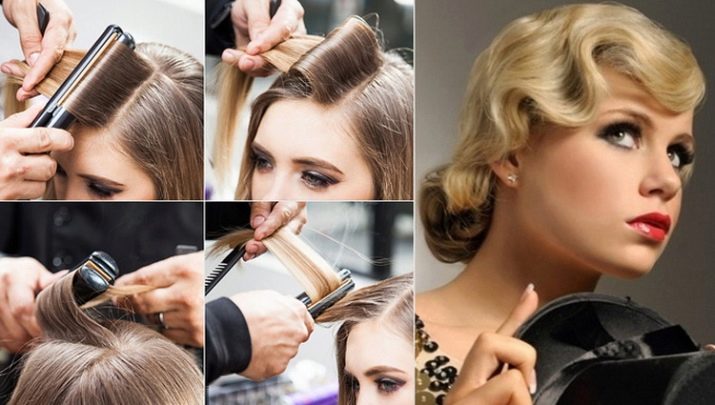
This hairstyle has one more variation, when the hair is not pulled into a bump, but remains free. If you want to create just such an option, then first it will be necessary to give the bulk of the hair waviness using an iron or curling iron.
Remember, this hairstyle is perfectly smooth. Therefore, you need to use the gel, and not another styling product.
Hair curling methods with devices
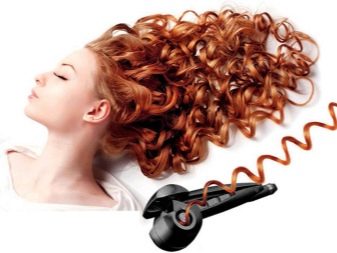
Modern girls have come up with many ways to transform straight, naughty hair into beautiful curls. This is facilitated by the variety of styling devices. Let's try to figure out how to use this technique to create curls.
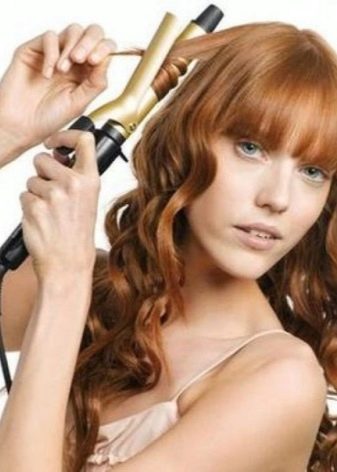
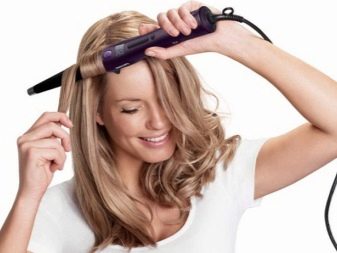
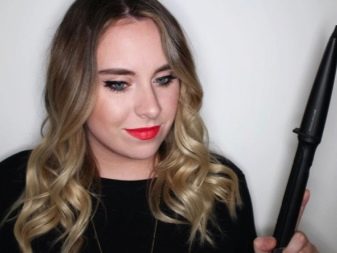
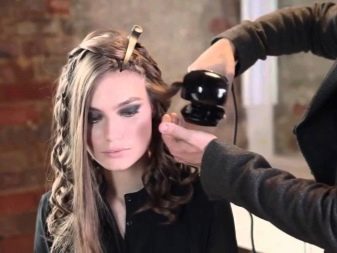
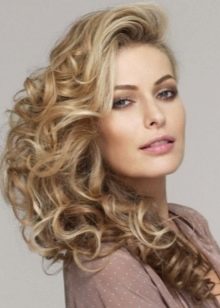
Curling iron
You can easily make curls with the help of a well-known curling iron. This method is not the first dozen years. But today more and more new models of this device appear. Here are just a few of the more popular models.
- Classic with a clip. To create curls, you need to separate a small strand, pinch the tip of the hair and wind the hair in an upward direction. After a few seconds, carefully remove the hair coil from the appliance.
And you should not unwind the curls, they should slide off the base of the curling iron. In this case, elastic, even curls will turn out.
- Conical. Allows you to create curls of different sizes. It has a larger diameter at the base than at the end. Depending on which part of the curling iron you will wind the strand on, the size of the curls will also depend. These curling irons are generally produced without a clamp. The winding technology in this case will be slightly different. The strand must be wound onto the base, starting from the roots.
- BabyLiss. This curling iron is radically different from its predecessors. It is worth placing a thin strand in it, and she herself will twist it in the right direction. You just have to release the lock and enjoy the resulting curls. There are several models of this curling iron on the market.
With all the advantages, it has one significant drawback - limited actions. If with the help of a regular curling iron or tongs you can make other hairstyles, then this model is intended only for creating curls of a certain size.
Iron
Stylists have started using this device relatively recently. Previously, there were simply no such convenient devices. It looks like a regular rectifier, only thinner. By the way, this "baby" copes with the function of straightening naughty strands as well as with curls.
In order to get an excellent result, you will have to practice a little. Take a lock, slightly stepping back from the roots, clamp it between the ironing plates. The plates should be parallel to the ground. Now scroll it 180 degrees. The strand will be wound around the iron from the outside. In this position, it is necessary to hold it along the entire length. It sounds like a miracle, but you end up with very pretty curls.
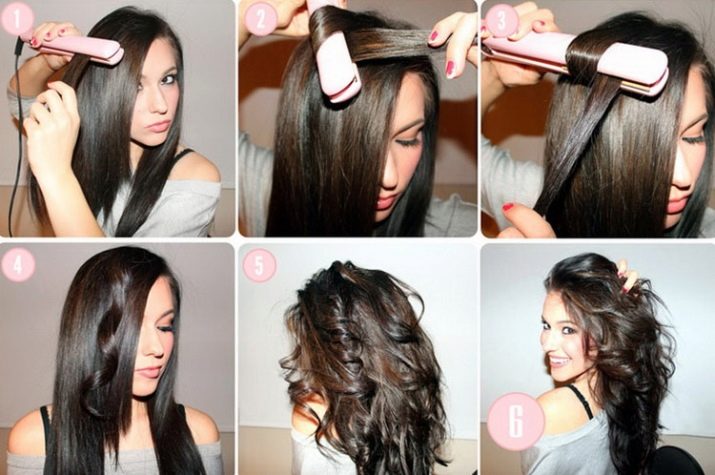
If you want them to survive until late at night, collect the strand along the lines of the waves (you should get a compressed spring), fasten it on the head with an invisible one and sprinkle with varnish... Only then grab the next strand. Then loosen all the curls and gently disassemble with your hands.
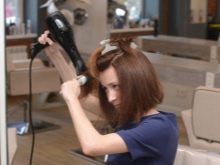
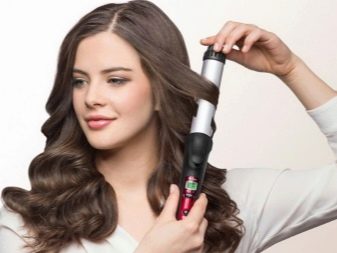
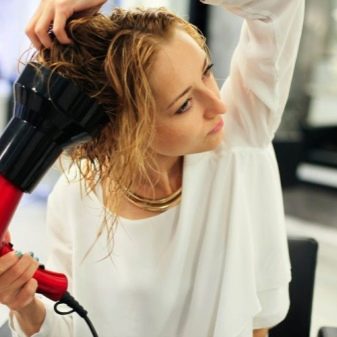
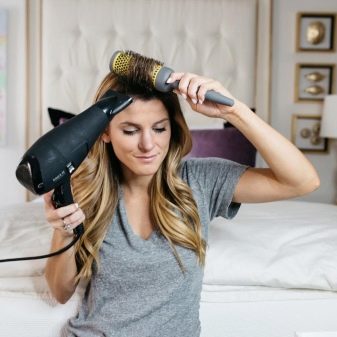
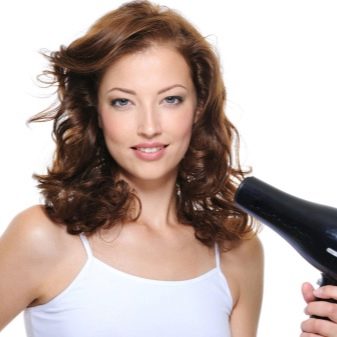
Hair dryer
Professional hair dryers are distinguished by their versatility. For them, you can pick up any attachment in a specialized store. But you should also find out if it is possible to install a diffuser nozzle on your hair dryer. It costs much less than the device itself. With its help, it will be possible to give light natural waves even to naturally straight hair.
It is very convenient to use it. Turn on the hair dryer and use the nozzle to knock your hair from the bottom up. To create root volume, simply dry them with this device, making small circular motions. Today there are hair dryers that move their "fingers" themselves, but they cost much more. If you are not going to create waves or curls on your head, then you should think about the advisability of purchasing such a device. After all, without it, you can create beautiful curls.

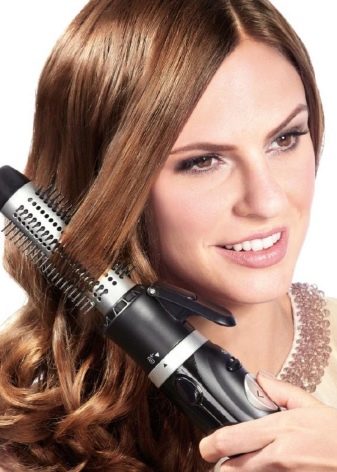
There are a lot of modifications of this device. In some models, the strand is twisted onto a brushing attachment and dried in this position. To remove it, you need to press the button, and the teeth of the brush will hide inside. This will make it very easy to remove the strand from the base.
Others do not have this function, but can scroll the strand themselves, creating volume and curl.
Take a closer look at these devices. Perhaps one of them will become your reliable assistant in creating your daily styling.
If you do not want to spend money on these gadgets, then you can do with a regular hairdryer and brushing. Roll a strand of hair onto a round comb, bring a hair dryer and dry it from all sides. When the strand is ready, remove it from the comb and style in the desired direction. This must be done without untwisting the strand, but as if removing it from the device upwards so that the curl remains at the top.
We use the means at hand
It is very easy to create curls using special devices. But they are not always available or at hand. Then simpler, but no less effective ways of creating curls come to the rescue.
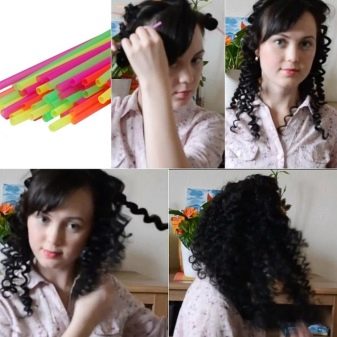
Cocktail rolls
With their help, you can get small curls, since the diameter of the tubes themselves is small. This hairstyle will be very voluminous. It is worth noting that twisting the strands will take a lot of time. Here are detailed instructions on how to create curls using straws:
- separate a thin strand and sprinkle it with varnish or spray;
- attach the tube to the roots and wind a lock of hair on it;
- bend the tube on both sides so that the ends meet in the middle;
- fold the ends over each other again, as when tying a knot;
- secure the edges of the tube with an invisible or small hair clip;
- once again go over the entire head with varnish, holding the bottle at a distance of at least 30 cm from the head;
- now you can go about your business, and after a while, loose the curls;
- disassemble the resulting curls with your hands and lay in the desired direction.
Rubber bands
Regular rubber bands can be great helpers in creating curls. There are several ways to use them for this purpose.
Large rubber bands can be used in place of special bagels. Just take a strand (quite voluminous), put the elastic on the very edge of it and begin to twist towards the head. If the elastic is loose, you can wrap it around the bump again. In a similar way, you can wind the entire mass of hair, if its length allows it.
Small rubber bands can be used as a fastening element for harnesses. The strand is twisted into a bundle and at the base is fixed not with an invisible, but with an elastic band.
Invisibles and Clips
The easiest way to create curls with these little helpers is as follows:
- separate a small strand, wind it around a finger or other round object (if a larger diameter is needed);
- remove the resulting spring, preventing it from disintegrating;
- gently attach to the head and secure with an invisible clip or a clip.
In order for the curls to turn out stronger, it is necessary to pre-treat them with foam or mousse. If your hair is still damp, you can do without it.
But this method is suitable for those who have enough time to dry them with a hair dryer or naturally.
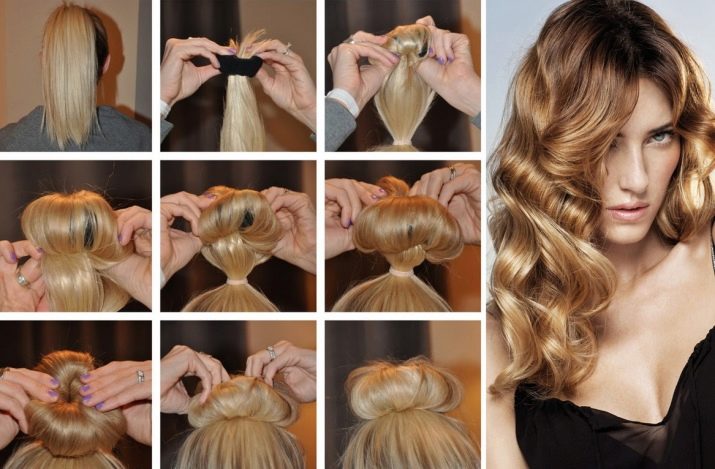
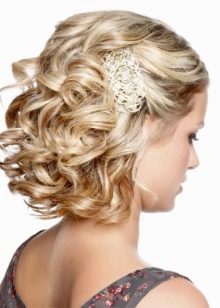
Bagel
We have already mentioned this uncomplicated subject a little higher. It is a ring made of foam rubber or a denser material. With its help, you can make not only a beautiful voluminous bump, but also give the strands the desired waviness.
If you can use 2 methods of using this improvised tool to create a bump, then only one is suitable for curls.
- Tilt your head and pull your hair into a ponytail. It can be fixed with an elastic band at the base, or you can start twisting the donut without additional fixation at the base. The latter method is suitable for more experienced beauties, although you can master it quickly.
- Pass the end of the tail into the donut and begin to twist it. As you move up, the hair will curl around the entire circumference of the donut.
- If a dense bump has turned out at the base, then it can not be additionally fixed with invisibility. If the length of the hair is small, then you cannot do without them.
With this hairstyle, you can go to bed, and in the morning you will have a ready-made styling. Just remove the bagel and separate the strands a little with your fingers. You can also use styling or fixing agents before rolling the bump. Then it will be enough to dry it with a hairdryer.
Elastic band on the head
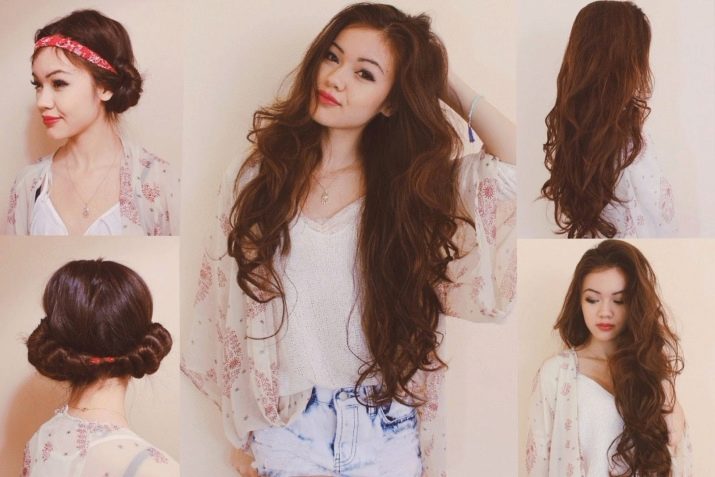
Everyone knows that with it you can make a great hairstyle in the Greek style. But not everyone noticed that when you dissolve it, very cute curls remain. So why not take this method into service?
Comb through your hair and wear a headband over it. Starting from the forehead start twisting the strands around this elastic band. To do this, it will be enough to slightly move it away from the head, and wind the strand with the other hand. Do not twist the strand to the end. After a couple of curls, grab the next one and continue to twist. Do the same manipulation on the other side. Connect the ends and hide under the elastic, securing them with invisibility.
This method will have only one drawback - the curls will not start from the base, but about 7-10 cm below the roots. But for creating a hairstyle in a romantic style, this will be enough.
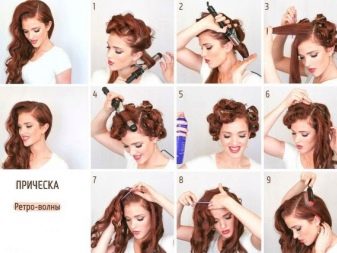
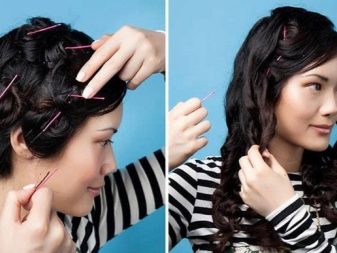
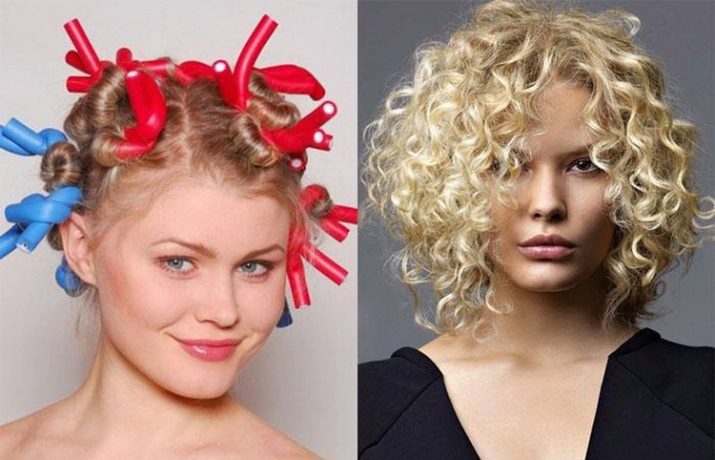
Curlers
This option for creating curls has been known for a long time. Today they can be purchased at any specialty store or even in your regular supermarket. But many years ago, all kinds of improvised means were used in the role of curlers. It was also ordinary fabric, tightly rolled into a small roll. Modern papillotes are arranged according to their principle. The hair was also twisted on ordinary branches of a suitable diameter.
Today there are many varieties of this device. Even an inexperienced user can deal with it. But the basic principle remains the same. Before wrapping, the hair should be either slightly damp or treated with a special modeling agent.
In the first case, it is very important to let the strands dry well. Otherwise, when removed, they will quickly lose their shape.
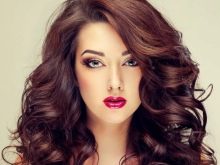
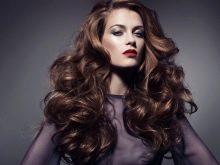
Styling and hairstyle options
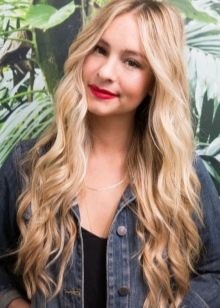
There are a lot of options for hairstyles with curly curls. You can constantly experiment and amaze others with a variety of styling every day, or you can choose one or two optimal options for yourself. But it is not always possible to do exactly the version of the hairstyle that you want. The choice will depend on several factors.
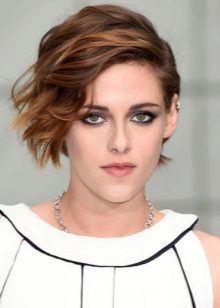
Hair length
Even for short hair, you can make charming curls that will playfully frame your face. There are several styling options here. It will be possible to change the image just by changing the direction of the strands. They can be stacked in the following order:
- all hair back;
- all hair on the face;
- straight or side parting;
- the entire mass of hair is combed to one side.
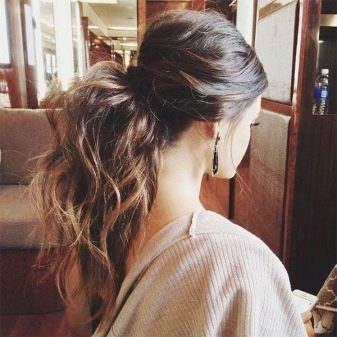
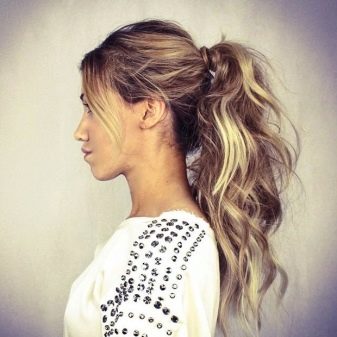
For those with longer hair, there is much more variation.
- Cone. It is worth leaving just a few strands near the face and tucking them under a bump, without breaking the curls, as the hairstyle will sparkle in a new way.

- Sloppy tail. If you pre-curl your hair, the tail itself will look more voluminous and aesthetically pleasing.
- Braids. Curled or slightly wavy hair is much easier to create voluminous French braids.
- Curly strands can be styled in any direction. To create a daily hairstyle, it is enough to remove from the forehead along the middle strand and fasten them at the back.

Occasion
In many ways, the choice of hairstyle depends on the occasion. For a casual look, it is customary to make discreet universal styling. If the New Year or birthday is ahead, then more extravagant and unusual options will do.
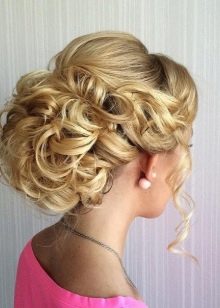
In this case, the combination of curls with voluminous bumps or weaving looks very beautiful. Matching hair accessories will accentuate the solemnity of the moment. But even the usual large curls will look very festive if you take the time and curl the entire mass of hair.
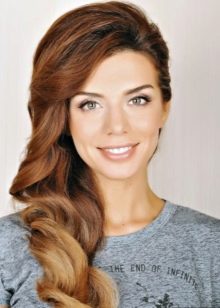
Style of clothes
This criterion can also influence the choice of hairstyle. For romantic young ladies, loose natural curls or waves are suitable. You can also stab a few strands on the back of your head.
If you prefer a more daring and youthful style, then the hairstyle can reflect your inner state. Here you can experiment with small curls laid in different directions. You can also throw the entire mass of hair to one side. Then take the gel and make one side perfectly smooth, while leaving the other curly.
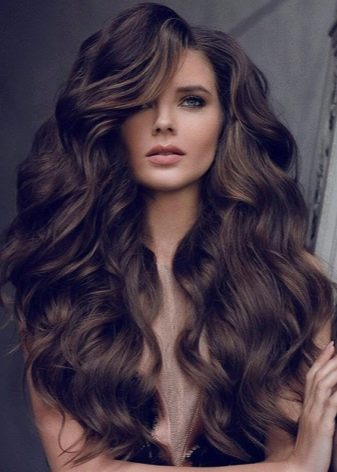
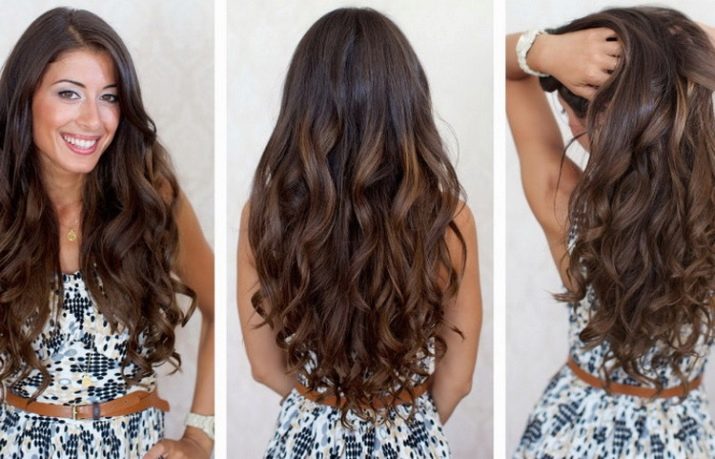
Curling your curls at home is pretty easy. There are many ways and devices for this. One has only to set a goal and practice a little. Strands curled into curls always look very well-groomed and elegant. Don't be discouraged if you don't get the results you want the first time. Just try again or try another way.
For information on how to make beautiful curls at home, see the next video.


