How to make a DIY tattoo machine?
A tattoo machine costs more than one thousand rubles, at the same time, you can make it yourself. Some people who want to get a tattoo, for example, on the arm, having an idea of how to drive dye under the skin, and having the skills of an artist, start with homemade tattoo machines.
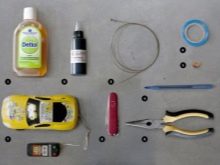
What needs to be prepared?
A drawing of a mechanical or induction tattoo machine can be taken from any visual manufacturing guide. Users of such devices are filming the manufacturing process on video, which is why others who want to repeat this or that design do not have additional questions. Having made the device, some users decide to go into a small business based on tattooing everyone. In addition, young people have the opportunity to decorate their bodies with a pattern that has no analogues among those who have already applied a tattoo.
In addition, at home, you can sterilize the device and skin before starting the process, no worse than an unfamiliar master does. The fact is that the most dangerous here is the possibility of bringing HIV into your body if the previous visitor is sick with AIDS: this virus is transmitted through the blood, and the needle pierces the microcapillaries of the skin. At home, if there are no AIDS patients, it is hardly possible to bring the virus of this disease.
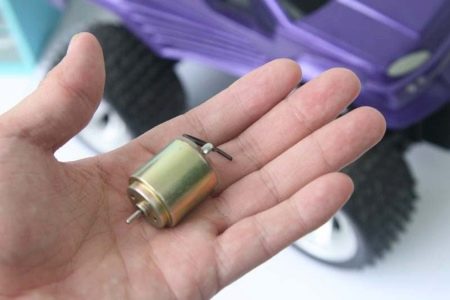
Components for a homemade car can be bought for a symbolic amount or even found from friends. The main components are the needle and the motor. The needle is made from the 1st or 6th guitar string or taken from a ready-made set of sewing accessories. The motor can be taken from a toy car, electric razor, or cassette player.The supply voltage is 9-18 volts. Also prepare a pen or pencil, aluminum spoon, fork or toothbrush, duct tape, gear, button. A soldering iron is useful as tools; soldering flux, rosin and solder are consumables. Batteries with a total voltage of 9-18 volts or a charger are taken as a power source.
Hot melt glue is suitable for securing components that cannot be secured with screws, screws or ties.
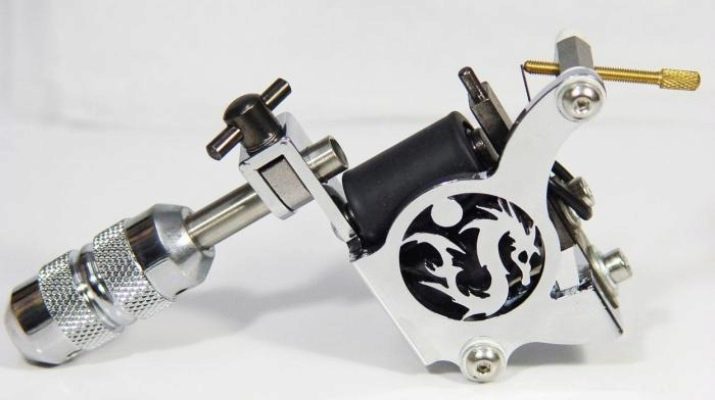
Assembling a rotary machine
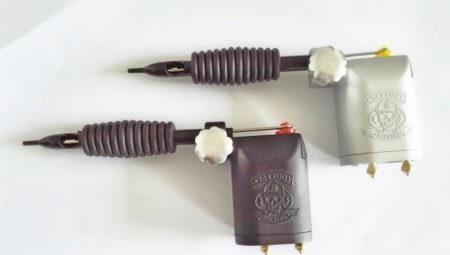
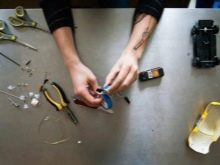
At home, a hand-held machine is assembled on the basis of a small engine. In the simplest case, it is a collector. It needs direct current to power it, since this type of electric motor is designed for linear operation, without a driver or an AC source.
The instructions for making a rotary machine are as follows.
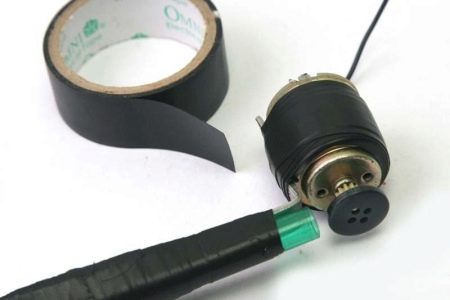
- If the engine has a small gear, then fix the button with hot glue - in the center. Do not glue the button holes.
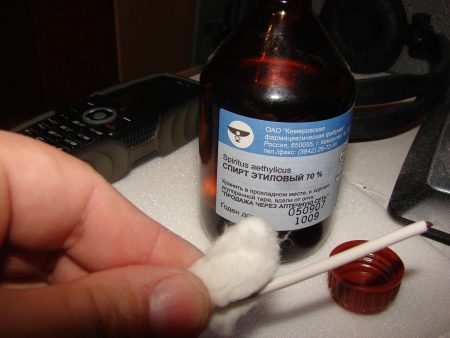
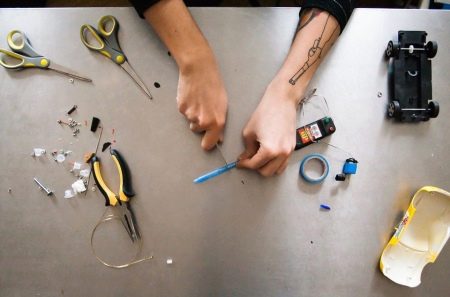
- Use a refill from a pen that has run out of ink. Rinse it off with rubbing alcohol or cologne and then treat it with an antibacterial agent.
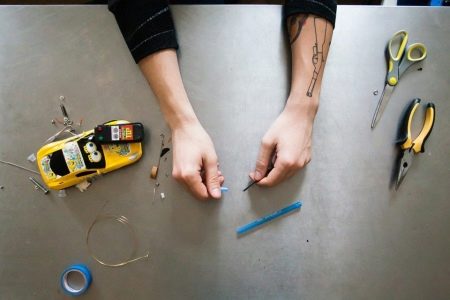
- Saw off the end of the rod with the ball from the tip of the pen. In this case, the string must pass through it. The length of the string segment needs to be the same length as the rod itself.
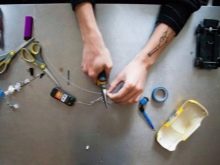
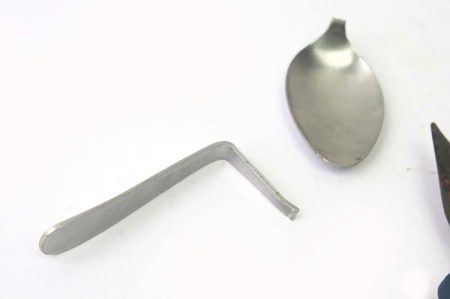
- Make a bracket from a spoon or fork that holds the motor and the body, which is the handle itself without a rod. The working part of the spoon is sawed off, and the rest (handle) is bent in the form of an L-shaped element.
- With the help of electrical tape, the body from the handle and the bracket are connected so that the long part of the L-shaped element is aligned with it. The end of the handle body and the fold of the spoon piece must match.
- Connect the motor with the button glued to the shaft.
- Insert the string into the handle and bend its end into a U-shaped loop. Tuck this end into the button.

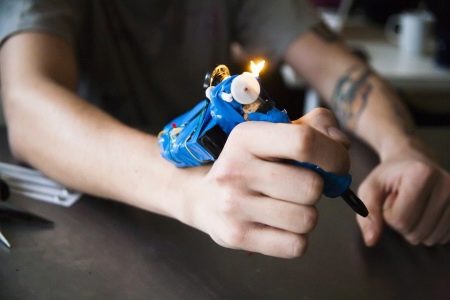
Start the engine. The string should vibrate back and forth at a high frequency. Test the operation of the assembled device by applying, for example, gouache to the end of the string (on a piece of old cloth, leather or banana peel).
Be sure to disinfect the device and skin before tattooing yourself.
Creating an induction model
The induction model is most often assembled without a guitar string: it is replaced by a regular needle from a sewing kit. A hand-made tattoo machine does without a motor: it is replaced by a firing pin (like a pendulum, but working with a frequency many times greater than 1-2 hertz). The magnetic field is alternately induced in the coils: to power such a drive, either a driver that outputs DC stepping pulses or an AC converter to low voltage is used.
It is impossible to use high voltage (110, 127 or 220 volts): both the client and the master can receive a fatal electric shock. Here you can use a laboratory power supply unit with a pulse converter, which makes a pulse-variable voltage from a linear-DC voltage. According to the rules of electrical safety, exceeding 12 volts in a damp room and with damaged skin (the device pierces it) is prohibited: even a slight increase can be dangerous or fatal.
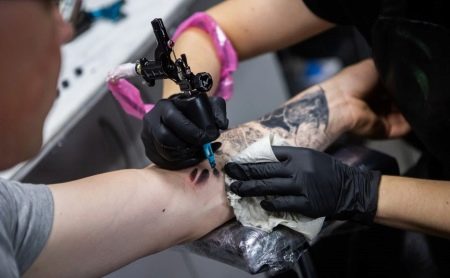
The principle of operation of the induction tattoo machine is as follows. Coils powered in series by pulses (the cycle repeats) generate electromagnetic pulses that swing the pendulum in both directions. That, in turn, transmits vibrations by means of a spring to a barbell with a needle. To build such a machine, milling and turning operations are required, as well as knowledge of the basics of precision mechanics. The advantages of such a machine are the presence of the needle under the skin, which makes it possible for the dye to saturate the layers under the epidermis, as well as the purity and evenness of lines and transitions.
The dye introduced in this way allows large areas of the skin to be stained well.
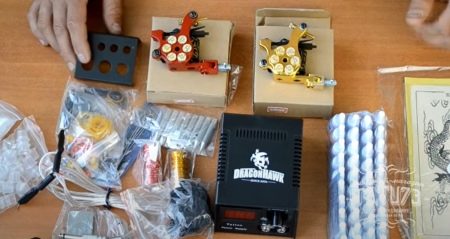
Tools and materials
The following components are required as consumables.
- Homemade barbell with a needle. The first can be made from a plastic or ebonite rod into which the needle is recessed.
- Spring, pendulum and coils with wound enamel wire. Coils can be taken from electromechanical relays: they must be powerful enough. One coil will require more than one hundred turns and a thin wire.
- Basic structure. It can be cut on a milling machine from a piece of thick profiled steel.
- Protective tip. Serves as a needle guide at the same time.
As a basis, you can use a conventional electric bell, operating on alternating current. In the simplest case, it will require a step-down transformer that converts 220 to 12-36 volts. But this design is very cumbersome. However, in devices for remote signaling of radio relay equipment, mini-calls were used, which worked on the same principle.

Assembly
If electromagnets are not taken from relays or bells, but are made independently, then insert an iron rod (core) into the spool (for example, from under a sewing nylon thread). It significantly increases the force of attraction and repulsion of the armature: the magnetic field collected in it is transmitted to the steel plate of the armature. Wind the coils and press the cores into them. Then grind the frame for the device on the router.
Now do the following.
- Attach to the spool frame. One side of each of them is facing the frame, and the other is turned to the anchor.
- Attach the firing pin. Make sure it is free to move. This is necessary to attract and repulse the ends of its plates to the coils.
- Attach the handpiece to the frame and immerse the barbell with the needle into it. The rod can be made from a piece of steel wire, and the needle can be soldered to it. For brazing steel, a soldering flux containing, for example, zinc chloride is used.
Do not forget to install a spring with a suspension regulating the stroke of the rod.


The induction machine is assembled. However, it is forbidden to apply alternating voltage from the outlet to the terminals of the coils (even by connecting them in series, as in a bell). The inclusion of coils without a core is also unacceptable due to the fact that it is impossible to give the magnetic field to the core, the coil overheats. This machine will not operate on direct current with linear characteristics, otherwise the armature would be attracted to one of the extreme positions, and it would remain there.
If it was not possible to get a bell as a ready-made basis, then a vibration drive from a hair clipper can be used in the assembly scheme. The alteration in this case consists in the fact that a bar with a needle is attached to the movable part, while the old hair clipper must be laid on its side. The fixed base, the guiding funnel-capsule for the needle, is attached to the machine body or to its fixed part (electromagnet stator).
Instructions for assembling a DIY tattoo machine can be found in the following video.


