How to assemble and set up a tattoo machine?
The first tattoo equipment is very exciting and a little scary. What if it doesn't work out, what if it turns out to be technically difficult? Yes, first you have to study the theory (that is, assemble and configure the machine in your head), and then start practice. There are rotary and induction machines, and it is better if the master understands both types of device.
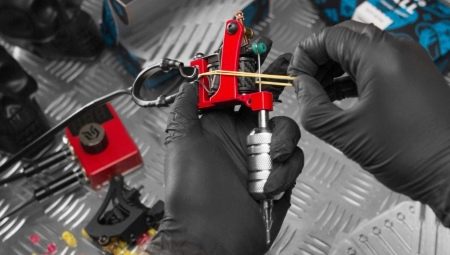
Assembly instructions
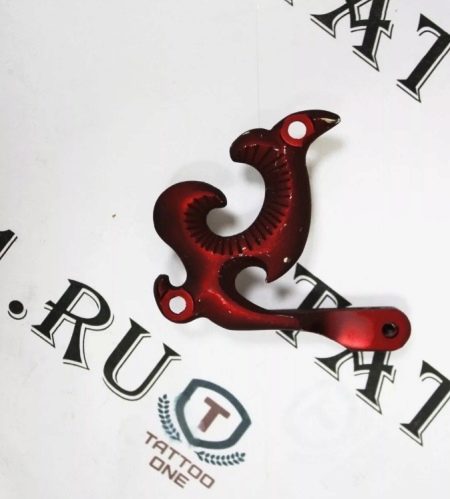
If the machine is not pan-shaped, it is more difficult to assemble.... Peng is assembled so simply that it is not worth writing an instruction: the power wire goes into one hole, the required module goes into the other, and even a novice master cannot confuse this. But not a pan-shaped machine is much more complicated.... In order to assemble it correctly, you need to understand what is what here, how what looks like, what is the name of each element, and why it is needed.
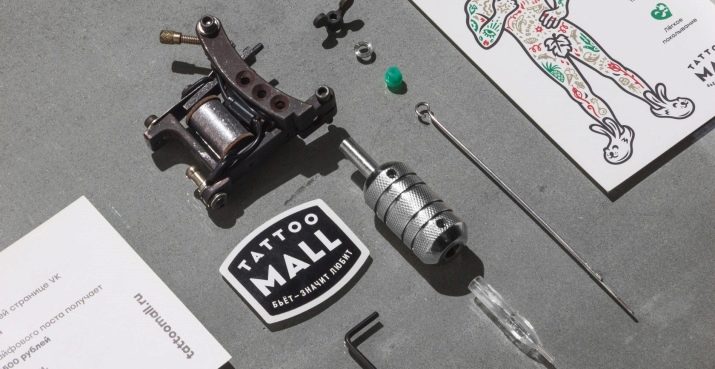
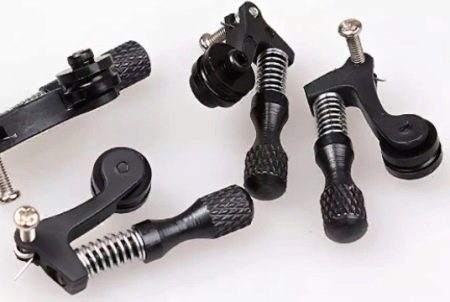
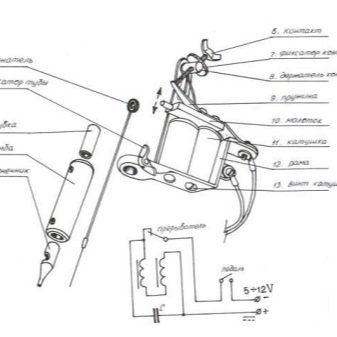
Assembling a tattoo machine in parts - what is included in the system.
-
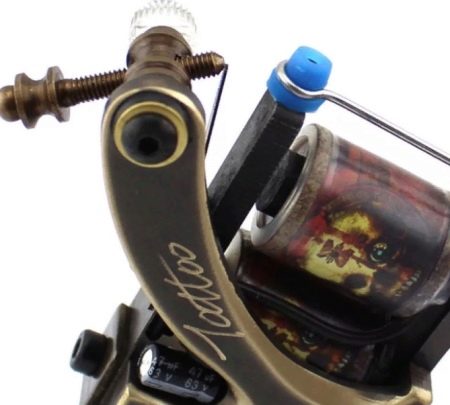
Frame... It is on it that the coils / motor will be located. And you do not need to bother this detail, it is not involved in the assembly.
- Eccentric (or a spring hammer). This is where block feeding becomes a mechanically directed movement. The radius of the element, the stroke will affect how hard the machine will work.
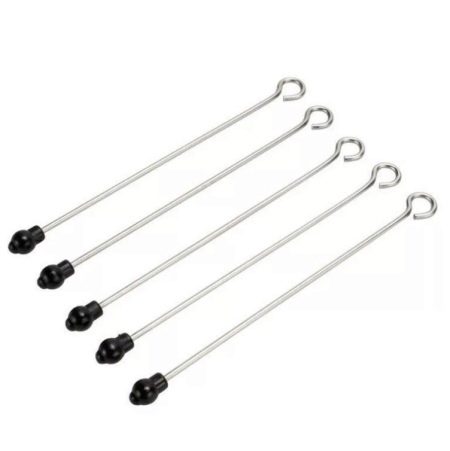
- Pin... The bar of the needle or pusher will be fixed on it with the help of a nipple (there will be a noticeable special eyelet). A nipple (the second name is thrommet) is a round rubber band with a middle hole.
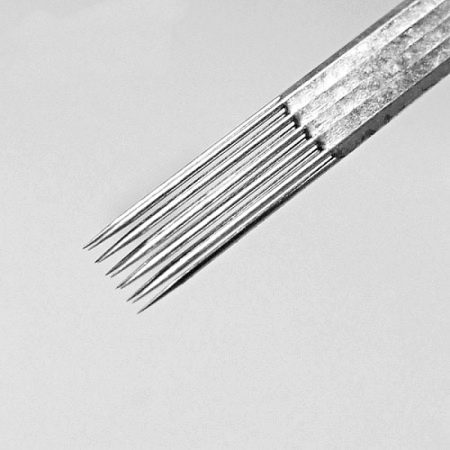
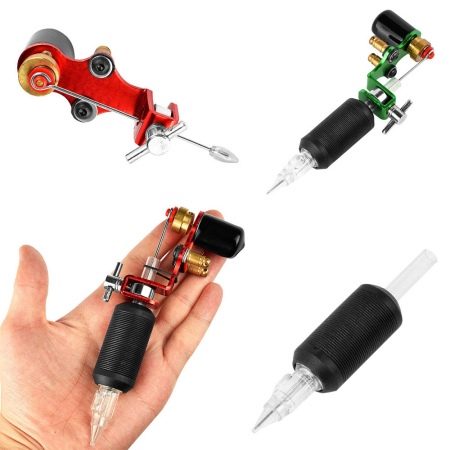
- Needle / premade. The boom already has a ready-made needle configuration: a disposable needle, sterile and ready to go. An important point - you need to track the sterilization period, it is indicated on the box. The term has expired - the needle is thrown out.
- Pusher (rod). On the one hand, it has an eyelet, on the other, the so-called cam.This element is required for vector movement from the back of the module and the needle joint in it.
- Module... Here is the configuration of the needles and the spout for them in the complete set. Also a disposable item, sterile and ready to process. And the precautions are the same as with needles.
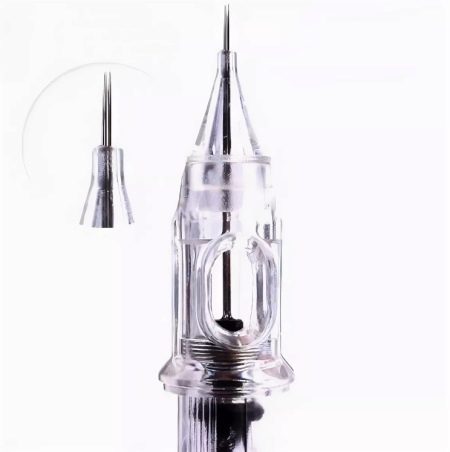
- Needle tip. It is designed to prevent top and side play of the needles during vector motion. There are no nozzles always ready for any work; they are selected according to the configuration of the pre-made.
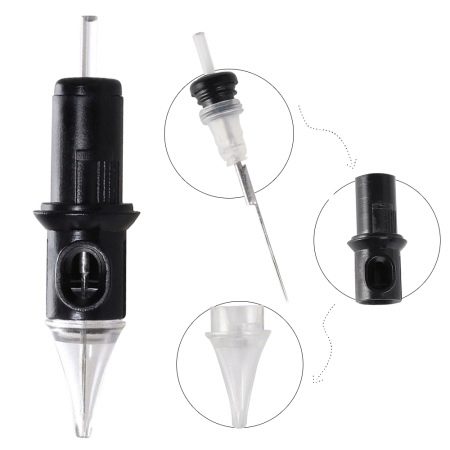
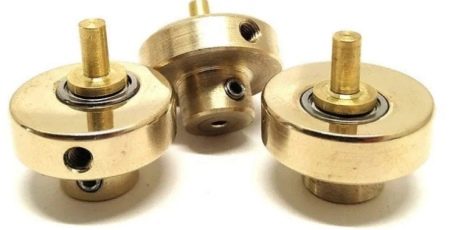
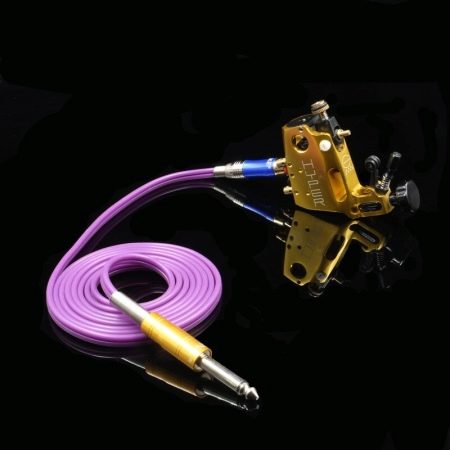
- Holder... A special device with a tube, it is suggested to hold the tool for it during operation. On the one hand, a needle (or a pusher rod) enters into it, on the other, a module or a spout for a suitable needle is inserted.
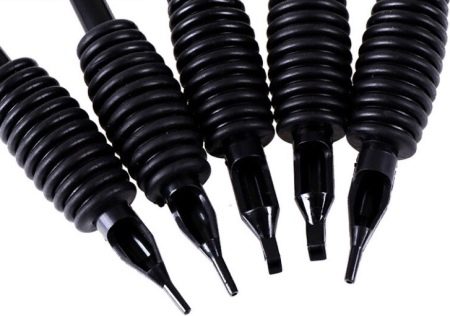
- Retainer... It is designed for the tube holder.
- Pressure wheel. It prevents the rod from falling out of the nipple. And that should be close to the central part of the holder tube. If there is no such element, you can enlist the help of rubber bandages.
- Fixing slot clip-cord of the power element.
The wire from the equipment must be inserted into the power socket, but either the pedal itself or the plug is inserted into the pedal socket. If the circuit is studied, each element is clear, the connection is correct, but the machine does not work, you need to check the batteries. Most faults are noted here.
Most often it is not possible to connect the machine due to faulty wires.
A short assembly diagram (talking about an induction machine):
-
a rear pipe is installed in the holder, a tip is installed in the pipe, both elements must be tightly fixed (without the risk of flying out);
-
a needle is placed in the assembled holder;
-
a nipple is put on the rod that leads to the striker;
-
the holder assembly is inserted into the hole of the tattoo machine, it is fixed by a tension screw (it must be tightened not particularly tightly, otherwise there will be problems with the needle stickout regulator);
-
the needle bar is fixed with a rubber band on the frame - this way you can remove excessive vibrations;
-
the disposable sachet is pulled over the clip cord;
-
you can turn on the instrument, press the pedal, listen to the sound - to get the correct departure, you need to tighten the screw in different directions.
The machine connected to the power supply unit must be tried in operation, wait for a clear sound. There should be no sticking, no uneven knocking, no strong knocking.
The assembly process is detailed in the following video.
Customization
In this matter, you need to act step by step. The setting is needed to synchronize all systems. You can set the knobs, or you can make fine adjustments.
Here's how to set up your tattoo machine.
-
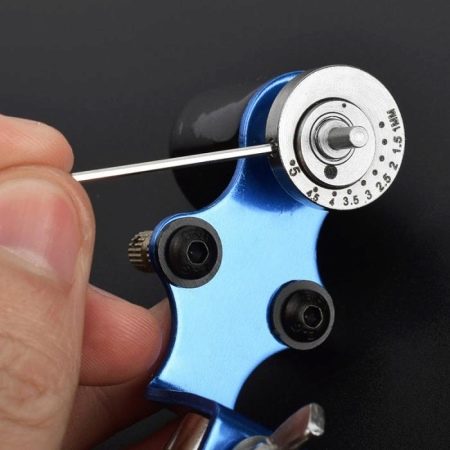
The regulators are installed according to two parameters: spring removal and stroke length are taken into account. The last indicator is equal to the distance of movement of the striker from the highest point to the extreme, at which the machine works as it should. Spring compression is a description of the interaction, it is also a characteristic of the forces of return and resistance.
-
The angle of deflection is also important... It is adjusted to a value that will be sufficient to set the desired running length, with the obligatory consideration of compression. You can measure the deflection angle on the machine without installing the front spring. It is practically sufficient to measure the spacing between the base of the striker and the head of the front coil core.
-
How to get the angle of deflection. This is done using two spring installation methods: flat and bent. Elongation depends on the spacing between the front coil core and the striker (measured without a contact screw).

In general, the algorithm for setting up an induction tattoo machine will be expressed as follows:
- stroke length;
- spring compression force;
- selection of the correct tension of the bandage gum;
- setting a different air gap (tightening the contact screw);
- setting the balance point of the interval.
A couple of times a week, the frame of the machine, as well as the holder, must be disinfected (special reagents are used), and then be sure to wipe it with flushing oil.Otherwise, the tattoo machine will encounter corrosion. From time to time it is necessary to remove carbon deposits from the contact spring.
But bandage elastic bands, nipples change after each session, they get dirty the fastest.
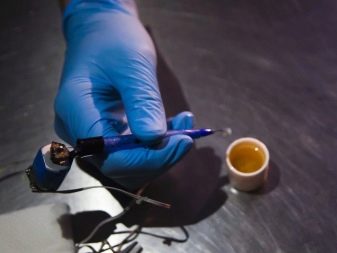
How to refill with paint?
On the machine holder (meaning, first of all, factory versions) there is such an element - a spout / tips, it has a pronounced cone-shaped shape. This spout has a hole or even a cut where you need to pour the dye.
How to correctly type paint into a typewriter:
-
Pour the required amount of pigment into a cap;
-
take the equipment (ready-made) in your right hand, immerse the tip of the spout into the cap, after which you can press the pedal;
-
when the machine is working, it will take in the paint, and it will begin to wrap around the needle;
-
the depth of the formed funnel should be such that the device can “pour” all the paint into itself, without any residue.
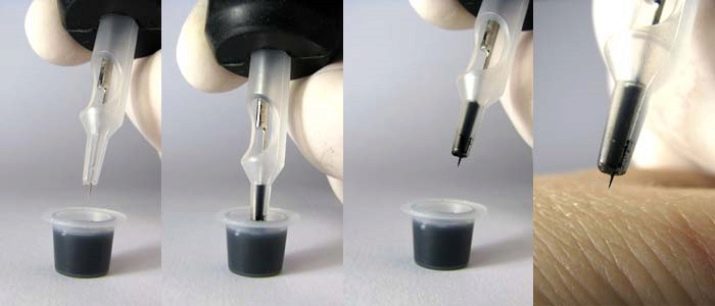
It happens that the machine splashes with pigment, and this usually happens due to the stroke of the needle bar, the adjustment of which is not visible. In this case, it is enough to tighten the tensioning screw until the splashes are eliminated, such measures should help. Distilled water, alcohol (diluted with water), glycerin are usually taken to dilute the pigment.
The assembly and customization theme is not the easiest one. A beginner looks with surprise at a set for a tattoo, does not understand terms like "contour", "premed" and others. But over time, everything will work out, the main thing is not to avoid immersion in theory before practical training.