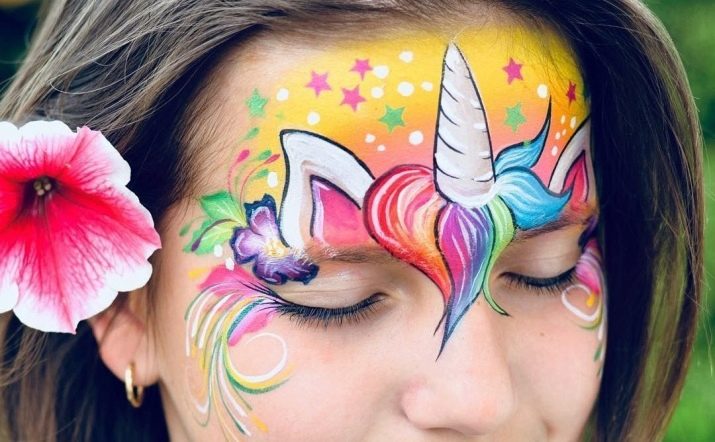
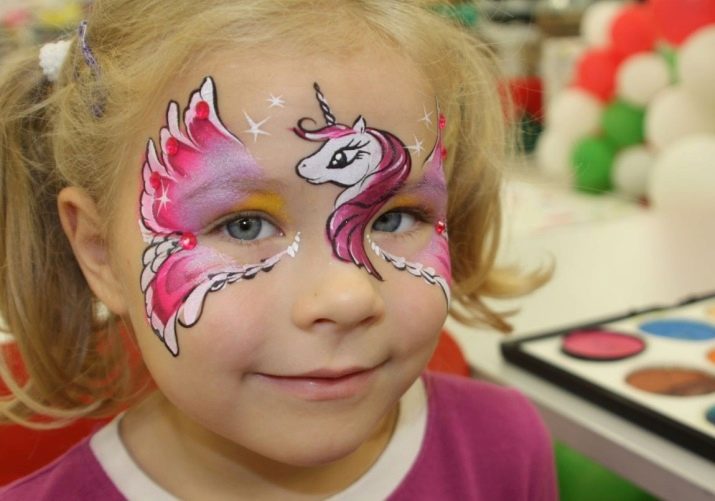
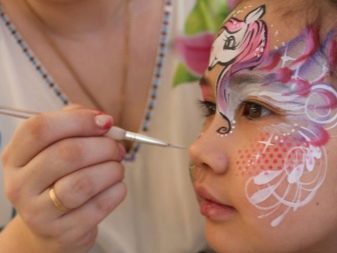
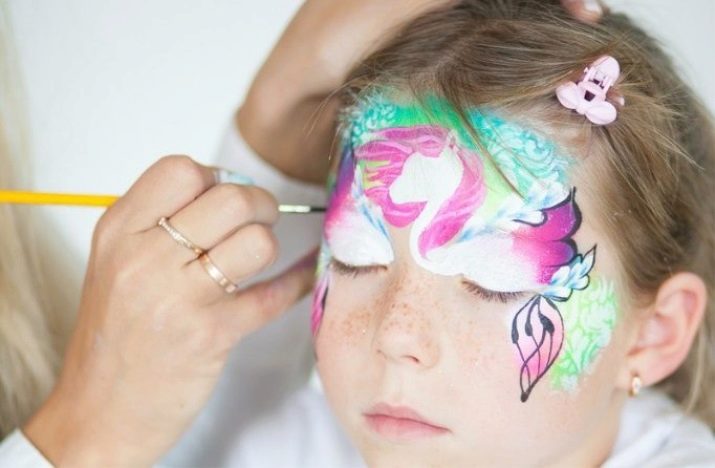
Face painting with a picture of a unicorn
Childhood is the time of the most incredible desires, for example, to turn into a beloved fairytale hero. Face painting will help you to fulfill the girls' cherished dream - to become a wonderful unicorn.
You will learn more about how to make the face painting "Unicorn" from this article.
Peculiarities
Before we start drawing a unicorn on the faces of young dreamers, let's get acquainted with some of the features of these paints.
Advantages of face painting.
-
The ability to create stunning and unique designs effortlessly... Face painting is full scope for imagination: unicorns with and without wings, with flowers, stars, magical patterns - everything is subject to the brush of an experienced artist and even a novice amateur.
-
With the help of bright makeup, you can make the holiday unforgettable.and the mood of the young guests is magical.
-
Rich color palette... Bright juicy colors and shades will help create a magnificent drawing. Even the simplest, but colorful sketch of a unicorn will be a reason for children's delight.
-
Material availability... Choosing good quality paints is not a problem. They can be ordered online from party stores or purchased from hobby and creative supermarkets.
-
Paints dry quickly, and drawings are perfectly removed from both skin and clothing.
-
It is a pleasure to work with face painting... Even if you make a mistake, the drawing can be corrected without any problems with a damp cotton swab.
-
It is easy to master the face painting technique on your own... They start with simple objects and move on to more complex sketches. Even children can make light drawings for each other. The guys will be happy to take part in this lesson.
Minuses.
-
High price for quality paints.Cheap materials that do not have mandatory certification can be hazardous to children's health. Makeup brushes and sponges should also be of high quality.
-
Prohibition of use for babies under 3 years old.
-
The ability to cause an allergic reaction. Before applying face painting, a test is made for an allergic reaction in a child at the bend of the elbow joint or wrist.
-
Skin rashes, wounds, irritation are contraindications for applying exotic face art.
-
You can leave face painting on a child's face only for 3 hours. Even if the child is against, the wonderful drawing will have to be washed off after this time.
-
Children from 3 to 7 years old are big fidgets. It is not worth creating a drawing with a careful drawing of many small details with children of this age. Even the most diligent girl will not be able to sit for more than 10-15 minutes while you create a super mid-horn on her charming face. Divide the work into 2-3 stages, give the child a rest, or choose a simpler sketch.
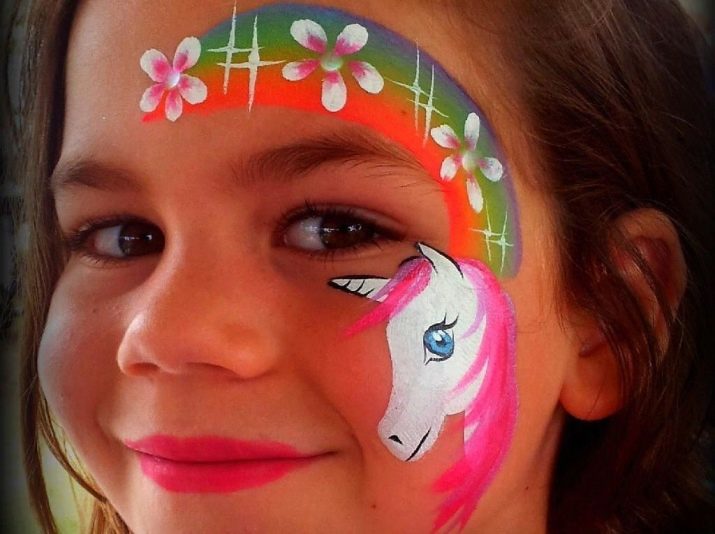
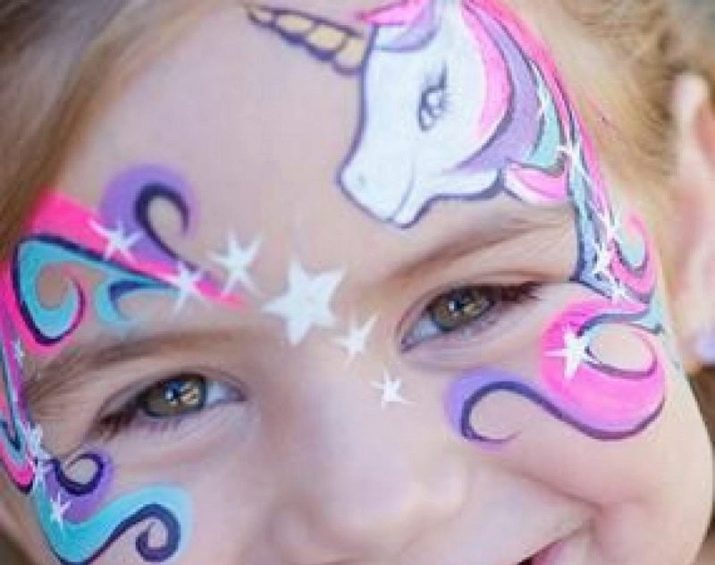
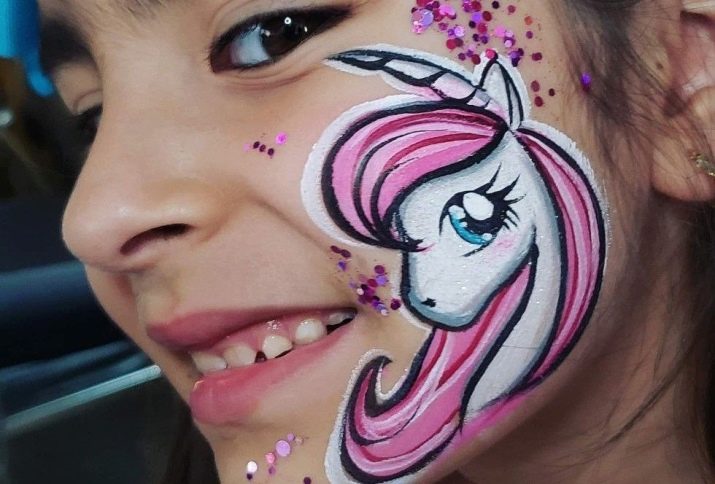
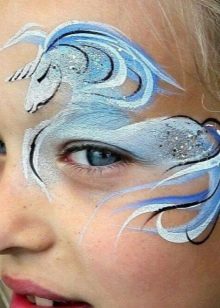
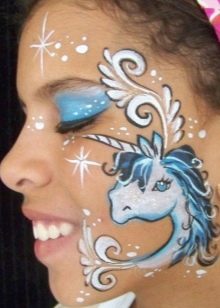
Face Makeup Ideas
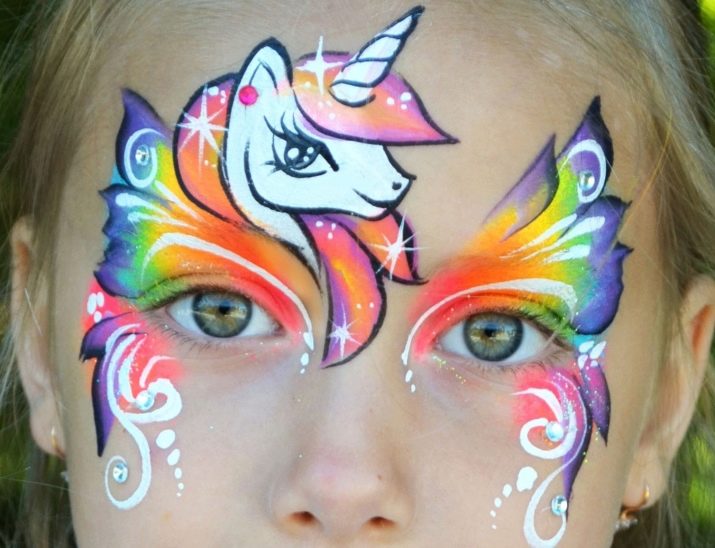
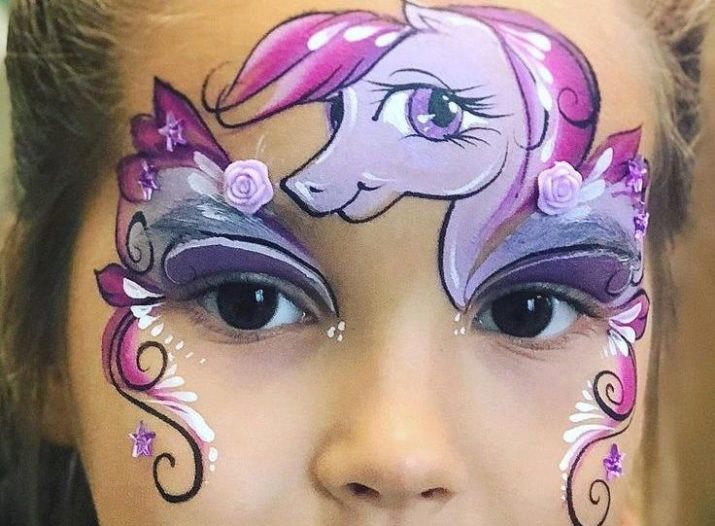
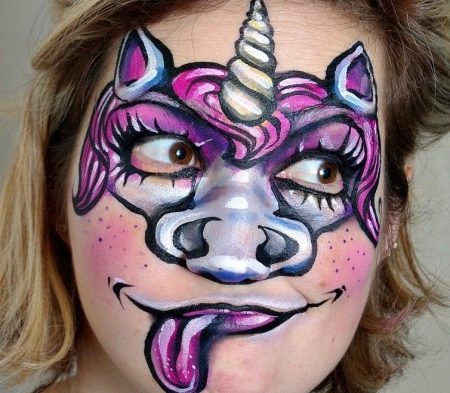
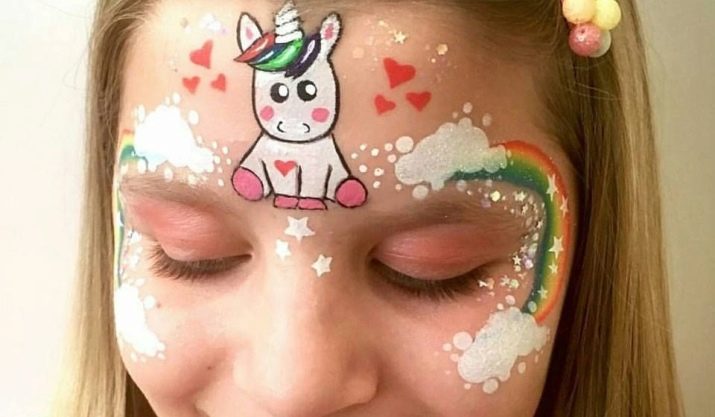
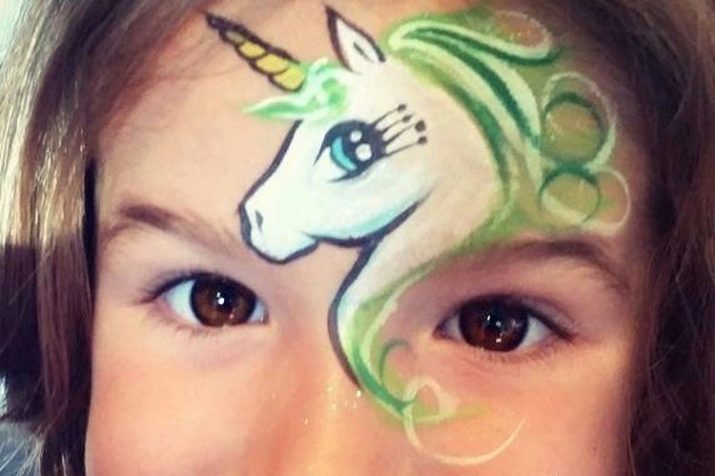
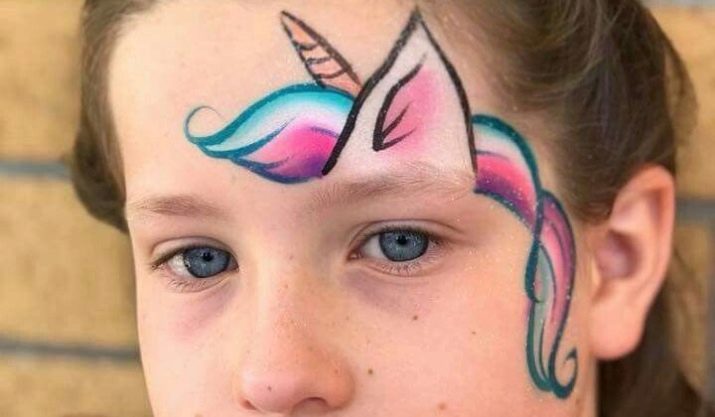
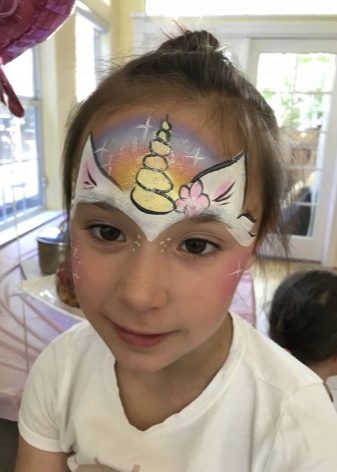
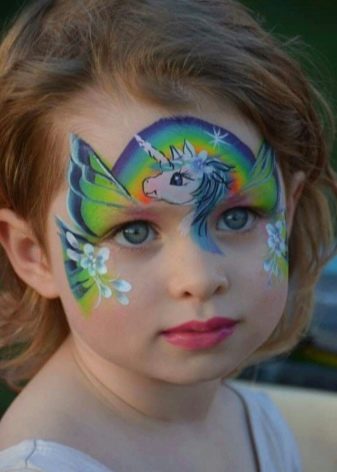
A cute and funny unicorn on the faces of young beauties always looks different.
-
With large wings in the form of a playful mask.
- Petite, on the cheek, in the cheekbone area, emphasizing a happy child's smile.
- Seeing the world around you through the eyes of a fairy pony is so great. Give your child this opportunity.
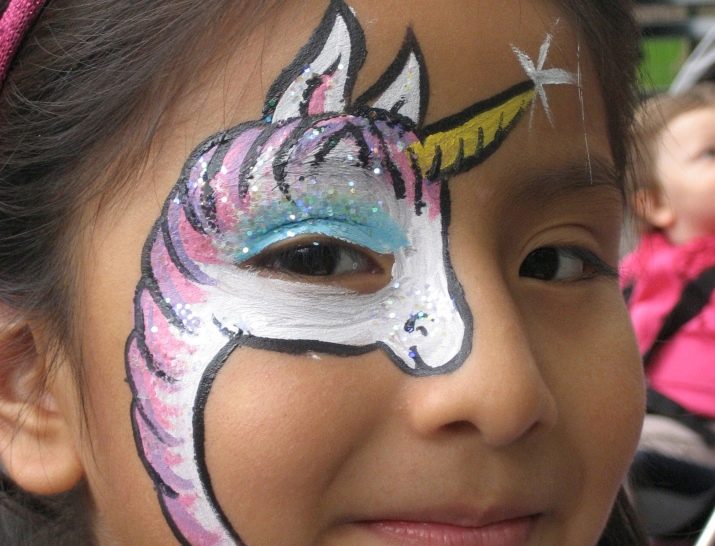
- The baby unicorn lurked like a butterfly on his forehead, circling an eyebrow with a graceful wing, emphasizing the sparkle of mischievous childish eyes.
- By the ears and the golden horn, everyone will certainly guess what kind of fairy-tale character the little princess loves.
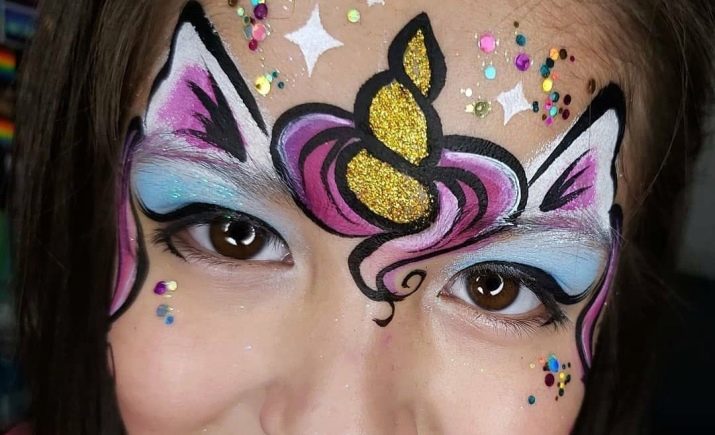
- Sequins and rhinestones are used to create a fantastic look.
- It's easy to draw a New Year's unicorn using winter motifs, a cool palette of tones and a little silver glitter.
- Make a cartoon character.
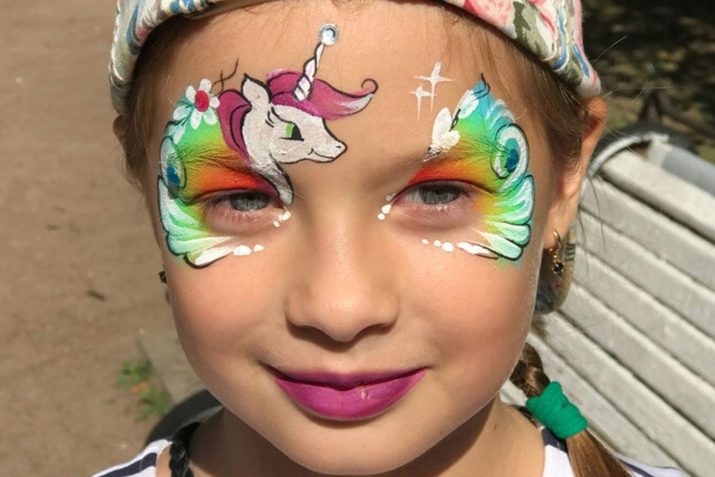
- Positive, colorful, like the rainbow itself.
- Mysterious and enigmatic, like an old oriental tale.
- Humorous, funny and a little hooligan.
- To portray a cute shy girl who you want to hug and gently stroke.
- Make up in tones unusual for this character, for example, in light green tones.
- The easiest option is to draw a horn, a fluffy forelock and a horse's mane with several lines.
Application technology
To create a beautiful and neat drawing, remember a few simple rules for working with face painting.
-
Any drawing begins to be applied to the face from top to bottom., descending gradually from the forehead to the chin area.
-
To create a symmetrical pattern, they are guided by parts of the face: The nose, chin, imaginary point between the eyebrows will help determine the center of the sketch.
-
The work on the drawing begins with the application of the main tone.... It is evenly applied with a sponge on the face: the forehead, cheeks, chin are toned, the eyebrows and eyelids are painted over.
-
Make volumetric objects with a wide flat brush, small details are drawn using small round and oblique brushes.
-
Painting with face painting resembles working with watercolors... To prevent paints from flowing down your model's face, do not take a lot of water on the brush and do not dilute the face painting too thin.
-
You need to create a drawing on a child's face quickly, without long hesitation.... The paint dries instantly, and even faster the patience of young models runs out.
An affordable master class on creating a cute unicorn in the form of a mask will help you start practicing techniques for applying magical makeup.
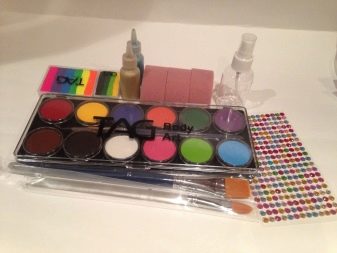
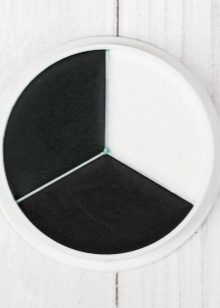
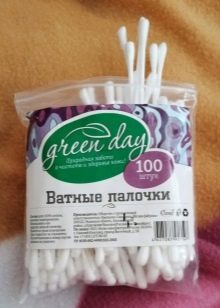
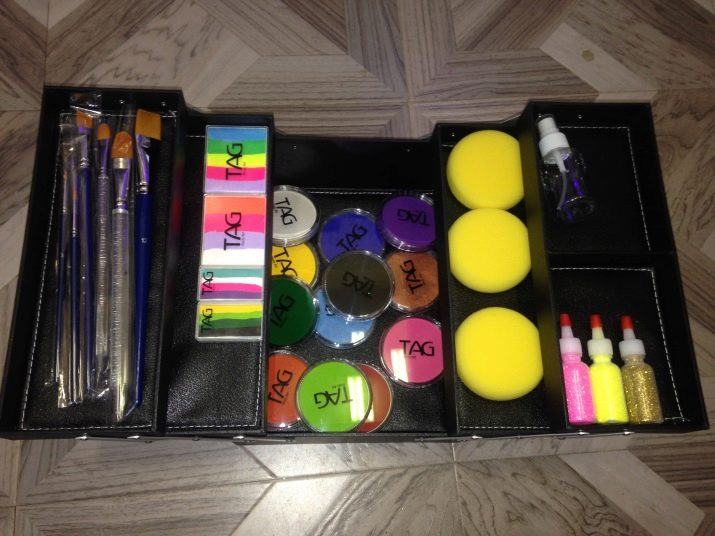
To draw you will need:
-
face painting of black and white colors;
-
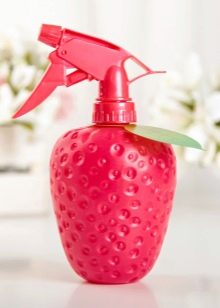
spray bottle with water;
-
brushes, sponge or sponge;
-
cotton swabs to remove errors.
And you will also need a split cake in rainbow colors. This is a small palette with face painting in different shades, which is convenient to grab in one movement with a sponge or a wide brush.
With its help, it is easy to create a beautiful drawing with a gradient color.
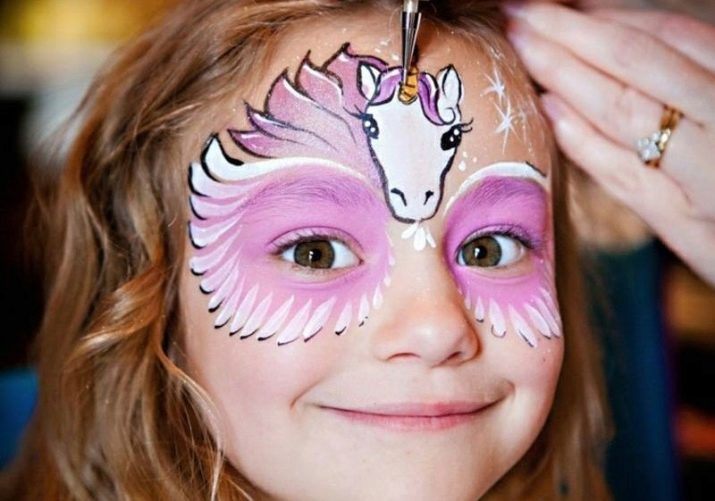
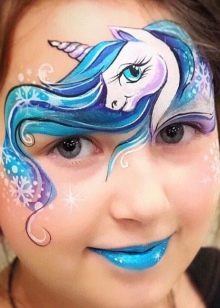
Step 1. Let's start with the ears and horn.
-
We take the sponge.
-
We collect white paint on it, and we proceed to create a pony's ear starting from its upper sharp tip
-
With patting movements we apply paint to the forehead and move from the top of the ear down to the beginning of the eyebrow near the bridge of the nose. We get a slanting line.
-
We return to the upper starting point of the ear and draw with a sponge, patting downward strokes, which goes to the outer end of the eyebrow.
-
We have formed a triangle. We fill it with white paint. The ear is now ready.
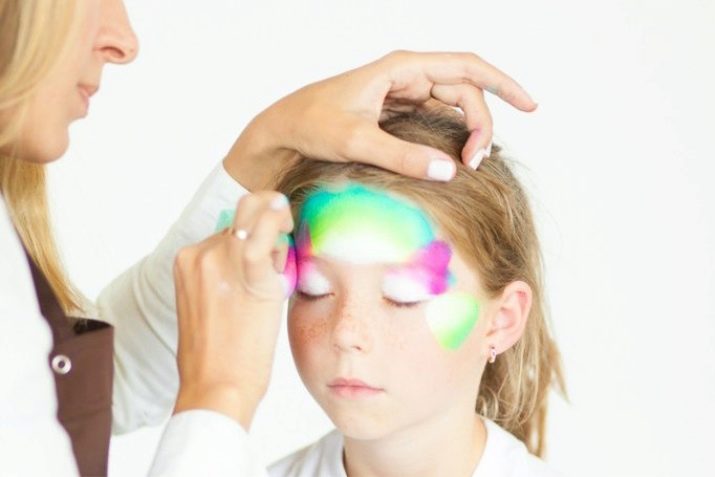
Step 2. Draw the horn.
Mark the top point of our horn with a brush on the forehead. We gradually descend from it, increasing the width of the horn. It will occupy approximately 2/3 of your model's forehead.
The rest of the forehead above the bridge of the nose will be occupied by the pony's lush bangs.
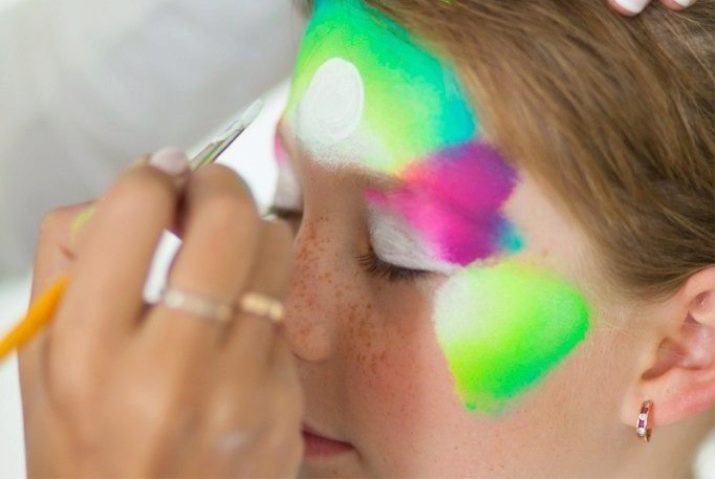
Step. 3. Create multi-colored bangs.
- Take the rainbow split cake. We pick up paints with a wide brush, and proceed to draw the forelock with the help of a beautiful curl. For a more voluminous drawing, try to keep the lightest shade of the paint on the inside of the bangs and the darker shade on the outside.
- At the edge of the eyebrow, create a beautiful upward zigzag curve.
- Next we make a second stroke in the same way.
- The bangs are ready.
Step. 4. We continue to create a magical unicorn.
We make beautiful curls at the temples starting from the outer end of the eyebrow and the base of the unicorn's ear towards the cheek.
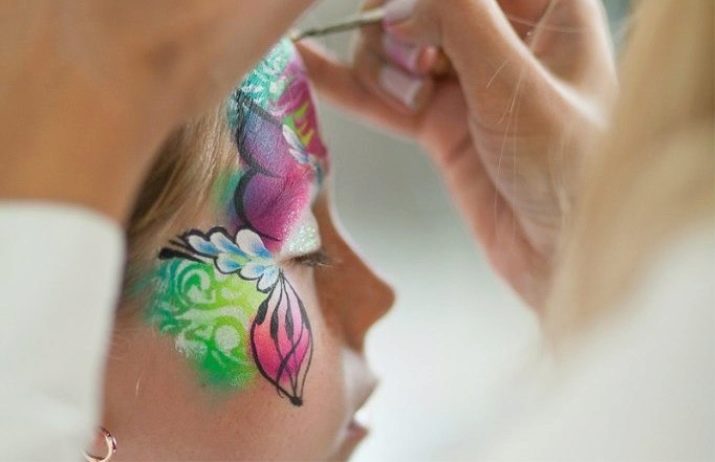
Step 5. We begin to create volume.
-
Use a small brush to paint some black paint to liven up the drawing.
-
We will start with the ears to create accents in the drawing. We return to the top of the ear. We draw a smooth contour line, outlining the eyelet downward. Approaching the bangs, we reduce the line to nothing.
-
Draw the second side of the ear. Let's make it wavy like a butterfly's wing.
-
Mentally divide the line into 3 equal parts to make the eyelet more voluminous and embossed.
-
We draw the brush along the contour, slightly pressing on it, and draw a small stroke with its tip, going into the ear itself. So we mark the border of the imaginary first part, and we do this procedure with the next two.
-
Go back to our line, draw a brush around the path, and zigzag to the side again to emphasize the wave.
-
Draw the outline of the horns with black paint on both sides. To make it helical, create small, rounded strokes on it.
-
Go to the bangs and create several smooth strokes along the contour of the strands.
-
On the side lines at the temples, you can create some chaotic black curls.
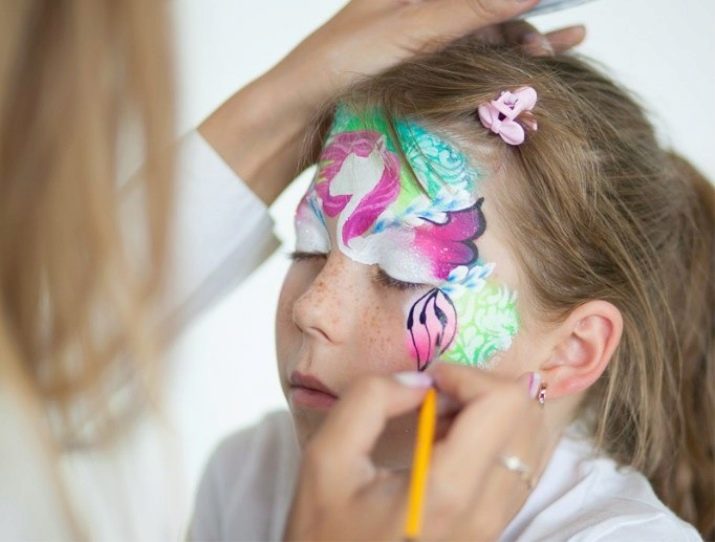
Step 6. Add details.
- Take a thin brush, white and black face painting. Use it to create white stars and dots.
-
Put a dot on your face.
-
From it, make short, straight strokes clearly up and down.
-
Create the same strokes horizontally in both directions.
-
The movements when drawing strokes are clear and sharp, then the ends of the star will be sharp, and it seems that it is glowing.
-
Draw a smaller star below, but so that part of it intersects with the large star.
-
Make no more than 3 pairs of stars in different places of the picture.
-
Bring the picture to life with white dots and elongated droplets. They can be applied near the ears, bangs and temples.
-
We take black and paint and make several points of different sizes on the bridge of the nose, right under the bangs. The work now looks complete.
-
The mask of a wonderful unicorn is ready.