How to paint eggs in a hibiscus?
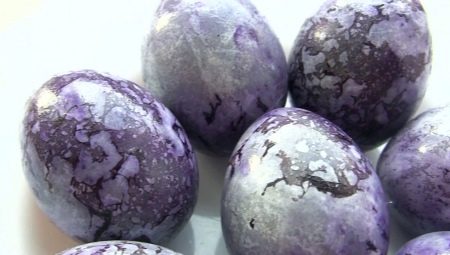
Hibiscus infusion is one of the useful natural dyes that is often used to color eggs. The finished dyes are bright and beautiful. Therefore, many people like the result of the work.
Dyeing methods
You can paint eggs in a red hibiscus for Easter in different ways. Each of them has its own characteristics.
With foil
Many people like this staining option. Using a simple recipe, you can get a vibrant space pattern on the shell. A step-by-step recipe for coloring eggs consists of the following steps.
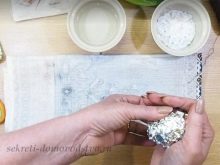
First you need to cut off a large piece of foil. It is folded as if they are planning to cut out snowflakes. Small holes are cut around the perimeter of the triangle. Their shape and size can be varied. It is in these openings that the dye will enter.
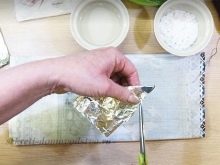
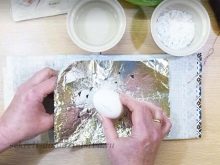
Next, the workpiece must be carefully expanded. You need to place a pre-boiled egg in it. The foil should be lightly crumpled and pressed against the shell. Irregularities on the surface of the foil are needed to create an unusual pattern. You can save time on getting ready by simply piercing the foil in several places. In this case, scissors are also used to create holes.
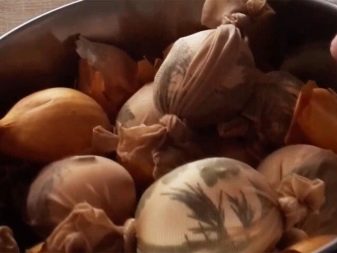
The eggs wrapped in this way are placed in a container with hibiscus broth. There they are insisted for several hours. After that, the dyes are taken out and cleaned of foil. They are dried and transferred to a dish.
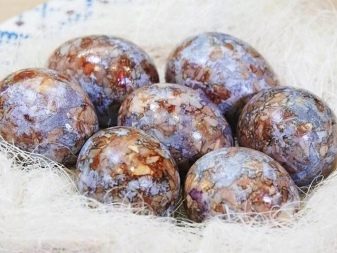
Marble pattern
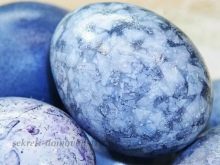
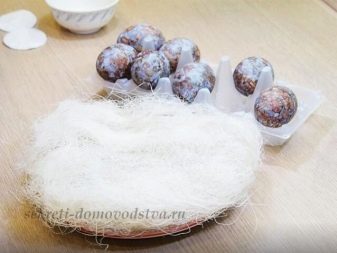
To get a beautiful pattern, eggs are left in water with a decoction for several hours. You can turn them over from time to time. In this case, the color will be more even. But if there is no time, you can do without it. The eggs will still look pretty.
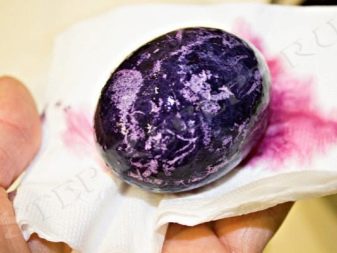
It is worth remembering that dyes pulled out of a container with a hibiscus can begin to change their color. Blue eggs can turn purple or blue, and vice versa. This is quite normal for this type of staining.
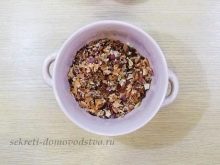
You can make the marbled color more interesting by using dry onion peels. This is done as follows.
-
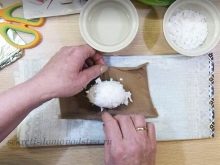
First you need to finely chop the onion scales... In the work, it is best to use husks of different colors. So the final color of the dye will turn out to be more interesting.
-
Next, finely chopped paper is added to the container with the husk. Mix the contents of the bowl well.
-
Separately needed prepare pieces of gauze or nylon.
-
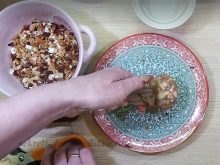
Each egg must be moistened in water, and then well rolled in a husk with paper... Individual scales should fill the entire surface of the egg.
-
In this form, the future dye is wrapped in gauze. So that there are no visible "cells" left on the shell, it must be folded in several layers. The edges of the gauze are neatly tied with strong threads.
-
Next, the eggs are placed in a container with tea leaves. The product is left in it for several hours.


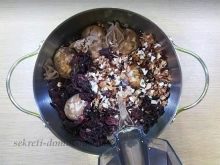

In general, painting eggs this way does not take very long.
With threads
This dyeing method allows you to create original patterns in the form of a cobweb on the surface of the shell. In work, you can use threads of different thicknesses. It is permissible to combine threads for embroidery with knitting or simple threads. They are randomly wound around an egg. It should be remembered that the more threads on its surface, the brighter the pattern will turn out.
In this form, the products are placed in a container with a decoction. There they are insisted for the right time.

With abstract pattern
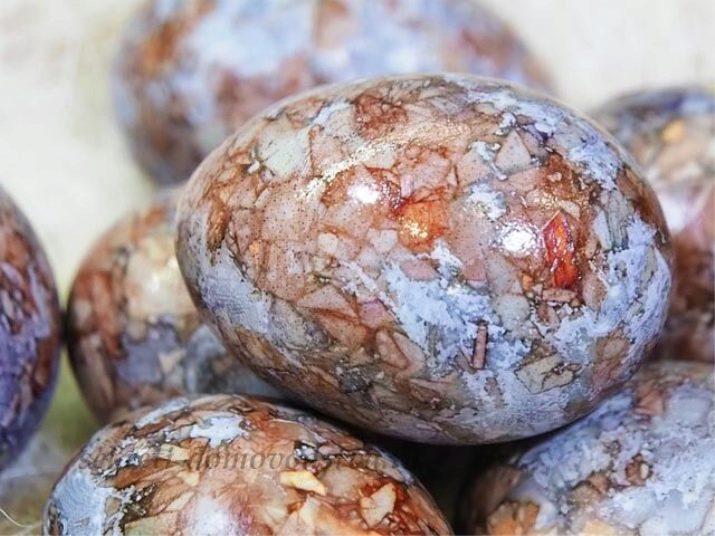
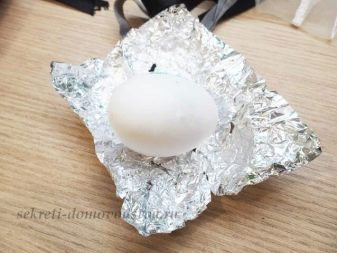
If you want to dye eggs in a rich color using natural dyes, you should also use foil. A large piece must be cut off from it. Wet hot tea leaves are placed on it in a dense layer. An egg is placed on top. Foil around him begins to gently squeeze.
In this form, the eggs are left for half an hour. After that, the foil is removed along with the tea leaves. Even dark brown eggs can be decorated in this way. The pattern on the shell will turn out to be very beautiful, consisting of different shades of blue, red and even purple.
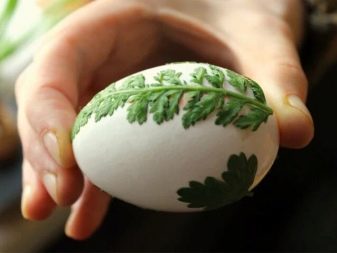
With drawing
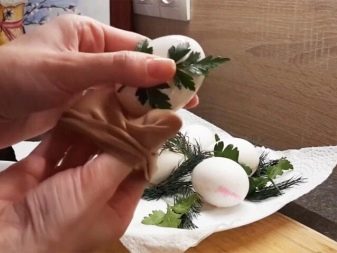
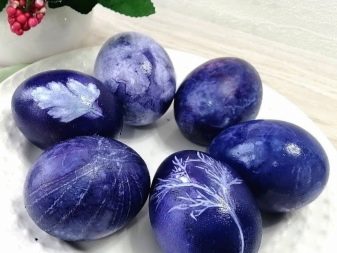
This dyeing method allows you to create elegant dyes with unusual patterns at home.... To create volumetric patterns on the shell, leaves and twigs are used. As a rule, housewives choose dill and parsley for this purpose. After all, they are always freely available. If desired, they can be replaced with foliage, flowers or their petals.
Before starting work, the egg is moistened in water. After that, branches and green foliage are applied to it from different sides. They can also be additionally moistened. Having finished with the decor, the paint can be wrapped with a piece of nylon or gauze folded several times.
The selected material must be carefully tensioned. Tie the edges of the fabric with threads.
In addition to green foliage, other details can be used to create original patterns.
-
Paper figures. They can be cut from both unnecessary paper and napkins.
-
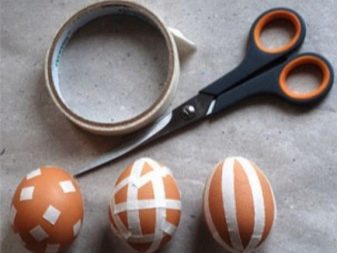
Masking tape... This material is used to create vertical and horizontal stripes. Such decoration is considered to be universal.
-
Decorative stickers... Cheap stickers can be purchased at many stores. Geometric figures, hearts or stars are suitable for decorating eggs.
-
Glue... You can decorate the egg with your own pattern using a glue gun. The patterns are created immediately after cooling the food. The glue is removed after coloring the shell.
All these ideas can inspire both adults and children to create original dyes.
Preparatory stage
Before you start coloring eggs with tea, they must be boiled. For coloring hibiscus, it is recommended to use products with white shells. In this case, the pattern on its surface will be brighter.
Eggs are removed from the refrigerator 20-30 minutes before boiling. In this case, it will be possible to avoid a sharp temperature drop during the cooking process. This means that the shell will not crack. You can paint both chicken eggs and quail eggs.
When planning to boil eggs, you need to choose a pan of the right size.... It shouldn't be too big. Eggs are laid in it so that they are as close to each other as possible. Salt the water in the saucepan a little. In this case, the protein will not leak if the shell is cracked.
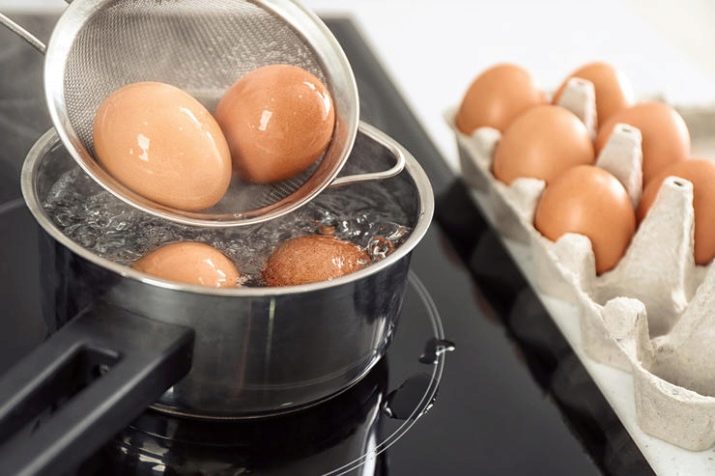
Further, future dyes are poured with warm water. By bringing the water to a boil, the fire must be reduced. After boiling, the eggs are boiled for another 12 minutes. During this time, they will have time to fully prepare.
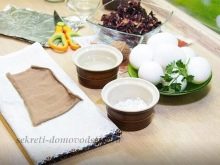
While eggs are being boiled in one container, hibiscus broth must be prepared in another. For this, the tea leaves must be poured with clean water. Next, the pot with the future broth must be sent to the stove. After bringing the liquid to a boil, turn off the fire. The broth is left in a warm place for another half hour. The finished product can be filtered. But this is optional. This will not affect the color of the eggs.
A cheaper hibiscus tea bag can be used in place of fresh petal tea. The staining result will still be beautiful.


Step-by-step instruction
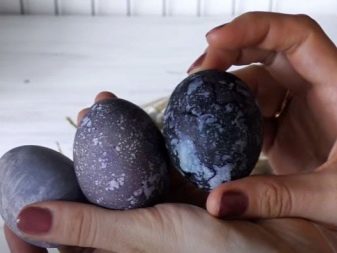
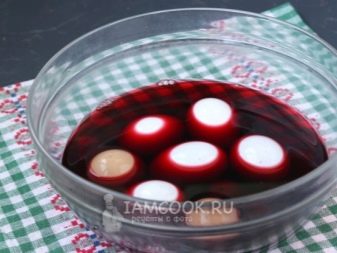
Having finished with the preparation, you can start coloring the products. Eggs must be cooled and transferred to a container with hibiscus broth... They are left in a saucepan for only 10 minutes. During this time, they perfectly absorb the coloring pigment. Despite the fact that the broth has a pomegranate color, the dyes acquire a blue or purple hue.
If after the first staining procedure it was not possible to obtain the desired result, the eggs must be dried, and then sent to a container with water for another couple of minutes.
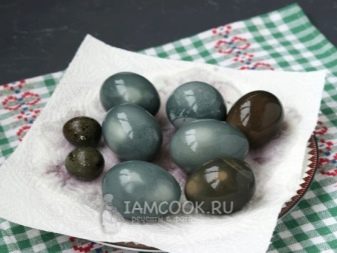
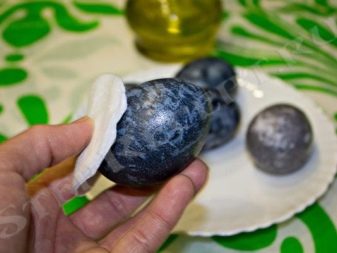
When the eggs are fully colored, they will need to be carefully wiped off with dry napkins. Easter delicacies are served cold.
Coloring secrets
The following tips will help you achieve the best staining results.
-
To make the dyes shine beautifully, after staining, they must be greased with a cotton pad moistened with vegetable oil.
-
You can make the shell color more persistent by using vinegar.... Usually eggs are wiped with a napkin soaked in liquid with a pungent smell before boiling. Instead, the product can be added to a container of water a minute before the end of cooking dye. Do not be afraid that eggs boiled with vinegar will smell unpleasant. This product has no negative effect on the health of the eggs.
-
To make the paint lay on the surface of the shell with a smoother layer, eggs before staining can be additionally washed with soap and rubbed with alcohol.
-
It is recommended to work with hibiscus with gloves. In this case, the skin of the hands will not be stained. Gloves are worth choosing new ones.
-
Eggs must be moved very carefully. If the shell is cracked, the albumen may turn a bright blue or purple color.
-
You can achieve a delicate blue hue of the shell by placing the eggs in the broth several times, but only for one minute. Taking the egg out of the water, wipe the surface with a napkin each time. However, you don't need to do this. In this case, beautiful cosmic streaks form on the egg over time.
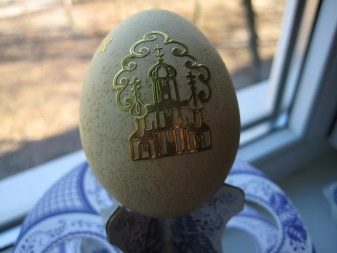
Properly colored eggs will look bright and beautiful.
For step-by-step instructions, see below.


