Steampunk bottles
In the modern world, bottles can serve not only as a container for drinks, but also as an element of decor. You can make such an accessory in any style, depending on your preferences. How to make a steampunk bottle will be discussed in the article.
Peculiarities
To begin with, I must say what it is. Steampunk is a science fiction trend with steam as its leading theme. A bottle made in this style has a number of features, for example:
- the product can serve as a wonderful gift for a birthday or any other occasion;
- such a bottle is original, looks interesting and gives comfort;
- you can make it using any materials you like;
- when making such an accessory, you can have a good time;
- allows to unleash creativity, releases fantasy in flight.
Necessary materials
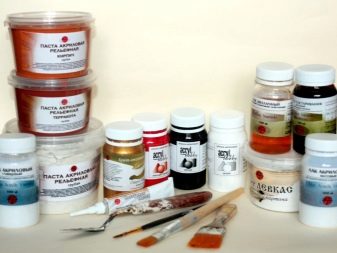
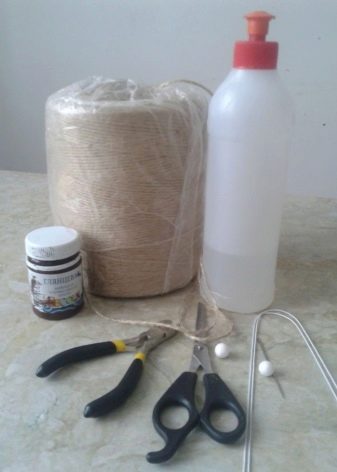
For the manufacture of any steampunk bottle, materials such as:
- the bottle itself;
- acrylic paint;
- acrylic lacquer;
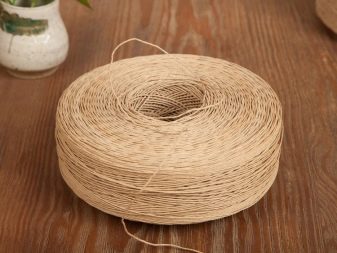
- twine, texture paste or putty;
- details and decorations.
With these materials in stock, you can easily build something like a Steampunk Bottle.
Decor options
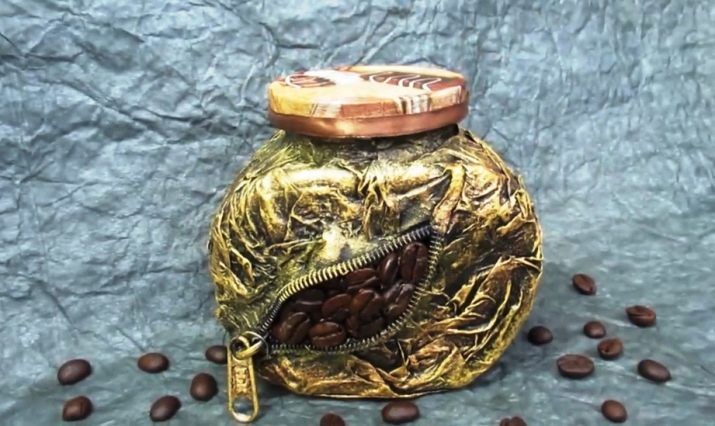
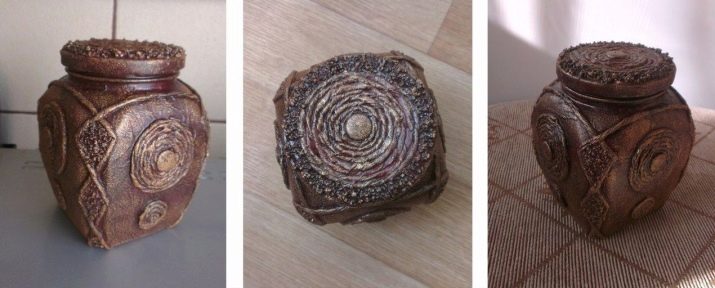
Steampunk from a coffee can
In order to build a steampunk bottle, you will need:
- a can of coffee;
- acrylic paint of the required color;
- acrylic lacquer;
- black color;
- leg-split;
- twine glue;
- construction tape;
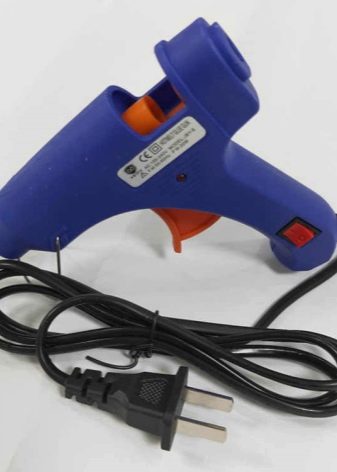
- hot glue gun;
- details and accessories necessary for registration.
If you have all the materials, you can start creating your jewelry.
- The first step is to cover the top of the used can with twine.
- Next, the top, already covered with twine, should be sealed with construction tape.This designates the area for placing the accessories. It also prevents the rope from getting dirty during the painting process.
- After gluing all the necessary parts, you can proceed to the primer. It is necessary to prime with black color.
- Then you can paint with acrylic paint of the selected color. Once the paint is dry, the jar can be varnished.
- As soon as the work in the center of the can is finished, and the varnish is dry, you can remove the construction tape, and continue to cover the bottom of the can and its bottom with twine.
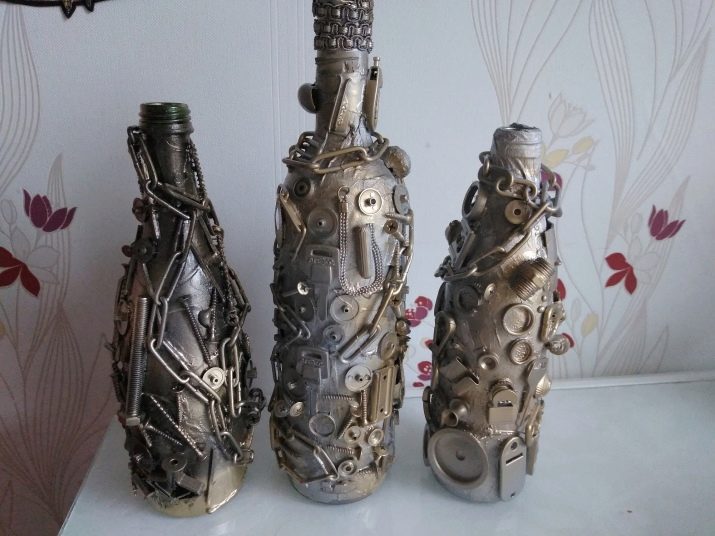
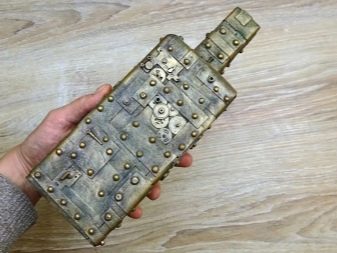
To make a "Brutal" bottle you will need:
- a bottle from a drink;
- foamiran 1 mm thick;
- scissors;
- brush;
- acetone;
- construction glue;
- various rubbish (gears, bolts, pieces of metal, etc.);
- dried peas;
- acrylic paint;
- acrylic varnish.
The manufacturing process is simple.
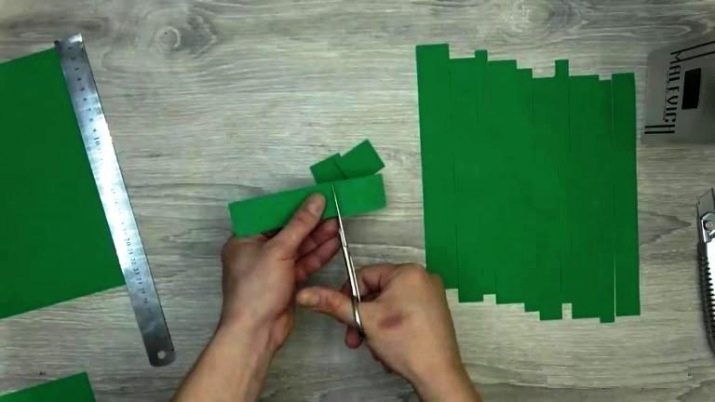
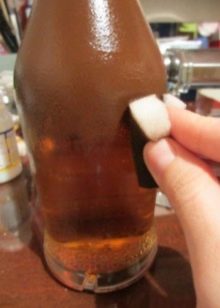
- First you need to cut the foamiran into small pieces of different sizes.
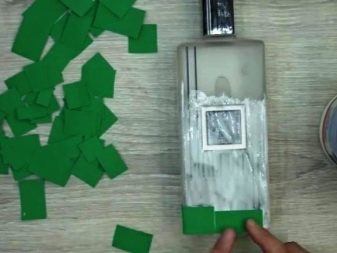
- To degrease the bottle, it should be treated with acetone.
- The glue is spread on the bottle, after which the chopped foamiran can be applied. It is very important that the seams between the parts are distributed randomly, and not in one line.
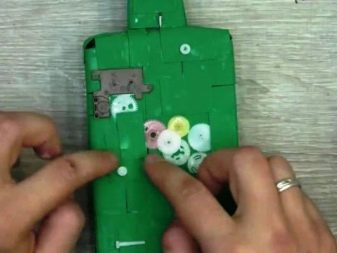
- Now you can start decorating. You can glue a lot of things, such as screws or pieces of plastic. In this case, it is necessary to show imagination.
- Next, you need dry peas with even halves. This element will perfectly serve as rivets.
- In order for the product to dry, it must be left for an hour.
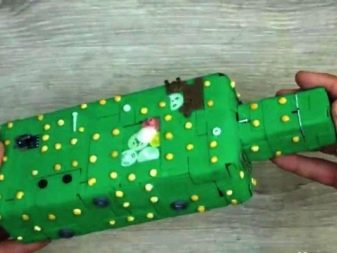
- As soon as the bottle is dry, you can start covering with acrylic paint, and then leave it to dry again for an hour.
- It would be nice if, after the paint dries, go through a second layer, for example, coffee-colored. This will add color to the product.
- Now you can proceed to varnishing. This should be done in two layers. This will allow you to wipe the decor from dust in the future.
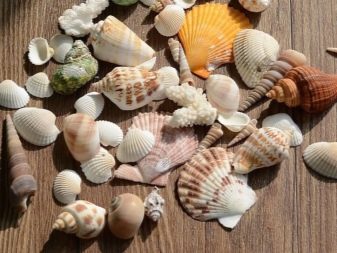
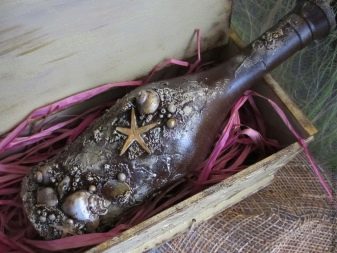
Bottles of the marine theme are no less popular. The master class for making them is also simple, and the amount of materials required is almost the same.
What you need:
- bottle;
- acetone;
- acrylic paints;
- textured low-grained paste;
- crystal paste;
- decorations on the marine theme (shells, beads, stones, sand, coins, etc.);
- coating varnish;
- sponge.
Consider the progress of the work.
- First, the bottle must be degreased with acetone.
- Now you can move on to her primer. We cover the entire bottle with acrylic paint of the desired color.
- Next, you need to wait until the paint is completely dry. If the first coat turns out to be too thin, you can apply the second one.
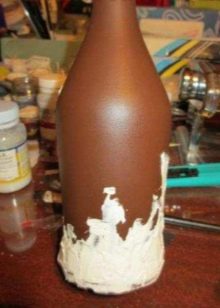
- Texture paste or putty is used. For a start, the material can be applied randomly - this will create a "sea" relief. You can create such a relief using a palette knife. Other materials are also allowed.
- It's time to attach the accessories. Shells, stones and other things will help to convey the atmosphere of the sea.
- Once the decorative elements are fully completed, the product should be left to dry.
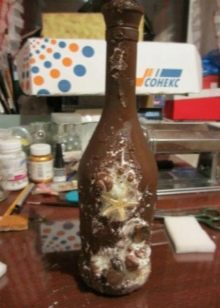
- Once the textured paste has dried, you can start applying the crystal paste.
- We wait again to dry, after which the bottle must again be covered with acrylic paint.
- Next, the product needs to be tinted. This is done with a sponge and paint. A little paint is applied to the sponge, then it should be dried with paper. You can tint with an almost dry sponge.
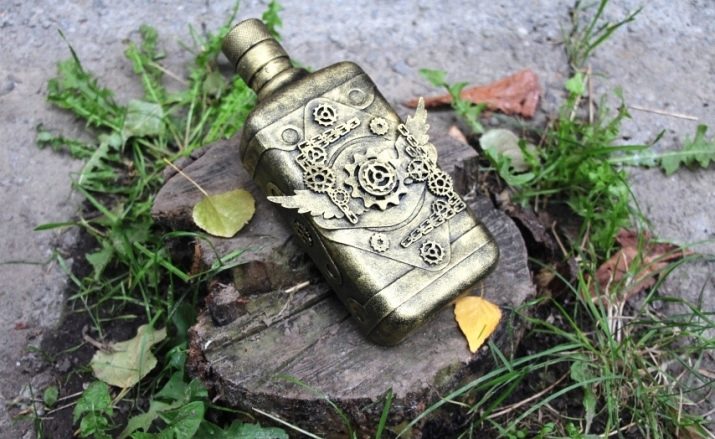
Beautiful examples
Making a steampunk bottle with your own hands is not at all difficult. All that is needed for this case is the necessary materials, accuracy and patience.
By making an effort to this, you can get a truly original decor item or a gift for a man.
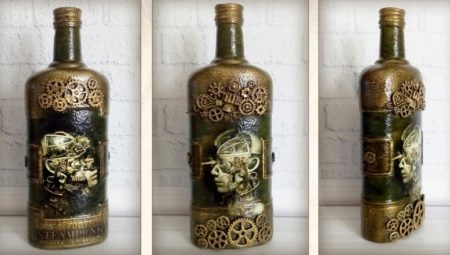
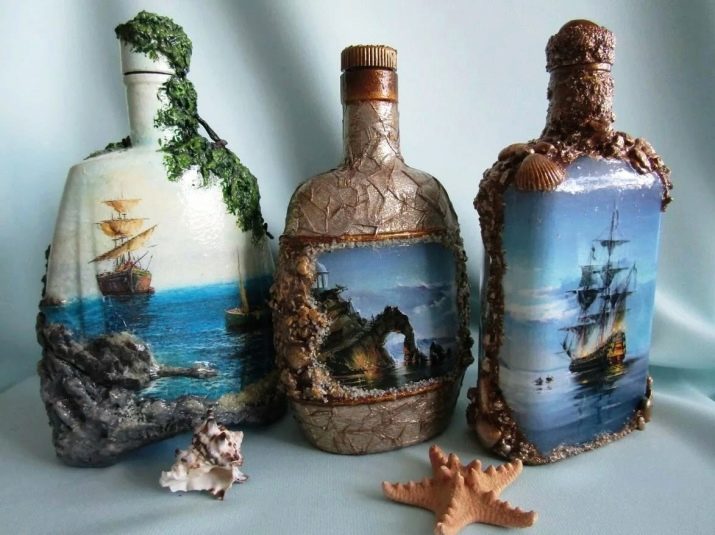
- A tool such as decoupage looks great. Decoupage is called decorating by attaching pictures. Such products look very sophisticated.
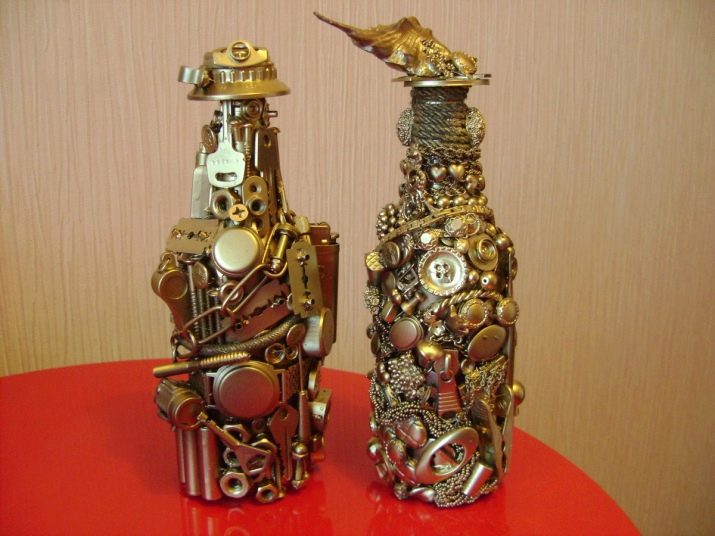
- Bottles coated with bronze paint make a good impression. This palette gives the impression of real metal.
- In addition to the marine theme, there are many others, for example, aerial or underground. It looks very impressive.
For information on how to decorate a steampunk bottle, see the next video.


