How and from what can you make a tray yourself?
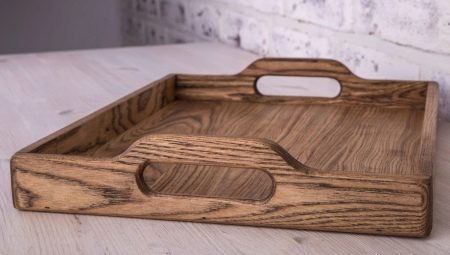
Wooden trays look great in the interior of the kitchen and are easy to use. They are easy to make with your own hands. A stylish wooden accessory can be purchased in the store, but the price of a high-quality and beautiful product will be high. Even if you do not have a special aptitude for creativity, you can create a homemade tray for coffee, tea, breakfast in bed.
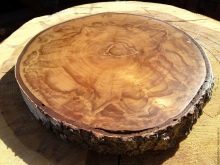
There are quite a few options: with and without handles, with sides, on legs, with an interesting decor. It is enough to make the correct drawings according to the sample and use the master class, and then decorate the product to your liking. You can make a tray not only from a saw cut from a tree, but also from scrap materials: cardboard (for example, a cardboard box), plywood, champagne corks, jute and even paper.
Tools and materials
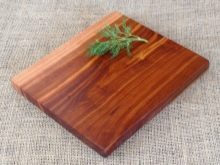
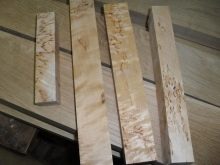
First of all, you need to think about what material your tray will be made of. Not every kind of tree is suitable for this. If you decide to use a saw cut, the following types of wood are suitable:
- oak;
- maple;
- alder;
- Cherry;
- Linden;
- Birch.
Avoid working with woods that produce resin, such as conifers.
The tray itself is a simple structure consisting of a flat bottom with sides along the edges. For the manufacture of sides, you can use:
- boards;
- slats;
- frames for photos and paintings;
- doors from the table.
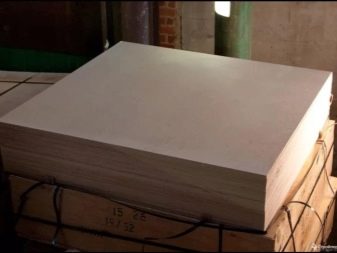
If the choice fell on plywood, then making a tray out of it is very simple, due to the pliability of the material. Remember that this type of tray will not be very durable or sturdy. Plywood is used as a material for the manufacture of interior items that have no practical application.

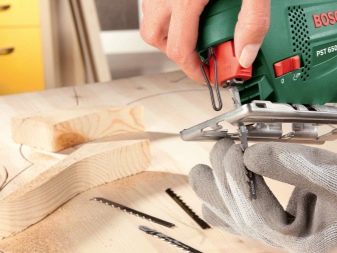
In addition to the material, it is extremely important to acquire a set of tools. Depending on the complexity of the task, there may be a minimum or a lot of them.
You can start working with a tree if you have:
- sandpaper;
- furniture stapler;
- glue gun;
- screwdriver;
- jigsaw;
- Ruler and pencil;
- saw.

That is, you must have the tools to do the following:
- drawing and taking measurements;
- sawing, drilling;
- fastening.
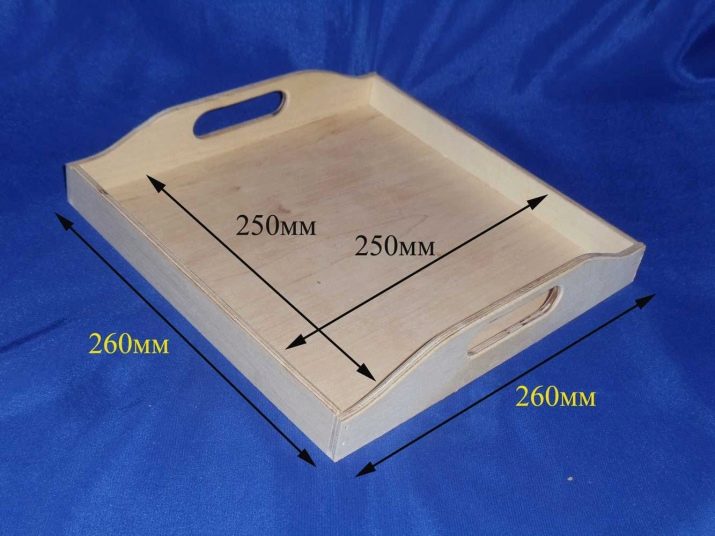
Drawing up drawings
Before proceeding directly to manufacturing, you need to create a drawing, sketch. You can choose a path that is more convenient for you:
- choose raw materials and build on its capabilities;
- create a sketch with measurements and select material for it.
In any case, first think over all the parameters of the future tray. The product should not be heavy and uncomfortable to use, otherwise it will be inconvenient to move. After that, you should decide on the functionality - the product can be equipped with legs, sides, handles. In fact, a multi-purpose tray can act as a small table.
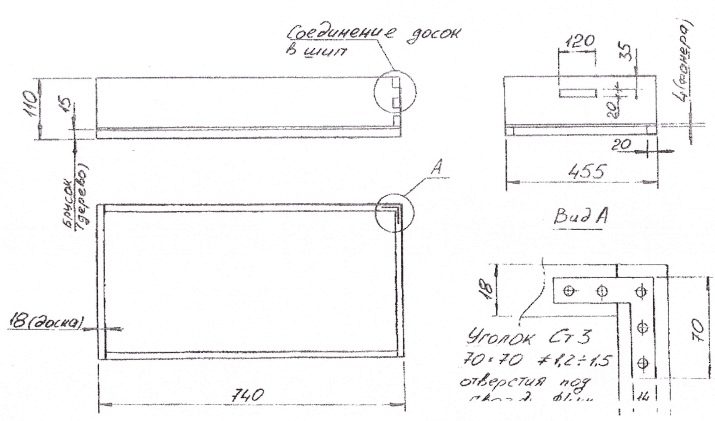
After the general idea has received its outline, it is necessary to transfer it to paper. You can use ready-made drawings, based on which to create your own sketch.
The drawing should indicate not only the dimensions, but also the attachment points. If you are using plywood, consider:
- places where fittings will be located and fastened;
- width and length;
- the thickness of the base and sides are also taken into account.
Products of a more complex type, for example, made of natural wood, are created on the basis of drawings, including:
- places of attachment of legs, handles, joints;
- points of placement of accessories, decor;
- the thickness of all materials used.
How to make a tray?
After creating the drawing, you can start practical work. Prepare fasteners, elements for joining. To make a simple tray with sides, it is enough to follow a simplified algorithm:
- a rectangle of the size that was assumed is cut out;
- prepare a frame along the length of the base;
- fix the handles on the frame;
- decorate the bottom of the tray;
- join the frame and base together.
More complicated designs of portable tables, trays with legs are created using approximately the same algorithm.
Additionally, it contains the stage of creating the nodes for attaching the legs and fixing them.
Decorative items such as handles are available from furniture supermarkets. The stage of decorating is one of the last, choosing the elements for decoration according to the taste, the chosen style. It is necessary to take into account the interior mood of the kitchen. The final stage is varnishing, painting the tray using water-repellent agents.

Master classes
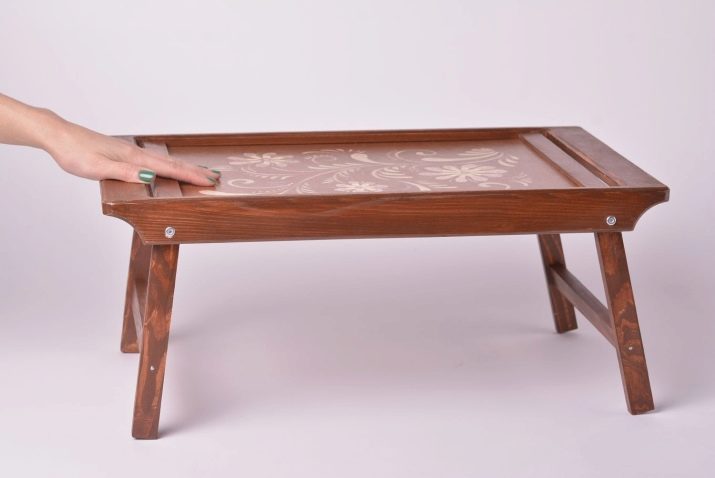
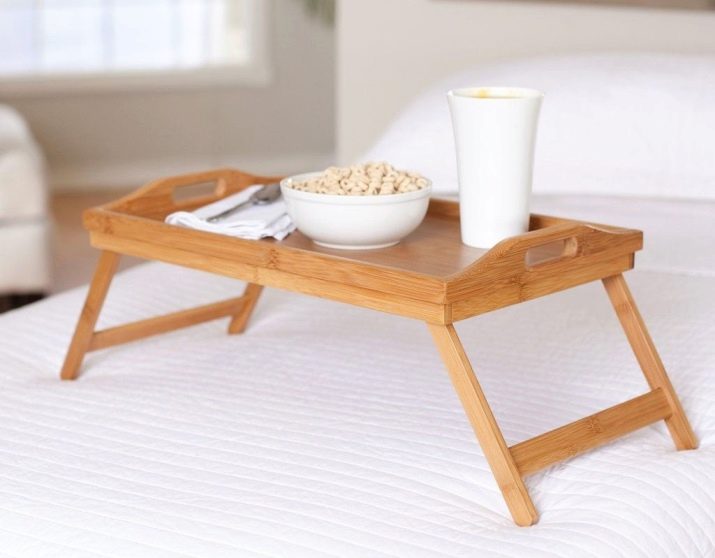
Breakfast in bed tray
Making this model with legs requires some skill with the tools. The option is quite multifunctional, it perfectly replaces a small table. Can be made from plywood, boards. You need to prepare the following materials:
- board or plywood in the shape of a rectangle, 40 by 70;
- meter tubes made of metal in the amount of 4 pcs.;
- 15 mm corners - 8 pcs.;
- 15mm spacers - 4 pcs .;
- stain, varnish for coating.

Manufacturing steps:
- the tubes are cut so that the edges are even, you will need 4 tubes of 6 cm, 4 pieces of 25 cm and 19 cm, 2 pieces of 58 cm;
- 25 cm pipes are combined with 6 cm corners, fixed with glue;
- the resulting handles are superimposed on the attachment point, the joints are marked;
- holes are made at these points according to the diameter;
- the material is sanded with sandpaper, then treated with varnish, stain;
- gaskets are attached to the holes and fixed with glue;
- ready-made handles are inserted;
- the legs are attached to the finished tabletop from pieces of 58- and 19-cm racks;
- legs are connected with corners to tubes of 25 cm;
- everything is fixed with glue.
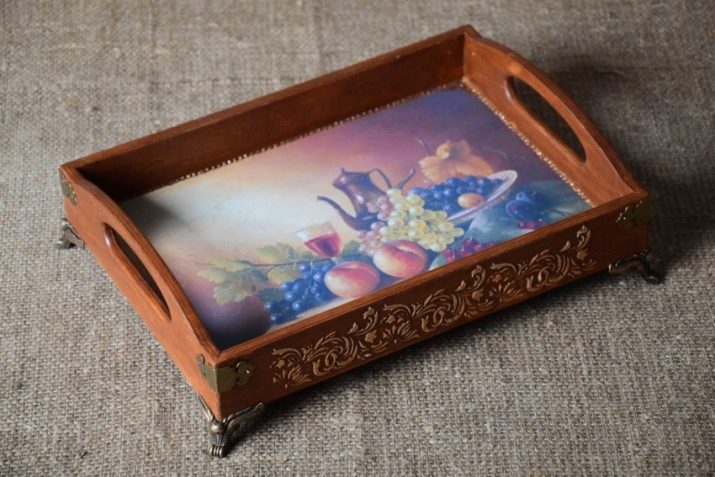
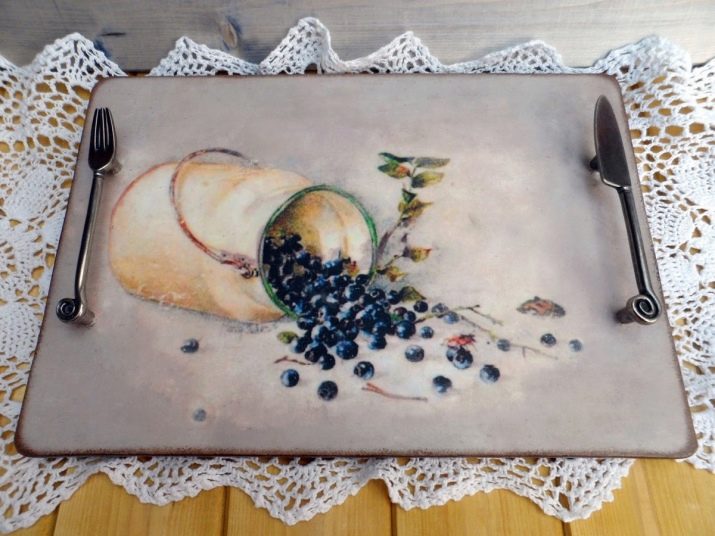
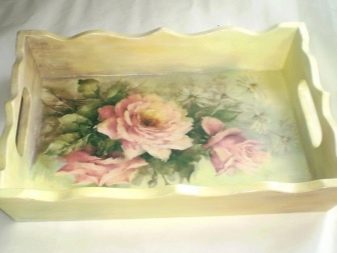
From the picture
This option is suitable for beginners. In addition to the picture itself, you will need:
- 2 door handles, it is better if they are of the original look;
- plywood;
- screws and screwdriver.
Handles are placed and screwed on the sides of the frame. The picture is removed, a plywood base is inserted in its place.
A canvas is glued onto it and varnished. After drying, fix with self-tapping screws.
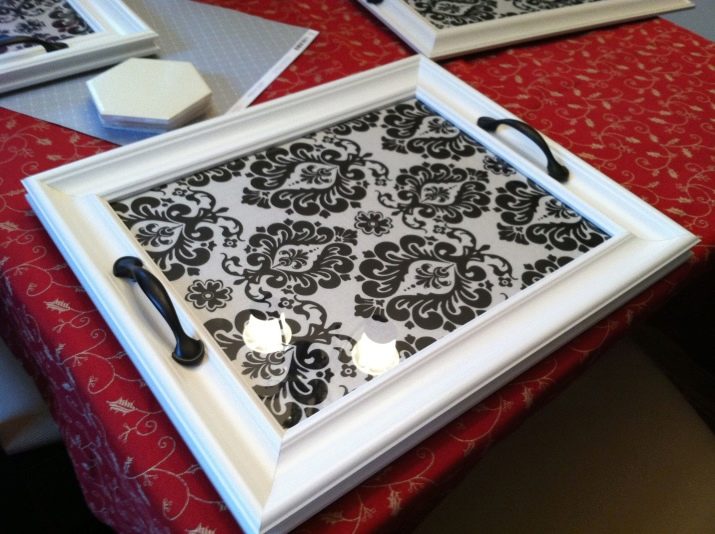
From photo frames
The method is also simple to implement, you need a frame of the right size, plywood or cardboard base. Algorithm of actions:
- removed cardboard and glass;
- holes are drilled in the frame into which furniture handles sit on self-tapping screws;
- a plywood base is created in size;
- at the next stage, the base is decoratively decorated; you can also decorate the factory cardboard by inserting it back;
- the decor is fixed to plywood with glue;
- glass is inserted.
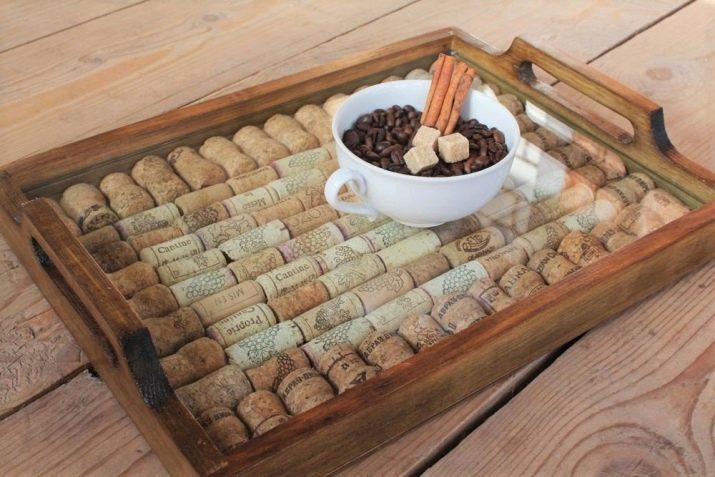
Cork tray
To make this original tray you will need:
- champagne corks - 100 pcs;
- Super glue;
- glass.
Algorithm of actions:
- cut the plugs in half with a knife;
- fold them into the base and connect them together with superglue;
- put plexiglass on top and cut to size;
- build the sides from the corks that have remained intact, fix them with glue.
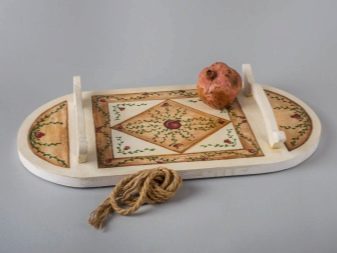
Interesting decoration options
It all depends on your imagination, taste and skills. If you know how to draw, then painting the tray will not be difficult. You can decorate not only the bottom, but also the side walls of the tray with a pattern. Painting is carried out with acrylic or oil paints, at the end of the work it is varnished.
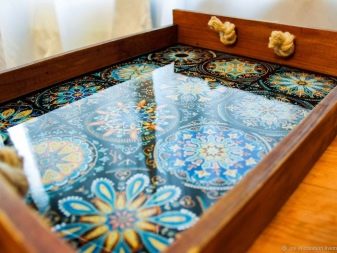
If such skills are not among your talents, you can consider the option of decorating from magazine photo clippings, posters. An image is glued to the base, then varnished.
Among the unusual ways of decorating are photos and rose petals. First, you need to stick a photograph of the flower on the bottom of the tray, then put the petals on it, sprinkle the distance between the petals with beads. After that, it is enough just to fill everything with transparent varnish.
Do not be afraid to experiment, the most non-trivial elements can act as decor:
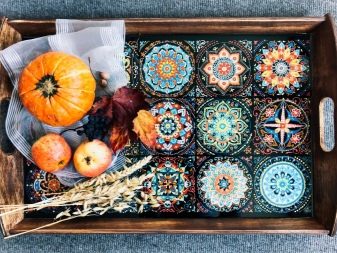
- mosaic;
- shreds, wool;
- postcards;
- leaves and flowers;
- straw;
- mat.
Pens can also be made very effective. Then, instead of purchased accessories, the following are used:
- weaving from newspaper tubes;
- wine bottle corks;
- leather belts;
- plastic handles wrapped in twine.
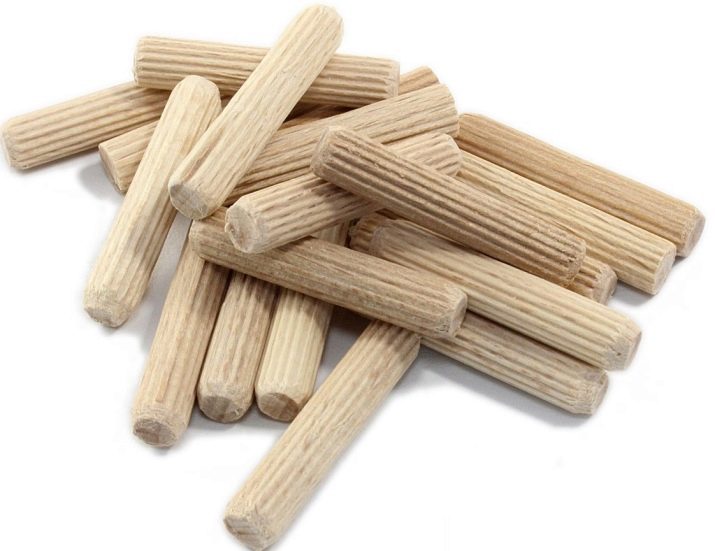
The legs are made not only from metal pipes, but also from PVC pipes, which are painted at will. Wooden dowels can be used.
Trays with a slate base on which you can leave notes look very impressive and stylish.
You can simply apply a slate-type coating, chalk wallpaper, to a regular board. This option, combined with wood, looks very original.
Mosaic decor is suitable for patient people, the work is painstaking, albeit simple. It is enough to stick pieces of various materials on the base:
- seashells;
- broken glass;
- pebbles;
- eggshells beautifully painted;
- tile shards;
- paper of different colors, cut into pieces.
The parts can be fixed with standard glue of the "Moment" type. The product is covered with a fixing coating.
How to make a tray with your own hands, see below.


