Features of color transition manicure and design options
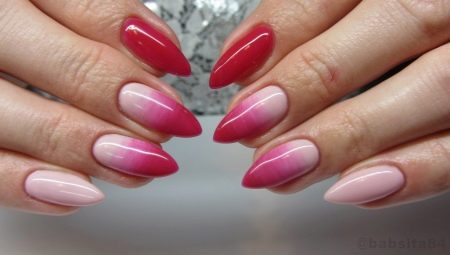
A manicure with a smooth color transition looks very delicate. Various combinations of shades create a unique design on the nails. Moreover, it can be done even at home. The choice of combinations is unlimited, and every fashionista can find her perfect duo of varnishes for this non-trivial design.
Description
The main condition for an unusual manicure with a smooth transition is the accuracy of its implementation. There should be no clear stripes visible on the nail. The easiest way to achieve this effect is with the help of a special device - an airbrush. But even in its absence, you can do a manicure at home, having on hand varnishes of various shades, a sponge or a brush. Of course, perfect execution takes some skill and experience. But no one forbids you to practice on plain paper or forms before applying the drawing to the nail.
The main advantage of this manicure is its versatility. By choosing the shades that match your wardrobe, you will always look trendy and stylish.

What is the difference between ombre and gradient
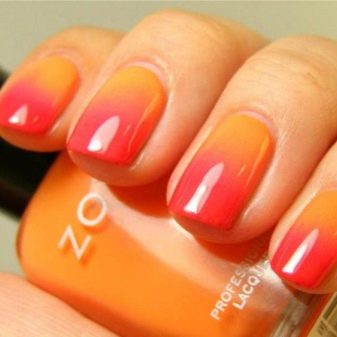
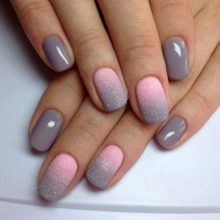
The transition from one color to another is called a gradient or ombre. Many people think they are the same thing. But manicurists know exactly the difference between these concepts. Ombre implies a very smooth transition with blurred borders. This manicure looks very natural.The gradient also allows for a rather abrupt color change. There is feathering on the border, but not as blurry as in the case of the ombre.
Therefore, if you came to the salon, then try to explain to the master what result you expect. It is not necessary to memorize all these foreign names. Suffice it to say that you want to see a smooth transition on the nails or allow a narrow blur border and a fairly contrasting and clear color change.
Views
The transition from color to color itself can be accomplished in several ways. His direction plays the main role here. Using the same colors, but applying different techniques, you can achieve completely different results. Which one to choose depends on your preferences and desires.
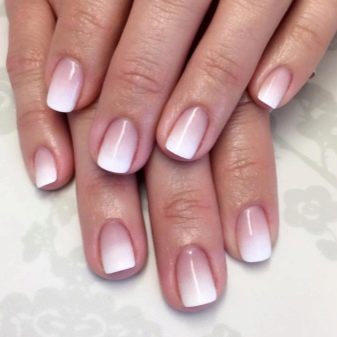
Classical
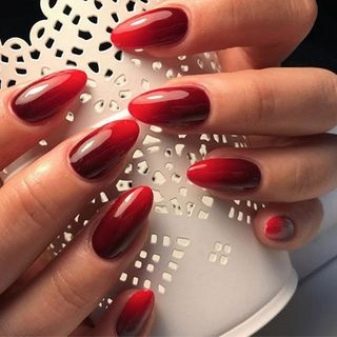
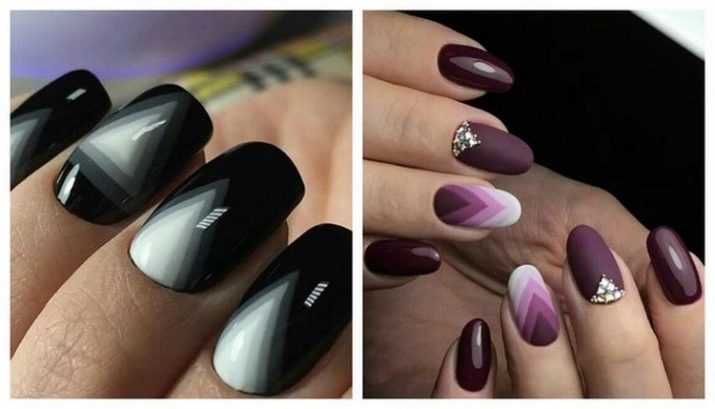
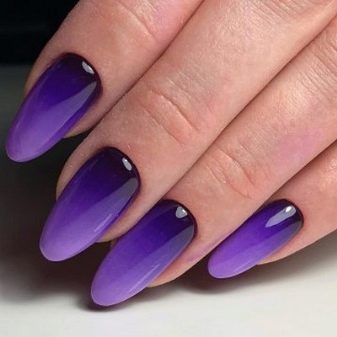
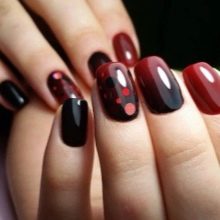
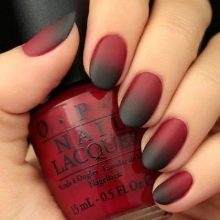
It is this option that is meant when they talk about the ombre technique. It can also be called horizontal, since the transition will take place from the edge of the nail to its base. The main trends that exist today are the use of monochrome gamut or deep contrasts. It should be understood that almost any shade can be combined with black or white.

Vertical
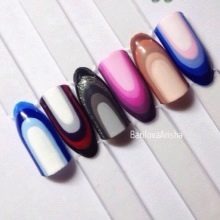
The selected colors are applied along the nail. Each of them is a vertical bar. Stretching at the borders of the color connection is carried out using a flat brush. This option visually lengthens the nail plate. It is better to stop at two shades so that the nails do not look too colorful.
On all nails
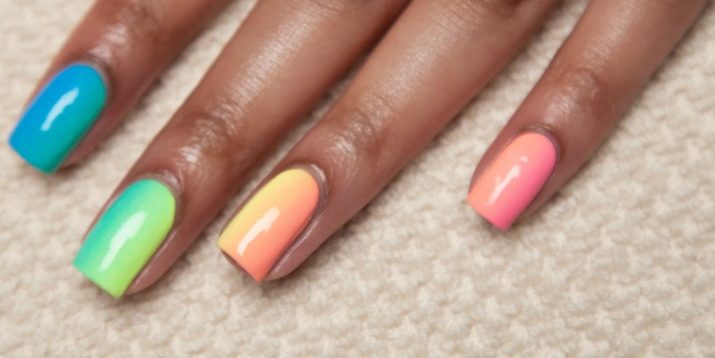
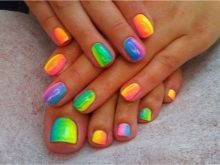
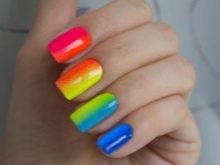
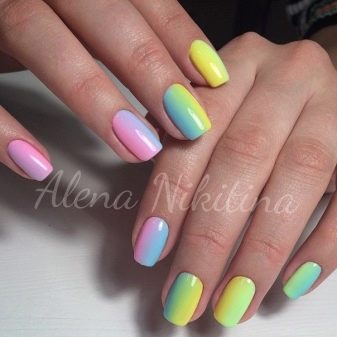
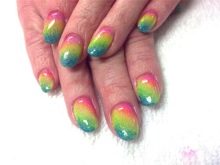
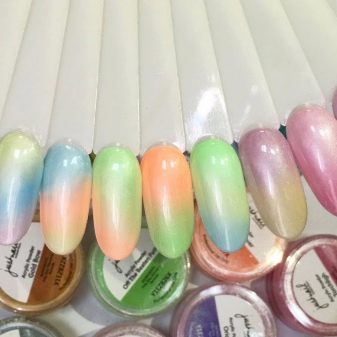
This technique provides that the color stretch will not be on one nail, but smoothly flow over all fingers. It is with this technique that it will be possible to embody a rainbow manicure, since there will be enough space for the transition from shade to shade.
Angular
Quite a fresh trend, which has already been appreciated by a large number of fashionistas. The main feature is the diagonal color transition. Moreover, it can be both straight stripes and rounded arcs. The last option is smoother and softer. The strict diagonal gradient looks just as interesting.
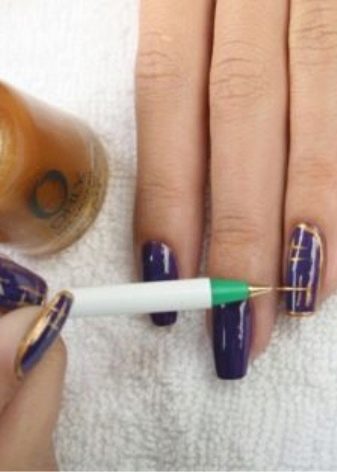
Linear
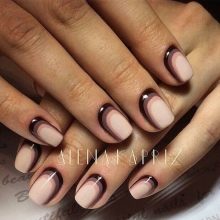
This type does not imply color stretch. This makes it easier to perform, but it still takes some skill. The lines should be fairly thin and straight. You will need to choose several shades from a contiguous or monochrome range. Next, lines are drawn at the base of the nail, repeating its shape. It turns out a kind of edging. Due to the fact that the stripes are quite thin, the effect of color transition from one shade to another is obtained.
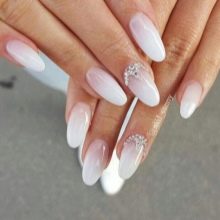
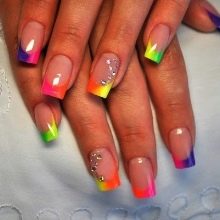
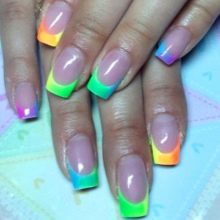
French
It can be either a classic jacket with a white tip and a transition to a beige or pink base, or a colored tip. In the latter case, the main length of the nail will be painted in one tone (preferably light), but at the tip, one color will flow into the other vertically.
Color compatibility
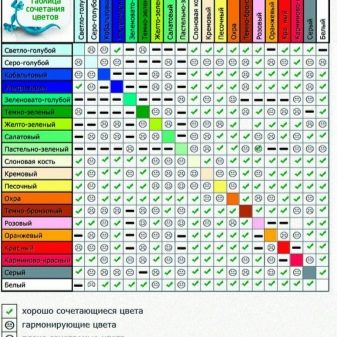
The end result of a gradient manicure will largely depend on the correctness and compatibility of the colors that you use. It is impossible to list them all. But below we will present a universal table for combining different colors. Looking at her, you can easily determine which shades do not suit each other at all, and which ones go well together. This table shows not all combinations that can be used in manicure. In addition, it does not reflect the shades of individual colors and their intensity.
In order to find specific combinations, you need to use the "design circle" shown below in the figure.
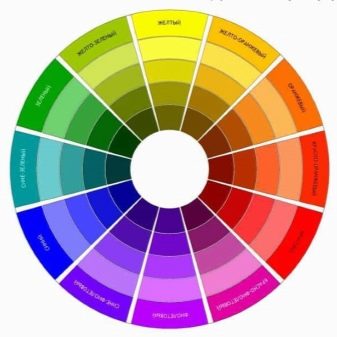
You can choose shades according to several principles.
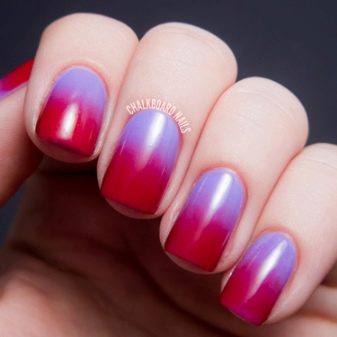
- Contrasting shades. Just draw a straight line from one sector through the middle to the next, and you get two contrasting shades.
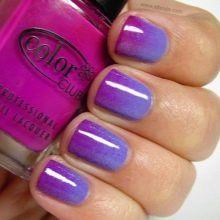
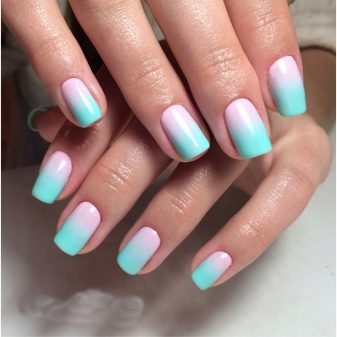
- Monochrome. These are shades located in the same sector. For example, light blue to blue. This combination looks very natural and harmonious on the nails. The result is a color washout effect.
- Trio. To pick up not two, but three shades, draw an equilateral triangle inside the circle. The corners of the geometric shape will indicate the optimal color combination.
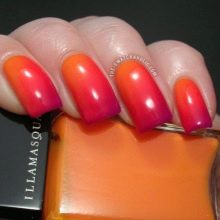
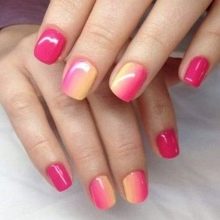
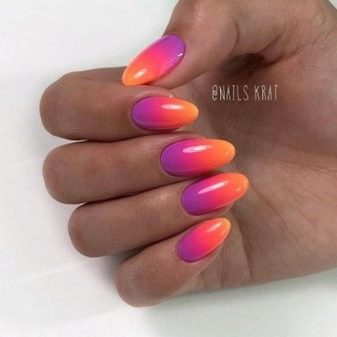
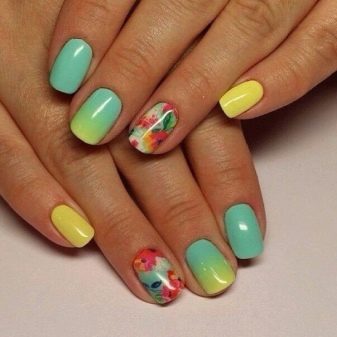
- Adjacent. Look at the adjacent sectors of the circle. Even in the picture, they go well together. These combinations can be used when performing the ombre technique. So, carrot color can flow into bright orange, and green into yellow.
Interesting ideas
In addition to the ombre itself, an additional design can be provided on the nails. After all, the gradient is an excellent base on which any drawing looks much more interesting. Everything here is limited only by your imagination. We will present universal options, among which you can find yours.
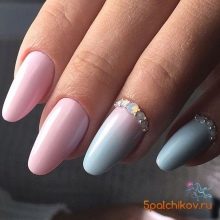
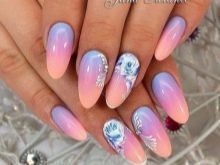
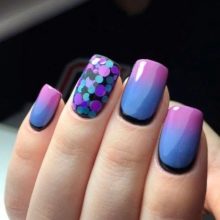
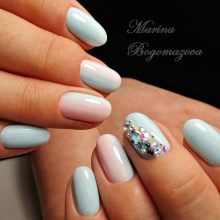
With rhinestones
Sparkling pebbles will only accentuate the play and color transitions. Do not overdo it with them. They will look great in the form of an accent pattern (or in a single form) on the ring finger.
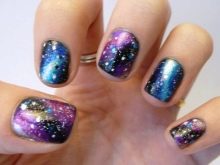
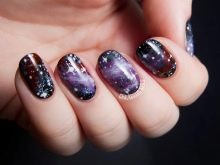
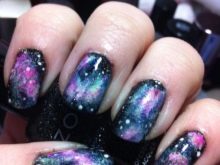
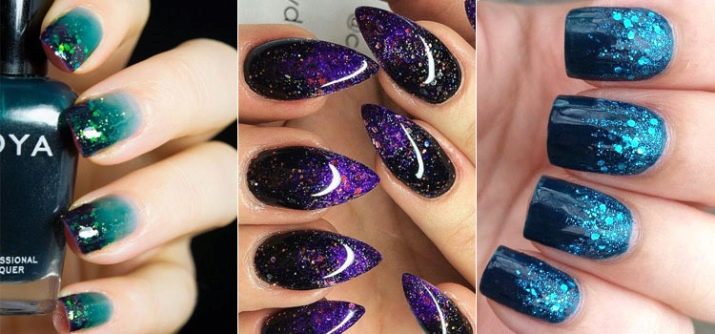
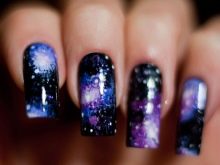
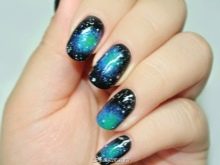
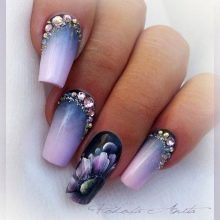
Space
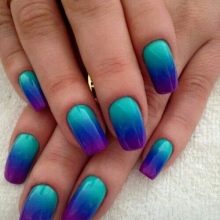
Moving from black to blue or light blue to blue can create the perfect base for a space manicure. So that the manicure does not look overloaded, design only one or two nails in this style, and leave the rest in the gradient technique.
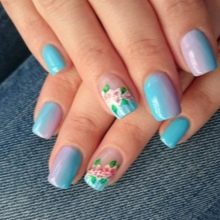
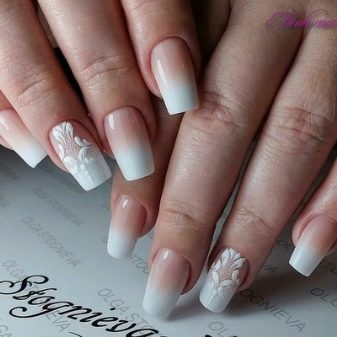
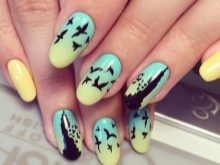
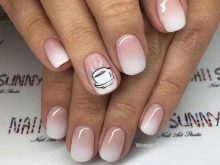
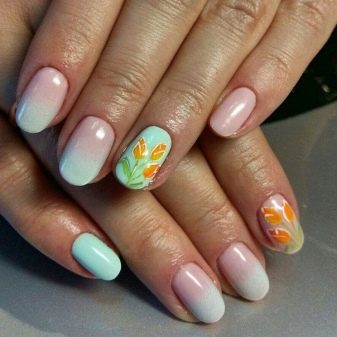
With drawing
Depending on the chosen theme, you can choose the appropriate drawing. It can be a bright star, an abstract drawing, or a floral motif. Just think in advance about how this design will be combined with your image.
With stickers
The easiest way to diversify any manicure is to buy interesting stickers. Their choice in specialized stores is very wide. Among them there are beautiful patterns that suit any look, and thematic images.
The plus is that no special skills or tools are required to attach them to the nail yourself. At the same time, no one will guess if it was painted by a professional master, or if you used a sticker.
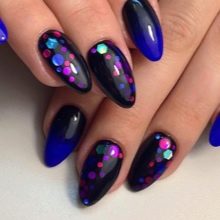
With kamifubuki
You can diversify the gradient with these small shiny circles. Their correct positioning on the nail plate will create the effect of sun glare. Since they are presented in different colors, you can choose the optimal shade for different combinations of gradient.
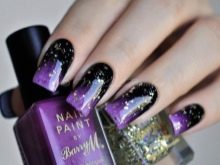
With sequins
They will look especially relevant in a festive atmosphere, as they emphasize the solemnity of the moment. In addition to the classic arrangement of them on the nail as an accent, there are several more options. They can tightly lay out the tip of the nail, and already from this shiny line the transition will begin. Sequins are available in different shades, so you can choose your own for each combination.
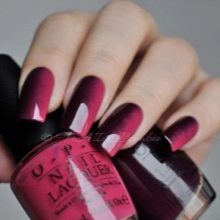
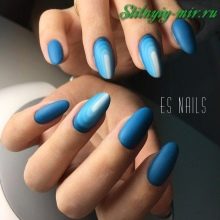
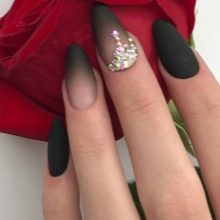
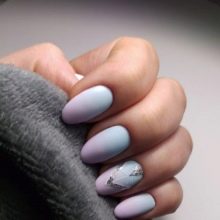
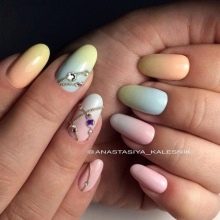
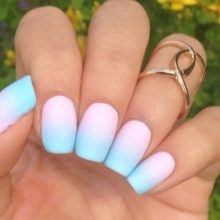
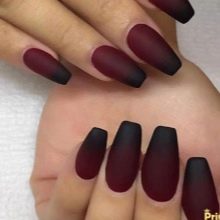
Matt
A matte top will help to add aristocratic restraint to the manicure. In this case, the application technique will remain the same. Simply replace your regular topcoat with a matte finish and you have a completely different effect.

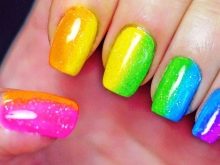
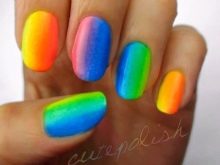
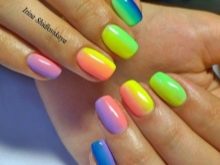
Rainbow
There are several design options here. The first is the classic horizontal gradient. In this case, there will be a real rainbow on each nail. Although it is not necessary to design all fingers in this way. In this case, the length of the nail plate should be sufficient to accommodate all color accents on one nail.
In the second option, the colors smoothly flow one into the other, but already in an upright position and passing from finger to finger.
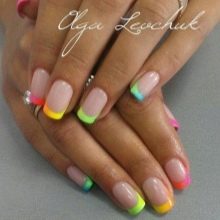
Also, only the tips can be decorated with rainbow colors. This design is the least striking and acceptable for everyday wear.
How to do it yourself
There are several ways to make a unique design at home. Depending on the desired result, you can choose the most suitable one for your case.
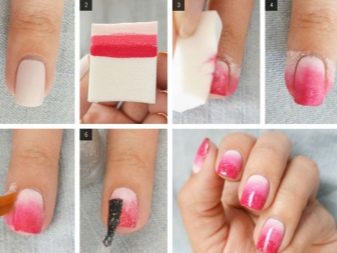
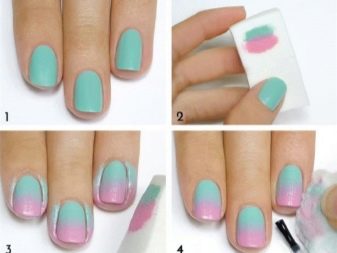
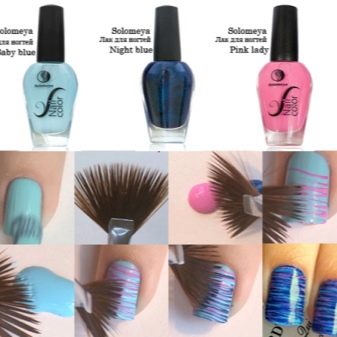
Sponge
Any manicure starts with nail treatment. The plate should be flat, without obvious flaws and defects. This is followed by a layer of base coat.Remember to degrease the nail plate so that the base fits perfectly.
Choose 2 shades of varnish and apply them to the foil. Use a toothpick to mix the colors a little together at the border. Next take a sponge. It can be either ordinary or manicure. Blot the sponge in the prepared gradient on the foil. To prevent the polish from bubbling on your nails, pre-print on foil or paper. Next, gently apply the sponge to the nail. Your gradient will be imprinted on it. After that, you only need to cover the design with a top.
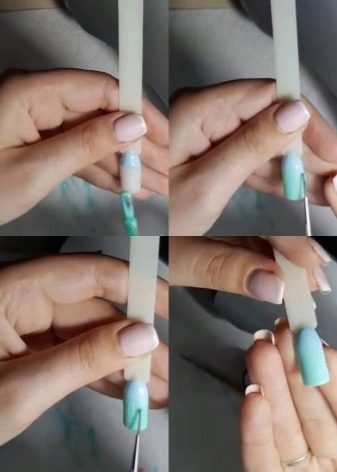
Flat brush
Ideal for vertical gradients. A flat brush will perfectly stretch the color vertically without leaving any noticeable streaks. Practice on plain paper before manipulating the nail. This will allow you to make more confident and even movements as you work on your nail.
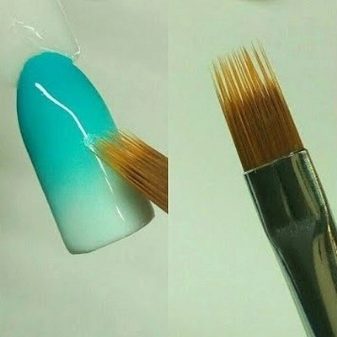
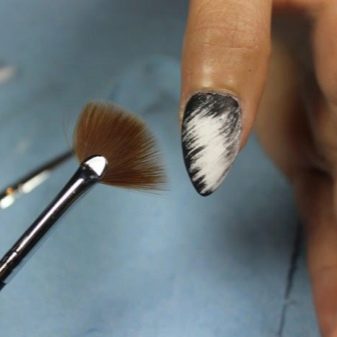
Veernoy
The brush is a sparse bristle fan-open. Due to this location, it is very convenient to make a gradient, since the desired blur area is immediately captured. In the same way, you can make a corner ombre.
The step-by-step instruction consists of several points.
- We do a regular manicure, preparing the nail for further manipulations. It can be either edged or hardware option.
- Apply a primer and let it dry.
- Apply the base and wait until it is completely dry. If you are doing a manicure with shellac, then dry it in a lamp.
- We apply the color (the one that will be at the base), dry.
- Paint the upper part with a second shade.
- We arm ourselves with a brush and draw it several times along the border of the colors.
- If the gradient is not very pronounced, then repeat steps four through six.
- Apply a top coat and cure in a lamp.
Fine
This option is suitable for skilled craftsmen, especially if they are working with regular varnish. It freezes pretty quickly, and you need to act without delay. The technique is simple and complex at the same time. Two colors are applied to the nail, and then a blur is made with a thin brush.
Using powder
Here you need a fan brush and powder of various shades. Apply a base coat, but do not dry it completely. On a fan brush, we collect powder (you can buy it in specialized stores). Shake off the powder onto the nail with light tapping movements. Next, we type a different color and repeat the manipulation only over another area of the nail. Since small particles of one and the other color will still fall on the border, you will get a smooth transition.
Next, you should apply a thick layer of protective varnish (or top coat for shellac). This will prevent shedding and extend the lifespan of your manicure.

Design examples
- Space manicure with a gradient effect looks very bright and unusual. Dark colors will go well with basic wardrobe shades.
- Gradient embellished with rhinestones is one of the latest trends in nail design. A bright combination will emphasize the non-triviality of your nature and a positive attitude to life.
- The matte gradient looks very elegant. It is applicable both in a normal setting and for a festive event.
To learn how to make a gradient manicure with a color transition, see the video below.


