Long extended nails: features, designs and examples
The extension of nails was invented so that the fairer sex could lengthen their nails without problems and not worry that they would break after reaching a certain size. Many women are limited to a short length, and some prefer rather long extended nails. What are the features in the extension of elongated marigolds, what shape such an extension can be, and how beautifully it can be designed - let's figure it out.
Features in building
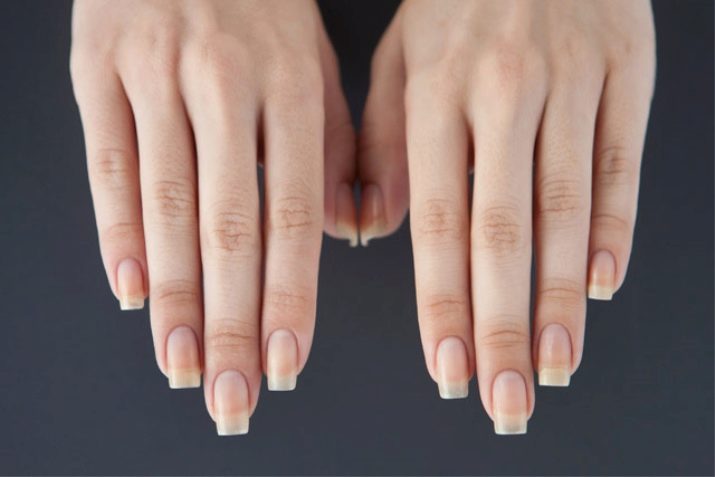
Long nails can be quite inconvenient for a woman. In addition, a poorly designed design can look messy. Therefore, when building long nails, one simple rule should be followed. The length of the free edge should be less than or equal to the length of the nail bed.
But as an exception, going to a media meeting, or as a wedding manicure, you can neglect this proportion and use nails of any length.
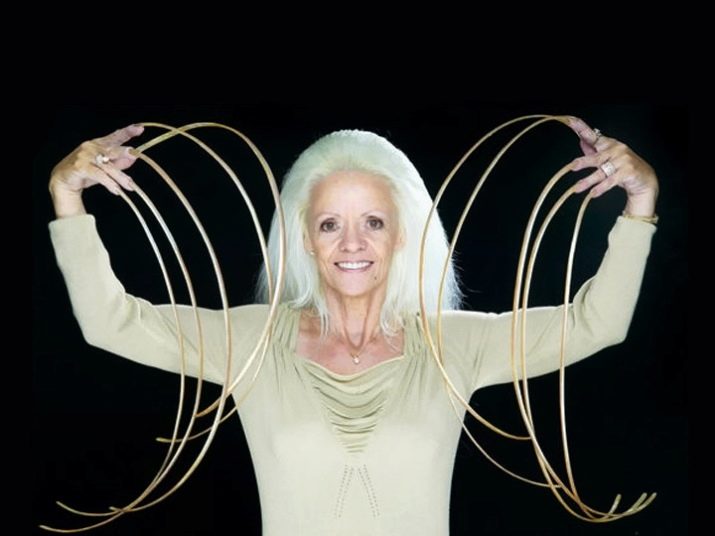
There are even people in the world with very long natural nails. The size of the longest nail plate is 130 cm. This achievement is included in the Guinness Book of Records.
Advantages and disadvantages
Long extended nails can create a unique image, add zest to it, but also give the owner a lot of problems.
Having too long marigolds, it will be quite difficult for you to maintain yourself: wash your hair, make the bed, put on clothes. In addition, you will not be able to work at a computer; it will be quite problematic to press the buttons on the intercom or elevator.

But if you have a housekeeper, then all this will not cause you much of a problem.And you can call the elevator with the help of a pencil lying around in your purse.
How to build stiletto nails
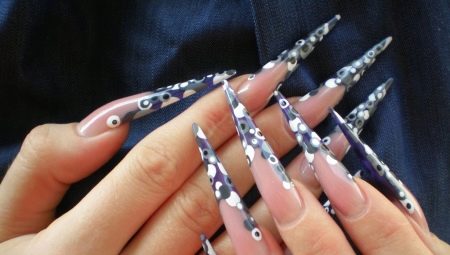
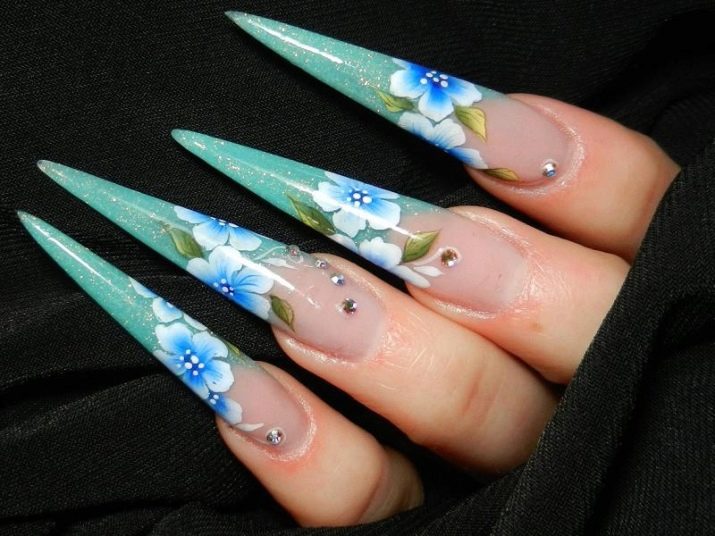
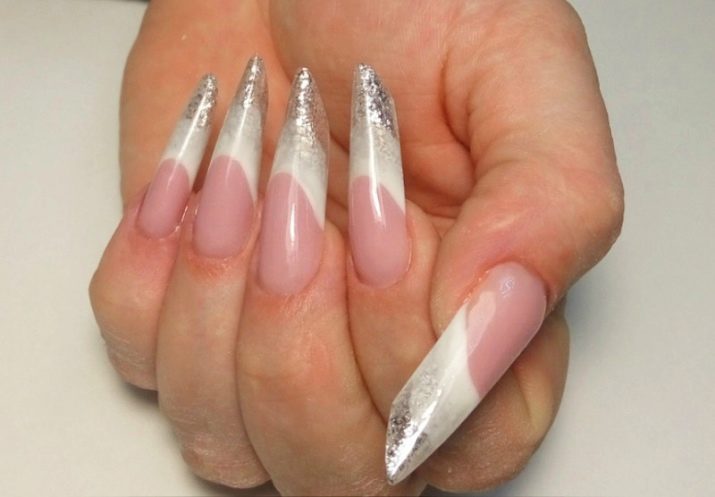
The most popular form for building long nails is stilettos. These nails, pointed to the ends, resemble the female weapon of the same name.
- To create this shape, you first need to do the usual preparation of the nail plate. Push back the cuticle with a pusher, carefully remove the pterygium, cut off the cuticle, walk over the nails with a low-abrasive nail file, treat them with a degreaser and apply a primer.
- Now is the time to move on to the actual build-up. We process the plate with the base gel with rubbing movements, dry it in a lamp and set the paper form, making the cone as narrow as possible.
- Apply the gel to the mold. Here you can use both colored material and colorless. It all depends on the design that you plan to portray. Immediately form the shape of the nail as much as possible, stretching the gel until it sharpens on the shape. The layer must be dried well in a lamp.
- Apply camouflage gel to the nail plate, ideally bringing out a "smile". Dry in a lamp.
- Next, we level the surface of the entire extended nail with a transparent gel.
- We file the nail over the entire surface, giving it an ideal shape. Degrease the surface, apply a drawing if necessary. Cover the nail with liquid finishing gel on both sides. Dry again in the lamp.
- We moisturize the cuticle with a special tool.
Beautiful examples
Long extended nails do not always look presentable. Here are some good examples that you can repeat on your own hands.
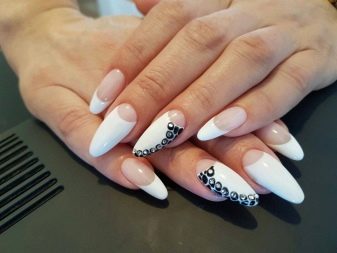
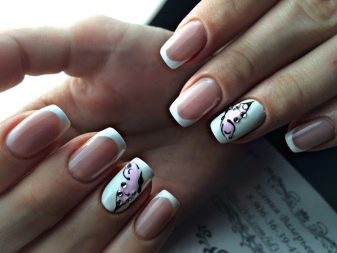
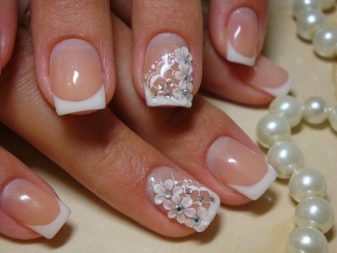
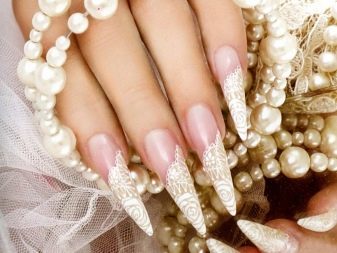
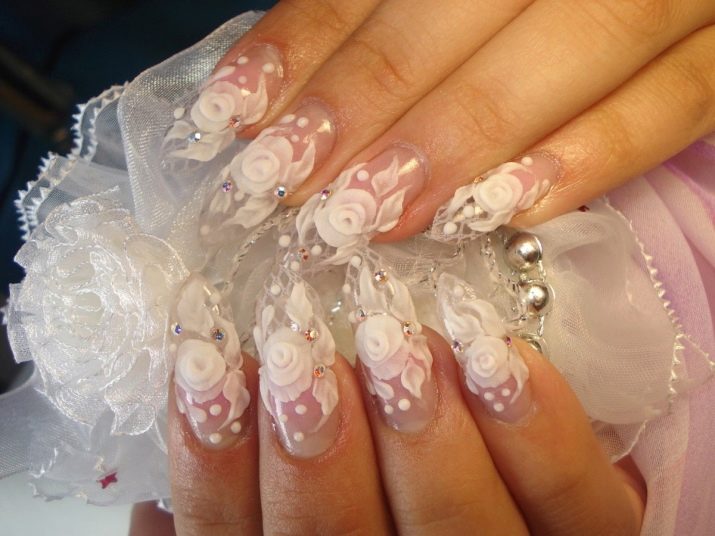
A jacket on the "stiletto" shape with stucco elements looks gentle, perfect as a wedding manicure.
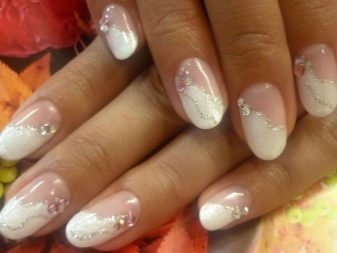
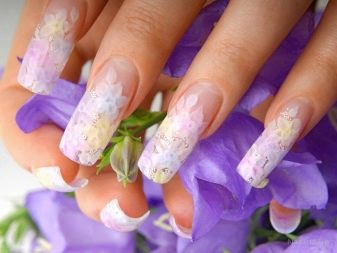
Long pointed, almond-shaped marigolds with a little glitter are perfect for an evening design.
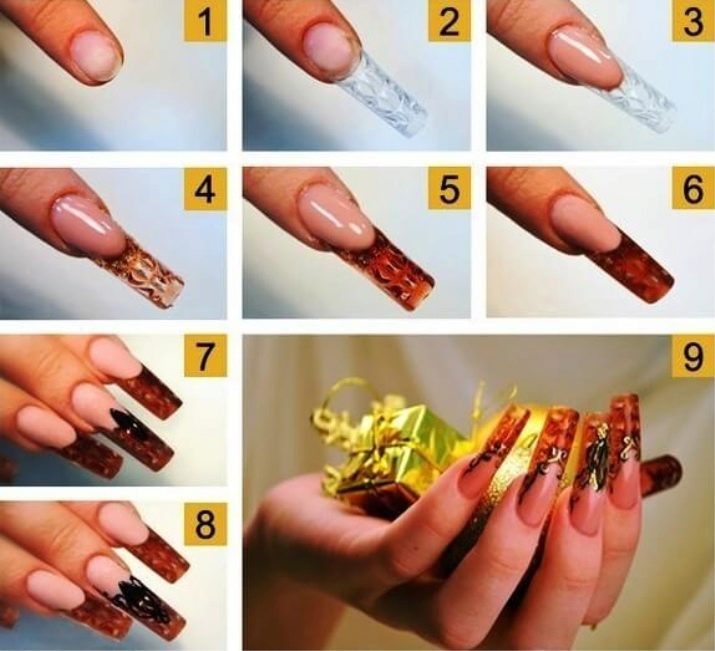
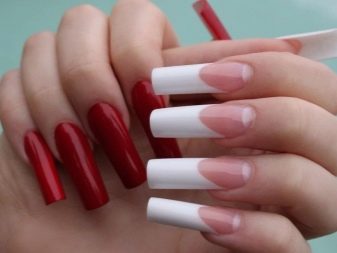
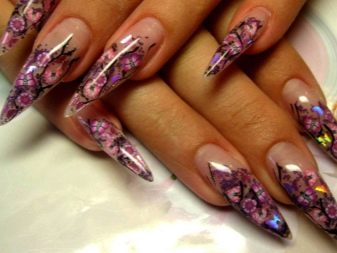
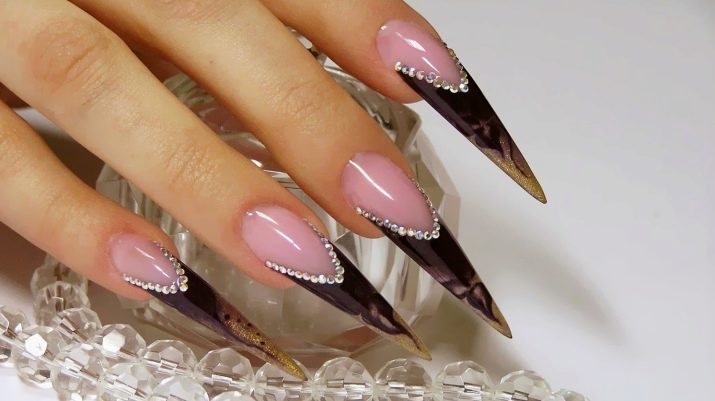
Tube nails with designs in deep dark shades of wine, decorated with rhinestones to match the coating, are also able to decorate any evening look.
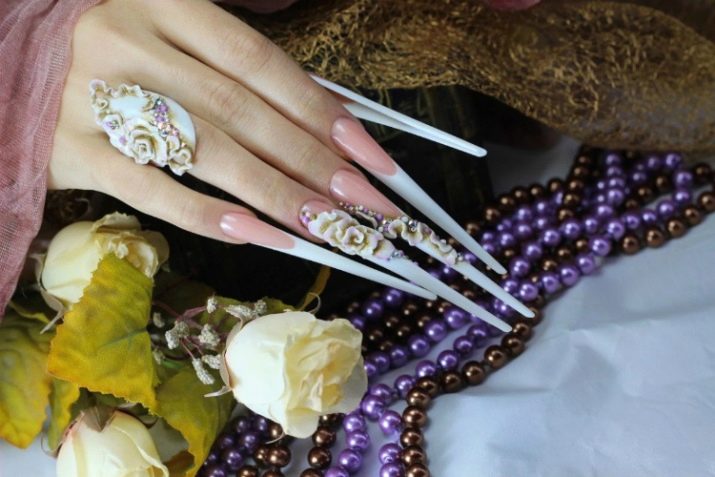
For shocking ladies for a social event, you can choose a completely non-trivial manicure.
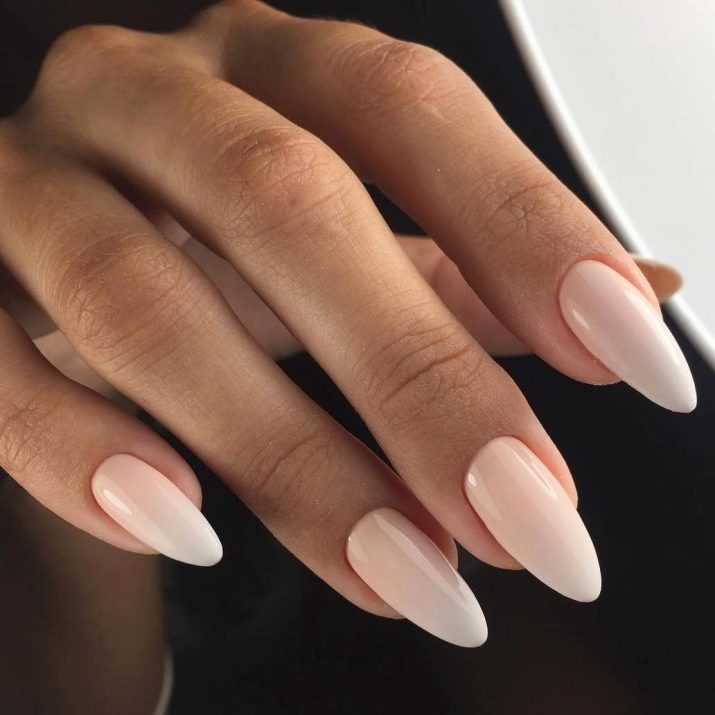
To learn how to make almond-shaped nail extensions, see the next video.


