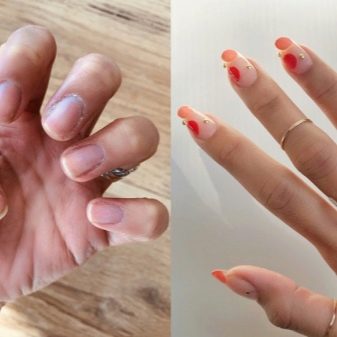
How to remove extended nails at home?
In a desire to improve their image, most of the fair sex actively use modern artificial materials. This is especially true for manicure and such popular techniques as nail extension with acrylic, gel or shellac. However, before trying these techniques on yourself, you should figure out how, if necessary, you can independently remove the selected material from the nail plate with minimal damage to it.
Required inventory and materials
In order to properly remove the built-up material from the nail plate, even before performing a manicure, you should study the issue of removing the used products at home. Very often, during the continuous use of gel or acrylic, the natural nail plate is depleted, becomes very fragile and brittle. Therefore, removing the material without serious consequences will be much more important for the beauty of nails and improving their condition, since, as practice shows, it is careless removal that leads to more serious damage than the use of artificial means for modeling the shape and length of a manicure.
Of course, the correct removal without harm can be carried out by a specialist in the salon, however, it is not always possible to use his services, which requires the owners of gel or acrylic nails to understand how to remove extended nails at home.This option is possible only if there is a certain list of tools and knowledge of the entire algorithm for manipulating the material.
Due to the fact that shellac, gel and acrylic are actively used today - compositions that have different compositions and characteristics - there will also be several options for how to clean them at home. In addition, in order to remove material or remove varnish, you will need a different set of auxiliary tools, the main list of which for each tool will be considered separately.
Shellac is removed using the following working equipment:
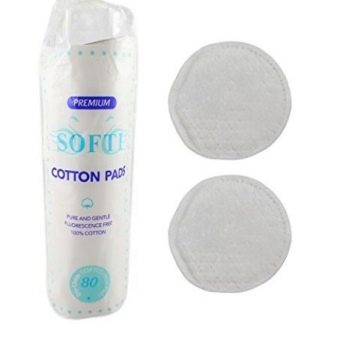
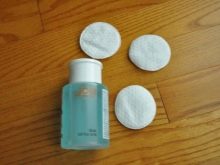
- cotton pads;
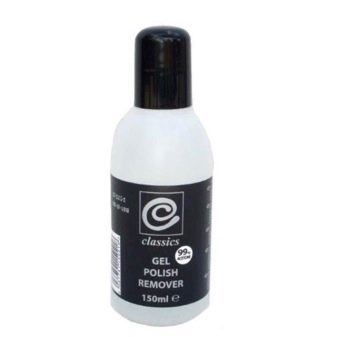
- a special product for removing gel polish from the nail plate or acetone;
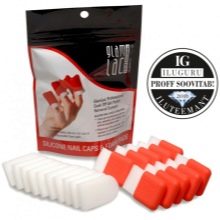
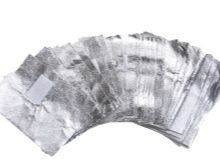
- foil or professional silicone caps;
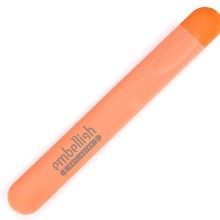
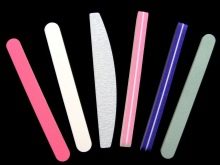
- file;
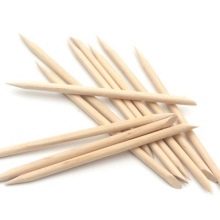
- orange sticks.
The following set will help to correctly and quickly remove the gel from the nails:
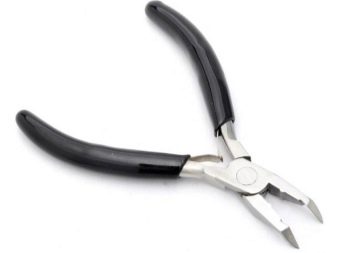
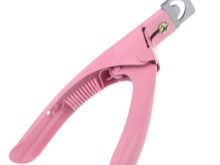
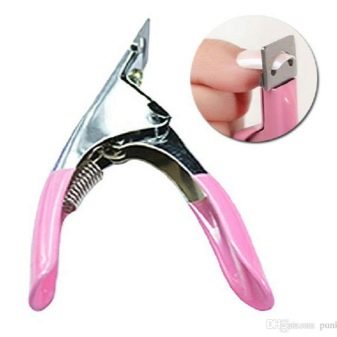
- tweezers or other tool for cutting long tips;
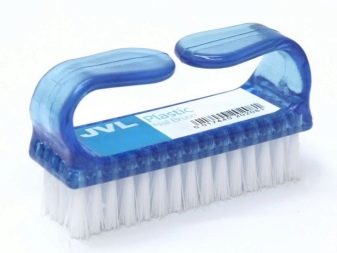
- brush for removing material residues and dust;
- a set of files with varying degrees of abrasiveness;
- cotton pads and acetone-based nail polish remover;
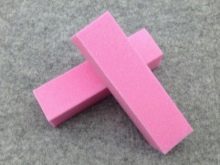
- manicure buff.
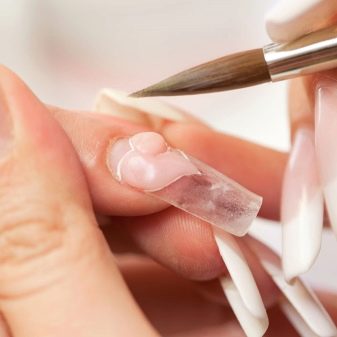
If the building was carried out with acrylic, then the following materials will be needed for the work:
- tips cutter;
- buff and files for cutting acrylic;
- foil;
- cotton pads;
- orange stick;
- acrylic remover or acetone-containing liquid.
Preparing for the process
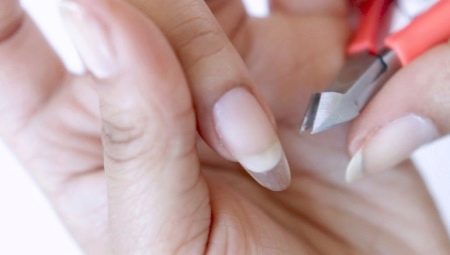
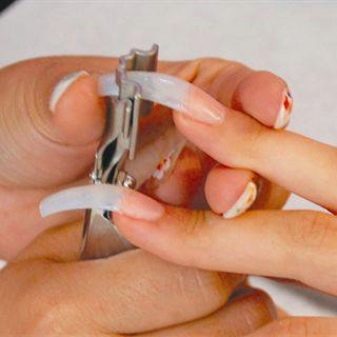
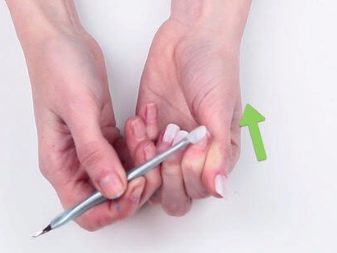
Regardless of the technique of performing a manicure, as well as the type of materials used, the removal of the compositions from the nail plate requires a number of preparatory measures concerning the nails and skin of the hands. First of all, it is worth correcting the length of the nail itself by cutting off the regrown part. You need to trim the nail as carefully as possible so as not to damage the plate itself, in addition, too hasty actions can cause injuries resulting from contact with a sharp tip of the artificial nail.
It would be more correct to have a professional tip cutter at hand, which is designed to work with such a durable material as acrylic or gel.
However, with proper handling, you can easily remove some of the material with standard manicure scissors or nippers.
After carrying out the shortening of the length, you should take care of the skin of the hands and cuticles on each finger. For these purposes, before removing gel polish from nails, you need to treat these areas with a fat cream or petroleum jelly. It is important to use a composition that will provide traumatic areas during work with reliable protection against the effects of various chemicals and mechanical contact with the instrument, which will lead to overdrying of the epidermis.
Basic rules for withdrawal
For professional or home removal of extended nails, there are basic rules for completing the task.
Gel based
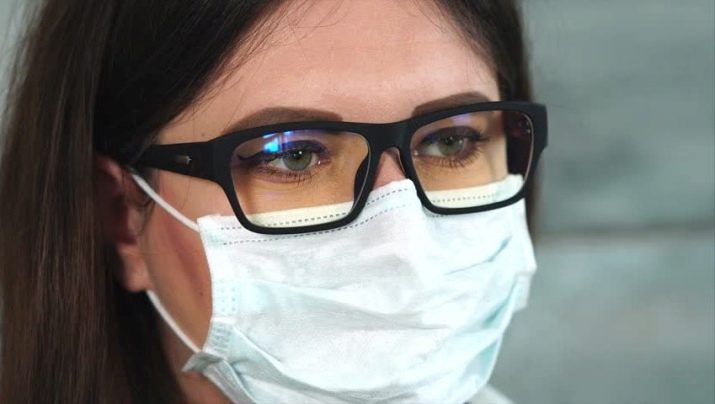
Unlike acrylic, gel tips will be more difficult to remove from your nail. The main reason for this is the specificity of the material itself, because the gel is quite durable and durable, so it cannot be dissolved in anything or chipped off. Self-removal of tips will require not only some effort, but also time. The main work will concern the use of the nail file, and since the process itself will be very dusty, it is worth taking care of the protection of the eyes and respiratory tract in advance. Therefore, work must be done with a mask and goggles.
Work technology.
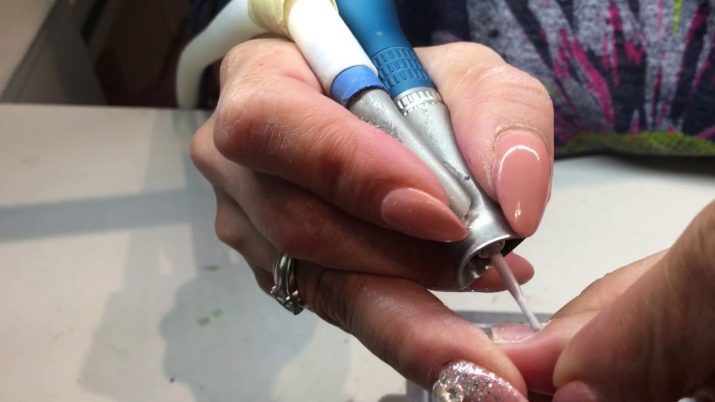
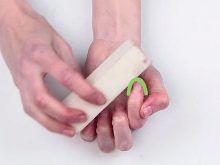
- First of all, you need to tackle the top layer if the length of the nail has already been previously removed. In order not to hurt the fingers that will hold the instrument, it is recommended to put on a fingertip or temporarily paste over them with a plaster. When removing material, dust should be regularly removed from the plate in order to visually determine what stage the work is at: for this it is worth using a brush, as well as acetone.
- After the material is completely removed, the plate should be polished with a buff, the cuticle should be pushed back with a stick, and a moisturizer should be applied to the fingers.
Some experts recommend leaving a small layer of gel on the nail plate to further strengthen it, but this is not necessary.
Acrylic based
Acrylic is a fairly popular material for nail extension. To remove it, one set of nail files will not be enough. As a rule, the effectiveness of the removal procedure will increase many times over if you use a special compound that is able to dissolve the material. If such a tool is not available, you can resort to using the usual nail polish remover, but the products must necessarily contain acetone, otherwise the tool will be useless.
Removing acrylic requires the following steps.
- First, you need to make small plates yourself from food foil, their size should correspond to the phalanx of the finger with the extended nail. In addition to foil, you will need 10 cotton pads. This material will come in handy after working with a nail file.
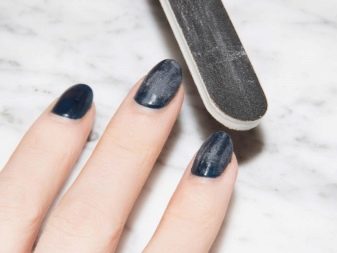
- Remove the acrylic layer with the coarse abrasive side of the file. As a rule, the top layer is the strongest, so it can take a lot of effort and patience to remove it. But the upper composition must be completely removed from the nail plate.
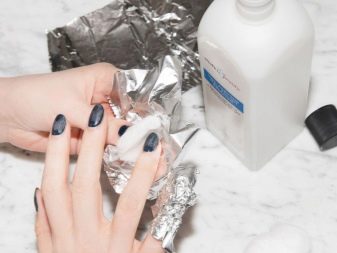
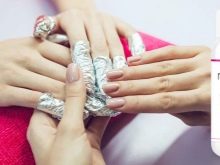
- After the removal task is completed, you need to moisten the discs with acetone or another appropriate agent and cover the entire nail with them, and then wrap them with a piece of foil. The foil cover layer will help trap volatilized substances that are responsible for dissolving the acrylic. In this state, the nails should be held for about half an hour.
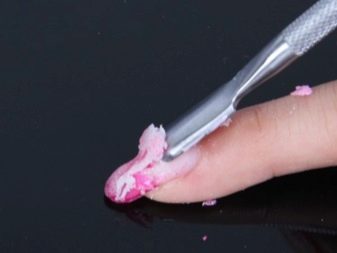
- Over time, acrylic will change its consistency and become jelly-like. It is not difficult to remove the substance in this form from the nail, however, during this procedure it is very important to act promptly so that the material does not become solid again.
- After contact with the above substances and the final removal of acrylic, you must thoroughly wash your hands with soap, and also apply an emollient and nourishing agent to the nail plate and skin without fail.
Shellac based
Shellac is most conveniently removed from each hand separately. The material removal procedure requires the following steps.
- Regular cotton pads can be used whole or split in half. Each disc must be moistened with nail polish remover, then placed on the nail plate and covered with foil, as is the case with acrylic. Keep the product on your nails for 20-30 minutes.
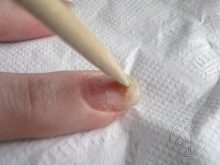
- After contact with the product, the shellac can be removed from the finger with an orange stick.
- Most often, after removing the gel polish from the nail, its surface will become rough and bumpy. Therefore, the plate will need additional grinding. For these purposes, it is worth using a manicure buff.
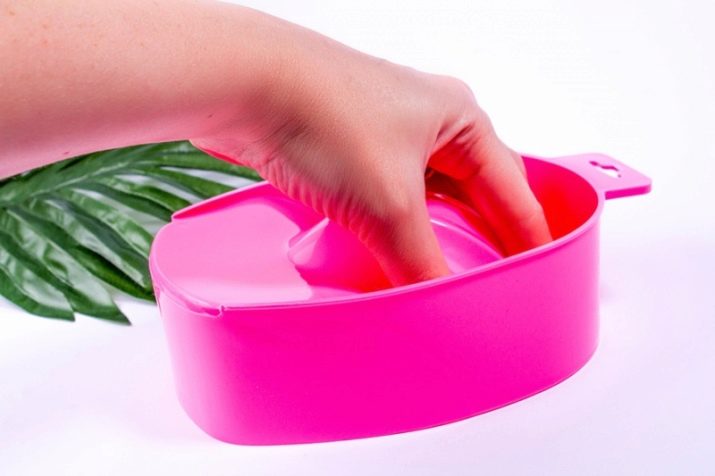
Another way to get rid of the foil-free gel coat is to use a water bath. For this method, you need to take two small plastic containers: in one you will need to pour hot water, and in the second, pour the contents of a bottle with an acetone-based varnish remover. It is important that the container with water is of a larger diameter, so that a bowl of acetone can fit in it.
Wait until the acetone heats up, and then hold the nails in the composition for about 15 minutes. When the material begins to move away from the nail plate, it can be carefully detached from the nail with your fingers or a stick.
Follow-up care
Despite the fundamental differences in the materials used for manicure, as well as carrying out different methods of their removal, a number of complex measures can be distinguished, which will strengthen and support the nail plate and the skin of the hands after removing the compounds and using various mechanical and chemical means of affecting the nails.
- It is important to nourish the epidermis, so the use of creams or moisturizing oils is a must. A moisturizing nail bath based on warmed olive and coconut oil can be an effective remedy. You can massage vegetable, castor or almond oil into the skin and nails.
- After using moisturizers, it is recommended to arm yourself with a small piece of natural suede, which should be used to polish the nail plate. This method will help to give the nails a healthier look and shine, in addition, such a "massage" is a prophylactic measure against fragility and delamination of nails.
- Cosmetic paraffin can also act as restorative baths. It is heated, after which the nails are kept in this composition. In order for the product to be absorbed, after the procedure, it is recommended to put on gloves on your hands or wrap your fingers with cellophane for a while.
- At home, you can make useful masks for nails and cuticles. They can be composed of sea salt and lemon juice or sea buckthorn oil and a composition of other ethers.
- As an effective measure to restore nails after removing the built-up material, it is worth performing a daily circular massage of the upper phalanx of the fingers, additionally using a cream or petroleum jelly.
- As a strengthening agent for too deformed nails, it is worth using biogel, which acts as a protective sealing layer that covers the nail.

Tips from the masters
Among the large number of recommendations of specialists in manicure a number of main points can be distinguished regarding the removal of built-up material from nails.
- Most of the masters do not recommend wearing artificial material for more than three weeks, since the compositions will interfere with the natural growth of the nail plate.
- To remove gel polish as quickly as possible, before using acetone or other means, it will be more correct to remove its top layer. Such manipulation will allow the softening composition to penetrate deeper into the material, which will facilitate the removal of the gel polish from the surface.
- Instead of cotton pads for work, it is much more convenient to use cotton balls, which are more suitable in size, in addition, they dry out much more slowly.
- Less aggressive formulations with a high content of caring components and a smaller amount of acetone will only prolong the process of removing artificial coatings in time. And for acrylic, they can be completely ineffective, which will entail an even greater mechanical effect on the nail of the abrasive surface from the file, which can cause more damage to the plate and finger.
How to remove extended nails at home, see the video below.


