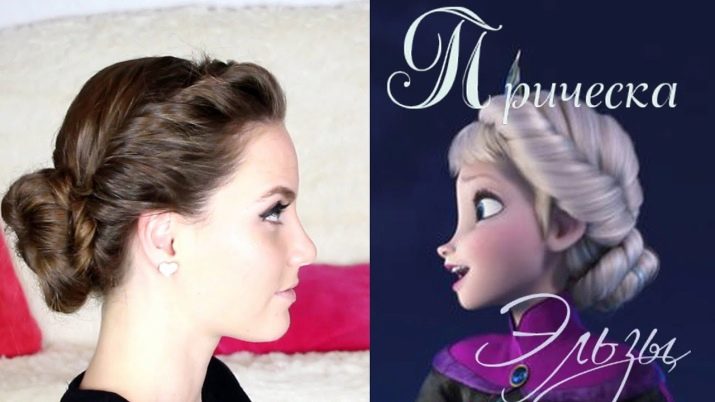
How to make Elsa's hairstyle from Frozen?
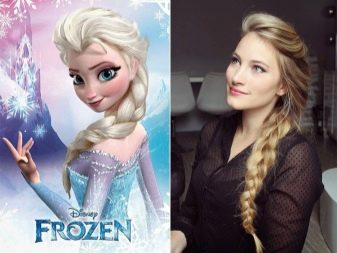
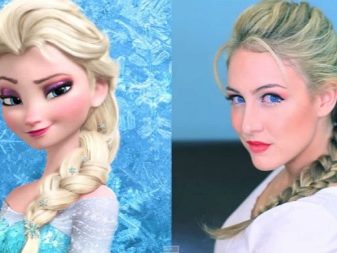
With the release of the Disney cartoon "Frozen", many girls liked the image of Princess Elsa. The beautiful cartoon won hearts with its stunning fairy-tale world, where great friendship, love and magic exist. Despite all the fantastic nature of the cartoon plot, the characters of the fairy tale are very similar to real modern people, especially young people.
Therefore, it is not surprising that the fabulous images resonated with the audience and began to be embodied in clothes, makeup, and hairstyles.
In this article, we will consider one of the main topics of interest to girls regarding the cartoon - the hairstyle of Princess Elsa. It won't be difficult to create such a hairstyle. A chic look is suitable not only for an evening option, but also for everyday life.
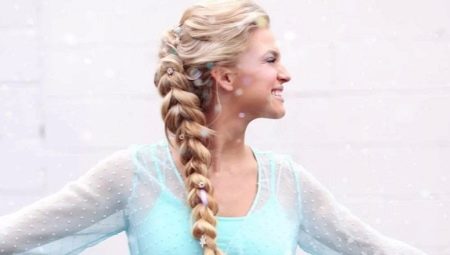
The main styling of the main character is a French braid. Also in the cartoon appears and the second hairstyle is hair gathered in a plait.

Princess Elsa's Scythe
For the first option - a French braid - you will need:
- invisible hairpins, hairpins and an elastic band for hair;
- a comb with natural bristles and a regular comb;
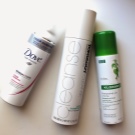
- hairspray or other styling products;
- additional artificial strands, if the hair is not long and thick;
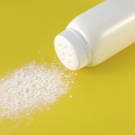
- if your hair is dark, you can use baby powder or dry shampoo.
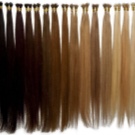
An important point: in order to braid the same hairstyle as Princess Elsa, you need to have thick hair. Otherwise, you should resort to using overhead artificial strands on hairpins or capsules. If you wish, you can also extend natural hair.
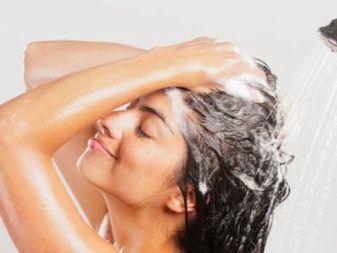
When sufficient volume and length of hair is achieved, the hair should be washed with shampoo and care products, carefully dried and combed.
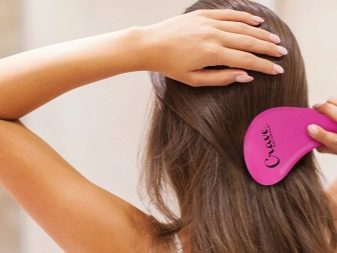
Comb the hair with a natural bristle comb, starting at the ends and working upward gradually to minimize the risk of tangles.
When the curls are completely combed, you can go over them with a regular comb.
Step-by-step instruction
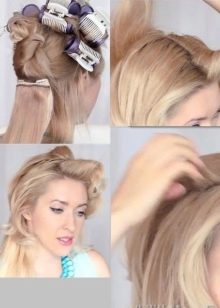
The shaping of the hairstyle begins with the design of the bangs. To begin with, we take the strands above the forehead and from the side to the tips of the ears - they need to be twisted into curls, from bottom to top, towards the parietal part of the head.
- Curls can be done with a curling iron or curlers. If you use curlers, you can use a hair dryer to speed up the process. It is advisable to resort to various styling products so that the French braid holds better. In the event that the bangs are not long enough, do not touch it, it is better to leave it as it is, and make the curls only on the side strands. Also, a small bang can be removed upward and stabbed with an invisible one.
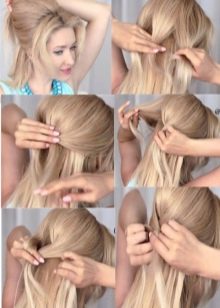
- Next, we proceed directly to weaving. First, comb the hair back, then divide it into 3 parts. We begin to braid the strands at the intersection of the parietal and occipital zones of the head. We braid the braid by superimposing the first and third strands on the second (central), alternately. The most important thing is not to tighten the braid too much, since the main highlight of the Disney princess hairstyle is in the splendor of the braid.
- As weaving, we gradually add the side strands to the main ones in turn, until the braid is completely completed. Another important point: you need to braid so that the remaining hair is braided before the future braid reaches the neck.
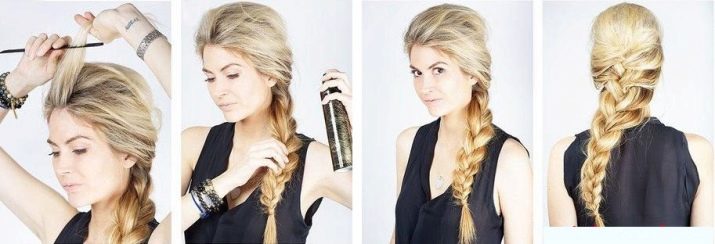
- Then you should put it on your shoulder, and finish braiding, but not to the end of the hair, but leave a small tip. If you have experience in weaving braids, then you can weave it from the back, and turn it when you finish it.
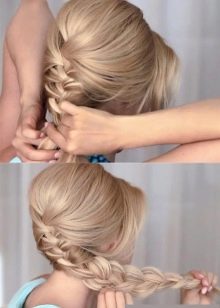
To get a more voluminous hairstyle, you can comb the hair at the roots, but first use mousse or hair foam. The tip of the pigtail can also be combed or twisted using a curling iron, a curl with varnish, or left as it is. The hairstyle can be decorated with additional decorations, various hairpins or ribbons.
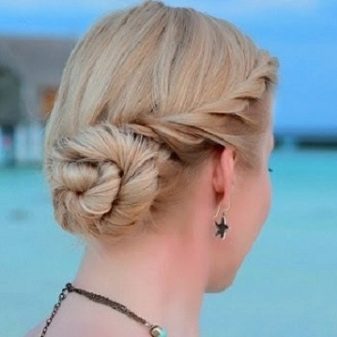
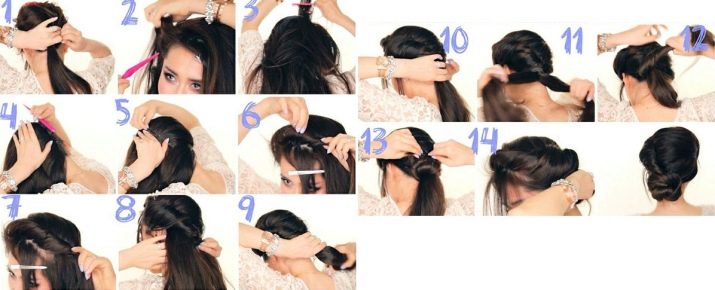
Princess Elsa's Party Hairstyle
Let's move on to the instructions for making a festive Disney princess hairstyle step by step. This hairstyle appears on the main character during her coronation.
As in the first option, if you do not have long and thick hair, it is advisable to resort to hair extensions or hair extensions on capsules or hairpins. In this case, it is necessary to ensure that hairpins and capsules are not visible when creating a hairstyle.
- After washing and drying your hair, apply a foam or gel to the curls and comb the hair well on one side. Then proceed directly to creating a hairstyle.
- Divide the hair into two halves. We twist each part into bundles starting from the base of the bangs. We put the harnesses on the head so that the ends are at the very bottom of the parietal part of the head, and we stab them with invisibility behind the ears.
- Then these flagella must be collected in a tail and tied with an elastic band.
- After that, the tail is divided into two parts, and two bundles are twisted again. From these bundles we make a bundle in the form of a snail, each turn is stabbed with invisible pins or hairpins, and the tip of the hair is stuck in the same way.
Any details can be added at will: hairpins, ribbons and various decorations. For those with dark hair, you can use baby powder or dry shampoo to give your hair a “frosty” look.
Such collected hairstyles will always look neat and effective. You can add whatever your heart desires to it and make it more interesting and sophisticated. The main thing is to show your imagination.
A master class on weaving a French braid, see below.


