How to braid your own braids?
We don't always have a professional hairdresser or a friend at hand to help. Sometimes you have to create different types of hairstyles on your own on your own head, which causes some inconvenience. One of the hairstyles that you can do yourself at home is braids.


Weaving features
Creating hairstyles yourself is not very convenient, but possible. Undoubtedly, if you braided someone's braids, then it will be much easier for you, since the weaving pattern will already be familiar to you, and the so-called muscle memory will do everything for you, you will only have to mechanically repeat the actions.
So, practice is the most important element of preparation for braiding yourself. If you've never had to braid other people's hair, then you may well start exercising on yourself. At first, you will not like the result of your efforts, but in time it will work out!


The second feature of a successful weaving process is knowing the weaving pattern. That is, you must know the order of alternation of the strands. When weaving on your own, you must remember that in the mirror everything is reflected the other way around, so don't get confused! Also, in order to remember the diagram and understand it, you can prepare in advance and watch training videos or diagrams and drawings on the Internet.
In order to work out the schemes, you need, again, to train. And if there are no people willing to donate their head to you, then you can study on your own, the main thing is the presence of a good system of large mirrors such as trellis, so that you can evaluate the correctness of the weaving and the conformity of the final result.


The next weaving feature will also come with experience.To make the hairstyle beautiful and neat, you need to use approximately the same strands in weaving (of course, if the instructions do not indicate otherwise), which must be pulled into a braid with approximately equal strength. If a little more effort was applied to one strand, and a little less to the other, then one part of the hairstyle will look weak, sloppy and threatening to crumble, and the other, on the contrary, is excessively taut and tough.
Another important point in self-weaving is not the most comfortable position of the body. It is better to use a chair with a back, because if you stand, your back will get tired very quickly, and on the chair you can at least lean back.

Preparation
So that nothing distracts you from creating your own hairstyle, you need to take care of so that all the most necessary tools are at hand in advance.
- Large trellis or other mirror system for a full view.
- A chair with a backrest - for comfort.
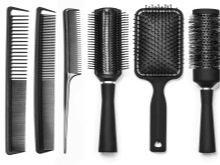
- Combs. Desirable, several types - from wide massage brushes for combing the entire head of hair to thin, to create parting and separation of strands.
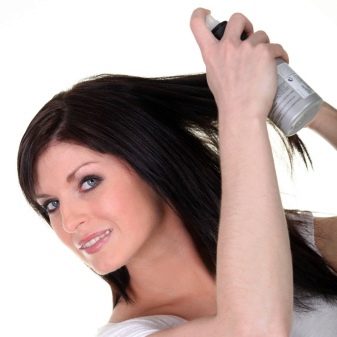
- Hair care products. Anything from a light brushing spray to mousse or foam. The main thing is that the hair becomes a little damp, as it is much easier to work on damp hair.
- Hairpins, small elastic bands and invisible hairpins. Anything that can come in handy for securing work or fixing individual strands in the process of creating a hairstyle.
- Hair styler - for fixing the result.


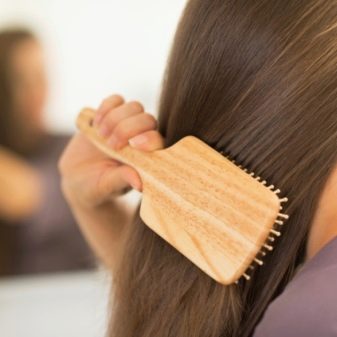
The room in which you will do your hairstyles should be as light as possible. - this will help to see some possible imperfections and deviations from the weaving pattern. It is necessary to prepare in advance for working with hair - clean hair must be combed thoroughly, and then slightly moistened with spray or water to remove possible electrification and slightly moisturize. You can also periodically wet your hands with water.
How beautiful to braid your braids?
So we come to the main question: how do you learn to braid your own braids. Here you will find practical instructions and some tips that will help you make your life and creating your hairstyles much easier.
The only disadvantage of various braids is that their implementation on short hair lengths is very difficult and almost impossible.


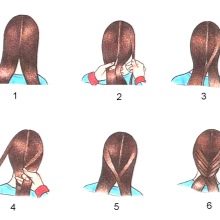
Of three strands
The very first thing to learn is to braid a regular braid. It is very easy, beautiful, does not take much time and is also suitable for beginners in the field of hairstyles.
- Spray your hair with plain water or a special product so that it becomes slightly damp. Comb your hair and fold the entire shock back onto your back. Divide your hair into three equal sections.
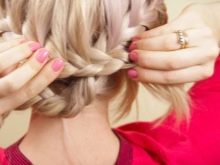
- Take the leftmost strand with your right hand and lay on top of the central one. If you feel like it, you can start from the opposite side. Hold the strands in the center with your left hand. Now take the left strand and cross it with the right one, holding it with your free hand. Continue braiding, alternating strands.
- Secure the finished braid with a hair elastic.
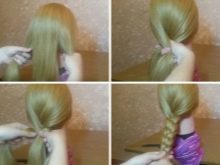

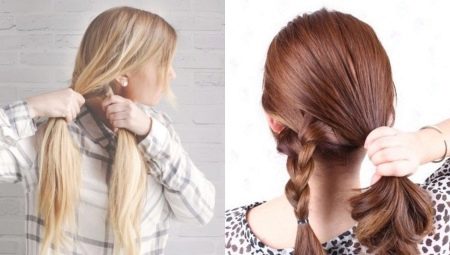
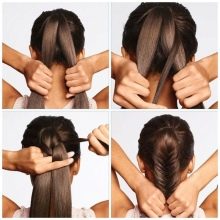
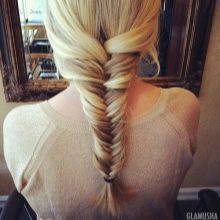
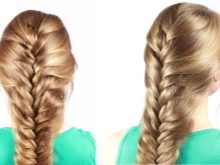
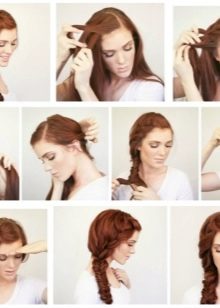
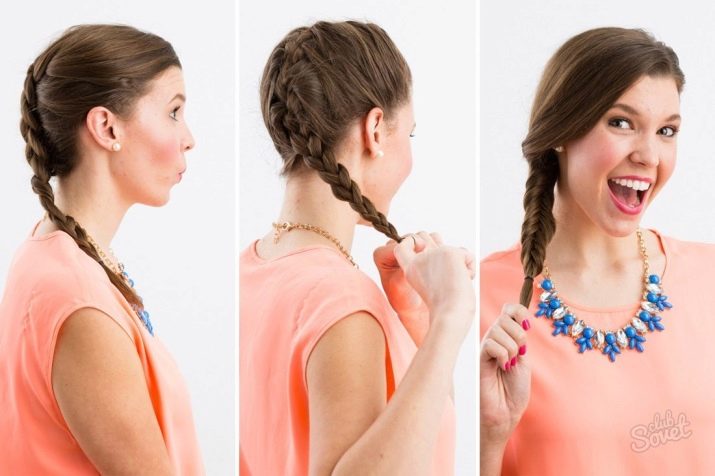
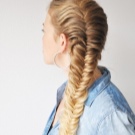
Fish tail
Another simple pattern for weaving braids is a fish tail. This option looks most impressive on long hair and hair of medium length.
- Lightly moisturize your hair first. Comb them, fold them behind your back and divide them into two approximately equal parts using a straight parting.
- Now choose the side that is more comfortable for you to start with. Take a thin strand on one side and fold it over to the opposite. Repeat the same on the opposite side. Repeat alternation until the braid is ready. The smaller the strands used in weaving are, the more bizarre and original the hairstyle will turn out.
- Secure the finished braid with a hair elastic and sprinkle lightly with hairspray.
If you find it difficult to braid a fishtail on loose hair, then you can first collect them in a high ponytail.This will prevent your hair from flying to the sides, and you will spend less effort on creating your hairstyle. If you don't like the end result with the elastic, then after the process is complete, you can carefully remove it.
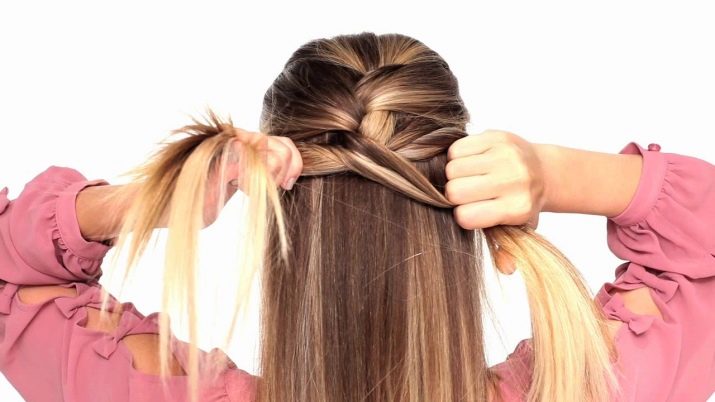
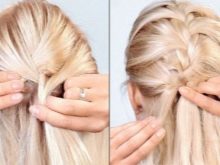
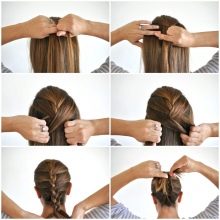
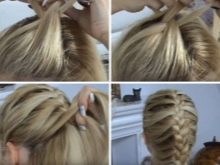
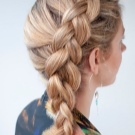
French
This method already requires some preparation, so you should practice before doing it. This braid may not work the first time, but that shouldn't stop you. There are many ways of this weaving, the simplest ones will be considered here.
- Moisturize your hair slightly. Comb them and put them back.
- Select one section of hair from the crown and divide it into three roughly equal sections. Braid the base with an elastic band to simplify your further actions. Once you have gained the necessary experience, you can no longer use additional reinforcement. Now start to weave this selected strand like a regular braid, but the strands added to the side should overlap under the center section, not over it. After that, start adding new strands from the remaining hair that was not involved in creating the main braid. Try to add new strands of approximately the same volume, so the hairstyle will turn out to be more accurate.
- The weaving of the side strands should continue until the braid reaches the base of the neck, by which time all root hair should be in the hair. After that, continue to weave it like a regular three-strand braid.
- Secure the finished braid with an elastic band and apply the fixing agent.
Once the hairstyle is ready, you can tousle your hair a little and fluff it up to create the illusion of more volume. If you are the owner of long bangs, then remember that it should also be woven into the hair. Also, the required length of hair for a hairstyle is about 12 centimeters.
The French braid also has variations such as the French spikelet braid, the reverse braid, and the outer braid.
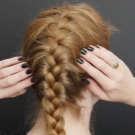
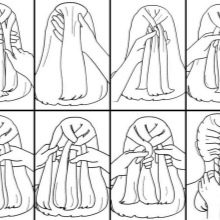
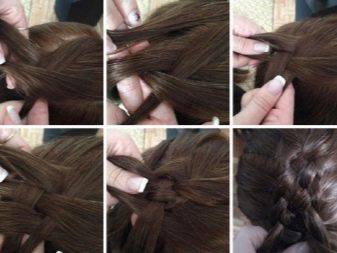
Spikelet
Step-by-step instructions for creating a spikelet can be found everywhere on the Internet. But not everywhere are tips on preliminary hair preparation in order for this hairstyle to look the most advantageous. The spikelet is suitable for thick hair. On thin and thin hair, with this styling, the scalp will shine through, which will give the impression of a small amount of hair. To avoid this, follow the instructions below, then the spikelet will look perfect.
- Hair preparation - it is necessary to give the hair as much volume as possible. To do this, make a bouffant in the root zone or make a corrugation using a special device.
- Comb your hair thoroughly and fold it over your back. Close to the forehead, grab the three main strands. Put the left strand on top of the central strand, and then the right one. Along with the strands, add loose hair that does not go into the main top part. Cross the remaining two strands. Repeat until you come down to the base of your head. After that, braid the remaining hair with a regular braid.
- Secure the finished braid with a hair elastic and lightly secure with a special tool.
The spikelet is very similar to the reverse French braid, so the final look of these two hairstyles may be similar.

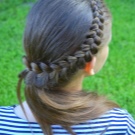
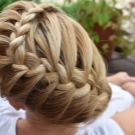
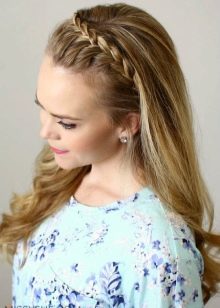
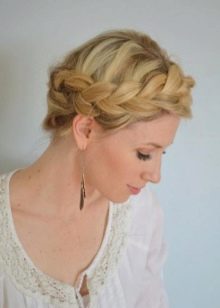
A rim around the head
The advantage of long hair is that you can create a wonderful headband out of it with your own hands. These natural headbands are just another variation on the most common French braid.
- Comb your hair and use a special comb to divide it horizontally into two parts - front and back.
- Collect the far part in the tail. On the front, on either side, we take three strands as close to the ear as possible and weave a regular braid. As soon as you move a little away from the ear, you can add extraneous strands from the remaining loose hair. As soon as the braid reaches the opposite side, and all the strands are added to the rim, then we complete the hairstyle with the usual three-strand braid.
- We dissolve the distant part, if desired, apply a fixing agent.Hide the remaining end of the wreath if desired.

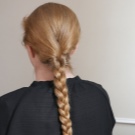
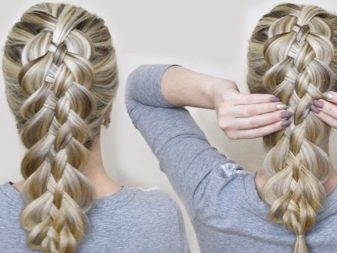
From five strands
This lightweight type of braid is perfect for those with fine hair, as it will add much more volume to the hairstyle. And this hairstyle looks impressive. The only difficulty is that you will have to work out the weaving pattern very well - due to the large number of strands participating in the creation of the braid, it is very easy to get confused.
- Lightly moisturize your hair, comb it back, divide it into 5 approximately equal parts.
- Now start weaving from the far left strand - toss it to the right side so that it intersects the other strands in the center with a snake (one crosses from above, the second goes down, the third is again superimposed on top). Continue braiding following the pattern.
- Continue weaving, then fix with varnish.

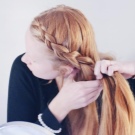
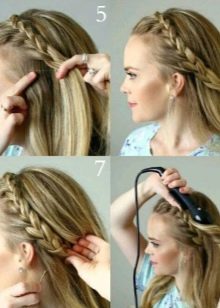
Greek braid to one side
The Greek braid is a simple hairstyle that will complement any look. It can be braided for any event or walk with druses.
- Moisturize your hair slightly. Comb them well. Part your hair slightly above the left ear with a straight part. Divide this particular strand into three more identical strands.
- Start braiding a regular three-piece braid, keeping your hair firmly against your head. Weave in additional strands whenever you take that main strand that is closer to the back of the head and the rest of the loose hair (since the braid goes along a specific side of the head, it will combine the frontal and back of the head). You should take additional parts from the side that is closer to the back of the head and loose hair. When you run out of extra strands, continue with your regular braid.
- Secure the result with an elastic band and sprinkle with a special product.

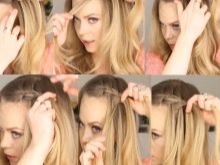
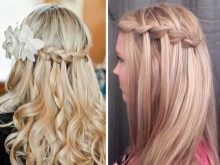
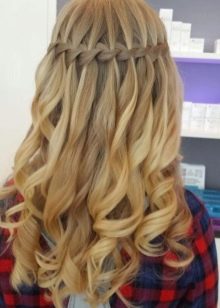
Waterfall
This is exactly the kind of weaving that requires additional preparation. Braiding will look good on straight hair, but if you need something quick and festive - do it on pre-curled curls and get a stunning effect!
- Lightly moisturize your hair, tuck it behind your back.
- Select a strand close to the temple, which should be divided into three more parts and start braiding a regular three-part pigtail (start with the strand that is closer to the face). The strand that turned out to be the bottom should remain at the bottom. Use another one from the remaining hair instead. Continue leaving this strand each time. Bring the braid to the other side of your face.
- Secure the braid with a thin elastic band or an invisible hairpin. Fix with varnish.
Advice
The braid is a hairstyle that you can always use. The main thing is to choose the weaving option successfully and follow some simple tips. Do not use too many fixing agents! A huge amount of varnish or wax will weigh down your hair and give it a "sleek" look. Try to braid only clean hair. So the overall impression of the hairstyle will be as positive as possible. Do not stop! Even if it seems to you that something does not work out as it should be, but something does not work out at all.
Weaving braids is a mechanical work that often requires actions brought to an automatism. Only practice will help you, and sooner or later you will succeed.


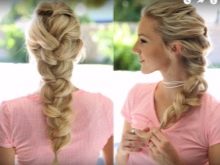
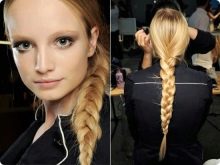
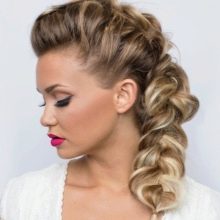
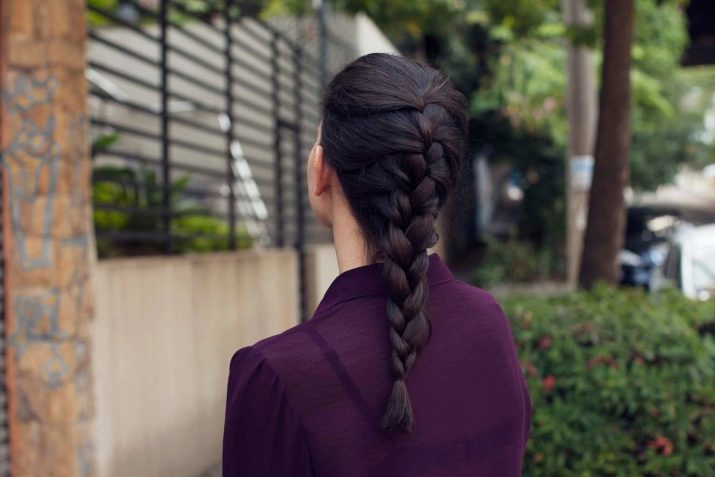
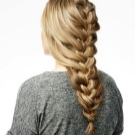
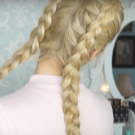
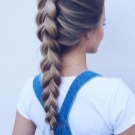
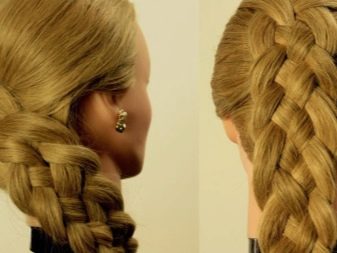
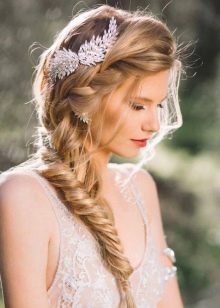
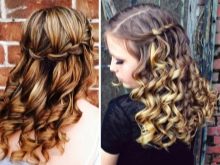
Beautiful examples
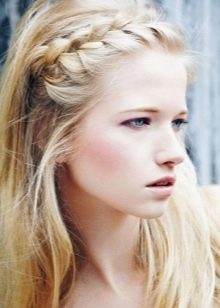
This section provides some of the more beautiful options, plus they will be given a side view so that you understand how the final hairstyle should look like.
For information on how to braid a spikelet for yourself, see the next video.


I learned how to weave braids on my own.