A bun for short hair: types, selection and styling
A bun is perhaps the most common and versatile option for styling hair, remarkable not only for the ease of creation, but also for pleasant restraint. However, owners of short hair often have to face difficulties when creating such a hairstyle. By looking at easy ways to style a bun for short hair, you can get rid of these problems forever.
Peculiarities
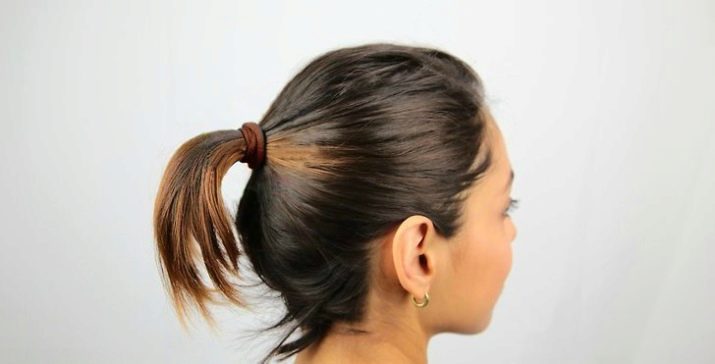
First of all, you should decide on the length of hair that is acceptable for creating a bun. Professionals say that it should reach half the neck level - otherwise, styling problems will be inevitable. If you collect hair in the back of the head, there should be hair in the tail equal to the width of the palm of your hand.
Before you start styling, you should wash and dry your hair - this will give it additional volume without using additional funds.
Owners of thin, sensitive or dry hair should use special mousses before drying. But do not exaggerate with the amount - the main thing is that the product should be applied in the most important root zone of the hair.
Those who decide to make a bundle at home should consider that it is almost impossible without the use of hairdresser's tools - you will need a minimum set in the form of an elastic band, several invisible hairpins, as well as short hairpins 45 mm long.
In case of hair at the level of the middle of the neck, you should get a special "bagel" or elastic band with a large diameter.
However, this diameter should not exceed half the length of the hair from the base of the tail.Obviously, for short hair, the bun should be braided at the back of the head - when raised, the lower part of the hair will fall out of the hairstyle.

Views
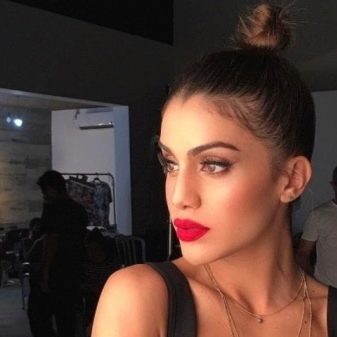
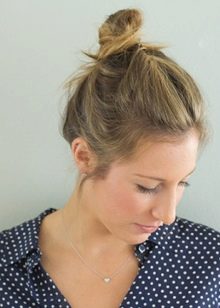
Simple
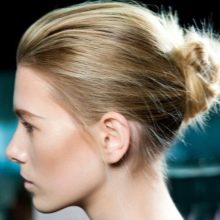
The classic version of the beam is good because it can be easily braided in any part of the head. It is worth taking into account the size of the head and the physique of a woman - the size of the beam should not be out of the picture. The simplest method for creating this hairstyle is to twist a regular ponytail into a tourniquet and secure it.
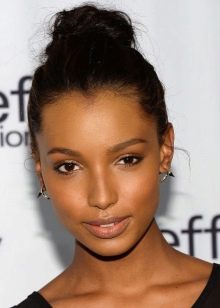
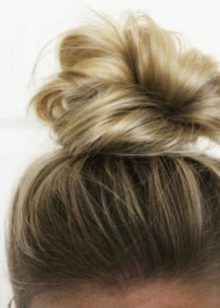
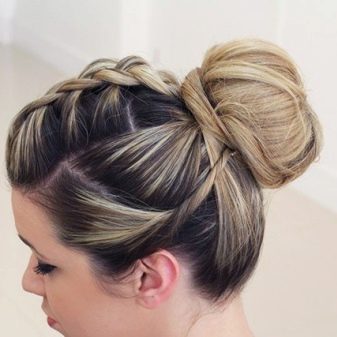
Volume
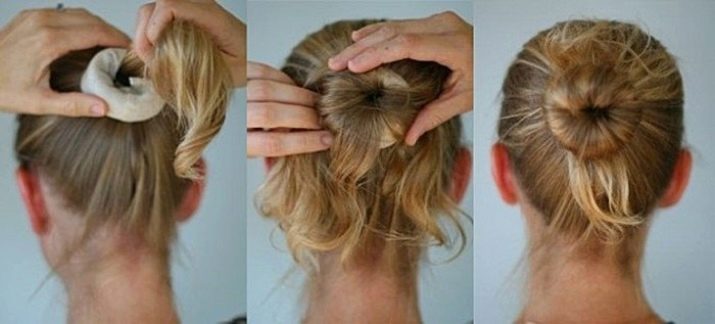
This option looks more impressive and at the same time requires more effort and tools - the hair gathered in a ponytail should be passed through a "donut" in the shape of a circle. The last step is to secure the ends with a thin elastic band. Also, the ends of the hair can be hidden inside the bun using hairpins.
A slight treatment of the finished hairstyle with mousse or varnish to add volume is recommended.
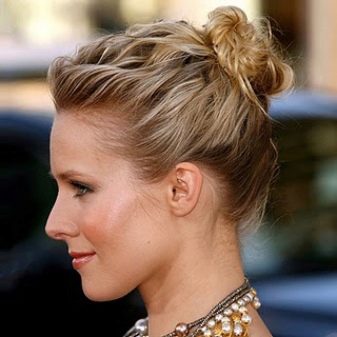
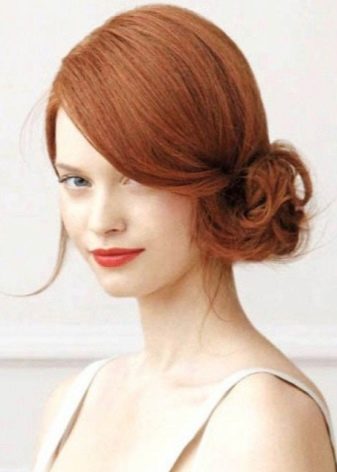
On the side
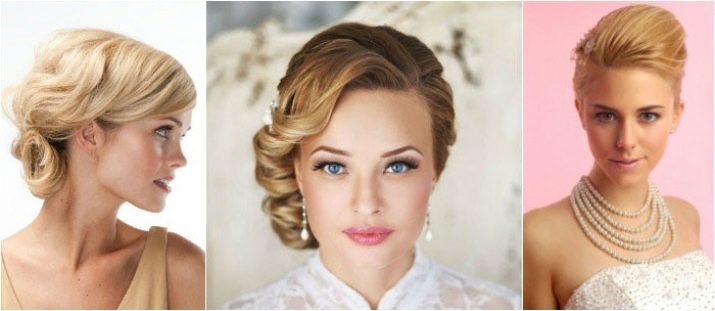
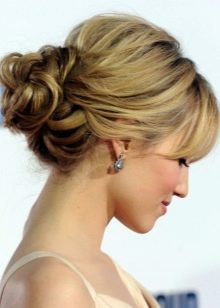
The so-called "Greek hairstyle" is a stunning and uncomplicated solution for a bun. Here you will need special rollers for short hair, which can also have artificial curls to add volume. Ribbons, lace or bows can be used as accessories.
Obviously, to create such a hairstyle, it is necessary to make a side parting in the hair. Further actions are similar to the case with the classical sheaf.
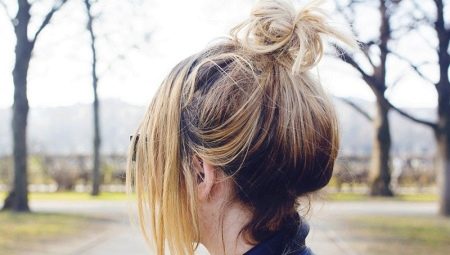
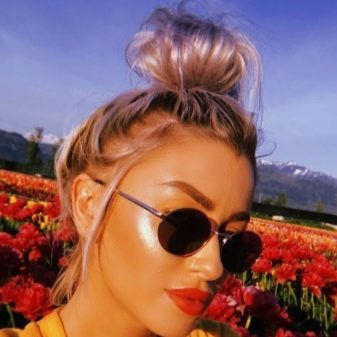
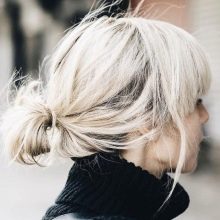
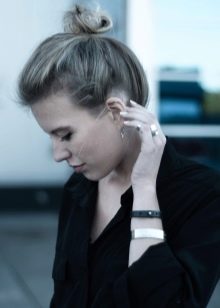
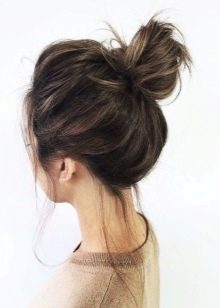
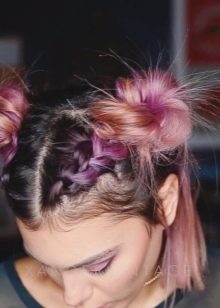
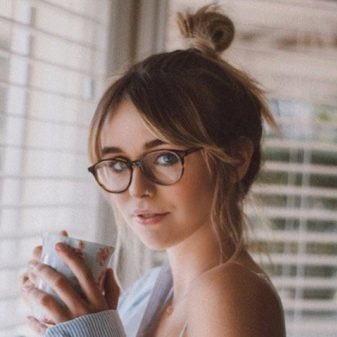
Careless
For a casual walk with friends or going to a party, a deliberately messy bun of curly hair is a great option. To create such a hairstyle, you first need to curl small curls, and then collect them in a ponytail and tighten with an elastic band at the back of the head or crown. The resulting hairstyle can be divided into several equal parts with fine elastic bands.
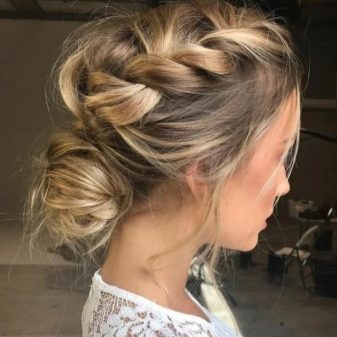
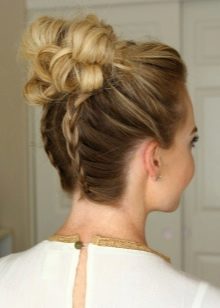
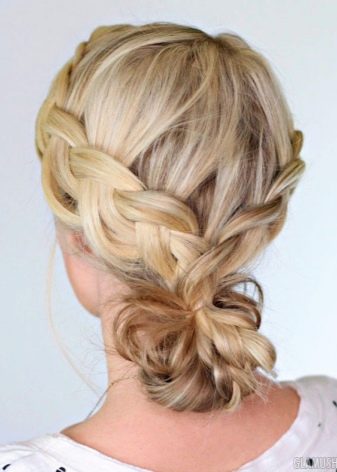
French
One of the varieties of the design of the beam is the presence of a French braid. It is created from a curl in the forehead area. Weaving a thin ribbon into a French braid can be used as a beautiful accessory.
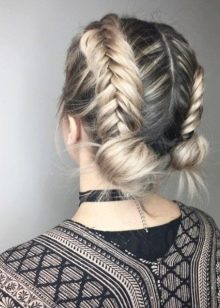
With braids
When weaving braids in a bun with short hair, there may be a problem of lack of length. As a rule, the process begins with the selection of 3 strands and a gradual transition to wider braids, which are eventually secured with an elastic band.
How to choose?
By hair type
Owners of curls should remember that creating a bun will be complicated by the volume of hair. Also, at the end of collecting the hair, it does not hurt to distribute individual wavy curls over the surface of the head with the help of hairpins or small elastic bands. In case of unwillingness to perform such actions, you will have to resort to straightening your hair with an iron.
Straight and more manageable hair is easier: here you can try and experiment with braids, asymmetry or accessories without worrying about possible problems.

By face type
When choosing the size and type of the beam, it is worth paying attention to the face - in the case of a wide and rectangular one, it is worth stopping at voluminous and spontaneous options so that the beam does not get lost on the head. On the contrary, with a narrow and small face, the large size of the beam will draw unnecessary attention to itself and look ridiculous.
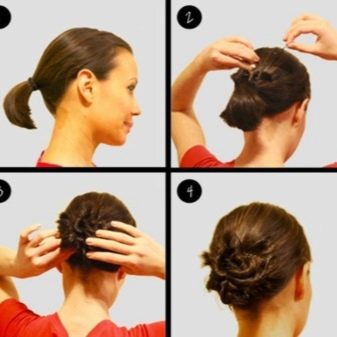
How to put hair in a bun?
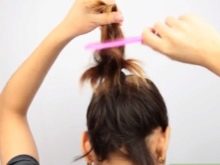
Let's consider in stages how to assemble a bun for short hair with your own hands, which hairstyle options are created most quickly, and in which cases you will have to spend more time. First, you need to collect the necessary tools. Of the necessary, you will need a thin comb, elastic bands of different sizes, as well as invisible hairpins.
It is important that the comb is made of wood or ceramic to avoid electrifying hair.
Speaking of a large "donut" gum, it is worth considering that you can make it yourself. To do this, you need to twist a strong stocking with cotton wool or other filler sewn into it. First, the hair must be thoroughly rinsed, dried and combed. Further, the hair traditionally needs to be collected at the back of the head in a ponytail, if necessary, correcting the incorrect styling with mousse or gel.The resulting tail is threaded through the elastic to the very base and then, separating small strands, you need to wrap them around the elastic and secure with a hair clip.
The final touches can be narrowing the beam with an additional thin elastic band (it is important that its color is in harmony with the hair color), as well as laying the ends of the strands by winding them around the base and securing them with hairpins.
If the length of the hair is categorically not enough for a bun, you can resort to artificial curls. They must be fastened with care so that the real hair overlaps the bases of the artificial ones.
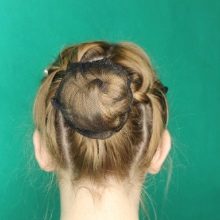
To braid a more complex bun, for example, one consisting of two flagella, you need to divide the hair with a parting into 2 large strands. Further, each of them must also be divided in half and each resulting curl twisted into bundles. Then the finished bundles must be woven together in the same way. The ends of each side strand are secured with an elastic band and tied together with a classic knot. In the end, after fixing the hairstyle with hairpins, it can be given additional volume with auxiliary means.
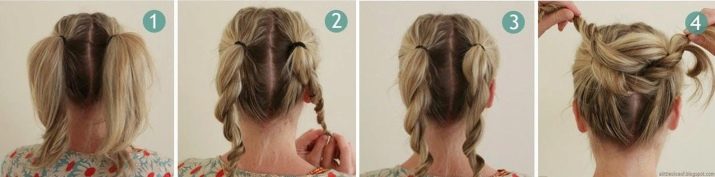
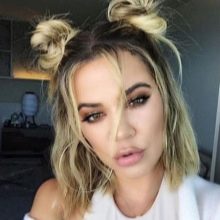
To create an airy and playful bun for a holiday or party, you need to follow a few simple steps step by step. First, divide your hair into approximately several equal strands - depending on the length and volume. Each of the parts must be twisted into a bundle and combined with hairpins. As a result, it takes about 10 minutes to create an uncomplicated and beautiful beam.
The technique for performing this hairstyle is shown in the following video.
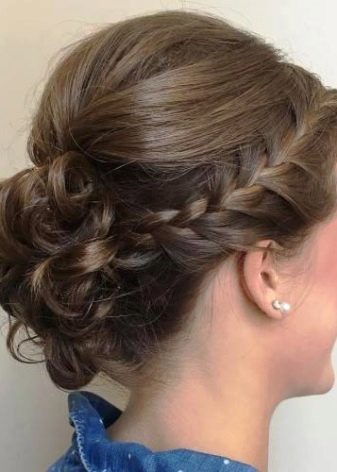
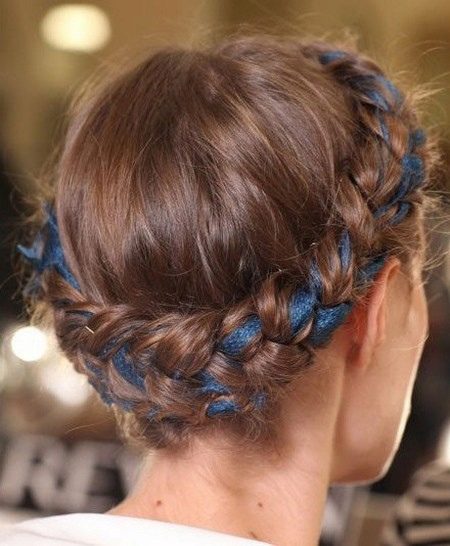
In addition, the bunch can be designed as a wreath of two flagella. To do this, it is necessary to divide the hair into 2 parts with a side parting and braid each of them from the temple to the back of the head, adding free curls to them. From the edge, the hairstyle is fixed with hairpins. It is also important that all hair is tucked up and tucked away in flagella - not a single free end should remain.
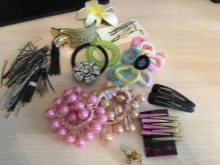
Jewelry and accessories
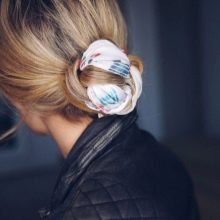
Sometimes seemingly insignificant details can add elegance and grace to a hairstyle. Consider accessories that will help you decorate your bun effortlessly. The simplest option is an elegant bun mesh with a donut. It will help maintain the volume of the bun and prevent it from unraveling, as well as make the hairstyle neater. The mesh is put on the finished bundle and secured with pins. It is important that the size of the bun is commensurate with the size of the mesh, as well as that its color is in harmony with the color of the hair and other accessories.
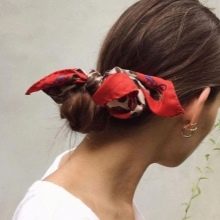
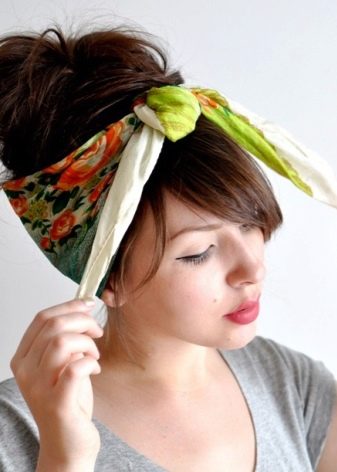
An interesting addition to the bundle will be a stylish scarf or headband. There are two options here: fix the scarf in the back of the head by bending its corner forward and tying the remaining edges at the forehead, or fold the scarf in the form of a ribbon and knit in the classic way. It is appropriate to decorate straight and obedient hair with hairpins along the parting line.
Sometimes narrow ribbons of various colors can be woven into the braids or braids created. When weaving braids, small multi-colored elastic bands can also come in handy - they will add ease and brightness to the hairstyle.
Do not forget about stylish bows - they can be knitted from both scarves and scarves of any color. The size can also be varied - fantasy turns out to be decisive here. To secure the bandage, you need to bend the hair under it and secure it with an invisible one. Owners of bangs should think about a retro hairstyle - its essence lies in the hair combed and fastened criss-cross on the crown of the head, if desired, framed by a scarf or scarf.
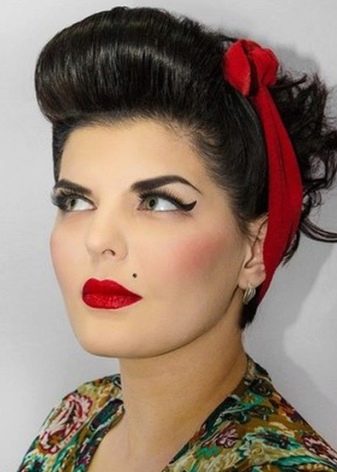
One of the most fashionable and proven options is the popular in the past hairstyle in the style of "pin-up". To create it, you will need rollers for curling hair in bouncy curls in the forehead and crown, as well as tools for creating a bun in the back. Short hair is not a hindrance to pin-ups, and additional decorations in the form of ribbons or hairpins will add zest to the image.
Beautiful examples
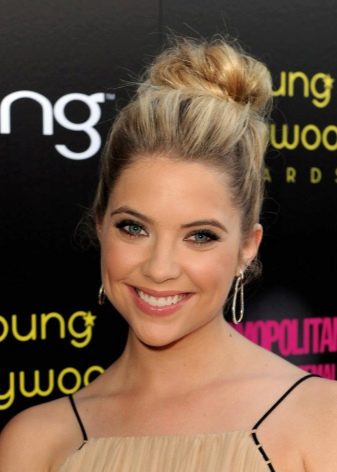
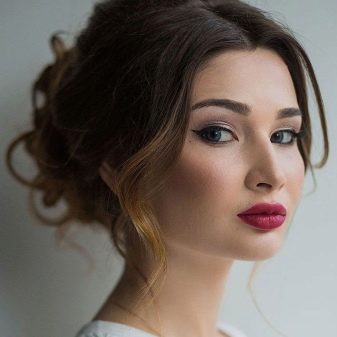
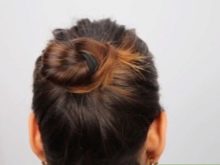
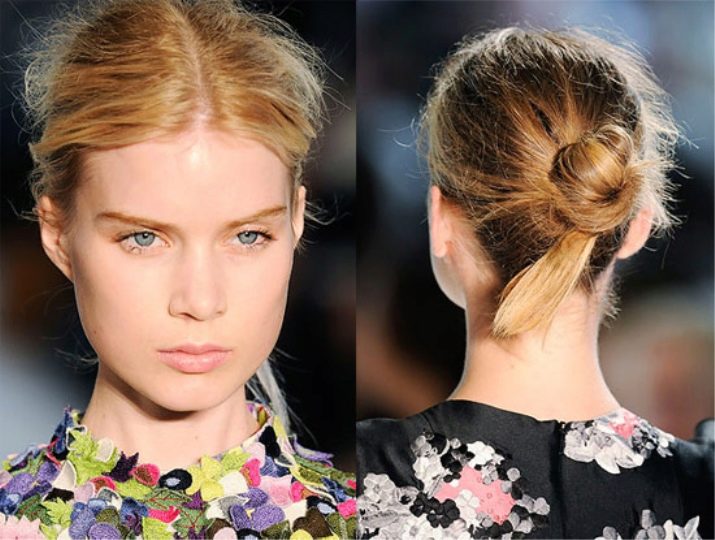
A classic small bun at the back of the head is ideal not only for a casual look, but also for a holiday or other celebration.
The use of a braided ribbon is a great solution that will add elegance and conviviality to the look. It should be remembered about the combination of the color of the ribbon with the color of hair and clothes.
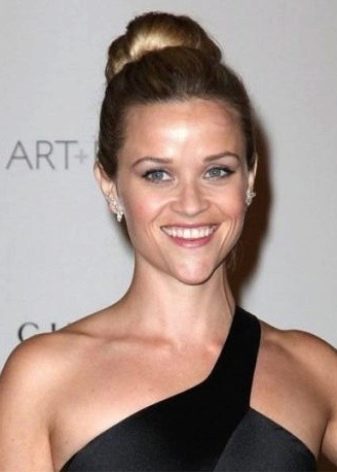
The "donut" elastic band not only allows you to reduce the time and effort when creating a beam, but also gives it additional volume and originality.
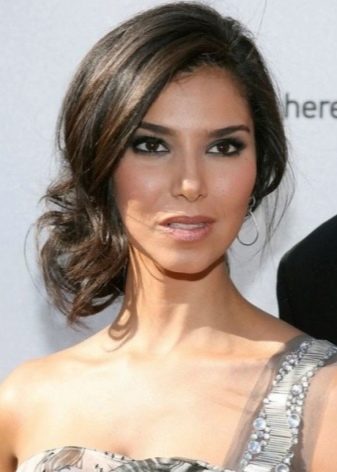
The "Greek" version of the side beam design is an uncomplicated, but at the same time original solution that allows you to create a unique romantic image.