Horn hairstyle: types and subtleties of creation
The variety of women's hairstyles today is simply amazing. But there are also types of styling that are always relevant, for example, "horns". Below we will talk about what this hairstyle is and how to do it on hair of different lengths.
Description
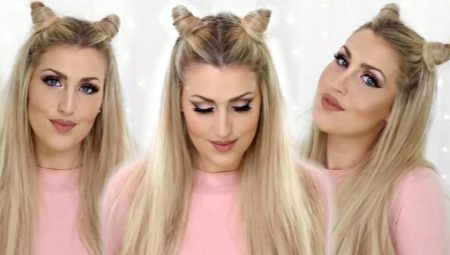
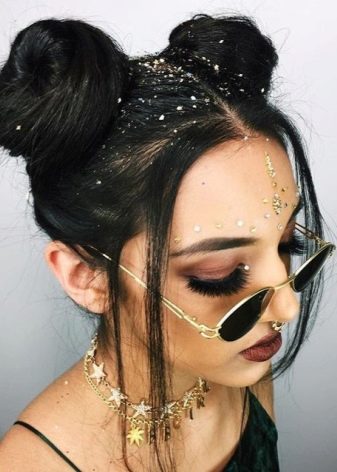
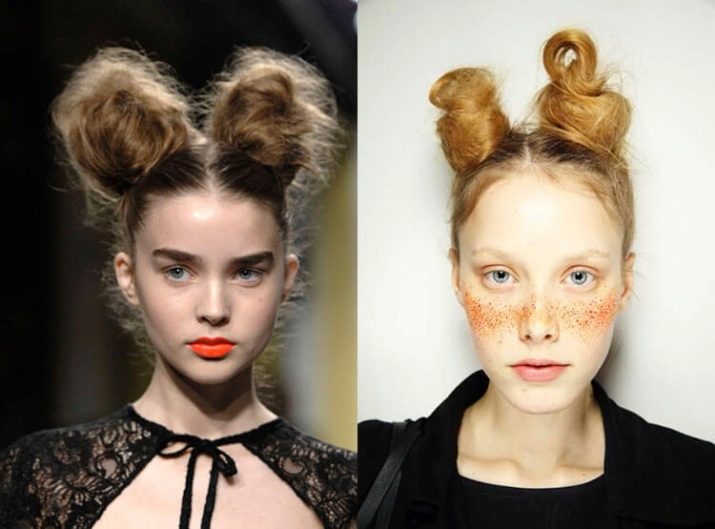
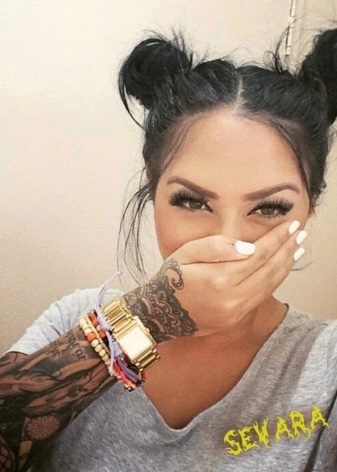
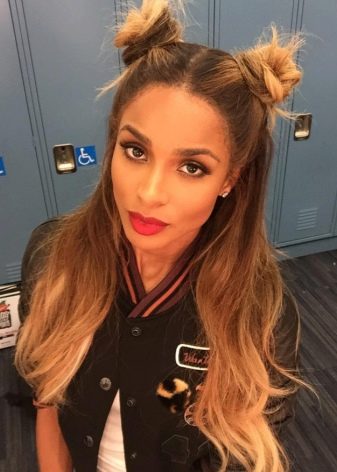
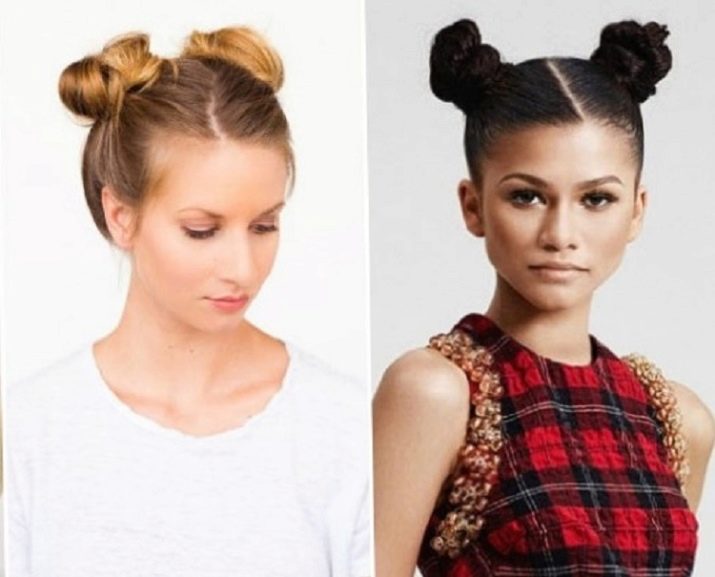
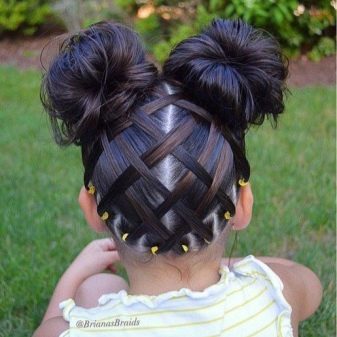
This styling option is familiar to many. In fact, "horns" are bunches or semi-bunches that are located on the top of the head - on the crown of the head.
The number of beams on the head can be different (from 2 to 6), but it is the paired classic "horns" that are most popular.
The main difference between such styling and bundles of all varieties is its shape.
It is elongated and conical, in appearance completely imitating ordinary small horns.
Who is it for?
Like any other hairstyle, this one has its own age restrictions. Of course, if you wish, you can do it at any age. The only question is how appropriate it will look and what impact it will have on the perception of its owner by other people.
Best and most appropriate "horns" look on girls of preschool and school age. They make them even more cute and delicate, and most importantly, the hair does not interfere with the child himself at all. And the creation of such a styling does not take much time and effort.

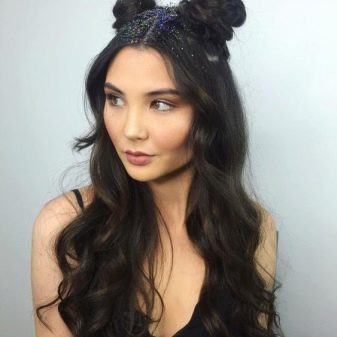
The horns also look good on young girls, especially if such a hairstyle is created for an informal pastime: friendly parties, corporate events or even hikes. Styling here will help you stand out from the crowd, look unusual and stylish.

As for older women, this hairstyle is not recommended for them. With "horns" on the head, they will look ridiculous and inappropriate in any situation. The only exception would be a theme party or carnival.
"Horns" on the head - this is, of course, the fashion trend of the coming year, but exclusively for youth, and this should be understood.
Hairstyle options
There are several main types of this youth styling. They differ from each other in their appearance and location on the head.
In appearance
According to this criterion, styling is also divided into several subspecies.
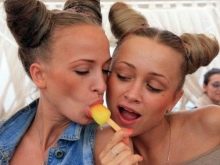
- Full. In this case, absolutely all the hair on the head is twisted into horns, and there are no free strands left.
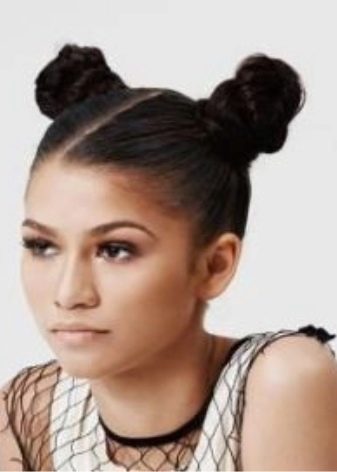
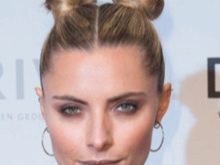
- Smooth. The hair is collected neatly, completely, and the styling itself is very smooth, without protruding hairs.
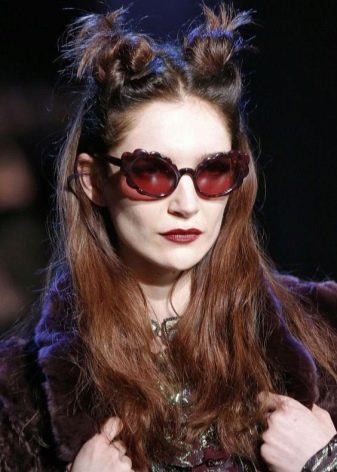
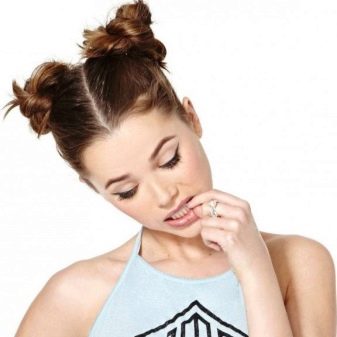
- Sloppy style. In this case, the hairstyle itself looks like it was done in a hurry, but in this carelessness both style and light romanticism are visible.
- With or without bangs. The bangs can be left and simply, as with normal styling, or can be either braided into one of the horns, or twisted around it.

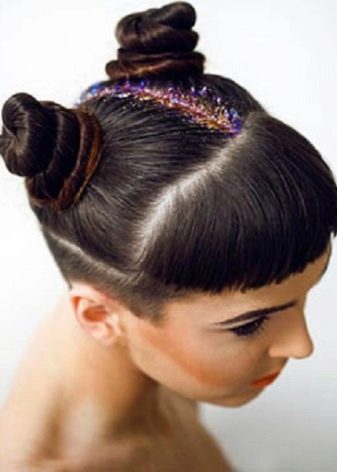
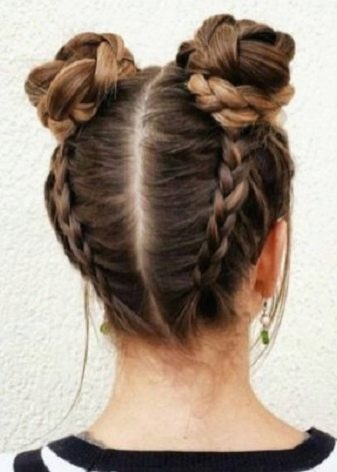
- With pigtails. There are two types here: braids are braided on the back of the head along the parting, or the “horns” themselves make them braids, and the rest of the hair is left as usual.

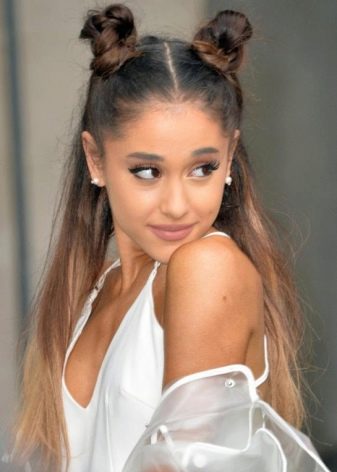
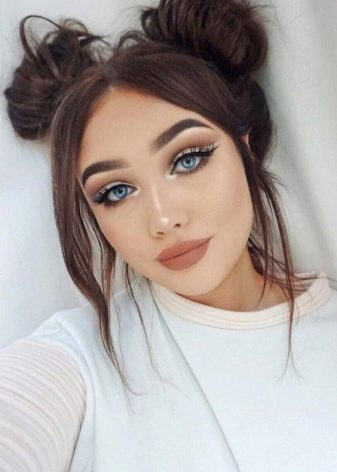
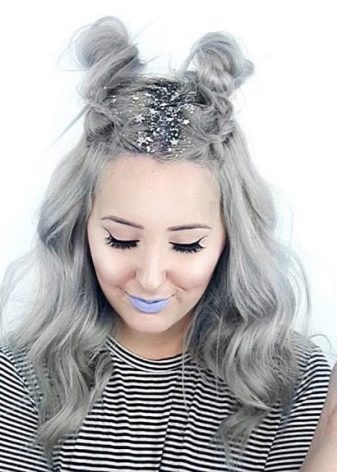
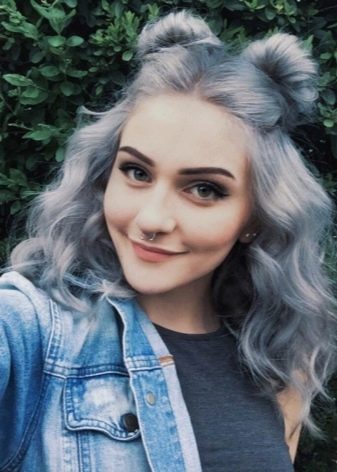
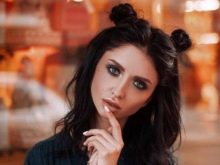
- Partial styling. This option implies leaving the hair loose on the back of the head, and the "horns" themselves are made on the crown.
Moreover, depending on the appearance, such styling can be suitable both for a friendly walk or any holiday, as well as for a trip to a school or preschool institution.
Location and quantity
Everything is simple here: the "horns" can be located on the crown, on the temporal zone, or on the back of the head. Particularly popular is the hairstyle with the crown styling.
The amount depends precisely on the desire of the girl herself. A hairstyle with two "horns" is considered a classic, but in life there can be much more of them: from 2 to 6.
The choice (number, type and location) should be based not only on personal preferences, but also on the basis of the length, thickness of the hair, the purpose of creating such a styling itself.
By form
On this basis, "horns" can also be of several types.
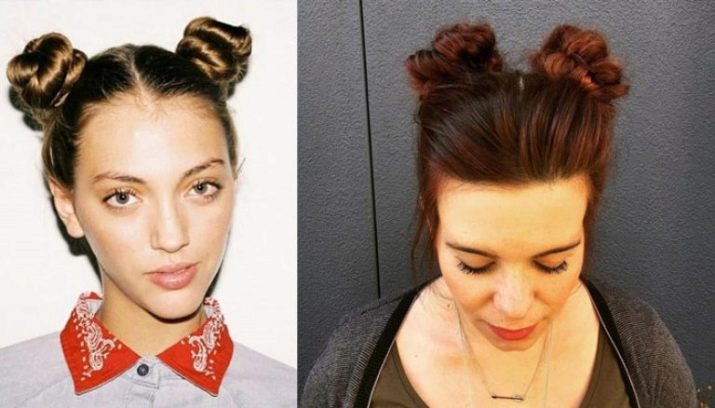
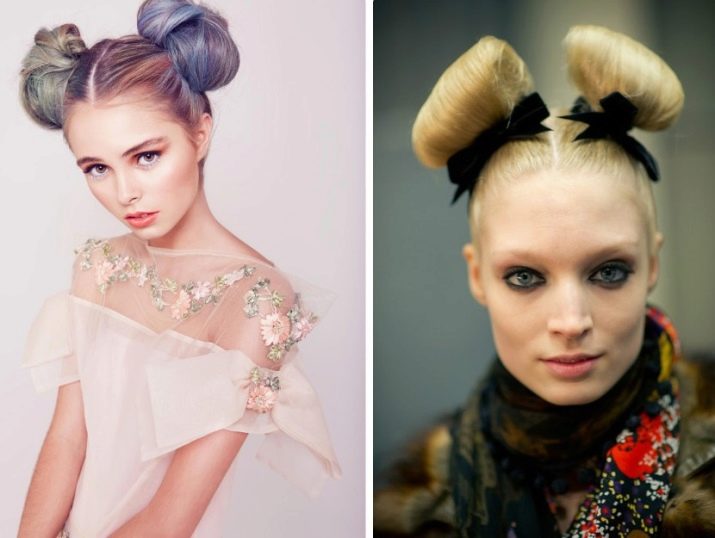
- High or low. It is their height that is meant here. Tall ones look more youthful and mischievous, but low ones are almost a classic, and it is often this styling that is confused with ordinary bunches.
- Tight or loose. Tight "horns" are smoothly tightened, without separate strands and hairs that stand out. Free "horns" are those that, when walking or running, can sway from side to side, that is, they do not have a rigid fixation.
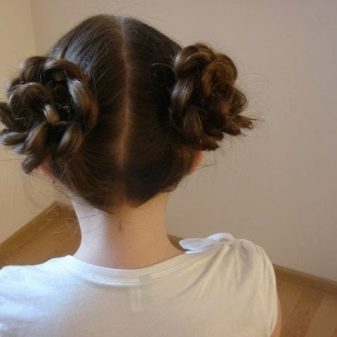
- Created from curls of hair or from braids. Such styling options differ in both appearance and shape. So, "horns" from braids always look more voluminous and elegant.
Even a seemingly simple hairstyle like "horns" has many varieties. This allows you to change the styling option every time and always look fashionable, stylish and unusual. But the most important thing is that the creation of such an image does not take much time and effort, and also does not necessitate the purchase of additional expensive accessories.
Required materials and tools
To create such a hairstyle at home for yourself or for another person is quite easy and simple. First of all, you need to prepare everything you need.
- Means for "styling". Better to give preference to mousse and hairspray.

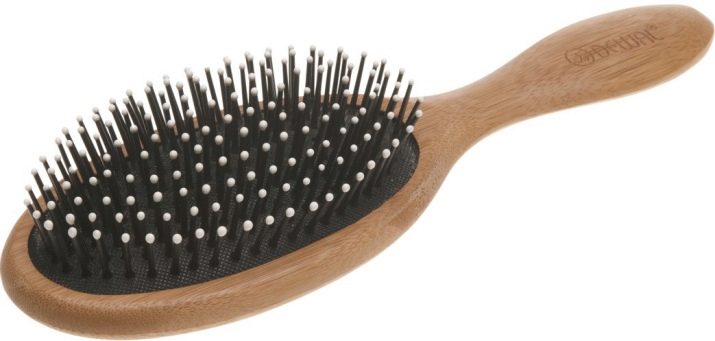
- Massage brush. It should have a soft bristle, it is used for preliminary combing of curls.
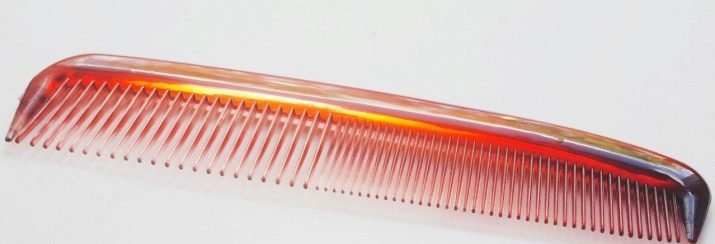
- Comb-comb. The need to use it arises when dividing hair into strands and when weaving braids.
- Elastic bands of various sizes. It is better to choose the softest accessories that will help fix both the strands and the "horns" themselves reliably, but at the same time will not harm the hair.
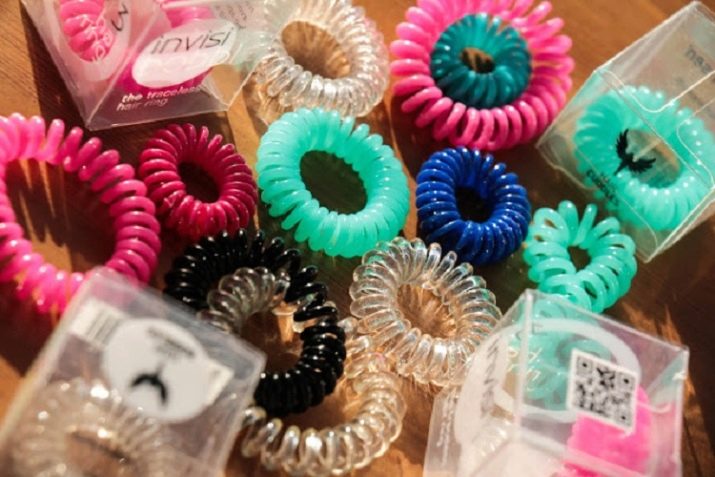
- Invisible. It is best if they come in different sizes and colors.

If you wish, you can immediately prepare additional accessories that will be used in the final stages of creating a hairstyle. It can be a variety of bows, ribbons or hairpins of various shapes, colors and sizes.
Creation on hair of different lengths
Short
In this case, the difficulty of creation is due precisely to the length of the strands. Therefore, it is necessary to use styling mousse or foam with a high degree of fixation.
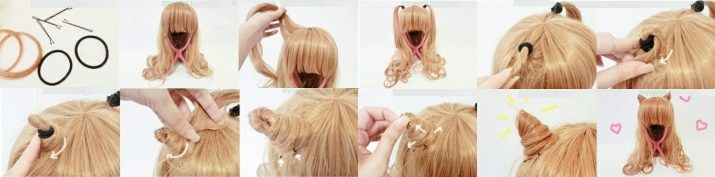
- Wash my head with any mild shampoo.
- Apply a styling agent to wet curls and dry the curls, lifting them from the roots with a massage brush.
- We divide all hair into two parts along the parting and tie two high tails. And we tuck the ends of the curls under the elastic bands so that they do not stick out.
- On top of the resulting "horns" we fix volumetric decorative elastic bands. They will give them the necessary volume and shape.
- We fix the resulting hairstyle with varnish, if necessary, smoothing the hairs to achieve perfect smoothness.

It is the creation of "horns" on short hair that provides for the use of bright and voluminous decorative accessories, which are designed to compensate for the insufficient length of curls.
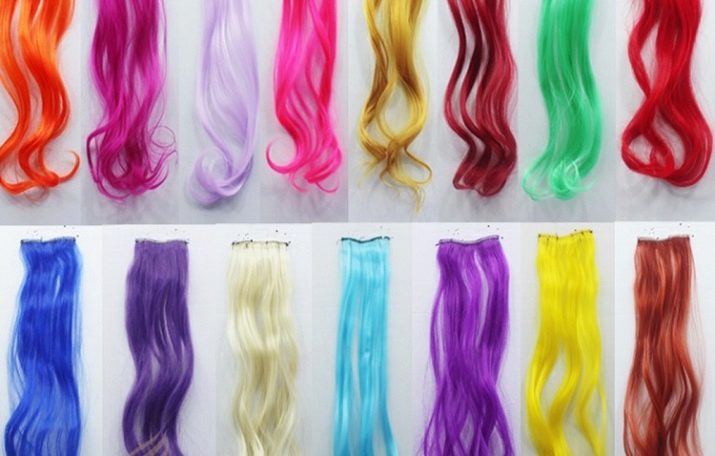
If the haircut is very short, and you really want to become the owner of such styling, then you should additionally use overhead strands. First, they are fixed on the head, and only then "horns" are created as described above.
Average
There is already room for imagination and creating more hairstyles. You can make classic "horns". To do this, you must follow the same steps as in the case of short hair. And you can do it differently.
- Comb the hair and apply the styling product.
- Using a comb-comb, we make a zigzag parting.
- We collect strands of hair from the temporal, crown and occipital parts and form high tails from them.
- Combing the hair directly over the elastic bands for extra volume.
- We twist the hair tied into tails in a spiral and wrap it in a circle around the elastic bands, forming "muzzles".
- We wind the remaining loose hair along the entire length with a curling iron or on curlers to get light curls.
- We spray the "horns" with varnish and fasten the ends of the hair with elastic bands using invisibility.
Loose curls can be left untwisted, but simply straight. Such a hairstyle does not need to use other additional accessories.
Long
The longer the curls, the more options for creating "horns" come to mind. Owners of such hair can either use the above step-by-step descriptions of creating styling, or make another interesting option.
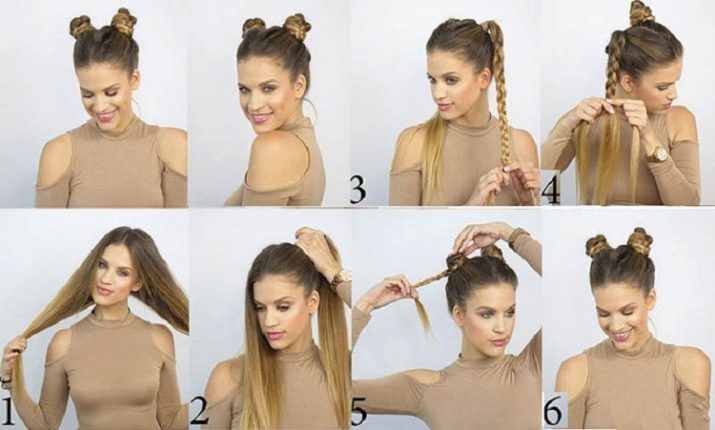
- Comb your hair and apply a small amount of styling product.
- Comb all the hair to the top of the head and make two high tails - there should be no loose strands left.
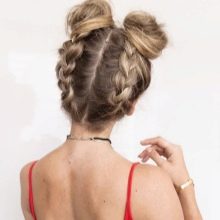
- From each tail we braid a beautiful and even pigtail-spikelet.
- Then we twist the braids around the elastic bands in a spiral, additionally fixing them with invisibility.
- In conclusion, it is necessary to sprinkle the "horns" with hairspray.
Twist the braids into "horns" should be in opposite directions.
Only in this way the finished styling will look beautiful and symmetrical.
Recommendations from professionals
To make the "horns" not only look stylish and beautiful, but also not harm your hair, you should heed the recommendations of experts:
- making "horns" is worth no more than 2-3 times a week, and the maximum time to wear such a hairstyle is up to 9 hours;
- at night it is necessary to dissolve and comb the hair;
- to fix the hair, it is imperative to use styling products, especially if the curls are short or thin;
- hair ties must be soft, and invisible - not too tight.
These simple recommendations of professional hairdressers, as well as strict adherence to the instructions for creating such styling for hair of different lengths, will allow you to easily make beautiful and unusual "horns" for yourself and your friends.
How to make the "horns" hairstyle, see below.


