Why doesn't the sewing machine sew and how to fix it?
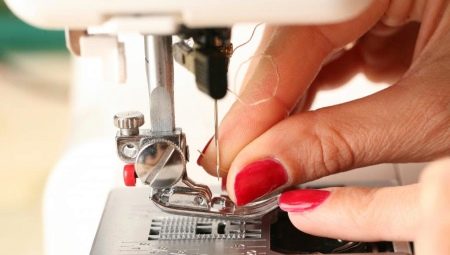
Even the most expensive, reliable and high-quality sewing machine, like any other technique, can start to work incorrectly or stop altogether. Moreover, a Chinese single-thread machine is prone to breakdowns. Let's figure out why the sewing machine doesn't sew and how to fix it.
Common problems
The sewing machine has stopped sewing. Whether it is manual or motorized, you may encounter the following manifestations of this breakdown.
- The bobbin or upper thread will not feed. The stitching is "scanty" - there is not enough thread in the seam. Zigzag sewing does not work at all.
- The fabric does not move as the stitches are sewn. Those, in turn, are layered on top of each other, instead of a seam, a tangled ball is formed, the threads are wasted.
- The foot does not work: it is impossible to raise / lower it.
- The motor is running, the drive shaft is turning, but the needle bar does not move or has stopped working. Sewing has stopped.
- The machine does not show signs of life - the engine does not work, does not light up and does not display information about the operating mode of the display. The work doesn't start.
- Crunch, crackle, malfunction of mechanisms, sudden "jerking" of the smooth and smooth running of the machine. Reducing the speed at which the fabric is sewn, which lengthens the time it takes to perform quick and precise actions on their own.
- The sewing machine works, but periodically stops closer to the middle of the seam or immediately after starting to lay it over the layers of fabric.
- The car tries to reach the declared speed even when the foot pedal is fully depressed, but it moves with difficulty.
Some faults are grouped for a common reason for their occurrence. Others, on the other hand, have a variety of reasons.
Causes
Some reasons depend on the differences between a particular model and others - even, at first glance, compatible. So, the thread is not picked up from the shuttle by the needle, the seam does not go due to:
- wear of the hook tip, incorrect setting (or detuning);
- malfunction of the spatial course of the shuttle;
- the presence of chipping on the bobbin cap;
- incorrect setting of the acupuncture mechanism (too high or low);
- the beveled screw holding the bobbin;
- out-of-sync between the lower section of the machine and the needle bar.
Most likely, the mechanism itself is malfunctioning. To maintain it, it is recommended to contact a service center for repairing sewing equipment.
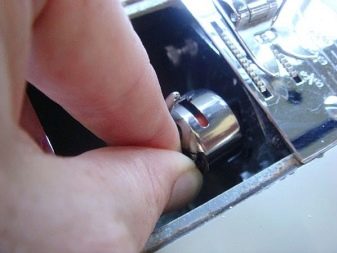
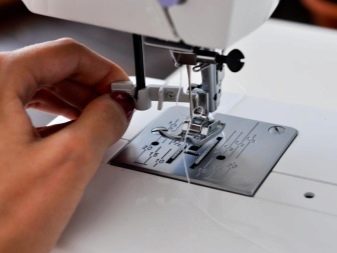
Malfunctions of the node responsible for needle guidance are as follows:
- the needle and fabric are not compatible (thin needle for thick fabric and vice versa);
- selection of a cut-off needle for an industrial machine with a no-cut needle holder (and vice versa);
- the flask is too small (it is impossible to pinch the needle, it slips out);
- a crooked or blunt needle;
- the thread is thicker than the needle, the movement is difficult (the thread breaks, the needle bends and eventually breaks).
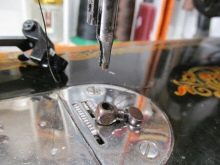
The jerky movement of the tissue is due to the following. When the gap in the throat plate is unnaturally widened, worn out, together with the needle, the entire puncture zone of the fabric is tightened inward. This prevents the shuttle from sewing correctly, and the seam ultimately does not contain all the stitches.
It is necessary to check and, if necessary, re-set the correct position of the stapler bar teeth.
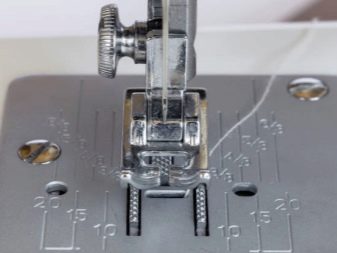
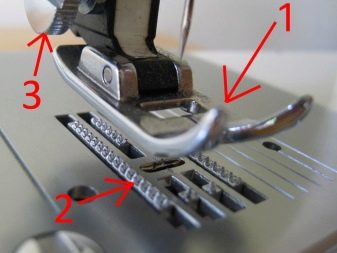
When the slats and the needle are out of sync, the fabric wrinkles, the lower thread is not pushed into the stitches - the upper thread may stretch too much and break. In some cases, the bobbin thread may break and stop flowing into the stapler, as a result the seam turns out to be one-thread, simplified, easily dissolves and does not hold the layers of fabric. The use of threads of different thickness is unacceptable. A thicker thread is more difficult to grasp, which is why the seam has a flaw - skipping the lower loops.
Ideally, the bobbin thread should be slightly thinner, not thicker than the top thread, and more stretchable. Excessively twisted threads will also provoke skipped stitches and buttonholes - they are poorly seized by the shuttle.
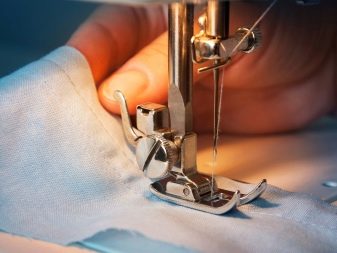
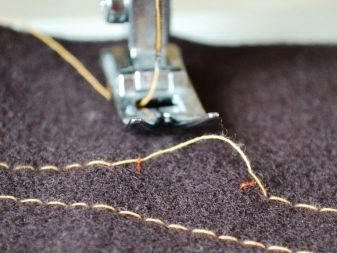
Remedies
If the sewing machine does not pick up the bobbin thread due to imbalance, adjust the mechanism by setting the correct distance between the needle and the hook tip. Please do the following.
- Turn on straight stitching.
- Remove the throat plate.
- Set the needle to the lowest position.
- Raise the needle gradually while turning the actuator. In this case, the tip of the hook should go 1.5 mm above the hole in the needle. The distance between the tip of the needle and the tip of the shuttle should be 0.175 mm on average. These settings are set using the pericellular screw.
On older devices - "PMZ", "Podolsk" and "Chaika", the same calibration is performed in the zigzag stitching mode. In this case, the distance between the needle hole and the shuttle tip is revealed by the left and right passage of the needle through the fabric.
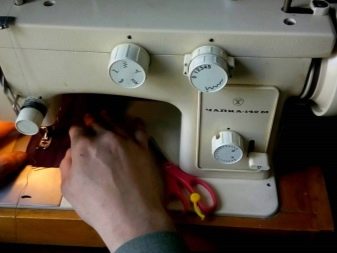
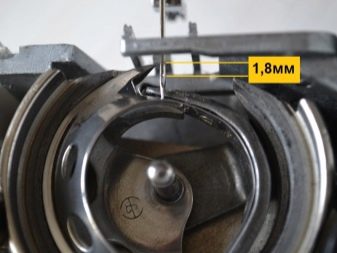
More precisely, the following methodology for eliminating the same malfunction will help you navigate.
Malfunction | What should be done |
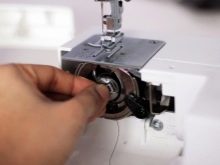
The thread is too loose or too tightly wound around the bobbin. The tension should be checked manually or by means of a test seam. | Make sure the bobbin is inserted correctly. Readjust the tension with the screw near or within the hook. |
The needle bar moved to the side while sewing. | Check that the upper thread is not overtightened. |
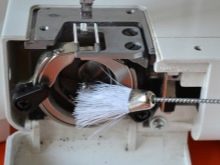
The hook moves with a noticeable effort, some stitches on the seam are missing, the thread from below is not always caught. | Clean the shuttle from thread scrapings that impede its movement. |
The fabric is being pulled into the space (under the panel), causing the shuttle to frequently jam. | Change a blunt and / or bent needle. It cannot quickly pierce matter. |
Loose stitches on the back of the stitch. The shuttle does not work well. | Replace defective hook parts.It often gets stuck due to burrs, oxidation and micro cracks. |
Prevention of malfunctions
- Place the machine on a stable table, console or other support where the stability and level of the plane are maintained.
- Select the appropriate needle and thread for the fabric to be sewn. Insert and fix the needle securely.
- Thread the spools of thread according to the instructions. Do not interfere with the threading sequence. For example, the upper thread first passes through the tensioner and then through the lower thread guide (to the needle bar) - not vice versa. Also place the bobbin correctly in the hook section.
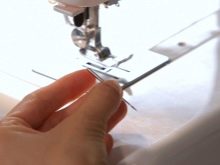
- Leave a 15 cm “tail” of both strands, pull them to the side. This is necessary for a qualitative start and continuation of the seam.
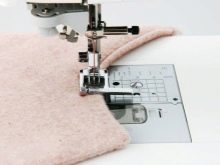
- Plug in the clipper, insert the test patch and try to sew. It should be flat and without any slack on the back of the loops.
- Use thread that is smooth and elastic. Too fluffy and twisted over time will simply grind off the eye of the needle, make it more "broken", and the needle will break faster.
- The machine has a development (run-out) of the mechanism until the next lubrication. The instructions indicate, for example, an interval of 5000 hours. Electronic machines can be equipped with a "timer" function that monitors the total running time of the motor and drive. It replaces the electromechanical analogue of engine hours (or the prototype of a tape-recorder roller meter), which could be used in old typewriters of the 20th century. Do not ignore the specified regularity of cleaning and lubrication - pay attention to this.
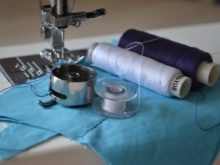
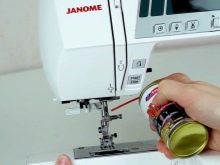
Compliance with these precautions is the key to the durability and trouble-free operation of the product.
See below for instructions on what to do if your sewing machine skips stitches.


