How to make your own wedding accessories?
A wedding is a solemn and long-awaited event for lovers. It is important to treat with special trepidation not only the general plan of the event, but also the little things that create the main flavor of the celebration. Wedding agencies and wedding planners will be happy to help you organize and decorate your event. But making beautiful little things with your own hands with tenderness and care is much more interesting.
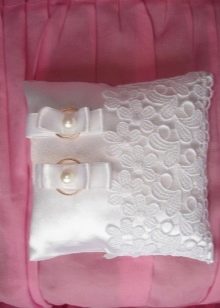
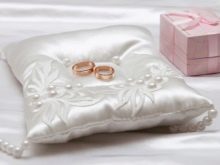
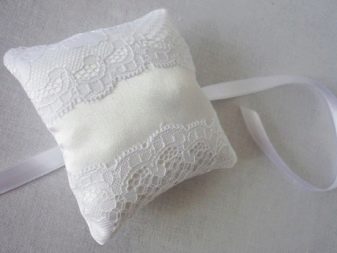
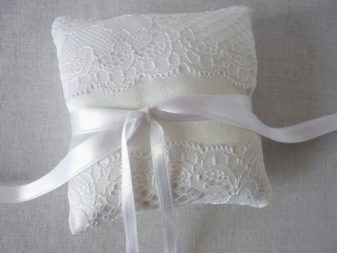
Cushion for rings
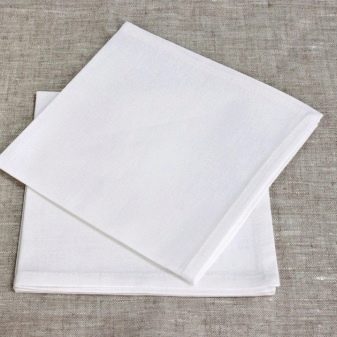
It doesn't take long to create a wedding accessory like a ring cushion. Moreover, now there are a huge number of master classes on creating a variety of handmade accessories. You need to purchase a small piece of white satin, white beads, a 1 cm wide satin ribbon, 5 cm wide lace, synthetic winterizer or synthetic winterizer at a handicraft store. The color of the ribbons can be white or any suitable color.
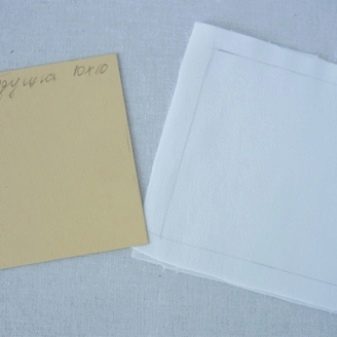
First you need to make the pillow itself, measuring 10 by 10 cm:
- cut out two squares with a side of 12 cm from white satin (2 cm - seam allowances);
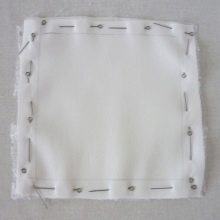
- we fold the squares with each other with the front side of the material inward;
- we sweep the blanks or fix them with pins to avoid slipping of the material when sewing;
- we grind the product, taking into account seam allowances of 2 cm, leaving a small "window";
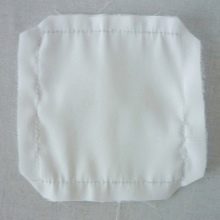
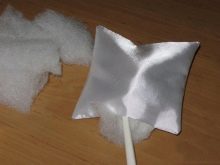
- we turn the product onto the front side and stuff it with padding polyester;
- tuck the free edges of the "window" and carefully sew with blind stitches.
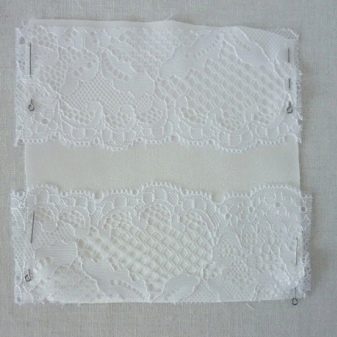

Now the fun part is decorating:
- we sew one side of the pillow with lace;
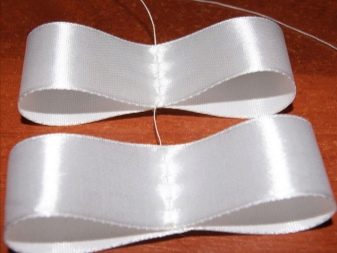
- from a tape 1 cm wide we form two bows, for this we cut off two fragments of a tape 4 and 6 cm long, each fold inward with its ends to the middle of the segment, fix it with stitches;
- we sew the prepared ribbons on top of each other to the pillow;
- decorate the middle of the bows with white beads.
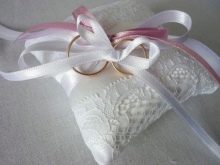
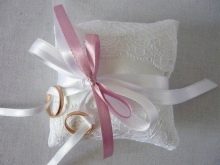
The wedding rings of the newlyweds will be attached to these bows.
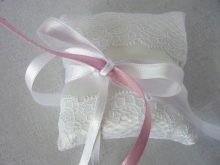
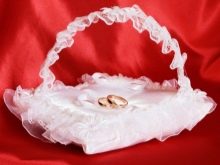
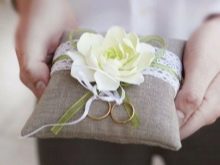
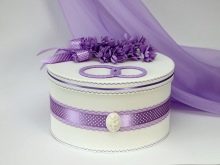
If the newlyweds decide that a specific color will be the main guide for the style of the holiday, then in this case, you can create an original pillow using colored lace and satin ribbons.
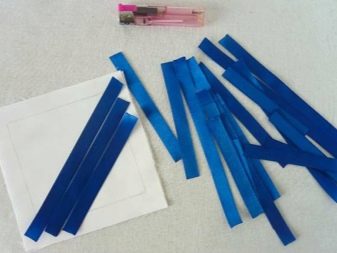
To create such a pillow you will need:
- a piece of white material measuring 17 x 17 cm (it is better to use velvet or linen, so the lace will not slip);
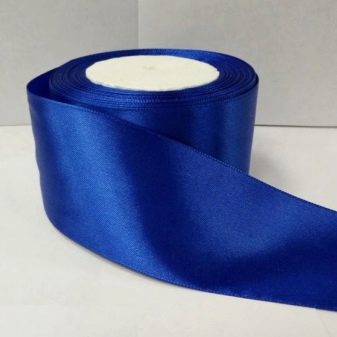
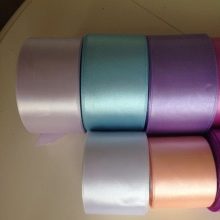
- blue and white satin ribbons 5 and 3 cm wide, respectively;
- thin white lace;
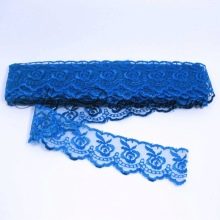
- blue lace 3 cm wide;
- blue and white beads.

Let's start creating cushions for wedding rings:
- cut out two squares with a side of 17 cm from the material, leave allowances for seams of 2 cm on each side;
- prepare two pieces of blue lace 17 cm each, one piece of blue ribbon 17 cm long, one piece of white ribbon 29.5 cm;
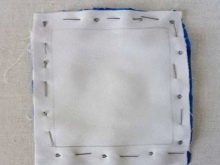
- to the front side of one of the blanks of the square, we sweep a blue ribbon, placing it in the center;
- over the blue ribbon we sweep the white one;
- lace is placed with an overlap of 0.5 cm on a blue ribbon;
- we grind ribbons and lace with a base;
- we fold the blanks of the pillow with the front side of the material inward and grind it taking into account the seam allowance of 2 cm, leaving part of the edge free for turning the product onto the front side;
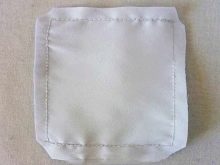
- using an ordinary pencil, turn the resulting "pillowcase" onto the front side;
- fill with padding polyester and carefully close the free edge with blind stitches.
Now let's move on to the fun part of creating the pillow:
- fold the white ribbon in the center and sew on;
- from the free loop of the ribbon, we fold two bows with steps with edges 4 and 3 cm long;
- in the center we sew a blue bead and a white lace;
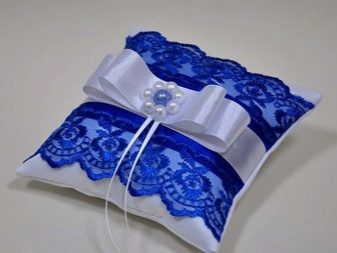
- We decorate the blue bead along the edge with white pearls.
The wedding ring pillow is ready!
In the next video, see a detailed master class on how to make a pillow for rings with your own hands.
Guest invitations
The first impression about the nature of the wedding is formed upon receipt of the invitation. This is an element of the upcoming celebration, which should not only inform about the place, date and time of the holiday, but also immerse guests in its atmosphere. Invitations can be very diverse: in vintage or classic style, with photos of the newlyweds, in the form of cases, parcels and cards, decorated with flowers and lace. The list is endless.
Invitations can be purchased at bridal salons, professional services, or made by hand.
Self-made invitations will certainly be appreciated by your guests as a sign of respect and the importance of their presence at the upcoming celebration. Let's consider several options for invitations that you can make yourself.
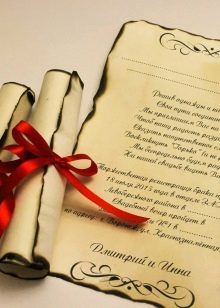
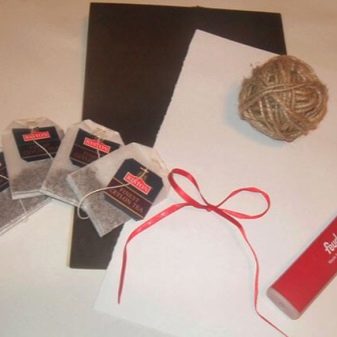
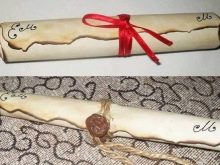
Scrolls
To create such invitations does not require special skills and abilities. You will need: A4 paper, five tea bags, matches or a lighter, colored satin ribbon.
The process of making an invitation is as follows:
- brew 5 tea bags in 250 ml of boiling water and let it brew;
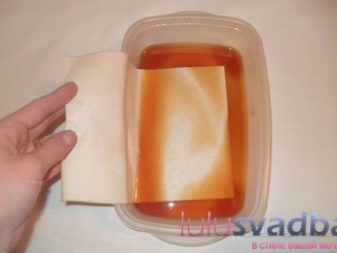
- pour the finished tea leaves into a mold or a deep tray;
- the sheets are completely dipped in turn in the liquid, we take them out, let them drain, we hang them until completely dry;
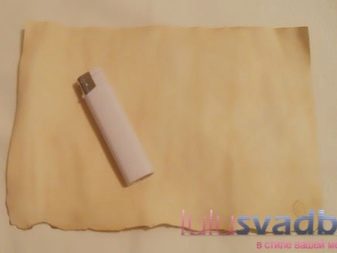
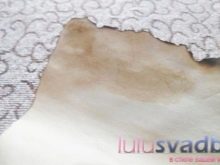
- we process the edges of the sheets under the flame of fire (be careful and observe safety precautions!);
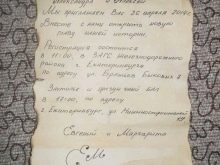
- we put the finished sheets into the printer and print the invitation text (take into account the indents, because the length and width of the sheets will decrease);
- we fold the sheets into a tube, wrap them with a satin ribbon, fix them with a bow.
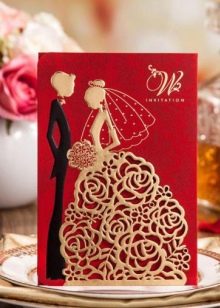
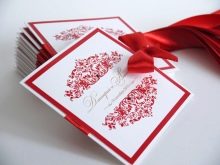
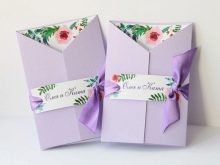
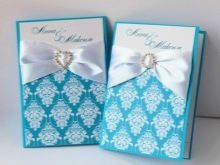
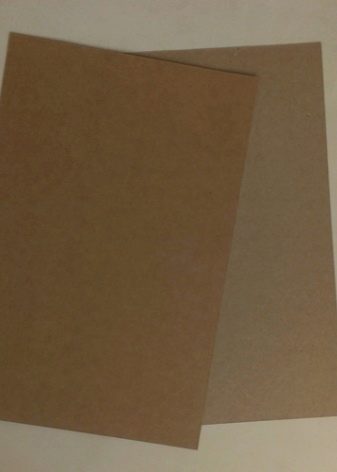
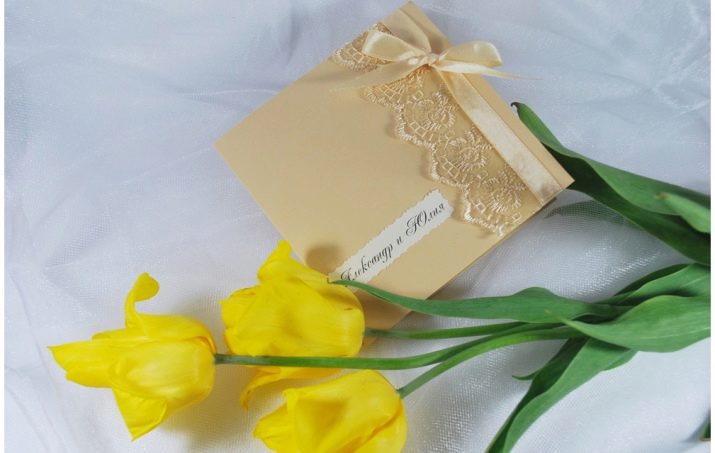
Using lace
This type of invitations immediately sets the romantic and gentle character of the wedding. Accessories are also simple to perform, but this does not detract from their sophistication.
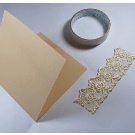
To make invitations, we need:
- cardboard with a density of 150 g / sq.m (the color and texture of the canvas can be varied);
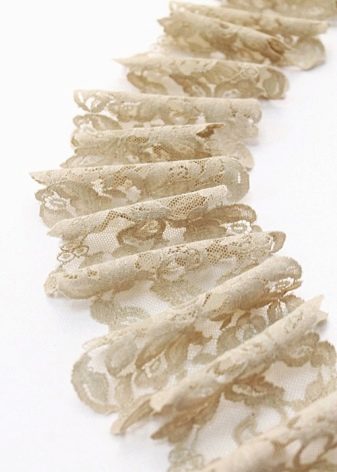
- thin lace;
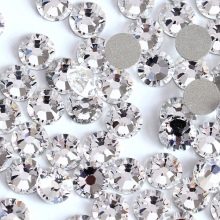
- glue rhinestones;
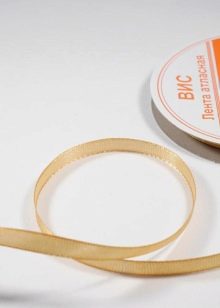
- satin ribbon 1 cm wide;
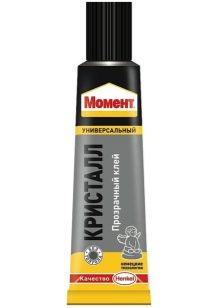
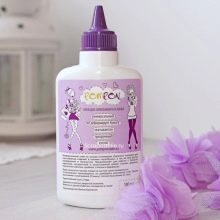
- glue (necessarily transparent), Moment-Crystal is perfect;
- White paper.

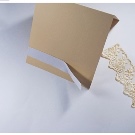
Manufacturing algorithm:
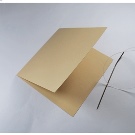
- cut out a rectangle 12 cm wide and 24 cm long;
- bend in half, aligning the corners;
- A piece of lace 12 cm long is carefully glued to the front side of the invitation, 2 cm away from the bottom edge;
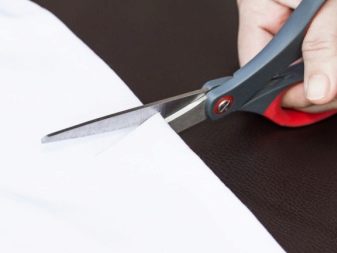
- trim the edges with sharp scissors;
- for a 13 cm long piece of satin ribbon, burn the edges with fire, this will help to avoid splitting the ribbon during work;
- glue the tape to the middle of the lace, bending the edges inward by 0.5 cm on both sides;
- we form a bow from a piece of tape 12 cm long;
- glue the bow and decorate it with rhinestones;
- cut out a square with a side of 11 cm from white paper, glue it into the invitation, observing the indents from the edge of 0.5 cm, the text can be entered with your own hand or printed in advance.

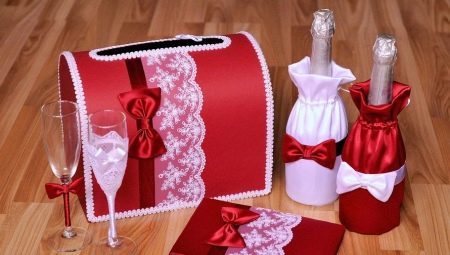
Money box
It's no secret that it is customary to give banknotes at weddings. Such a gift is practical for both the guest and the newlyweds. Therefore, a money box is an essential attribute of a modern wedding. The number of ready-made boxes on offer is striking in its variety: wooden with laser cutting, in the form of chests and boxes, decorated with lace, crystals, flowers, etc.
The box can be made very quickly with your own hands at minimal cost.
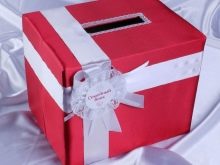
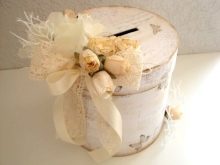
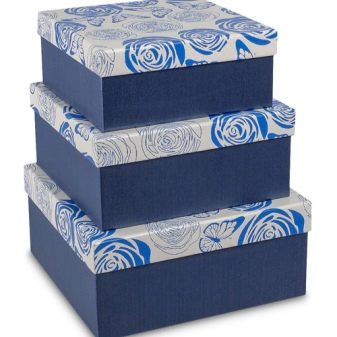
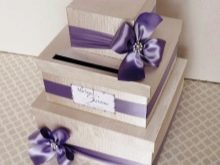
It is not at all necessary to spend money on purchasing a ready-made wedding accessory. To make a box for money, figuratively resembling a pyramid or a multilayer cake, you will need:
- three boxes of different volumes of the same shape;
- paper for decoration and creativity;
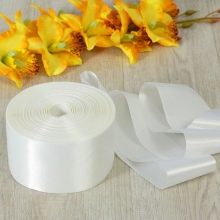
- satin ribbons 5 cm wide;
- glue-based rhinestones and crystals;
- beads;
- transparent glue.

During creative work, it is necessary to remember about accuracy. The cleaner and more painstaking the work is done, the more aesthetically pleasing the final result will look.
- Cut a rectangular hole in the lid of a medium-sized box with a clerical knife.
- We glue the surface of each of the three boxes from the outside with paper for decoration, including their lids.
- We wrap the boxes with a satin ribbon, fix them with glue. On large and small boxes, we tie the edges of the ribbons with a bow.
- Glue rhinestones to the center of the formed bows.
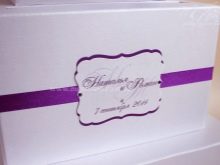
- In the central part of the tape on the middle box we glue the inscription with the names of the newlyweds and the date of the celebration. Decorate the edge with crystals.
- We fold the boxes in a pyramid and glue them to each other.
Car decor
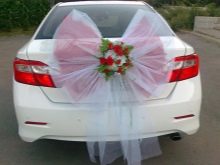
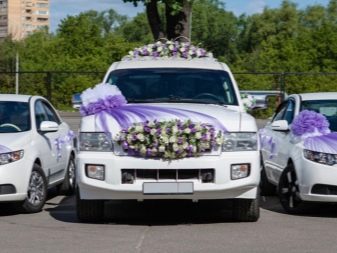
An important detail of the preparation for the wedding is the design of the motorcade. The decoration of cars reflects the general flavor and the idea of the celebration. First you need to decide what class the cars will be, what color, and also in what quantity.
For example, vintage cars already in themselves carry the spirit of shocking and elegance, therefore they do not require additional and bright decorations. Ordinary cars that people use in everyday life for movement can be safely decorated with ribbons, lace, natural or artificial flowers. High-end cars, SUVs or crossovers are best decorated in a restrained minimalist style with compositions of fresh flowers.
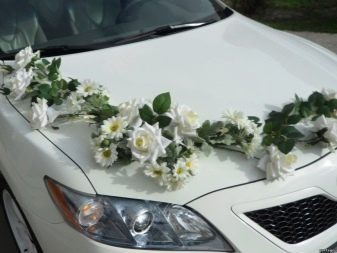
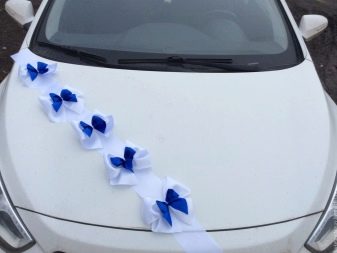

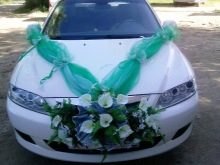
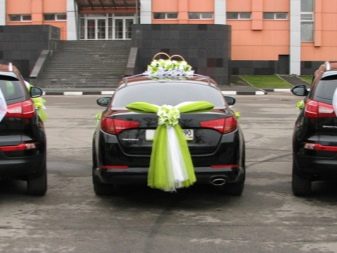
To decorate cars, you can resort to the help of professionals: florists, companies organizing events, or you can decorate them yourself. Floral decorations are always popular. You can make a path of artificial flowers by intertwining their stems in an original way. You can place such a decoration along the hood of the car or diagonally. The most important thing is that the composition is designed in the general style of the holiday.
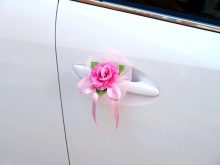
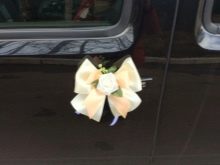
Car handles are decorated with small floral arrangements.
To complete them, you will need a satin ribbon, an organza ribbon and a flower bud.Having formed an arbitrary bow of two ribbons, we fix the bud at its base with a glue gun. The accessory is ready!
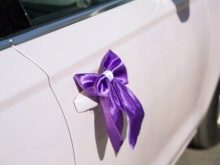
It is much easier to make a decoration from satin ribbons, decorating it with bows. To securely attach the tape to the hood of the car, an elastic band is sewn to its ends. Additionally, the accessory can be fixed with tape to prevent slipping.
It is also important to consider the color of the vehicle. On dark cars, decorative elements in light beige shades look great. The bright compositions perfectly contrast with the light-colored cars. It should be taken into account and taken into account that the entire motorcade must be decorated in the same style and uniform color scheme.
For information on how to arrange wedding glasses with your own hands, see the next master class.


