What is a shared thread on a fabric and how to identify it?
Clothing manufacturing technology includes a huge number of nuances, including cutting. The cutter must know how to correctly position the patterns on the fabric so that defects and distortions do not appear on the sewn things in the future. The most important point during nesting is the alignment of the shared thread on the fabric and the pattern. In this article, we will explain what a shared thread is and how to find it on different types of fabrics.
What it is?
In the manufacture of fabrics, there are three main terms used to refer to the manufacture of fabric - share thread, weft thread and hem. These concepts are inextricably linked with each other, so future cutters need to familiarize themselves with each of them. Let's consider the basic terms in more detail.
-
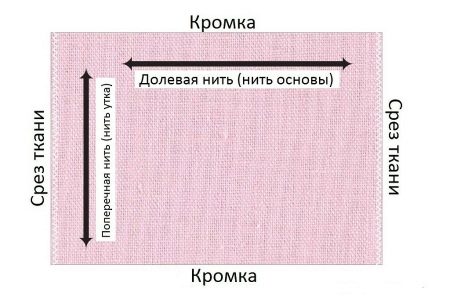
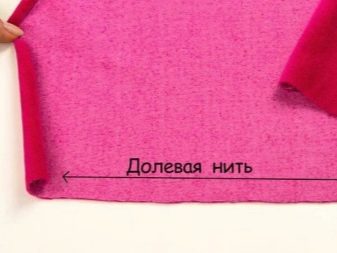
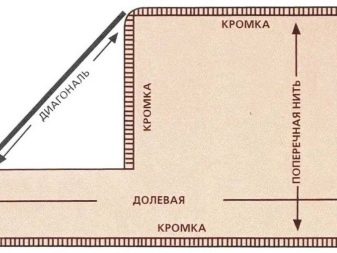
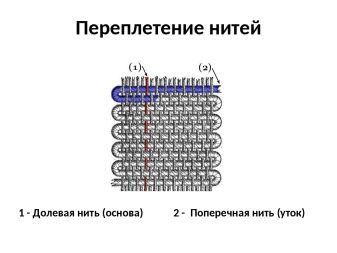
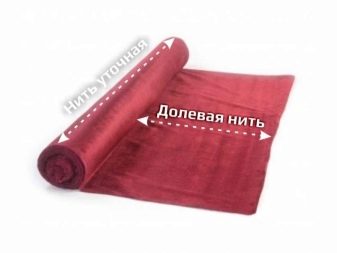
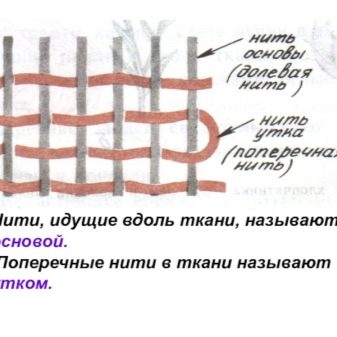
Lobar thread. In the production of fabric, longitudinal threads are pulled parallel to each other on a special machine, which become the basis. Through them in the future, transverse threads will be intertwined in different ways - such an interweaving makes it possible to obtain fabric as a result. The longitudinal threads running in the direction of the machine are called share threads or warp threads. The share thread in the fabric runs perpendicular to the weft thread and parallel to the hem.
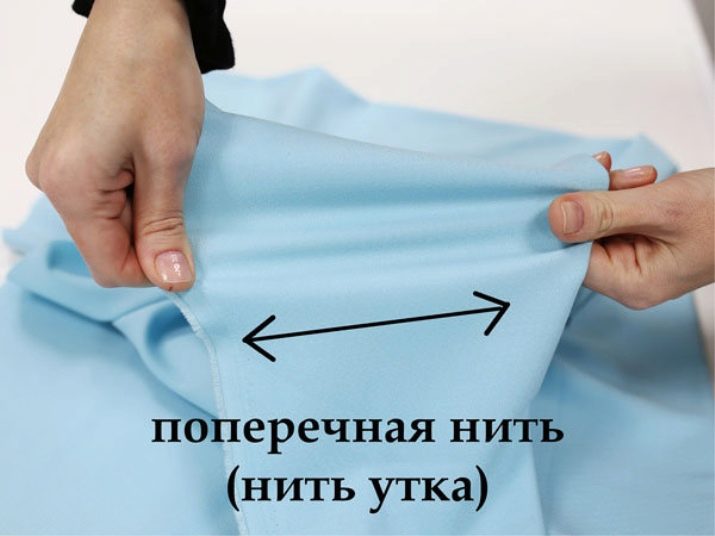
- Weft thread. Through the warp threads stretched on the machine, perpendicular threads are threaded in different weaving methods, creating the structure of the fabric. The weaving method determines the type of fabric that will turn out as a result of working on a weaving machine. These perpendicular components that create the basic structure of the fabric are called weft threads.
- Edge. Each textile has a coarser, denser edge to prevent the fabric from falling apart.It is created using a special textile technology to secure the exact width of the canvas. This edge is called an edge. The hem is always on two parallel edges of the fabric.

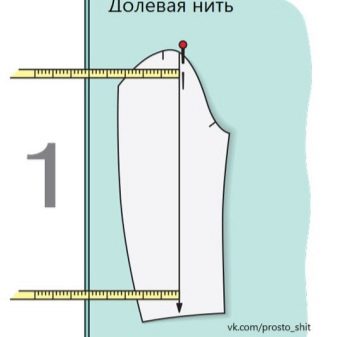
A shared line is also called a line on a paper pattern, which, when cutting, must be correctly combined with a textile fabric. Such a dash is always found in patterns from magazines and on patterns, individually designed by professional cutters. In most cases, the line needs to be aligned with the warp thread on the fabric, but this rule does not work for all patterns. Sometimes small parts are cut at a 45-degree angle for processing to achieve a certain effect.
And also an exception are flared models (a bell, a half-sun and the sun), because they cannot be placed along the shared thread on the fabric.
Determination methods
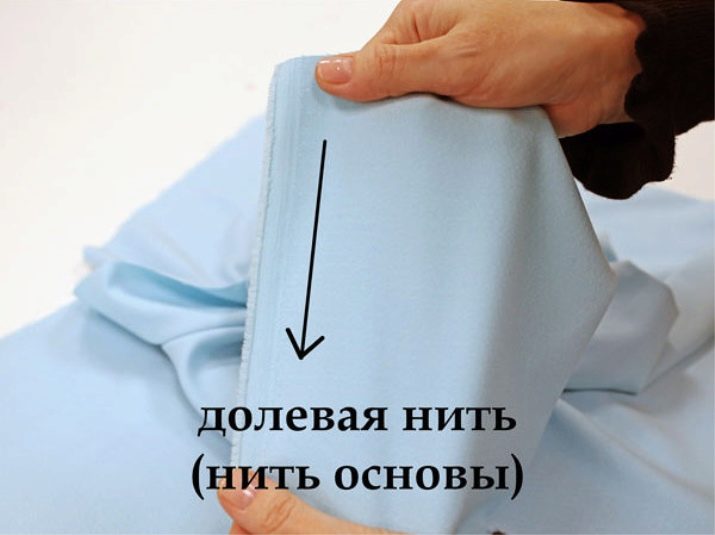
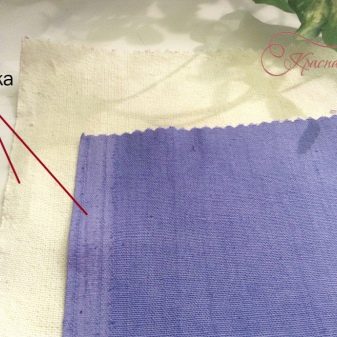
It is very easy to find out the direction of the warp thread when the fabric is in a roll. In such a situation, it is most quickly and correctly to determine the direction along the edge, because the share thread is located parallel to the sealed edge of the fabric. In the same way, a line is determined on a whole piece of textile material from which nothing has yet been cut. Finding a base is more difficult if there is no edge left on the piece of fabric, or if the edge is practically indistinguishable from the rest of the canvas.
In such a situation, it is necessary to use other methods of determining the share thread.
We will describe several methods for determining the basis for fabrics without stretch.
-
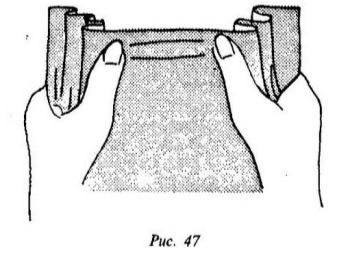
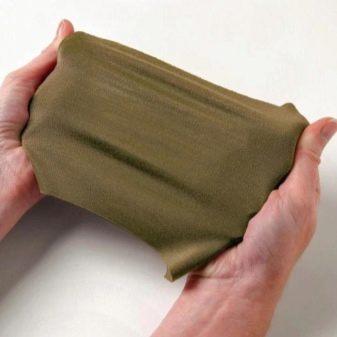
Pull the fabric in different directions. Pull the fabric lengthwise, across, and at a 45-degree angle. In normal fabric, the share thread does not stretch at all, and the weft thread does not stretch at all. At an angle of 45 degrees, the canvas stretches the most - this fact will help to more accurately determine how exactly the warp thread passes.

- Enlighten the material. Look at the light through the canvas to get a better look at the structure of the fabric. In most fabrics, the warp threads are smoother than the transverse lines.
- Examine the weave threads. If the fabric contains cotton and wool, you can disassemble the fabric into threads and conduct an experiment. As a rule, in such fabrics the cotton thread is the warp, and the wool is the cross weave. Light the longitudinal and transverse threads drawn from the material: cotton will smell like burnt paper, and wool will smell like burnt hair or feathers. In the same way, you can determine the warp in fabrics woven from cotton and silk. However, in such a material, the warp thread is silk and the weft thread is cotton. When burned, silk thread smells like burnt horn and takes longer to burn than cotton.
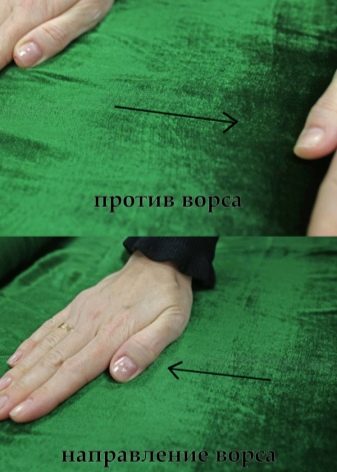
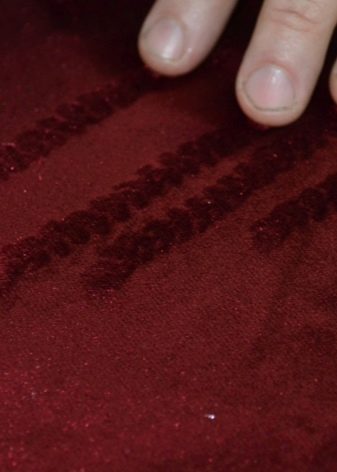
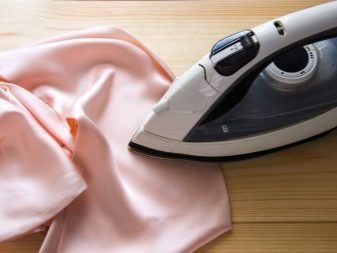
Another way to find the base is in the direction of the pile, because the villi are always located along the required line. If the pile is too short, another method is used to find the shared thread - it is carried over the material by hand. The bouffant is usually directed to one side, so the palm will encounter different levels of resistance when smoothing in different directions.
Shared thread where it is easy to iron the material in one direction, and difficult in the other. In this case, the weft thread will feel the same when ironed in one direction and the other.
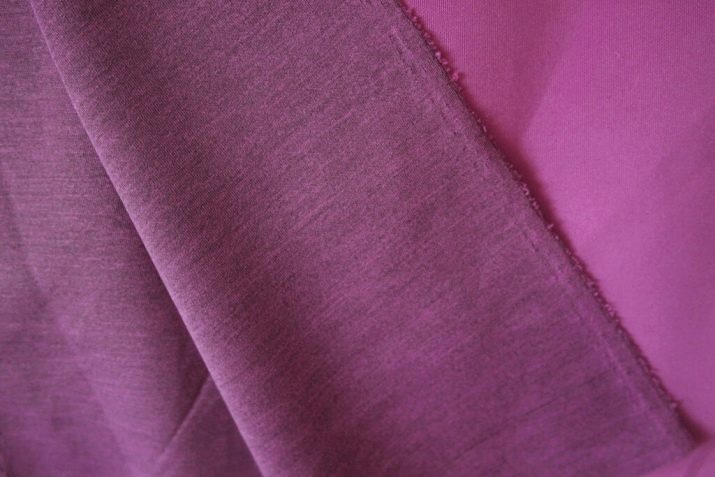
It is much more difficult to determine the basis of knitwear, because such material stretches equally in all directions. And also in the canvas there are no usual warp and weft threads - instead of them, the fabric structure consists of looped columns and rows. Consider several ways to determine the share thread in knitted materials.
-
Along the edge. Finding the base of the fabric in a roll or on a whole piece of fabric is not difficult, because it runs parallel to the edge.
-
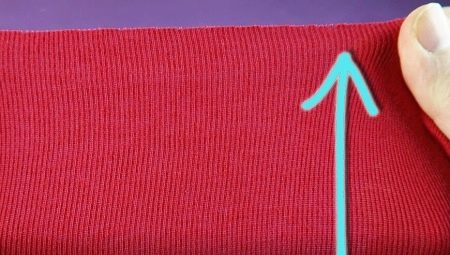
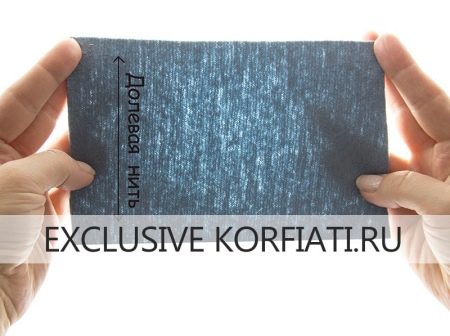
In appearance when pulled. Knitwear stretches equally strongly in all directions, for example, supplex can be stretched 300% in any direction. One way to find warp thread on a piece of fabric without an edge is to look closely at the fabric cut while at rest. Slices of the canvas running along the lobar thread tend to curl up into a tube.
-
By structure. To find the base, you need to carefully consider the surface of the material, consisting of columns and rows. The share thread in knitted fabrics always runs along the columns.
-
By stretch shape. Stretch stretches equally strongly in all directions, however, the appearance of the extension of the lobar and weft yarns is different. When stretched, the warp rolls up into a tube, and the transverse thread takes the shape of an accordion.
Cutting tips
Before starting to cut, be sure to inspect the fabric for defects - spots, knots, puffs or tears. If possible, all flaws should be hidden on the seamy side or the patterns should be laid out so that defective areas fall into lunges. And also before starting work, the material must be designed - ironed at a permitted temperature or soaked in warm water. Moist heat treatment leads to the fact that the fabric shrinks - this excludes deformation of the garment during processing and wearing in the future.

The next step before cutting is to determine the front and back sides, the easiest way to do this is by feeling the edge. On the edge of the textile fabric, there are punctures from the machine: on the seamy side they are smooth, and on the face they are rough. Next, the fabric is folded face to face, aligning the edges and cleaving them with tailor's pins. The result is a two-layer piece of fabric with chipped edges on one side and folds on the other. Chipping with pins is necessary so that the fabric does not fidget during cutting.
Layout is a very important stage of the cut, because the quality and durability of the future product depend on it. The better you prepare, the easier it will be to cut the details. When laying out patterns, follow a few simple rules:
-
when laying out, do not stretch the fabric - it is slightly deformed from tension, especially if it is jersey, therefore, when cutting, the fabric should be in a calm state;
-
combine the shared thread on the canvas and the pattern - it will be most accurate when you measure the same distance from the edge to the sections of the line on the pattern;
-
lay out the largest parts first - place them with the bottom to the cut of the material;
-
pin the patterns with pins - this will help to avoid distortions of the fabric;
-
do not forget about allowances - the patterns are made without allowances, so leave free space for them between the patterns;
-
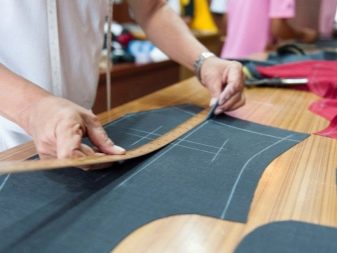
circle the patterns with soap or chalk - this will make it easier to outline allowances and sweep details in the future;
-
when laying out the main parts, try to leave large lunges with a fold - in the future they will be needed to cut additional parts or stripes at an angle of 45 degrees.
After all the preparations have been made, check that there are no folds on the fabric anywhere, and proceed to cutting.
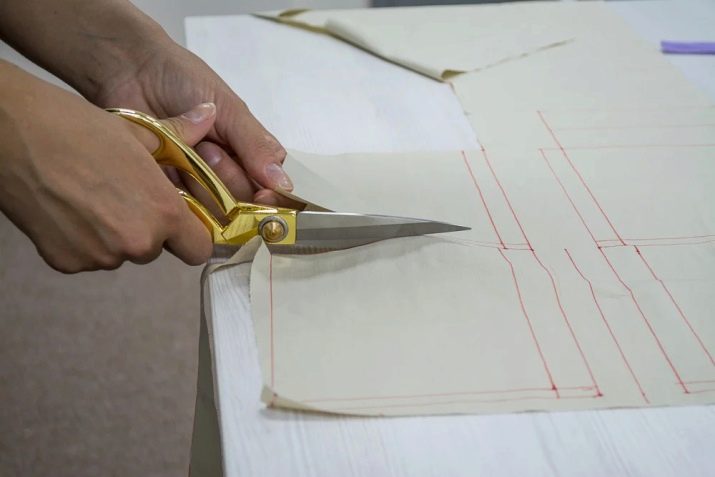
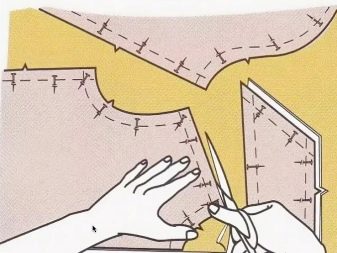
To get even cuts, do not lift the fabric off the table with your hands while cutting. The bottom blade of the scissors should always touch the table - this will prevent unevenness from shaking the tool.