The best patterns and the process of sewing a half-sun skirt

Fashion always comes back. And now, half-sun skirts, which were at the peak of style in the eighties, are again in trend. They look elegant and catchy, although it's easy to create them with your own hands. We demonstrate to your attention the best patterns and the process of sewing a half-sun skirt. See how easy it is to make this wardrobe item at home for all occasions!


How much fabric do you need?
The answer to this question depends directly on what length of the skirt you need. This style is equally attractive in all variants. Mini, midi, maxi - choose according to your taste. When doing this, take into account the peculiarities of your figure.
These skirts are perfect to hide the fullness of the hips and create an elegant silhouette for any body size.
The owners of the reference figure should make a choice in favor of shorter options so as not to hide slender legs. A semi-sun skirt delightfully emphasizes the waist, slims any figure.


When choosing a fabric, consider not only its quantity. Think about which material will suit you best. It depends primarily on your sewing experience. If it is small, the fabric should be easy to work with, should not fray and have patterns.

The second criterion for choosing is the purpose of the skirt. Jeans, silk, linen, chiffon, satin are suitable for everyday summer skirts. For the cold season, woolen fabrics, corduroy, jacquard will be relevant for every day. It is better to sew evening skirts for special occasions from satin, velvet, lace fabrics.
Once you decide what kind of fabric you need to buy to create a half-sun skirt, you just have to calculate how much fabric you need.


Necessary calculations
To determine the amount of fabric you need, take the following measurements:
- Calculate the waist circumference (OT) using a measuring tape strictly along the line on which the skirt should sit. Here the choice is yours: if you want, do it above the navel, if you want, do it below. The main thing is that the measurements accurately fix the girth in the place where the skirt will subsequently hold.
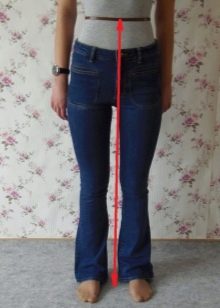
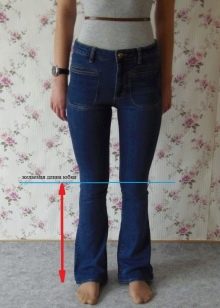
- Measure the length of the product (DI) from the waistline to the line of the estimated bottom of your skirt, which can be above the knee or slightly cover it, or reach the middle of the calf. And it can even hide the ankles - maxi models are especially relevant lately.
When taking measurements, make sure that the measuring tape does not stretch too much, but does not hold weakly either. It is convenient to measure the length of the skirt by first tying a braid around the waist, which will mark the upper edge of the product.

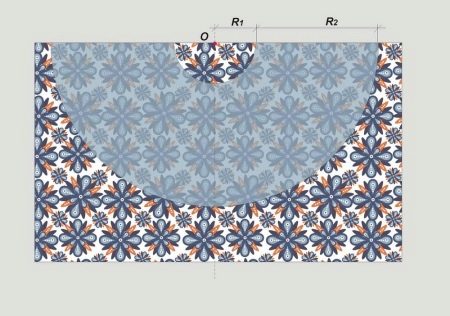
To subsequently build a pattern, you need to make a few simple calculations. Patterns for the skirt will be built from two semicircles. Let's designate them as R1 (waist circumference - small radius) and R2 (large radius, containing the length of the skirt and the distance from its edge to the waist).
The small radius is calculated by the formula R1 = OT / π, where π is a number equal to 3.14. The larger radius is calculated as follows: CI + R1.
Now it's time to start building the mold.
Patterns
Based on the same pattern, you can create a variety of variations of the half-sun skirt. Consider the process of constructing the simplest pattern, involving only one seam. It can be designed directly on the fabric.
Fold the material in half, right across the width of the canvas. At the same time, you should have enough space on both sides for R1 + R2 + 5-7cm (allowances for the seam and hem).
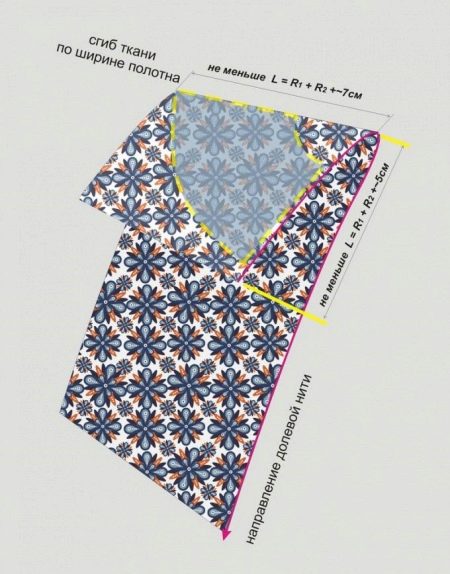
We begin to build a pattern:
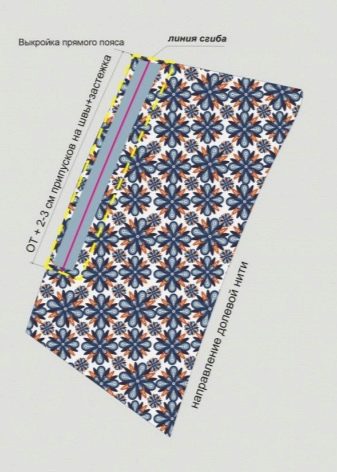
- Measure 1.5-2 cm from the edge of the fabric and draw a straight line along the entire length. The seam of the skirt and, if necessary, the fastener will pass through this mark. Mark the top point as O.
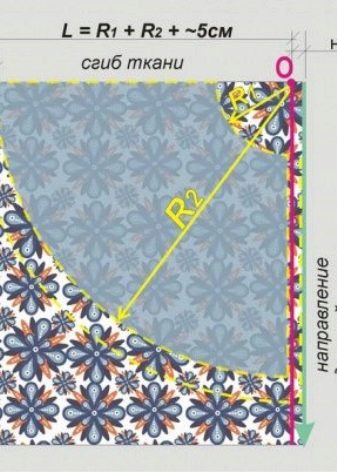
- From the resulting point, lay and draw two segments in different directions: in one - R1, in the other - R1 + R2. Thus, point O became the center of the arc. From it, set aside the same segments in different directions and mark them with a dotted line. Connect these lines in smooth but even semicircles.
- From an arc with a larger radius, set aside an indent of 5 cm and draw a dotted line downward. It will indicate the hem of the hem. From an arc with a smaller radius, set aside an indent of 1.5-2 cm and in the same way draw with a dotted line a margin for an allowance in the area of the upper cut of the skirt - the belt will be sewn here.
- From the remnants of the fabric, we cut out a belt in the direction of the shared thread. Moreover, its location on matter must be calculated in advance. The size of the belt is 2 widths as it will be sewn in half and the length is OT + 1 cm for a loose fit and + 6 cm for a button or hook. Draw the required sections on the fabric using a ruler. Additionally add 1.5 cm for seam allowances on both sides.
So, the simplest half-sun skirt pattern is ready! Based on it, you can create a variety of models of this stylish thing. Consider an example of sewing at home.
DIY sewing
Above, we looked at an example of creating the simplest pattern that can be modeled directly on the fabric.
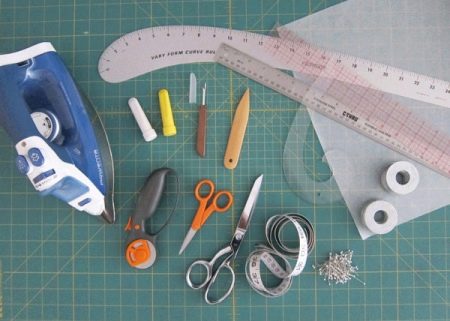
To use our recommendation and sew a stylish half-sun skirt with your own hands, stock up on the following materials and tools:
- cloth;
- adhesive tape;
- zipper and button (or crochet);
- centimeter tape;
- ruler;
- scissors;
- remnant or crayon;
- pins and needles;
- threads to match the fabric;
- sewing machine;
- iron.
Before you start sewing, the fabric should be rolled. This will help prevent unwanted shrinkage of the skirt.
The preparatory process is simple: the material must be placed in water, gently squeezed out and hung up to dry. When the fabric is still slightly damp, iron it.
If you are using a woolen fabric for sewing, simply moisten it with a spray bottle and dry it unfolded.

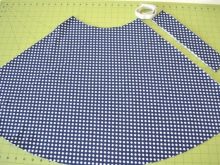
When the fabric is ready, start cutting.The algorithm of actions is as follows:
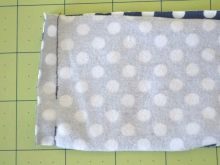
- Cut out all parts following the seam allowance lines.
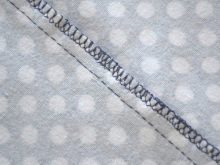
- Tie off the seam, sew on the fastener.
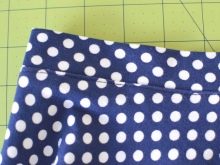
- Lay the part of the belt with glue tape, iron it, sew the belt itself from the sides, turn it right side up, iron it again.
- Sit the skirt slightly at the waist using wide stitching so that it fits perfectly to your figure. Then sew the belt on the wrong side. Be careful not to wrinkle the stitching. Sew the inside of the waistband.
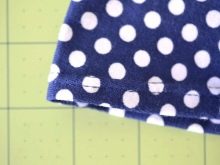
- Fold the hem of the skirt and sweep it by hand first, iron the resulting hem, try on the skirt. If everything is perfect, sew on a typewriter. Make sure that the bottom line is straight, so that the fabric is not twisted anywhere.

It remains only to attach the last detail - a button or a hook to the belt. Iron the product. The skirt is ready!
Using this step-by-step tutorial, you can create an endless variety of fashionable skirts. You can simplify the above process by replacing the sewing belt with an elastic band sewn into the main pattern. You can experiment with length, decorative elements (pockets, zippers, etc.).


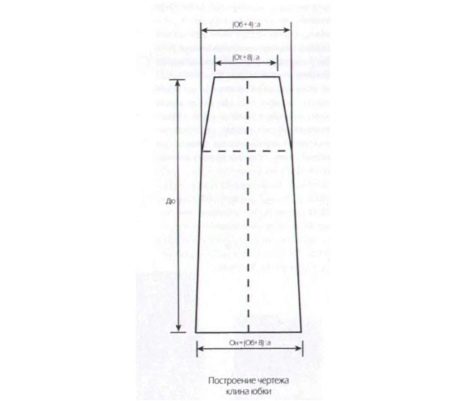
Or you can use the same measurements that you need to create a one-seam skirt, but sew a model with wedges, which the drawing below will help you to cut.
We hope that our tips will help you not only follow fashion trends, but also create them yourself, creating more and more new models of half-sun skirts!
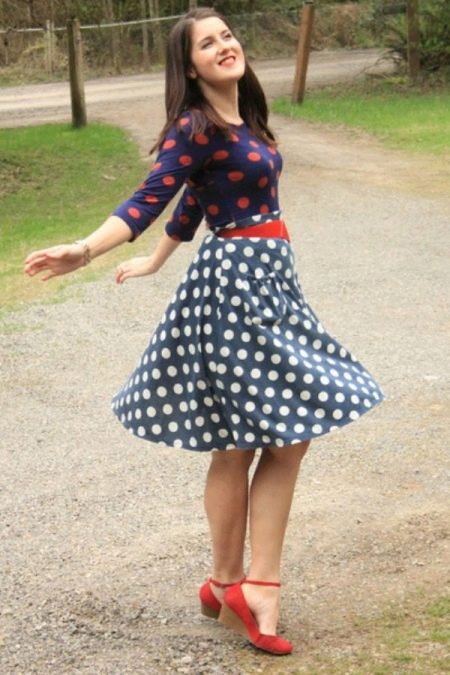
And for more inspiration, we offer several options for combining a fashionable skirt in a wardrobe:
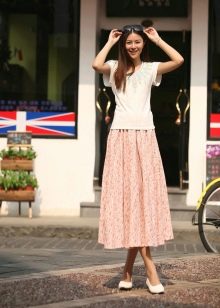
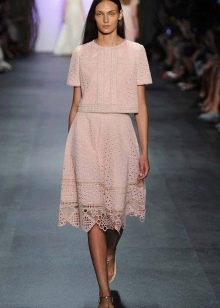
- Romantic image. Combine elegant blouses or tops with a mid-length half-sun skirt that will highlight all the advantages of your figure. In the cool season, complement such an ensemble with an original knit cardigan. This outfit is good for both a young girl and an older woman.
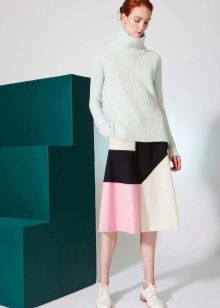
- Business style. You can also wear a half-sun skirt in the office. With her, the ensemble should have a strict blouse or shirt, as well as a turtleneck. A vest or jacket is possible.
- The perfect couple. Choose shoes for such a skirt especially carefully. It should be petite and neat. Any length of heel is possible, but not massive.