How to make a headband with your own hands?
Today, handmade products are gaining more and more popularity and become a stylish addition to any look. This is especially true for accessories. Therefore, a headband made with your own hands will not only meet all individual wishes, but will also attract admiring glances from others.

Where should you start?
The idea of getting an original and beautiful accessory on your head can be inspired by inspiration or arise when you look at a picture in a fashion magazine or a photo of your girlfriend. Before embarking on the construction of the bandage, you should:
- Adequately assess your strength and creativity. For those who are not particularly friendly with the art world, it is better to select detailed descriptions for making an accessory in the simplest ways, or ask for help from a needlewoman who will make an accessory to order. Often, manual work is very painstaking, and not everyone has the patience for this.
- Choose a suitable material for the base of the bandage - whether it will be sewn or knitted and from what. The imagination of handmade masters is limitless, which allows you to choose the constituent bases from a huge number of materials.
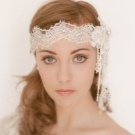
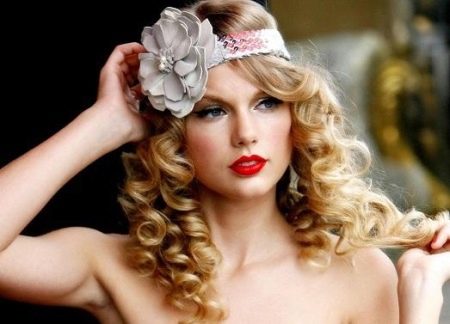
- In addition, you should carefully consider the decor - its appearance and components should reflect the internal state of the hostess, without taking her out of her comfort zone. The decoration of the headband should also fit its purpose. If the accessory is for special occasions or photo shoots, then the decor can be abundant and bright, and for sports headbands any decoration may be superfluous.
- For clarity, it is recommended to create a sketch of the future product, which will help to adhere to the intended dimensions and other details when working.
- And finally, you should make a list of all the necessary tools and parts to create an accessory, so as not to forget anything in the store. Do not forget about the methods of fixing the decor: for sewing on beads you need threads with a needle, for rhinestones - glue.
What can be made of?
When choosing a material for making an accessory, you must focus on your skills.
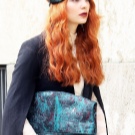
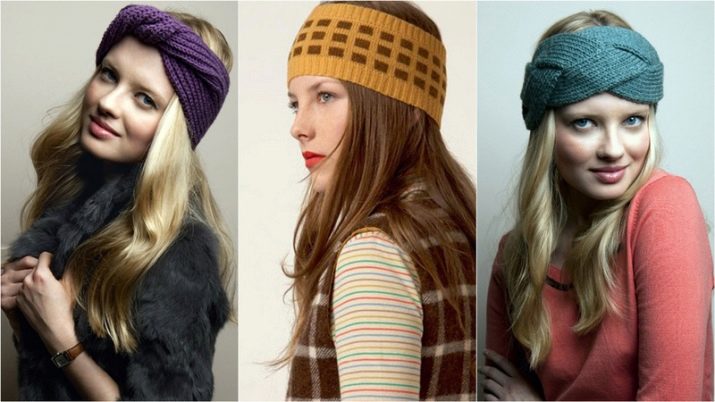
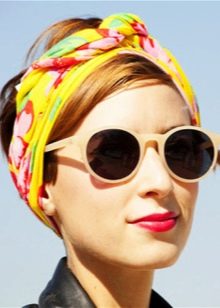
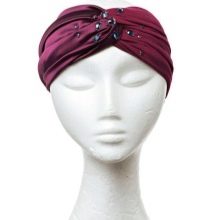
Knitters are more likely to like products made of yarns of different compositions. Such a bandage is suitable for the cold season and will not only beautify its owner, but also warm. With the help of a hook or knitting needles, you can create original and cute patterns, so such products do not need abundant decor, it is enough to choose a beautiful brooch. One of the trendy models among knitted accessories is a turban-style headband.


Those who have mastered the sewing machine can show their imagination and choose any fabric. Bandages can be made of cotton for hot days, denim is often used. In addition, you can use knitwear and lace, and some manage to deftly redo old things and create real masterpieces.

An unusual decoration can be obtained by attaching flowers, rhinestones and beads, embroidered or made of fabric, to an elastic band. It won't take much time to make such an accessory.
As we can see, any yarn or fabric is suitable for creating a handmade accessory. If you show your imagination and complement the product with decor with a sense of style, you will get a good thing.
How easy is it to do it yourself?
Simplicity is in vogue today, so it is not necessary to finish cutting and sewing courses to make a head ornament. Several simple and understandable techniques that are used in needlework will help even beginners to make an exclusive accessory.
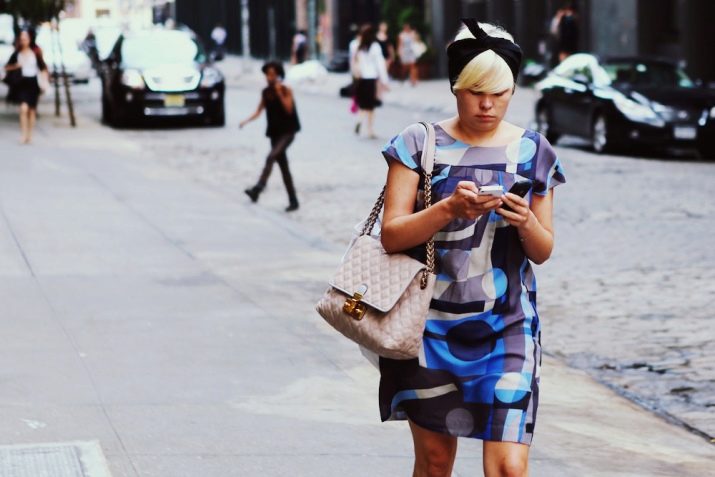
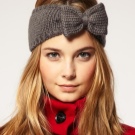
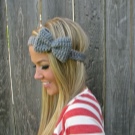
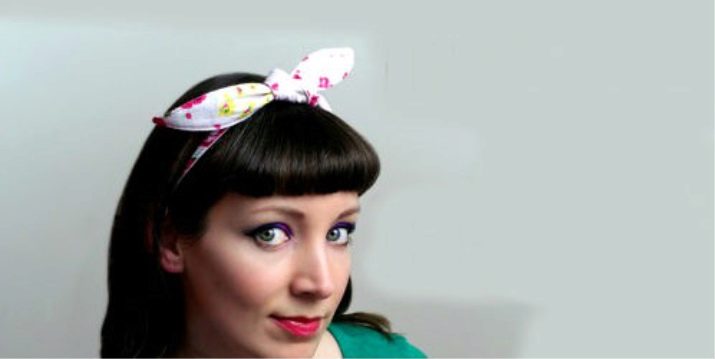
The bandage with the unusual name of Solokha got its name from the adaptation of Gogol's stories. The heroine with this name wore a scarf on her head with a bow tied at the top of her head. Today, this model is popular in retro style, and is also suitable for daring girls for a playful or romantic look.
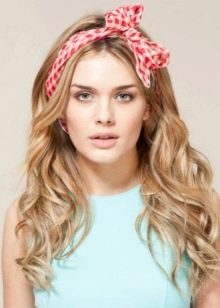
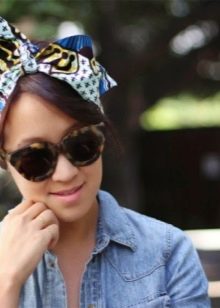
Sewing such an accessory will not be difficult, some women of fashion build a stylish accessory from a scarf. To sew the accessory, you will need a piece of fabric about 80 cm long, each determines the width for himself. To keep the bow in shape, a wire or a synthetic winterizer, safe for children, is inserted into the product.
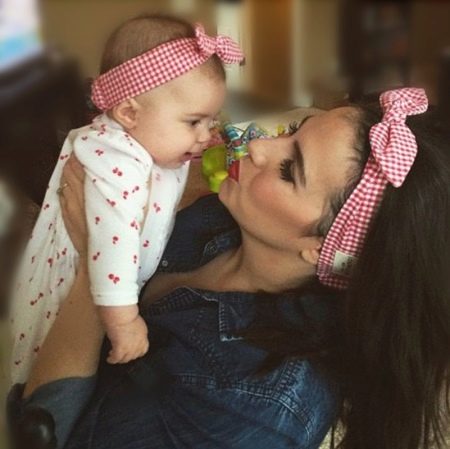
Mothers of daughters often create headbands for themselves and for girls in the "family bow" style. Identical accessories will be an excellent attribute for photo shoots, in which headbands are often used for newborn girls.
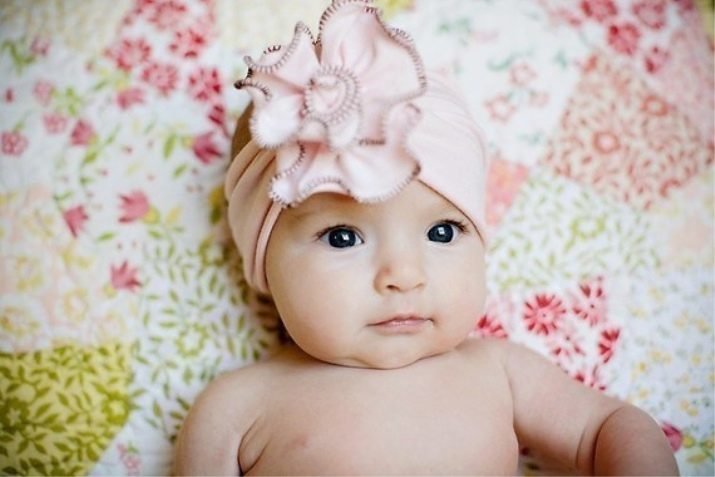
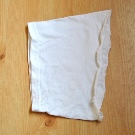
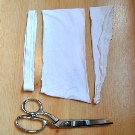
For the little ones, it is better to choose soft materials that will not damage the delicate skin of newborns. You can use old clothes and make such a product from a T-shirt. The two pieces of fabric must be stretched and trimmed around the edges. One part is used as the headband itself, and a flower from the second piece of fabric is suitable as a decoration. The strip is gently curled and secured on one side to form a bud.

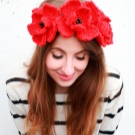
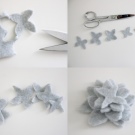
For older girls and girls, products decorated with flowers made of foamiran or felt are suitable. To create a decor, you can take ready-made patterns or come up with shapes yourself. Usually for this, petals are cut out and ready-made flowers are laid out by superimposing petals.


Headbands with flowers using the kanzashi technique would be a good option as a decorative head ornament. The petals of the future flower folded from satin ribbons are connected to each other using a needle and thread, glue or flame. Rhinestones, beads or beautiful cabochons are used as the core.
If a girl wants to make a sports headband or a home accessory for her head, then you should choose practical and durable materials. This can be a terry or fleece wide band.
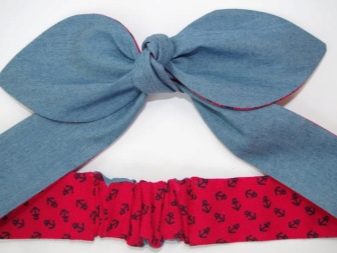
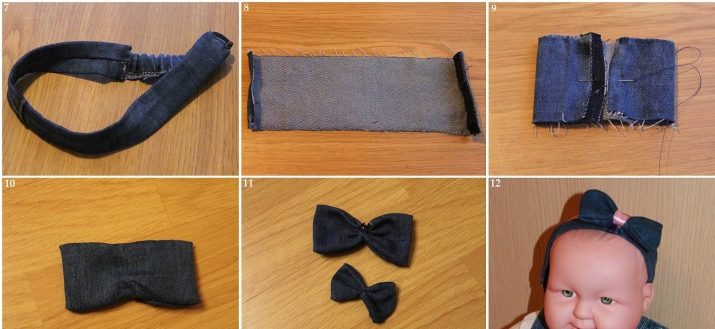
To complement a sporty casual look with jeans, you can make a denim bandage. To sew such an accessory, you will need a small and large rectangle of fabric, as well as an elastic band.
Since the material is dense and not stretchy, an elastic should be inserted into the smaller of the two fabric cuts. You can decorate the finished product with a cute bow or jeans flower.
Quick options from available tools
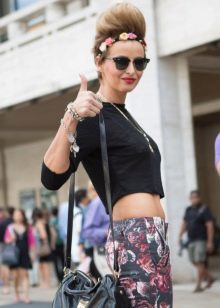
If a fashionista wants to decorate her hairstyle with an unusual accessory, then you can build it without sewing and knitting.
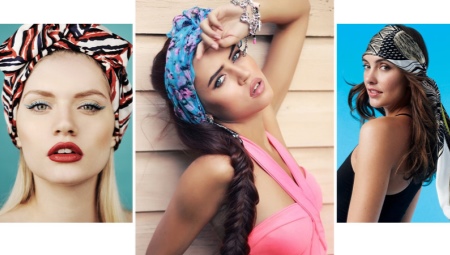
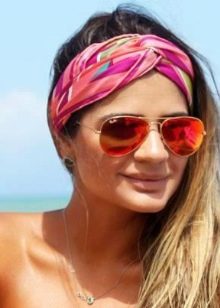
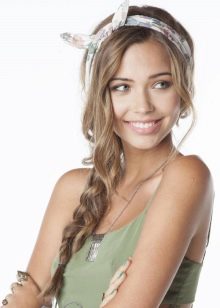
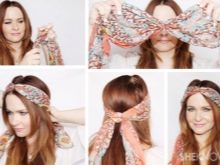
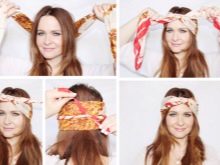
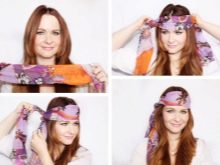
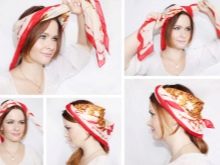
Often, girls create headdresses from a scarf. Such head decoration will become a highlight of the female image. With the help of a wardrobe item that has long become not a grandmother's, you can tie an Arab headband, turban or turban, collect your hair in a ponytail or braid, leave a long end behind, or simply tie it around the circumference of your head.
In addition to the scarf, many women of fashion create magnificent hats from a scarf or headscarf. A very long scarf or headscarf can be left hanging in the back or tied in an original way in the front. The ends of the product can be woven into the hair or tucked in.


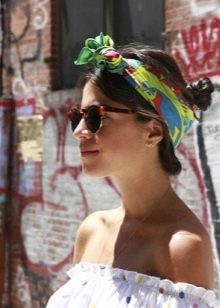
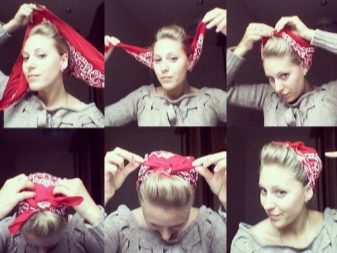
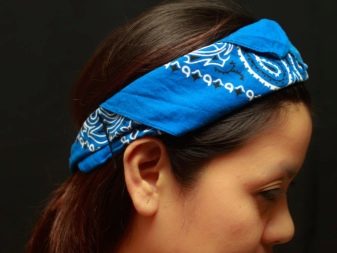
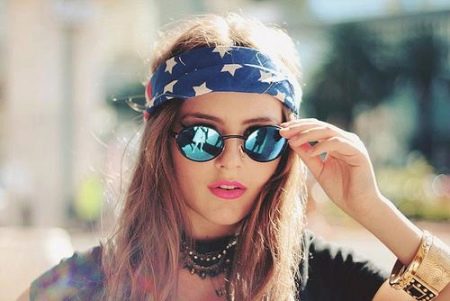
A headdress made of a bandana will become a bright accent of the image and add boldness to it. Using various methods of tying it, you can create an original bow in the style of casual or rock, in addition, bandanas are a favorite element in the images of many rappers.
Sewing master class
Let's take a closer look at the ways to create the most popular and fashionable head jewelry:
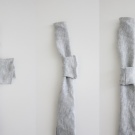
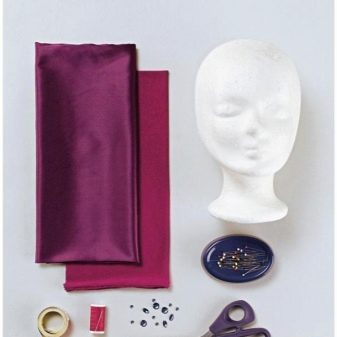
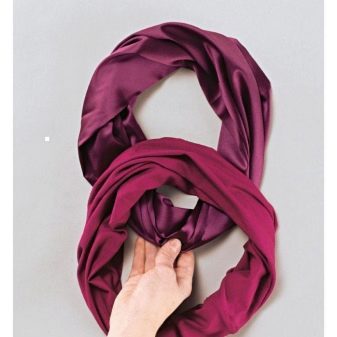
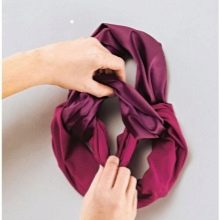
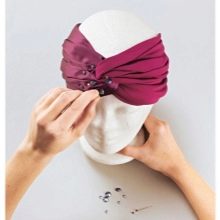
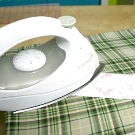
- Turban embellished with rhinestones in mixed materials. To do this, you will need: two pieces of fabric 65 cm long and 30 cm wide (knitwear and stretching satin will be an excellent combination), threads, scissors, pins, rhinestones for decoration. First you need to sew two bandages from the fabric taken. Fold each cut in half with the right side inward and sew the product along the length, leaving small allowances. Then iron the seam. After that, stretch one end of the bandage inside to the other end and sew them, leaving a small distance for turning. Then turn out the product and sew up the left area. After that, lay out the two sewn elements in the form of circles and thread one part into another. It turns out that the two circles joined together and formed a turban. The interweaving of the two parts should be fixed manually with threads, and the front part of the bandage should be decorated with rhinestones.
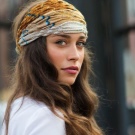
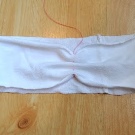
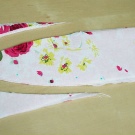
- Headband with ethnic motives and a large bow decoration. In addition to sewing tools and printed fabric, you will need elastic tape and non-woven fabric. According to the principle of the previous model, it is necessary to sew a bandage 32 cm wide and 3 cm longer than the head circumference. Do not sew up the small opening for turning inside out and insert the elastic so that the bandage gathers a little. Sew the tape and seam of the bandage. As a jumper, take a piece of fabric 11 x 9 cm, and for bows - 2 pieces 24 x 16 and 28 x 16 cm. For three elements, cut out doubles from non-woven fabric. Fold all parts in half with the right side inward and sew separately, leaving allowances. Turn out all the details, fold the jumper in half and close the seam on the bandage. Sew on the inside of the product. Fold the bow blanks in width, gather on one side and sew. Then fold the resulting elements obliquely together and sew to the inside in the area of the lintel.

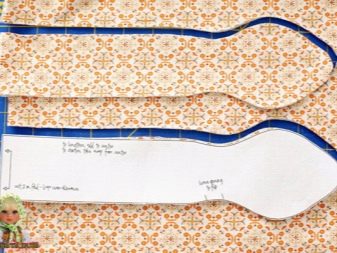
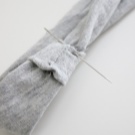
- Solokha with flexible edges. You need to take a piece of fabric (for example, silk) 80 cm long and 15 cm wide, 75 cm long millimeter wire, threads, wire cutters and round-nose pliers. Fold the strip of fabric in half with the right side inward and make the ends oblique or triangular. Sew the bandage, leaving a small opening in the middle and turn the product inside out. To prevent the wire from breaking through the fabric, you need to round off its ends with round-nose pliers.Then thread the wire inside and fix it with a thread into the loops obtained. Sew up the hole. Due to the wire, such a product has a universal size and keeps its shape well.


The second manufacturing method can be seen in the following video:


