How to weave a French braid the other way around?
Various types of braids on beautiful female heads have been in vogue at all times. And this is not surprising, because a braid is not only beautiful, but also very comfortable: the hair is braided, fixed, there is no need to be afraid that the hairstyle will crumble from the wind or rain. The pigtail can be decorated with a variety of accessories, and then the image will immediately become a festive, evening one.
There are many weaves. But one of the most popular is the so-called French weaving, when the strands of hair are gradually woven into the braid as it is created. The stylists went further and came up with the reverse weaving of the French braid, which became very popular due to the fact that it turns out to be voluminous and looks unusual. For all the seeming complexity, it is quite easy to weave a French braid. In our article you will find a step-by-step description of this process, as well as familiarize yourself with some of the varieties of such weaving.
What it is?
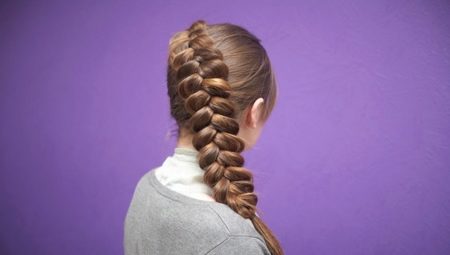
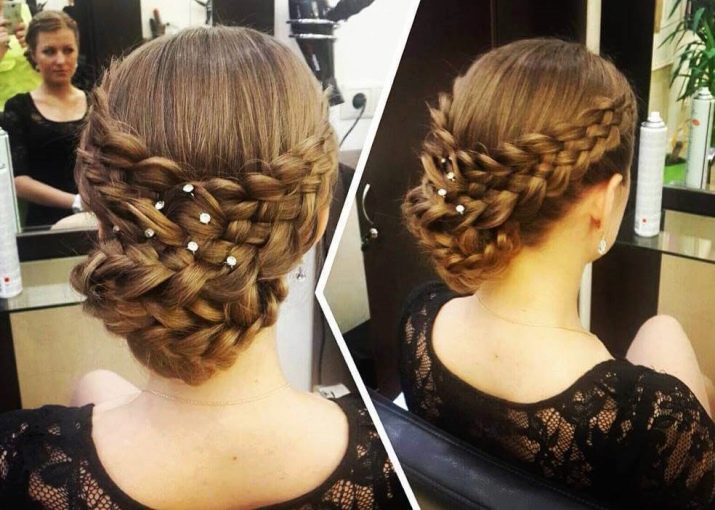
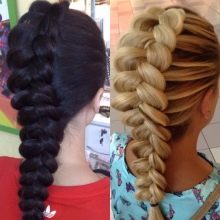
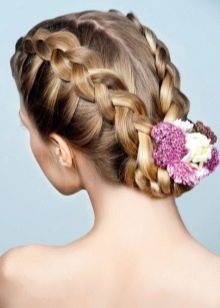
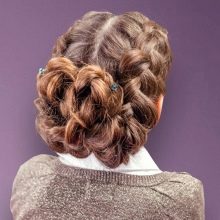
I think everyone has seen a hairstyle when a voluminous braid "lies" on the hair. At the same time, the hair on the sides of her is smoothed. This is the reverse of the French braid. Such a pigtail can weave from the forehead to the back of the head or from one side to the other, it can be braided in a zigzag, a basket, and one or two braids can be created. Such weaving will become a beautiful element of evening styling, it is often done for a wedding, prom.

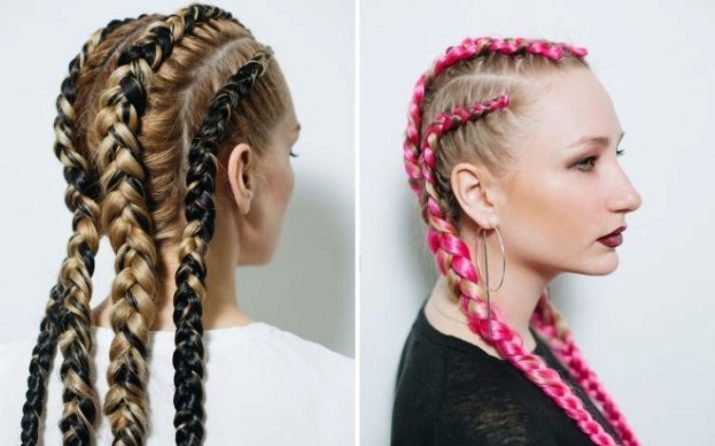
In order to braid such a braid, you need to have at least shoulder-length hair. But the latest fashion trends (braiding with kanekalon) have saved the beauties even from this condition. Now it is enough to have curls 10 centimeters long in order to be able to weave artificial strands into them, and the weaving is ready.
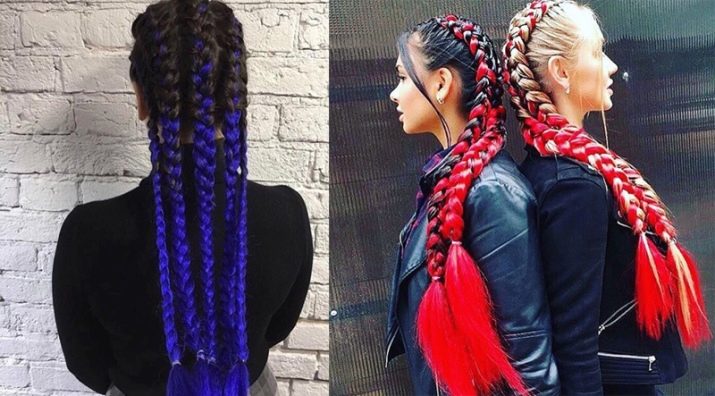


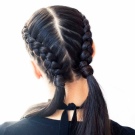
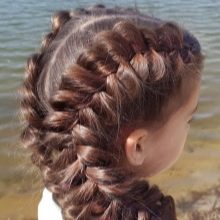
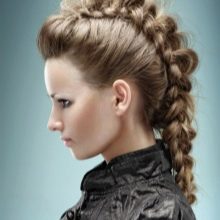
By the way, on a note to fashionistas: the famous beauty diva Kim Kardashian introduced the fashion for French braids inside out. However, even before her, they were quite popular, however, in a specific area - among girls engaged in martial arts. These braids even received the name "boxing", as they were often made by athletes during competition and training.


Their choice was explained by the fact that such a hairstyle is convenient: hair is securely fixed, does not interfere with active actions, while looking neat and well-groomed.


Schemes for beginners
Below are 3 step-by-step instructions for weaving French braids in reverse: weaving one braid in the center of the head, weaving two braids and weaving the braids obliquely.
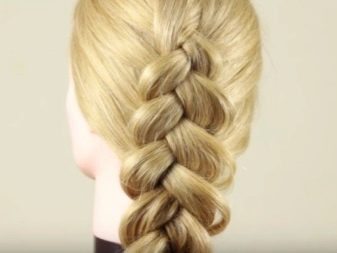
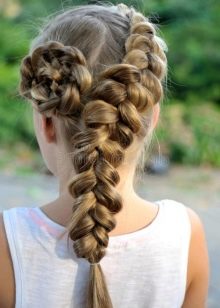
One braid
Instructions:
- to begin with, we comb the hair well, we do not do the parting;
- we take a comb-ponytail or just a small comb with frequent teeth, and separate a large lock of hair from ear to ear;
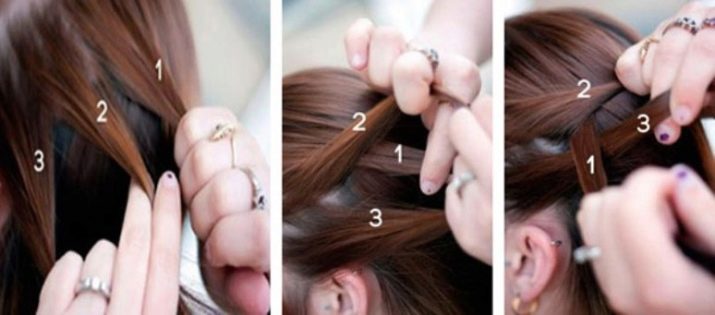
- we divide this strand into 3 parts, as for weaving a regular braid;
- further, we mentally number the strands: the one on the left will be №1, in the center - №2, on the right - №3;
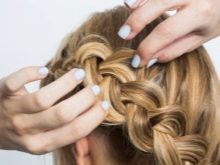
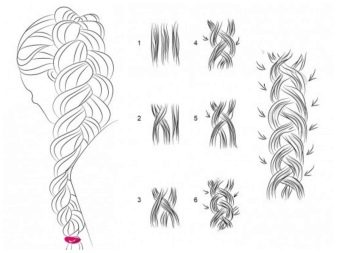
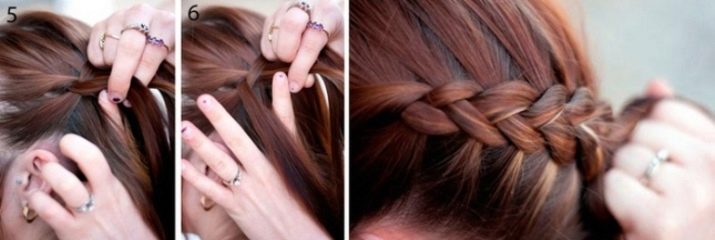
- we grab the strand number 1 and start it under the strand number 2, and we start the strand number 3 under the number 1;
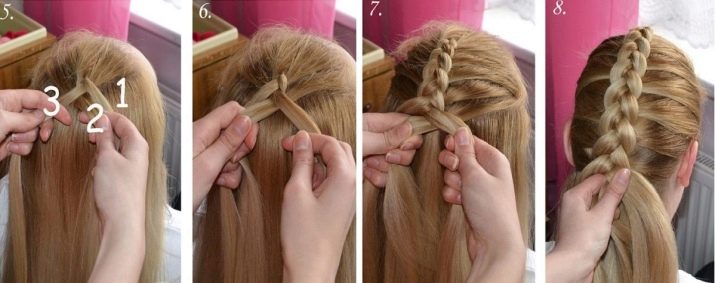
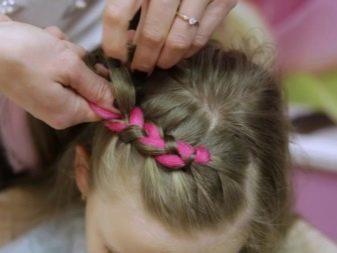
- now number 2, which turned out to be on top, we start it under number 3 and at the same time we separate a new strand from the main mass of hair on the left, connecting it with number 2 and weaving it into a braid;
- we tuck strand No. 3 under this resulting thickened strand, add a new curl to it, which we take from the right side of the head, separating it with a comb;
- and then you weave this inverted French braid according to the algorithm: you put all the strands not on top of the braid, but under it, so you get an inverted volumetric weaving.
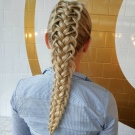
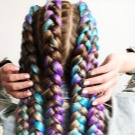
To make the braid even more splendid and textured, you can use a ponytail comb or even your fingers to pull the strands out of it a little, creating a lace effect. Just do it carefully, otherwise your whole braid may come loose.
In general, try to weave the braid tightly so that it fits well to the head, then it will last longer in its original form.
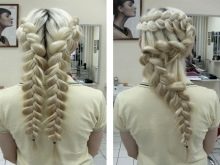
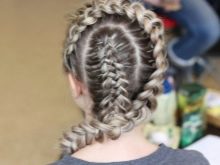
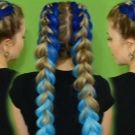
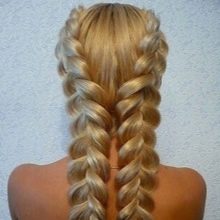
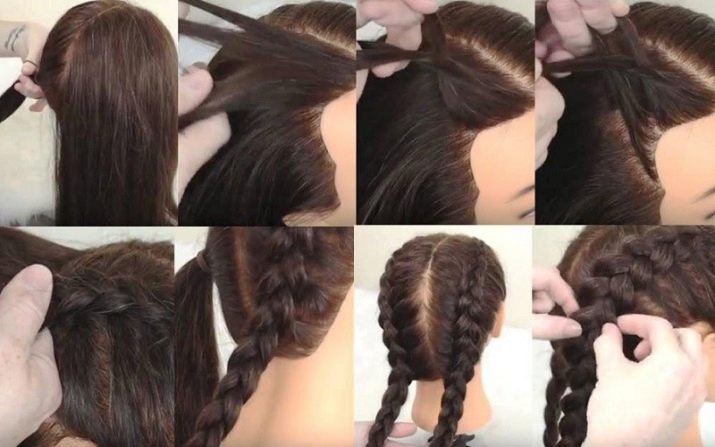
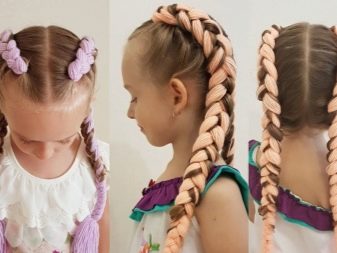
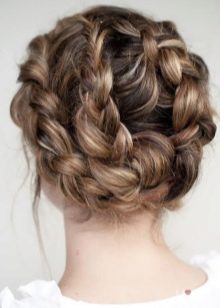
Two pigtails
The braiding algorithm will be the same. But since there are still 2 braids, there are several nuances.
- Decide on the style of your weaving: will the braids be braided neatly and tightly, hair to hair, or will they be a little messy, with a few strands released? In the first case, make an even straight part, in the second you can make it a little wavy.
- If you have chosen option number 2 and want to release a couple of curls on your face, do it before braiding your braids, in order to avoid the formation of "roosters".
- After parting your hair, tie one part of it into a bun to avoid hairs getting on the side of your head where you will start braiding.
- Try to keep both braids at an equal distance from the parting, and also observe symmetry when styling this hairstyle.
- If you are braiding with kanekalon, start braiding from the very beginning. To do this, attach the kanekalon to the first three strands from the bottom using the "invisibility", which at the end of the process you can easily remove from the hair. Kanekalon will make your braids stronger and more resistant to external factors (wind, rain, even being in bed), which will allow you to wear them without unraveling for about a week.
- Instead of kanekalon, you can use a ribbon or silk long scarf. The principle of operation will be the same as in the previous case. The only difference is that the kanekalon can be washed, but the ribbon may lose its appearance from exposure to water.
Using this algorithm, you can braid not only 2, but as many braids as you like. The process, of course, will be time consuming, however, the result will certainly please.
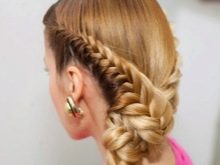
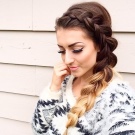
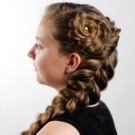
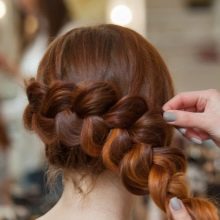
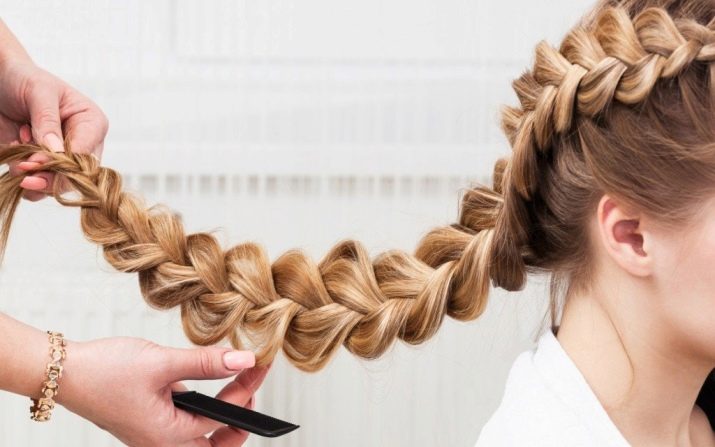
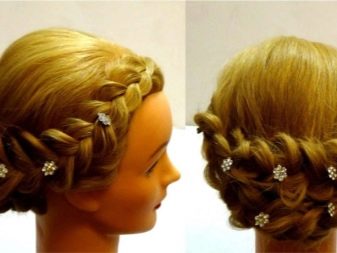
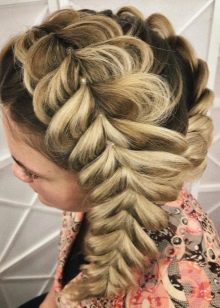
Pigtail obliquely
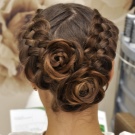
A very beautiful version of festive weaving. This braid is often ordered by brides, graduates, girls going on a date or a corporate party.This hairstyle is good because it can have any additional decorations: you can weave lace into a braid, insert hairpins with pearls or rhinestones, revive it with flowers - both artificial and real. If your hair is not very long and thick, you can weave artificial strands of a suitable color into the braid. And it weaves quite easily.
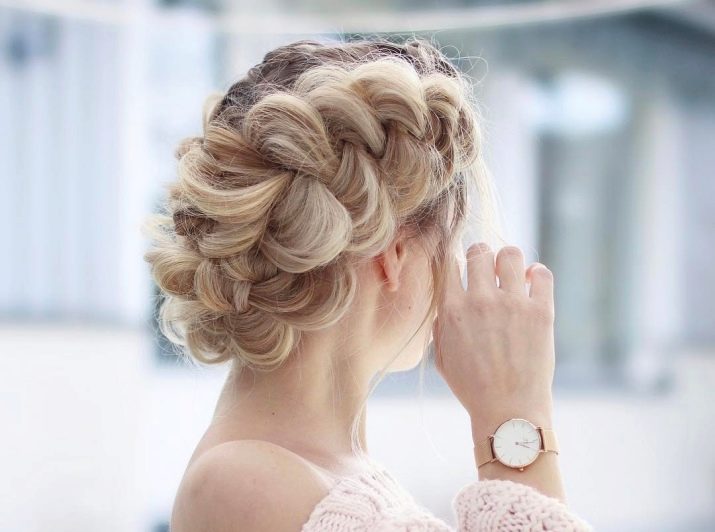
The technique is unchanged, each strand is retracted under the bottom of the braid and a volumetric inverted weaving is obtained. But of course, this hairstyle has its own tricks. So, let's take a look at the oblique weaving in stages.
- First, you need to part your hair into a side part. Most of your hair will go to the side you want to style it on.
- We start braiding from the side with less hair. We take a strand near the ear, divide it into 3 parts and weave a braid according to the algorithm indicated earlier. In this case, we move along the back of the head to the opposite ear.
- To help ourselves, we use a comb with fine, frequent teeth. It is very convenient for her to pick up individual strands for weaving, pre-combing them and achieving their smoothness. On such a hairstyle "roosters" should not be.
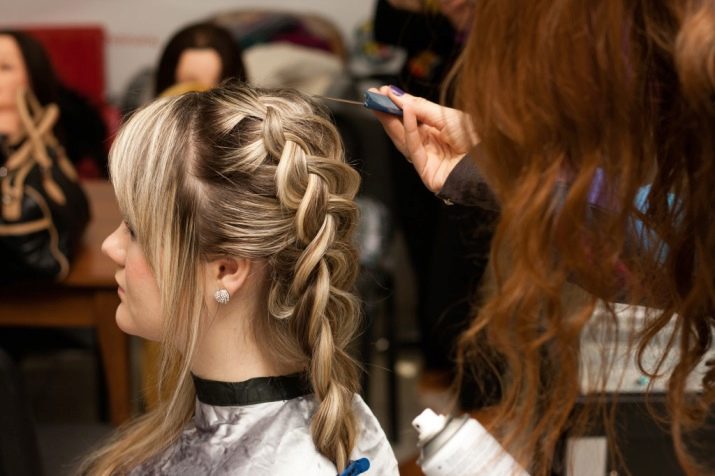
- When you have already advanced as much as possible and have almost finished weaving at the opposite ear, you need to carefully and beautifully weave the last strand into the braid, namely the one that will lie diagonally on the forehead and cover the ear. It needs to be combed very well, smoothed, then brought under the braid and connected to it. When weaving the free end of the pigtail, you need to try so that it naturally lies on the shoulder, does not stick out from under the ear.
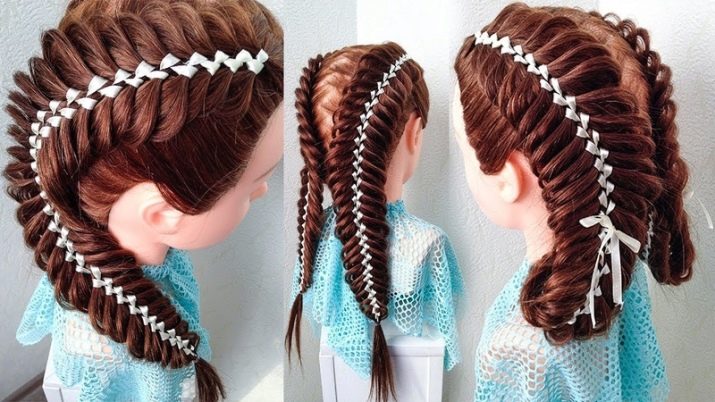
- Such weaving will look gorgeous if you insert small hairpins with rhinestones along its entire length, and fix the tip with a thin satin ribbon.
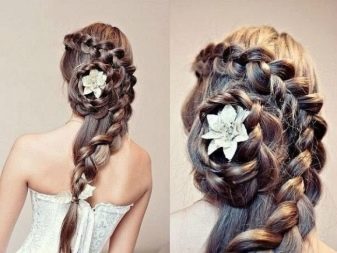
Difficult weaving option
We would like to tell you about another type of festive weaving of a French braid obliquely. This option is suitable for more advanced needlewomen, as it will require maximum care. But the result will be gorgeous.

So let's get started.
- As in the previous case, we divide all the curls into a side parting and start weaving from the side where there is less hair. Nothing has changed yet.
- Further, reaching the back of the head, we finish weaving. But this is where the differences begin. We do not touch the part of the hair that is on the side of the larger parting - it remains loose. It can even be tied into a "lump" or knot so as not to interfere. And we fix our braid on the back of the head: you can bring the braiding into a loosely hanging braid and fix its tip with an elastic band, or you can finish braiding and just hold the braid on the back of the head "invisible" - not the point.
- Now we proceed to the design of the second part of the hairstyle. We comb the part of the hair that we left loose, obliquely on the forehead, at about the level of the outer tip of the eyebrow, separate the lock and divide it into 3 parts. And we begin to weave the same twisted French pigtail, moving towards the back of the head.
- Keep the hair smooth on top, comb through each strand before weaving it in.
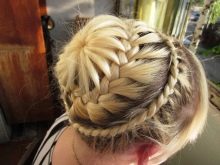
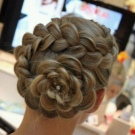
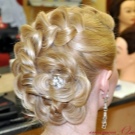
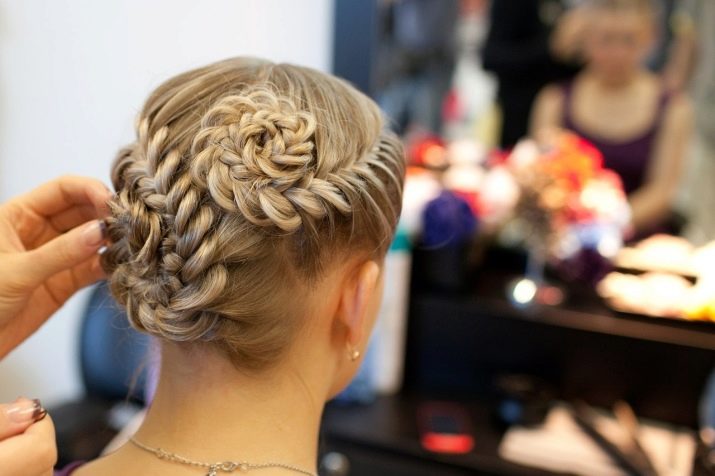
- When 2 braids meet at the back of the head, connect them into one tail, fix it with an elastic band in the color of your hair, and then you can make an elegant bun out of it, twist the curls, arrange them in the shape of a flower. Here your imagination can be limitless.
- This hairstyle requires texture. To do this, carefully pull each strand out of the braid so that it resembles openwork lace. You can release a couple of locks near your face, wind them on a curling iron.
At first it may seem that it is very difficult to master such weaving on your own. Nevertheless, it will take no more than a couple of days to independently familiarize yourself with this technique.
It is enough just to understand the algorithm and set aside 30-40 minutes for yourself to train in front of the mirror.
You don't even need to be able to weave a regular French braid.The reviews of many girls who tried to embody both weaves with their own hands suggest that it is easier for many to find the opposite option than the classic one.
On the contrary, you can get acquainted with the technology of weaving a French braid in the next video.


