How to sew a swimsuit: patterns and master classes
In summer, when the weather is finally right for sunbathing, swimming and having a pleasant pastime at least a weekend on the shore of a lake or beach, it is impossible to imagine your life without a good swimsuit. A properly selected bathing suit will allow you to hide some of the figure flaws, if any, and emphasize the undoubted advantages. But if the stores do not have a suitable model - in terms of material, style, color or overall quality, it does not matter - you can sew a bathing suit yourself.
.
We will consider all the stages of this process - we will select a suitable fabric, type of bathing suit, its pattern, watch master classes, and get a unique perfectly fitting model that will allow its owner to become the queen of the beach
What fabric can be sewn from?
The first step on the way to making your own swimsuit is choosing the right fabric. Here it is important to divide the fabric in two directions - elastic and inelastic. For a bathing suit, elastic fabric is optimal, since it:
- It does not absorb moisture well and therefore dries quickly.
- It keeps its shape well (for example, lycra), which is especially important for one-piece swimsuits.
- It is not exposed to natural and chemical influences - it does not fade, does not fade.
- Suitable for any type of swimwear (jersey, lycra).
Please note that when making a swimsuit from an elastic fabric, all additional elements (such as lining) must also be made of elastic fabric or cut in a diagonal direction - this will also give them elasticity.
There are five main types of fabrics that can be found on the label:
- Lycra. It is used in the manufacture of almost all types of swimwear, as it is an elastic fiber capable of stretching and returning to its original shape. Usually the fabric of a swimsuit is 20-30% of this material.
- Polyester. It has been used in production for a long time, as swimwear made with its use practically does not fade. Of its disadvantages, one can single out the fact that such a swimsuit dries for a rather long time and quickly deforms.
- Polyamide. This type of fabric is used for the production of shape-correcting swimwear, which is due to its slimming properties. It dries quickly and is not subject to fading, but it is a shiny material, therefore it is more often used not independently, but in combination with lycra and elastane - this ensures its durability.
- Taktel. It is named so because it is very skin-friendly. Formed from a combination of lycra and knitwear. Its advantages are instant drying, elasticity.
- Microfiber. It is breathable, elastic and pleasant to the touch. It can stretch over time, so it is suitable for girls with constant body parameters.

Non-stretch fabric can be used to sew swimwear models that should not stretch (bikinis). For them, materials such as piqué, denim, muslin, compressed crepe, chiffon, veil, pique and others are suitable.
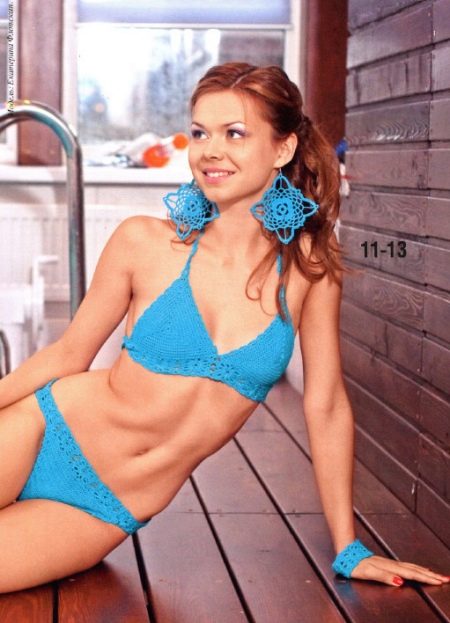
In addition to solid pieces of fabric, a swimsuit can be knitted with various threads or yarns. Such models are usually one-piece and have a lace insert that will add femininity. The threads for such a swimsuit should be selected according to the same principle as the fabric - they should be elastic, pleasant to the touch and durable.
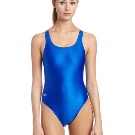
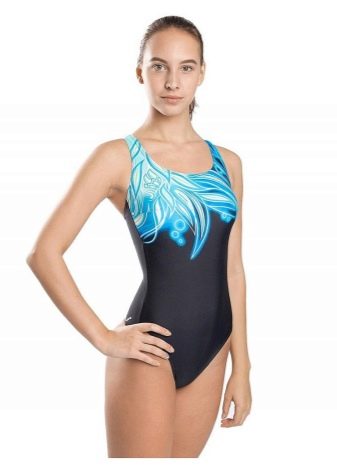
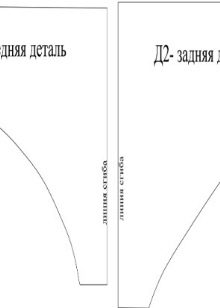
Construction of a one-piece swimsuit pattern
Leotard sewing is a laborious process, as it includes many parameters. It is very important here not to be mistaken in size, so as not to waste the fabric, so that the model fits well to the figure, does not fall off when leaving the water and does not rub the skin.
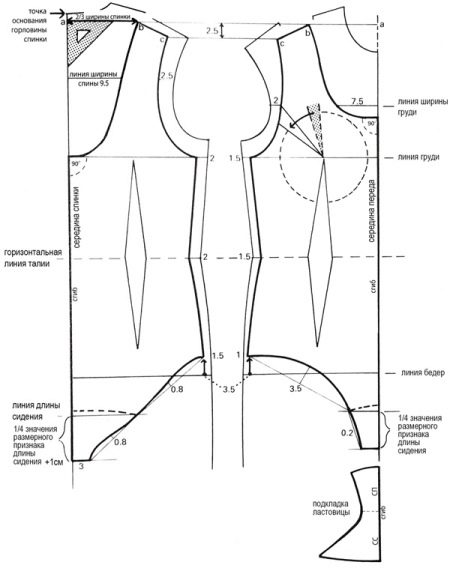
To make it easier to draw up a pattern for a one-piece bathing suit, we will use the standard pattern for a dress pattern. Copy or redraw the front and back of the pattern, making sure that the midpoints of the backs of both parts are parallel and that the lines of the chest, waist and hips (horizontal lines) are at the same level.
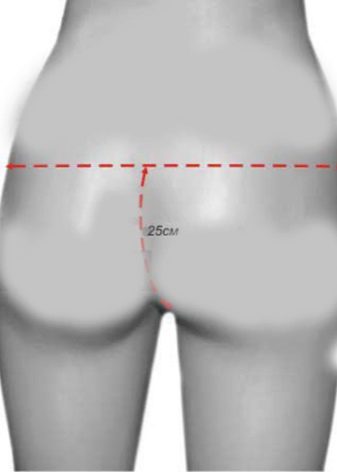
Now we will find the point of the length of the seat. To do this, down from the waist line in the middle of the back, we postpone the value of this length, mark the resulting point and draw a horizontal line from it to the middle of the front part of the future swimsuit - we get a line of the length of the sub-gluteal fold.
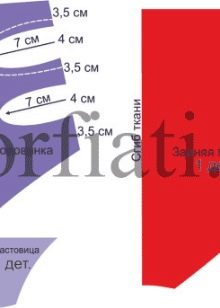
Define the gusset line (this is an additional layer of soft fabric in the underwear, providing comfort when wearing it). To do this, you need to postpone two points:
- the first one is located at the bottom along the middle of the back of the swimsuit (from the point of the length of the under-butt fold, we set aside ¼ the length of the seat + 1 cm);
- the second is located at the bottom along the middle of the front part of the leotard (from the point of the length of the sub-buttocks fold, set aside ¼ the length of the seat).
From the resulting points, draw small horizontal lines inside the pattern, the length of which should be 3 cm each, and for sizes 16 and 18 - 3.5 cm each.
Unlike drawing up a standard dress pattern, when drawing a swimsuit pattern, you should not add additional centimeters for a free fit along the main lines (waist, chest, hips), even if the future swimsuit will be made of non-stretch fabric.
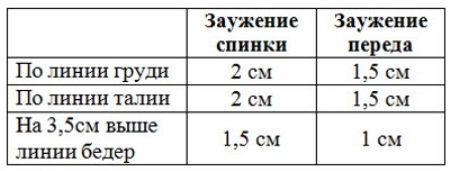
Here, on the contrary, it is required to make the standard pattern narrower by the same values that were given at the very beginning of the construction:
- Narrowing along the back: along the lines of the chest and waist - by 2 cm; along the line, 3.5 cm above the hip line - 1.5 cm.
- Narrowing of the front: along the chest and waist lines - by 1.5 cm; along the line, 3.5 cm above the hip line - 1 cm.
The narrowing along the back is often done slightly more than along the front, which is due to the peculiarities of the figure.
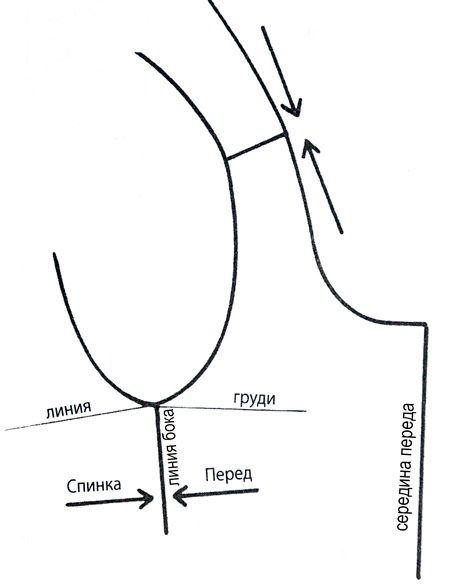
The last action at this stage for the upper part of the swimsuit is to draw the side lines of the swimsuit, focusing on the line of the standard dress pattern.
Let's create a cut for the leg. The standard depth of this cut is 3.5 cm above the hip line. To determine the width of both parts of the swimsuit, we will use the already found parameter of the seat length line. From the middle of the back, it will be ¼ of the thigh circumference, divided in half, and from the middle of the front, it will be equal to ¼ of the thigh circumference, divided by 4 and minus another 0.5 centimeters.
Now let's connect all the designations obtained - the extreme values located at the base of both sides of the swimsuit, with the points of the line of the length of the seat and the lower points located on the side lines. Let's reduce each of the resulting lines by half and designate the hole for the leg, correlating it with the outlines of the body in these areas.
Please note - the cutout in the front should be deeper. Focusing on the lines on the sides and at the base, carefully look at the compatibility of the cut lines of both sides of the swimsuit, aligning them with each other.
NSsharpen the lining of the gusset... On the front of the swimsuit drawing, set aside 1 cm up, and then, using the first drawing as a sample, we will mark the vertical lines for the lining. To make the lining without using an additional bottom seam, transfer the existing parts of the lining from the first drawing and match them along the bottom line.
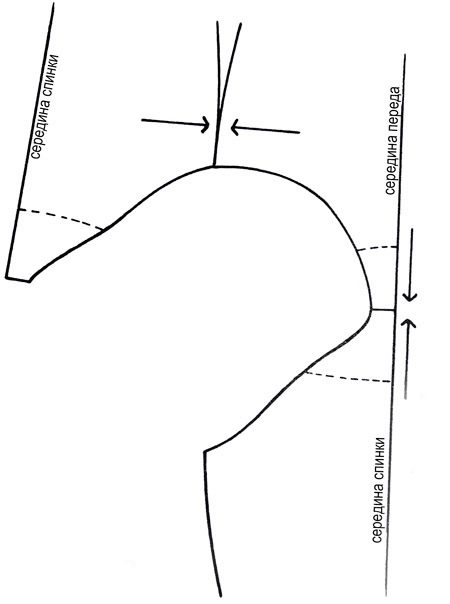
From the border of the base of the neckline in the center of the back of the leotard, draw a line 1 cm long downward and from it draw a horizontal line to the middle of the front. In the middle of the diagram, draw a second line, which will be 2.5 cm lower in level.
Let's determine what width parameters the straps from the back should correspond to. The distance from the middle of the back of the leotard is 2/3 of the width of the back, and the width of the strap will be equal to 1/3 of the width of the back. Set aside the necessary points and mark the neck and armhole down to the horizontal bust line.
Determine the values of the width of the straps of the front of the leotard. According to the constructions made above, we postpone the same distances (2/3 and 1/3 of the width of the back), then also draw the armhole and designate the neckline, which will be located 7 cm above the chest level.
Let's check by overlaying whether the resulting lines, neckline and armhole converge - first along the shoulder lines, and then along the side lines. Correct if necessary.
Depending on the material used for sewing the swimwear, the direction of the thread on the pattern details changes - they should be indicated on the drawing in advance so as not to get confused later:
- For inelastic fabrics, an oblique cut is optimal (when the thread is located at an angle of 45 ° to the middle of one of the leotard parts);
- Inelastic but soft fabrics should be stitched parallel to the middle of the leotard;
- When using knitwear or other elastic fabrics that tend to stretch in two directions, the thread should be guided in such a way that the parts are as elastic in width as possible.
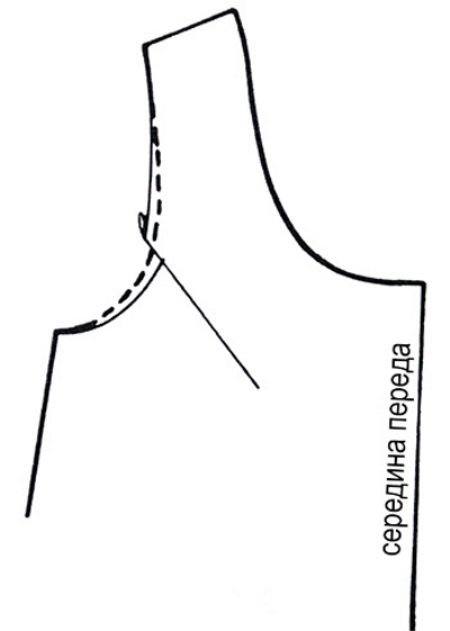
To draw the bust dart, use carbon paper to translate the upper dart.
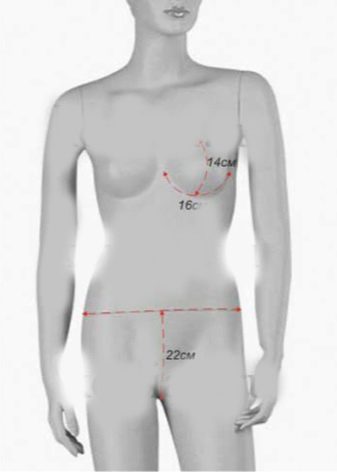
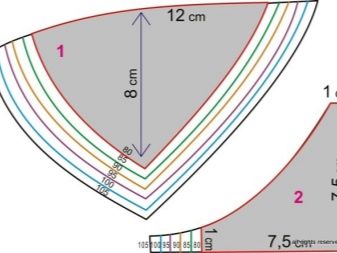
To determine the area in which the cups of the future swimsuit will be located, draw a circle with a radius of 8 cm from the center of the chest (for size 12). For other sizes, it can vary by half a centimeter.
By carefully taking all measurements and transferring them to the drawing, you can get a pattern for a perfectly fitting one-piece swimsuit.

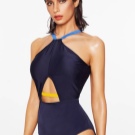
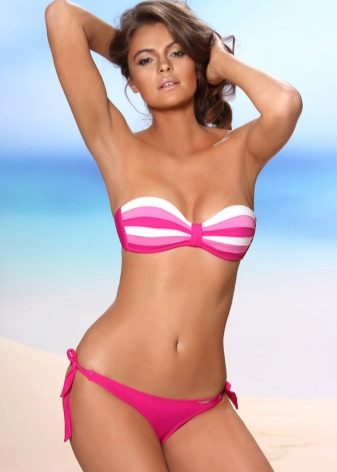
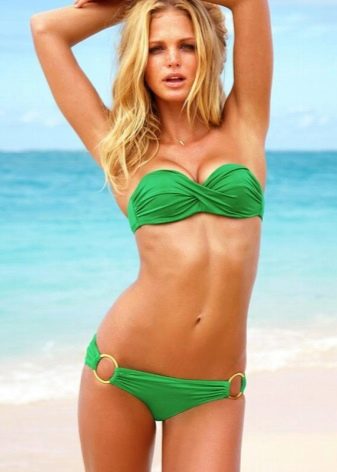
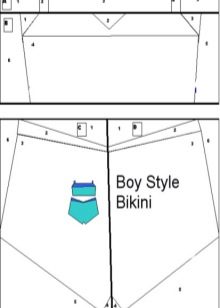
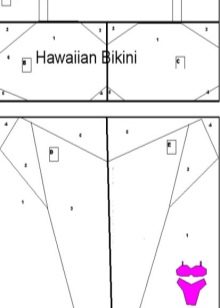
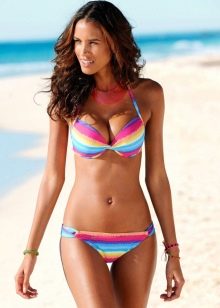
Modeling a two-piece swimsuit
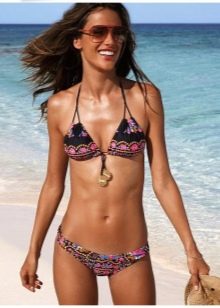
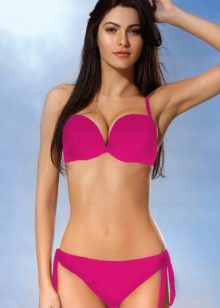
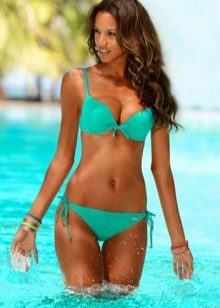
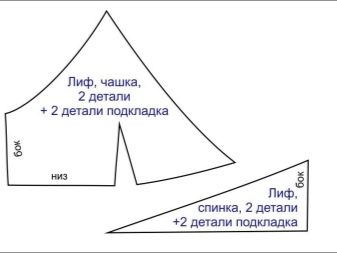
A split bikini swimsuit is one of the most popular types of swimwear today. With it, most of the body will be covered with an even tan, it also looks beautiful on girls with a good figure, since most of the body is open. Consider the pattern of a split swimsuit with a bandeau bodice (strapless), allowing you to get a tan that matches any dress.
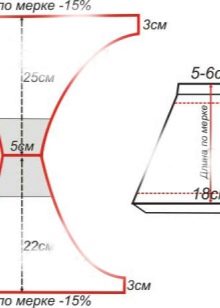
The swimsuit top is a simple stripe made up of a front and a back. The back stripe tapers towards the middle, starting at a distance of 3 cm from the midline and further towards the center. The front strip at the same distance increases, bends up.
Each strip is divided into two equal rectangles with the following parameters: length - the half-girth of the chest, multiplied by 0.88 minus 4 cm (the reduction in length compensates for the stretching of the fabric); height - 12 cm. Add to this 1 cm each for the overlock and hemming the elastic.
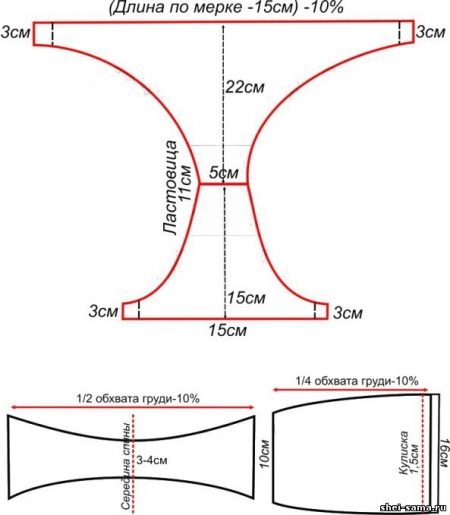
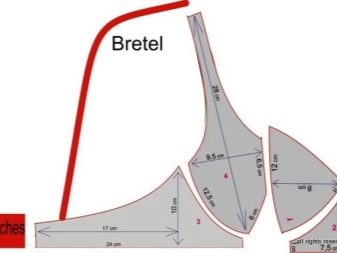
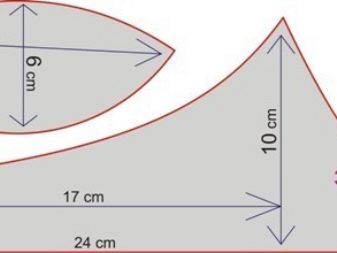
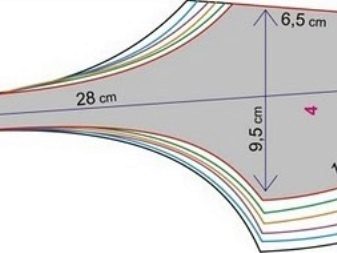
To sew a swimsuit with a strappy bodice, take the following measurements: the perimeter of the chest along the lower part to the midline, the longitudinal diameter. According to these measurements, the upper part of the swimsuit is embroidered with the addition of shoulder straps, a back strip and accessories. Drawstrings run along the top and bottom of the cup for threading the strings.
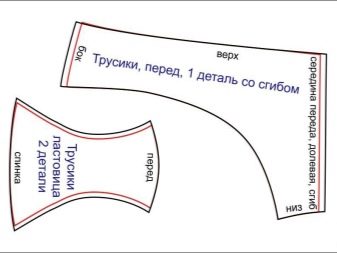
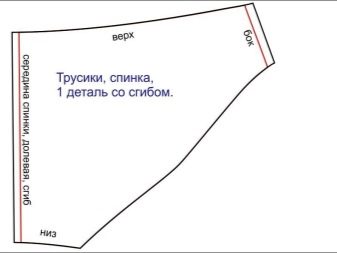
Designing swimwear is a more complex and multi-step process. To make them fit well, you can unpick the old bathing suit and according to the finished pattern. Knowing that this model will definitely fit well, sew the lower part of the swimsuit. If there is no such model, then the edits are modeled according to the measurements taken from the figure. Pay attention to the fabric from which the swimsuit will be sewn - if it is jersey, then 10-15% of the length must be subtracted from all the obtained parameters so that it does not stretch too quickly.

Do not forget that, in addition to the basic dimensions, you should leave small allowances in order to subsequently sew the fabric and insert elastic bands.
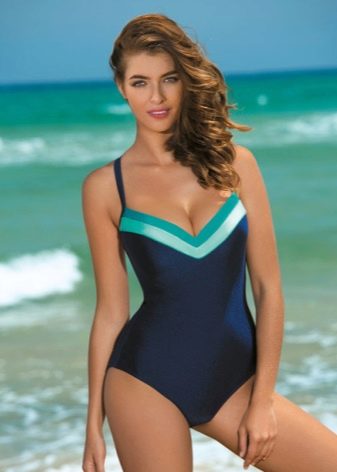
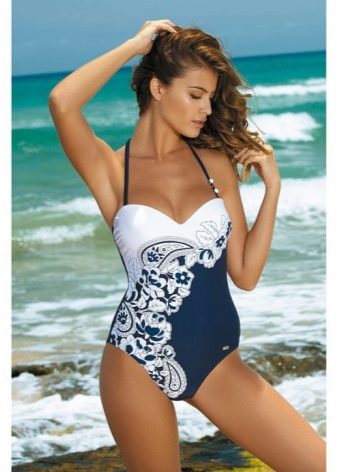
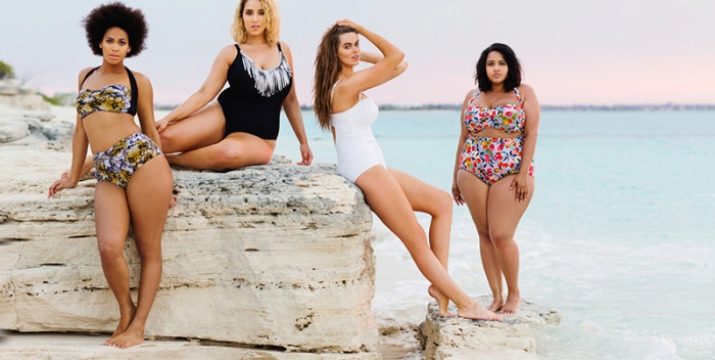
See the photo for examples of modeling.


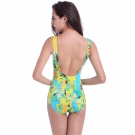
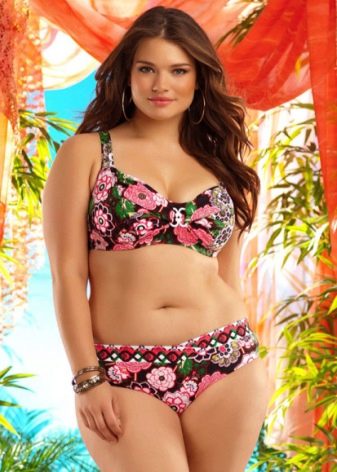
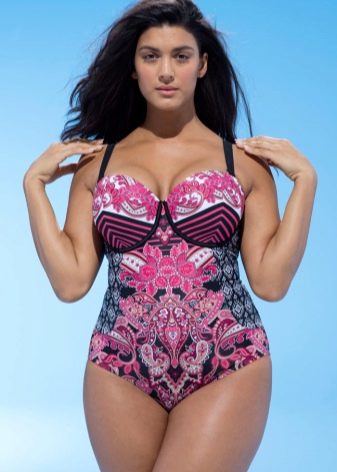
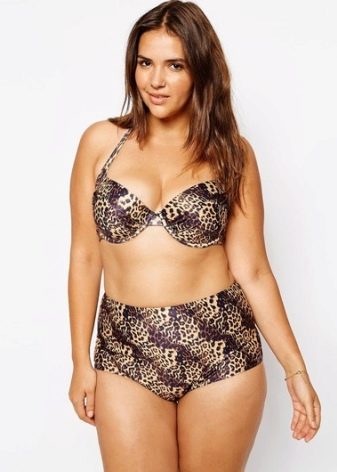
How to sew a large size model for obese women with your own hands?
Choosing a swimsuit for obese women often becomes a rather difficult task, since most stores cannot offer high-quality models of the correct cut that would model the figure and allow girls with any data to feel confident enough to go to the beach in the summer. If nothing suitable was found in stores, do not despair - you can always sew a swimsuit with your own hands.
First of all, pay attention to the choice of fabric for the future swimsuit. It should be elastic, but should not stretch too much, otherwise it will stretch after the first swim. The most suitable fibers that must be present in the composition of the material are microfiber, tactel, lycra or elastane. Models containing polyamide are perfect - it belongs to the materials that can visually correct the figure due to the tightening effect.
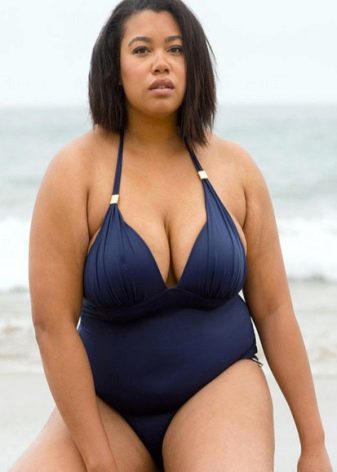
The next criterion is breast support. Here you can both remove a pattern from the cups of the previous leotard, if it kept its shape well, and make a pattern according to the current size. Please note that the straps should be wide so that the shoulders visually appear narrower and tighter.

When choosing materials, take a closer look at the elastic bands. Use one made of latex as these are unaffected by the chlorine and salt found in pools and oceans and will therefore last longer.
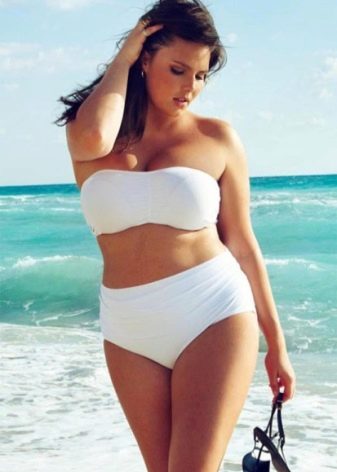
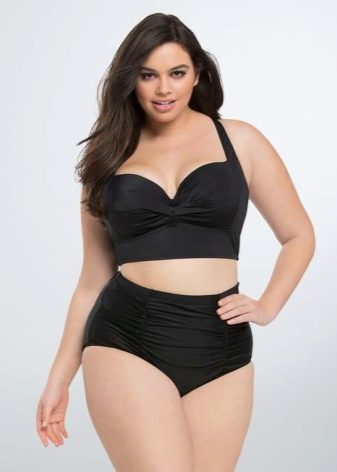
High-waisted swimming trunks look very good on a curvy figure - adding 10-15 centimeters to the main waistline of the panties, you get a stylish model that visually outlines the figure.
Recommendations for tailoring a swimsuit:
- Make pleats in the bodice between the cups, collect the cane a little towards the middle.Sew the resulting folds for securing and, if desired, decorate - this way the model will look much more interesting.
- The straps should be wide for two reasons - so as not to create discomfort when wearing and not cut into the skin, and so that the swimsuit looks neat on a full figure.
- When sewing swimwear, regardless of the type of pattern chosen, leave an additional 3 centimeters along the top line for the elastic and be sure to leave allowances for sewing the seams.
- Do not fold over the slots for your legs to prevent chafing, especially after swimming.
- Pay attention to the direction of the thread when sewing - when cutting the buttonholes on knitted fabrics, they should unfold from top to bottom.
Observing these simple rules, you can be sure that the swimsuit will be sewn correctly and will take its rightful place in the summer wardrobe of its owner.
The best models of fluffy swimwear can be viewed in the following video:
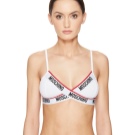
How to make a push-up?
Push-up can be a solution to the problem for girls who naturally have small breasts, or their breasts have lost their shape after childbirth during the nursing period. The inserts will visually raise the chest and make it a little larger, give it a neat shape.
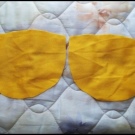
The pattern of a push-up swimsuit differs from a regular swimsuit only by the presence of foam inserts at the bottom in the cups - they give the whole visual effect.
Sewing a swimsuit with a breast augmentation effect on your own will take almost the same amount of effort as when sewing a regular bikini-type swimsuit. The only difference is that between the main and lining fabric of the bodice, before stitching them completely, you need to insert special foam rubber pads of the right size (according to the size of the breast, so that it looks natural).
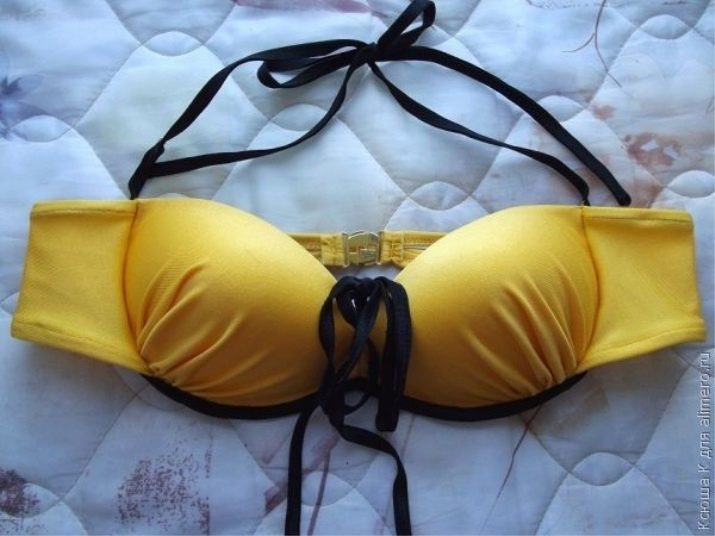

Thus, without much expense and effort, the famous push-up is produced, allowing women with imperfect breasts to feel comfortable and confident in a swimsuit and giving the figure a seductive, feminine shape.
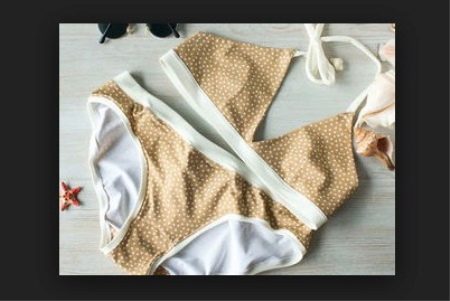
Sewing master class
According to the girls who have already tried their hand at sewing a swimsuit on their own, the whole process takes 3-4 hours, including all stages - from building a pattern to assembling the finished product. Considering that you can spend even more time in stores and not find anything, then this is a very profitable saving of time and money.
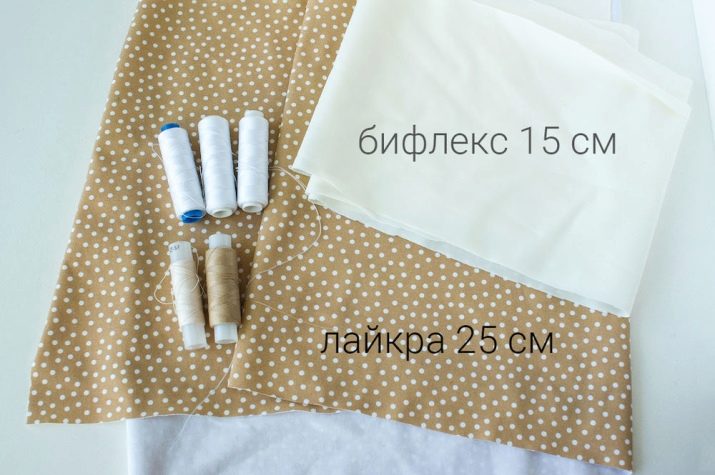
To sew a swimsuit (bodice) yourself, you will need:
- Knitted fabric (lycra and supplex).
- Thread matching the tone of the fabric (about six spools).
- Pattern, ready-made or made according to your own measurements.
- Scissors.
- Sewing machine.
- Elastic band 2 * 80 cm.
- Leotard fittings (clasp).
Sewing stages
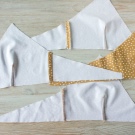
Print the selected pattern in full size, print, cut out all the details and attach them to the fabric. Cut out the fabric details for the future swimsuit.

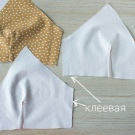
- The side seams of the bodice cups should be glued with a non-stretching lining in order for it to better keep its shape.
- Sew up and smooth the darts to the sides.
- Sew back parts of the back to the cups, smoothing the allowances on the sides.
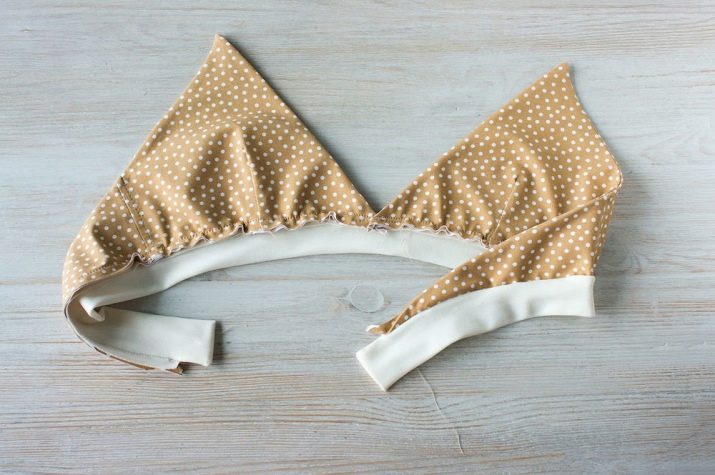
- Fold the front details of the bodice together and sew on top along the edge. Cut the corner of the allowance. We turn it out, iron it.
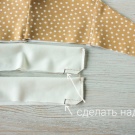
- Sew up the ends of the strings.
- We pin on all the details of the bodice and sew them on a typewriter.
- We overlock the seams with an overlock.
- Sew on the strings made of 3 cm wide braid with a flat seam. This will allow the ties to be more elastic and the seam will not burst when pulled.
- Sew on the selected accessories - and the top of the swimsuit is ready.
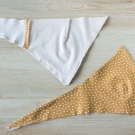
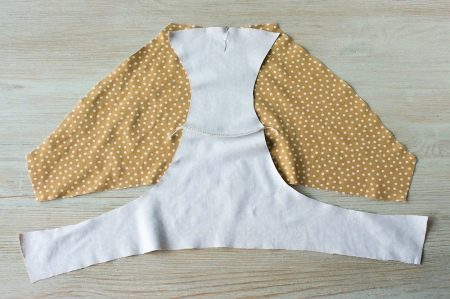
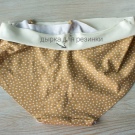
To sew the bottom of the leotard, you will need the same details and materials that were used for the top. Since the fabric can show through, it is best to make your trunks using two layers of your chosen fabric.
Assembly stages
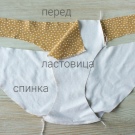
- Sew the front and back together with a short gusset.
- Sew a long gusset to the back with the front side inward.
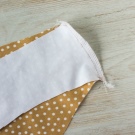
- Sew the seams on the sides, try them on. If they sit freely, then we make the seams away from the edge.
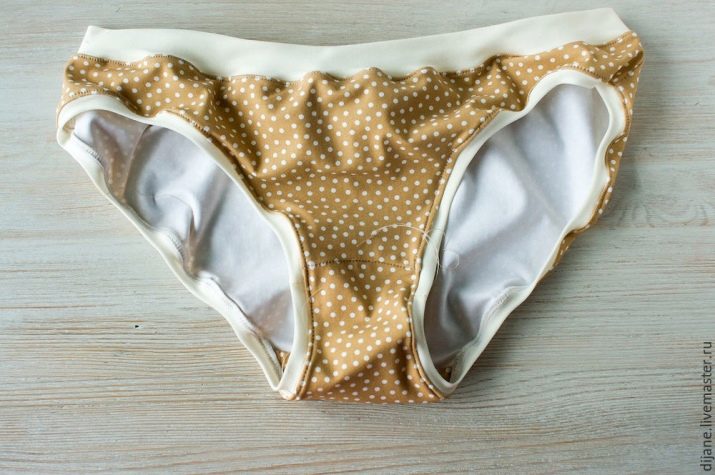
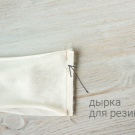
- Sew the belt, leaving room to thread the elastic. Choosing an elastic band according to the width of the drawstring, you can be sure that the panties will fit tightly and the elastic will not twist.
- Sew the upper gusset along the upper edge of the front part.
- We distribute the belt evenly along the upper edge of the linen, pin it off, then stitch it.
- All slices are processed by an overlock.
- Sew all other pieces neatly together, trimming the edges and overlooking them for neatness, and the swimsuit is ready.
So, doing everything consistently, according to the recommendations presented, the swimsuit will certainly work out even for those who worked very little on a sewing machine and generally sewed. The only difference is that it will take newbies, of course, more time, but the result is worth it.
You will see even more master classes by watching the video.


