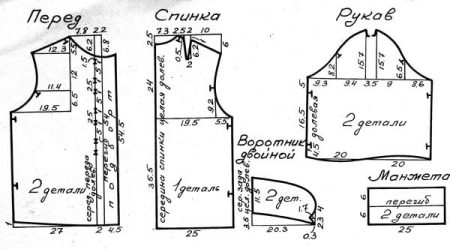
Short sleeve blouse pattern
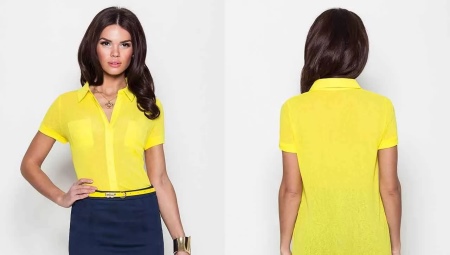
There are not many blouses in every girl's wardrobe. This type of clothing has its own advantage. The blouse can be paired with many things, such as a straight blouse and a skirt. This is an option for special occasions and office work. For everyday life, blouses can be combined with jeans.
Today we will open a master class on sewing blouses of different styles.
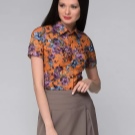

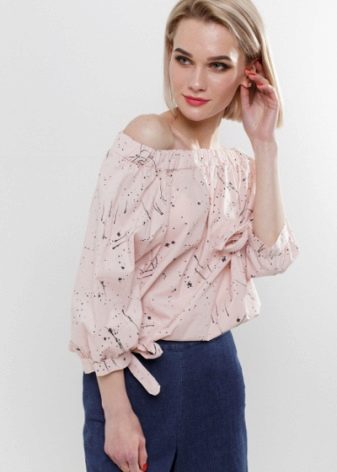
Carmen style blouse
The cut of the blouse will make any look of the girls sexy, and the loose cut of the blouse will add comfort in movements.
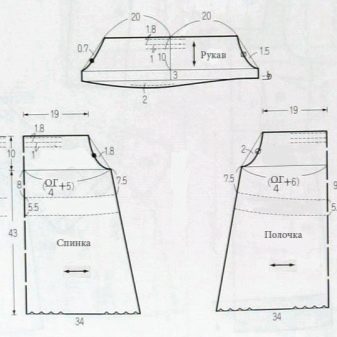
The drawing is for sizes 42-44.
The fascinating process of sewing a product begins with the construction of a pattern and cutting:
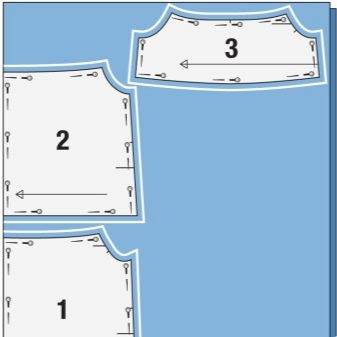
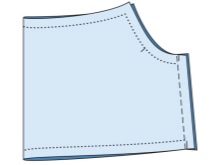
- Pencil on paper or old newspaper make a drawing of all the details. Carefully cut out the finished scheme. You should get: shelf - 1 child, back - 1 child, sleeve - 2 children.
- Fold the fabric along the shared thread. Pin the shelf and back to the material. The mids of the front and back should lie in the middle of the fabric. Set aside seam allowances from the main contour of the product. Cut out the cut details.
Sleeves are cut separately.
The opening of the future blouse is almost ready.
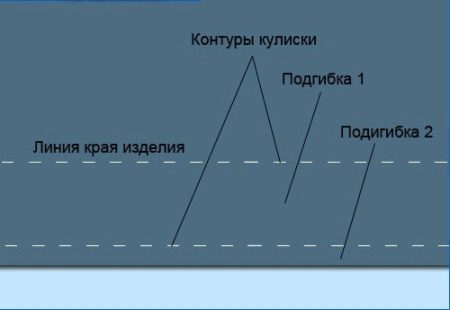
There is not enough drawstring to start sewing.
A drawstring is a separate part of a garment that allows you to pull the material in different places.
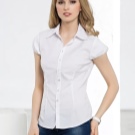
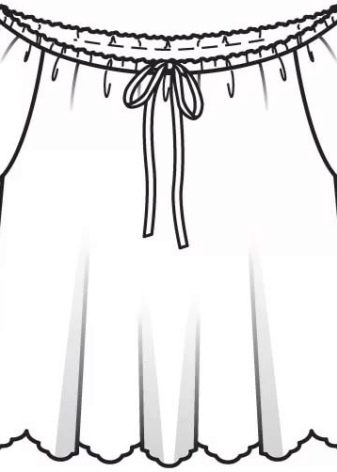
In a carmen-style blouse, it will run at shoulder level (on the sleeves). A photo of a white shirt is an example of how the drawstring on a blouse with a carmen cut will look like.
The drawstring drawing will look like this:
- It is necessary to redraw the upper part of the back and shelves, the edge of the sleeve. Such a drawing resembles a facing drawing. Width - 2 cm, length - length (shelves, backs). The drawstring is cut out with seam allowances.
- The back drawstring pattern is cut out from the middle of the material. Cut the drawstring, traced from the shelf, into the fabric in the middle (sew the cut piece to the drawstring of the back).
- Cut out the drawstring for the sleeves separately, you should get 4 parts.
The following sequence of operations will help the girls sew a blouse:
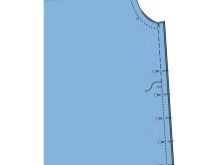
- Sew the sleeves along the side seam. There is a drawstring along the edge of the sleeves. How to sew on a drawstring? The description is given separately in the article.
- Combine the main parts of the blouse on the side cuts, sweep and stitch on the machine.
- Then sew the sleeves into the armhole of the blouse. Attention! An arc goes along the edge of the sleeve. This side of the sleeve should be sewn on from the back.
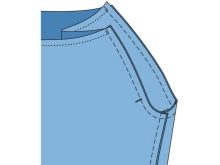
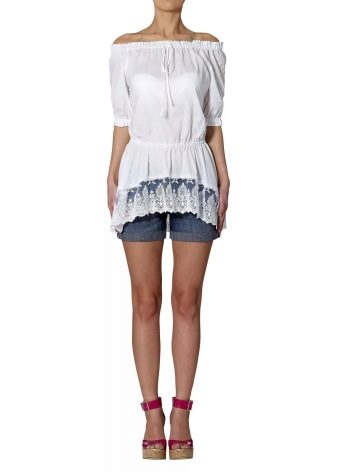
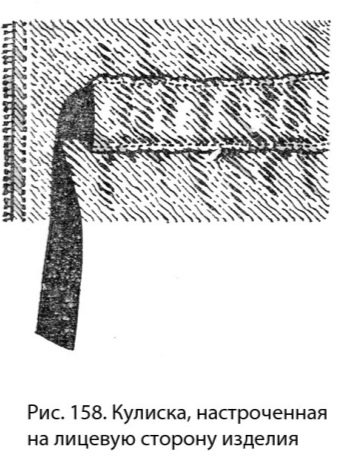
- Sew a drawstring on the edge of the top of the blouse. Attention! The drawstring should be sewn in such a way that the hole for the tape is in the center of the front of the blouse. This is necessary so that later, in finished form, you can insert the braid into the hole and tighten it. Place in the drawstring where you will bend the hole and lay the machine stitch. The photo shows an example of a drawstring located on the front side of the product.
- Hem the bottom of the blouse.
- Insert ready-made braid into the drawstring, lace or sew it from the remnants of the fabric.
It is possible to hem the bottom of the blouse not only with hand stitches and by machine. Ask how? The answer can be found in the video.
How to sew on a drawstring?
The cut-out drawstring is applied to the edge of the finished product with the front side to the seamy side of the blouse and stitched.
The following processing of the drawstring:
- Turn the drawstring on the front side of the blouse.
- Fold in seam allowances and sew on the machine. The drawstring on the sleeve is sewn using the same technology.
The drawstring can be sewn in another way. You can learn about this method from the attached video.
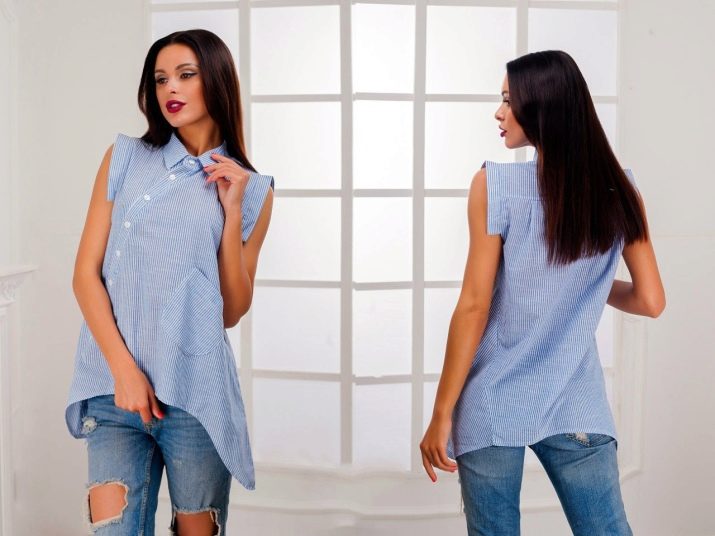
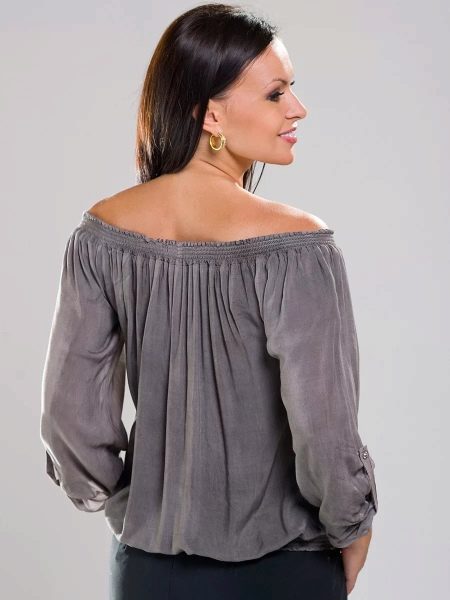
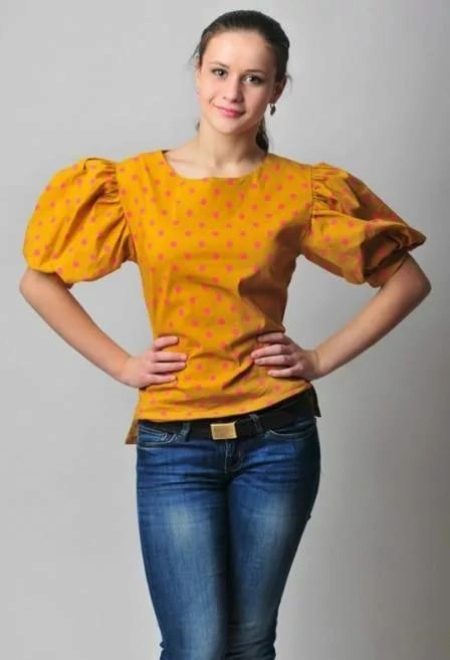
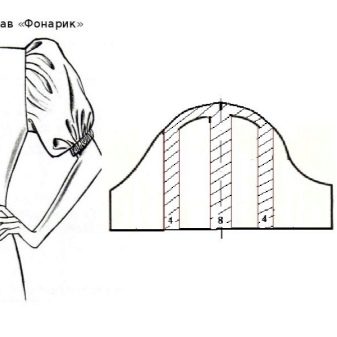
Modeling a straight blouse with a "flashlight" sleeve
The name of such a blouse comes from the style of the sleeve. If you look at the finished sleeve, you can see that it resembles the shape of a flashlight.
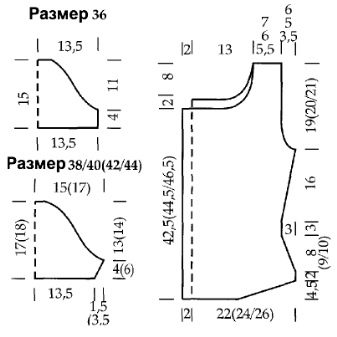
The pattern is designed for several sizes (36, 38/40, 42/44). Product pattern for size 42/44 - figures for the drawing are in brackets.
The following sequence will help you cut and sew the blouse:
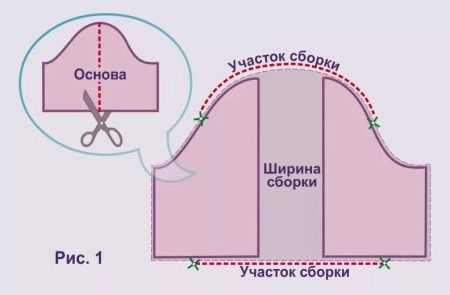
- Make a drawing of a blouse on paper. Leave the pattern of the front and back rest unchanged. The sleeve pattern needs to be changed.
- Apply vertical lines to the pattern, cut. Redraw the sleeve on new paper, taking into account the gathers. The photo shows how you need to add additional space for future frills along the edge and bottom of the sleeve.
- Draw a new pattern.
The flashlight sleeve pattern is ready.
The width of the addition for the ruffle sleeves is taken as in the photo.
Then you can start sewing a blouse:
- Sweep the blouse and sew along the side and shoulder cuts.
- Make 2 parallel machine stitches along the edge of the sleeve the largest stitch on the machine. Attention! You do not need to bartack at the beginning and end of the stitching.
- Pull the two strings on the sleeve with your hands. On the sleeve, you will get a frill (in the finished form of the product, the middle of the frill should coincide with the shoulder seam). Gather the hem of the sleeve using the same method.
- Connect all the main parts of the product together. The trim of the flashlight should be held so that the edge of the sleeve coincides with the armhole on the blouse. Attention! The finished width of the flashlight sleeve should be such that the hand can freely enter the sleeve.
- The neck is processed by facing inward.
- Fold and hem the edge of the blouse.
Modeling the sleeve "flashlight" can be seen below in the video.
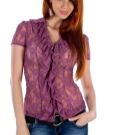
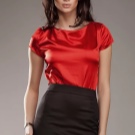
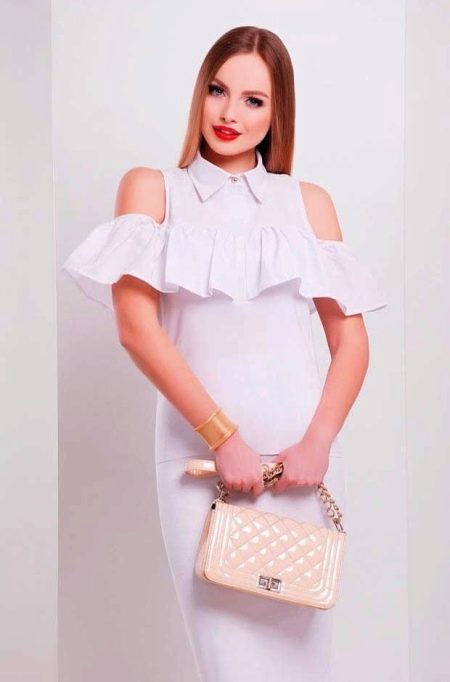
Model with ruffles: rules for building a pattern
The ruffled blouse has an interesting cut. Ruffles will hide some shape defects. And they will also provide a comfortable state.
The process of constructing a pattern is very simple. You can read about it in the models of previous blouses. The cutting and sewing sequence of all sewing operations occurs in the usual sequence.
The blouse can be sewn on the basis of the pattern. It is designed for 42-44 rubles. The length of the sleeve can be changed at the discretion of the seamstress. Using this pattern, you can sew a blouse without a collar and fasteners.
Rules for constructing patterns with frills
Take a ready-made pattern of a straight blouse.An example of a pattern is shown in the photo.
Ruffles on the shirt can be either from the front or from the back.
How to sew?
- Depart from the middle of the upper edge of the neck on the shelf 6-7 cm. Draw a horizontal line. Next, you need to change the lower part of the shelf.
- Draw vertical lines on the bottom of the shelf. The width of the frills can be taken at your discretion: from 2-3 cm. It all depends on the splendor of the frills. The wider the frills are, the fuller the blouse will be.
- Draw future frills on new paper. Circle and cut out a new pattern for the bottom of the shelf, taking into account the ruffles. The back is modeled similarly to the shelf.
- Start cutting and making a blouse.
Good luck with your pattern making and blouse sewing. Accuracy and precision in calculations and action will lead to exclusive clothing models!