How to beautifully stick water-based stickers on your nails?
Slider design is considered one of the best ways to decorate accent nails today. This technique is an alternative to hand painting, it is easy to use and allows you to professionally design your nails in a matter of minutes, saving time for drawing. However, not everyone knows how to use water stickers correctly, how to glue them beautifully, so that the design looks like it was done by a professional manicure master.
Features of Water Based Stickers
Water stickers differ from other varieties of similar decor by the structure itself and the method of transfer to the nail plate. Each element has several layers:
- there is a protective film on top;
- under the protective layer there is a working film with a printed pattern;
- the picture is kept on a paper backing.

The principle of working with water stickers has its own specifics. For example, it is important to remove the protective top coat before the picture is wetted. If this is not done, the protection "becomes akin" to the working film, which will increase the layer thickness and complicate the adjustment.
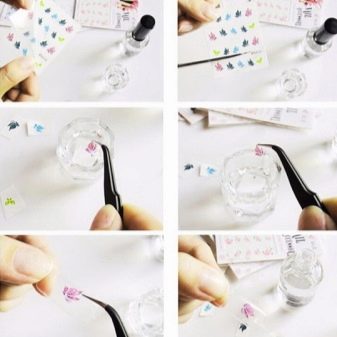
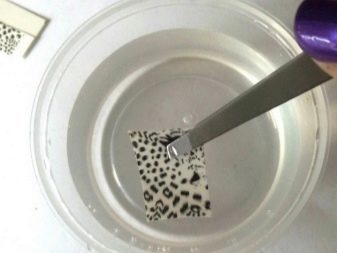
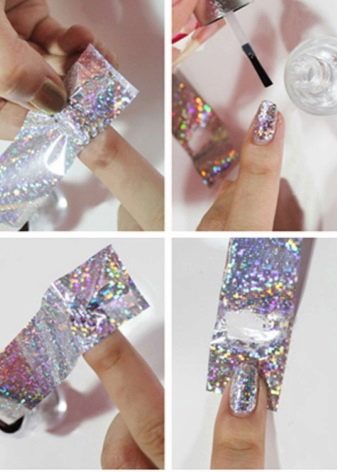
It is also necessary to take into account the fact that stickers of this type must be properly moistened. You cannot completely soak the picture; there should be no water on its front side. The strength of the adhesion to the sealing layer will depend on this. For this reason, experienced craftsmen do not put water stickers in a container of water. They use wipes by dampening them with water and placing a nail-shaped slider with a paper backing on the wet napkin.
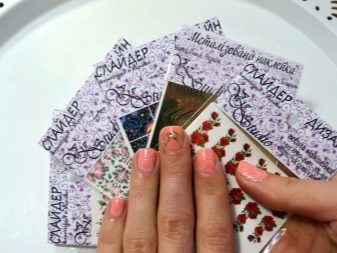
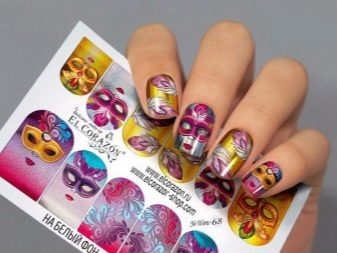
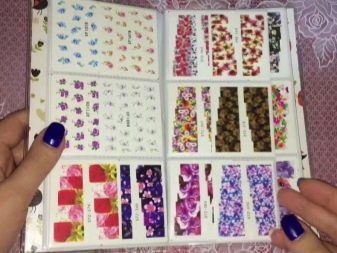
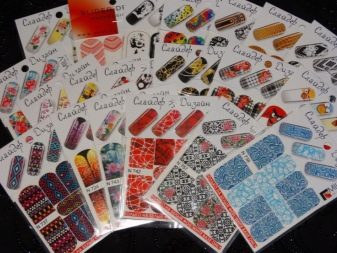
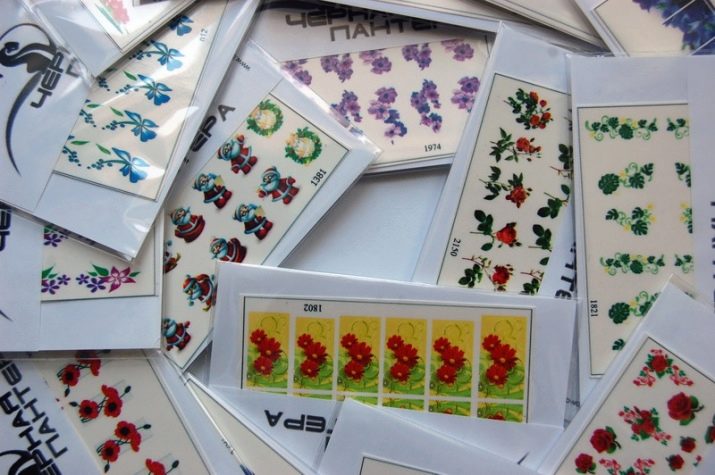
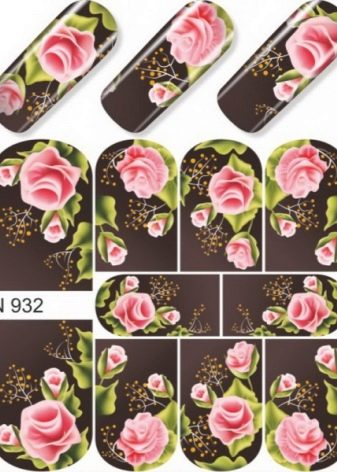
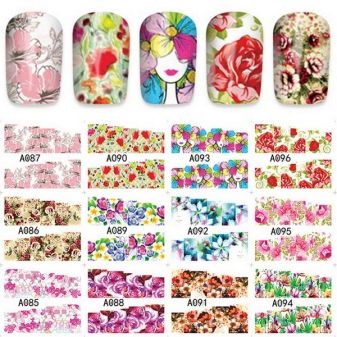
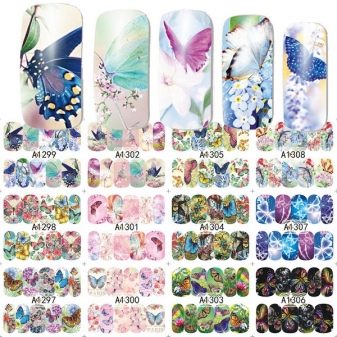
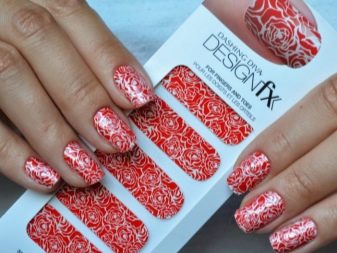
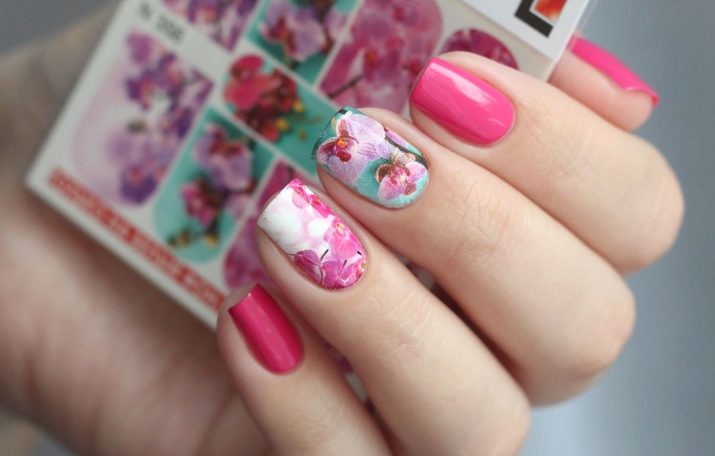
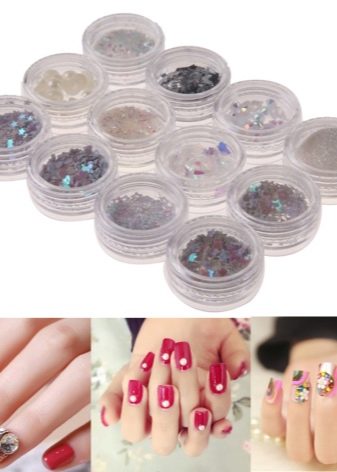
The pictures themselves are sold, as a rule, in the form of ready-made sets in the same theme and color scheme. These are 10 sliders for 10 nails, and the pictures are paired. Some sets are rounded, others are rectangular images. Both of them have to be cut in the process of work, since they are rarely ideal for a particular nail plate.
This is done either with nail scissors or tweezers, cutting off the excess slider on the sides and in the cuticle area. However, they immediately try to cut the picture according to the shape of the nail only at the bottom (at the base of the plate). The upper edge is trimmed after the material has been dried in a special lamp together with the retaining layer. To remove excess, use a file with a fine abrasive. Cut off excess material at an angle so as not to cut off the sticker at the end.

Varieties
Few people think about the fact that water stickers are all different. This is reflected in the accuracy of working with them and can both simplify and complicate the workflow. The differences are explained by the peculiarities of production. For some products, the working films are thin and often break when corrected, for others, on the contrary, they are dense, and therefore do not fit well on a rounded nail.
Among the wide variety, there are also elastic thin films. Due to this, they can even be slightly stretched if an adjustment requires it. However, it is the thickness that often determines the type of decor: thin stickers imply the mandatory implementation of a white substrate. The dense ones do not need it, often they already have their own background.
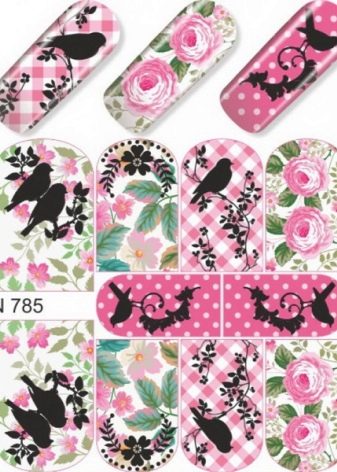
Transparent versions of sliders have a thinner working film. Therefore, it is easier to distribute them over the surface of the nail plate. Moreover, they can be very diverse. Accuracy of gluing may also depend on the volume of the sticker. Today, all categories of sliders are divided into partial or completely covering the nail plate pictures. It's easier to work with the first ones, but if you follow some rules, the second ones can be glued very neatly.
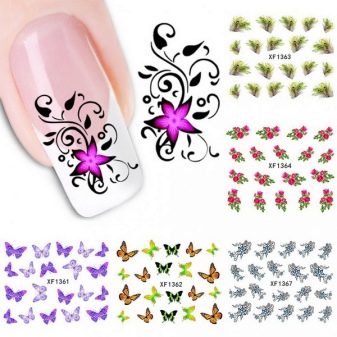
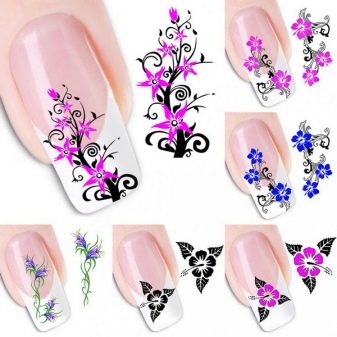
By the type of drawing, pictures can be colored, monochrome, golden, silvery, holographic. In this case, neither the color nor the type of pattern affects the quality of fixation. It all depends on the work of the master and full compliance with all steps of the technology for attaching the slider to the prepared base. If necessary, you can make timely adjustments, remove folds, trim the picture.
Required tools and materials
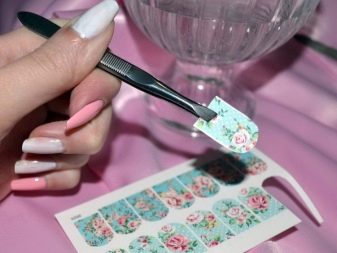
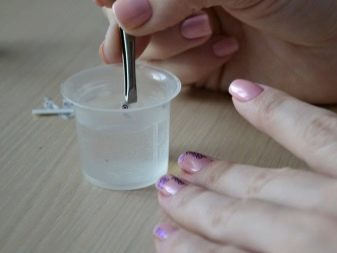
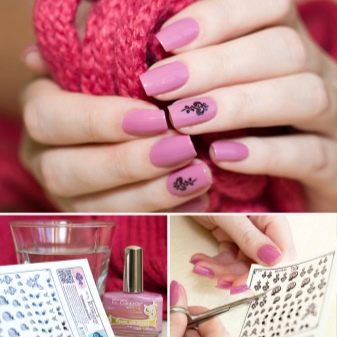
In order to stick the slider on the nail, tweezers are enough, which is useful for transferring the sticker from the paper backing, and a flat brush. To trim excess material, you will need nail scissors or tweezers, and a file is useful to remove excess material. It is advisable to select a brush with an elastic bristle, it is better than other devices to remove air pockets that can form if you fiddle with the edges for a long time.
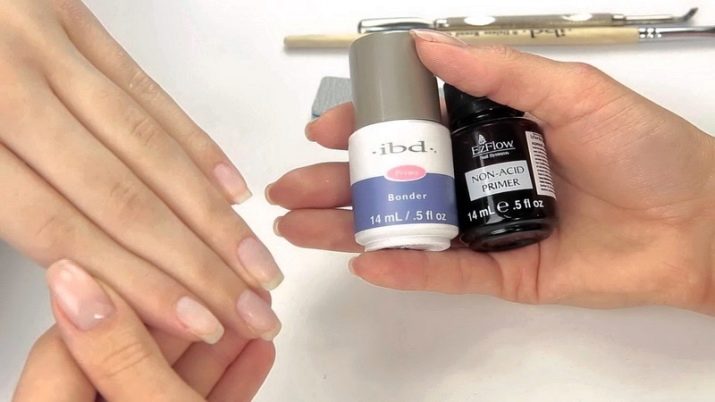
As for the materials, they are chosen based on the characteristics of the technology. If a medical manicure is previously performed, you need an apparatus with different attachments or a basic set with scissors, a pusher and tweezers. You should not glue sliders on unprepared nails: they will look ugly, focusing on unkempt hands. In order for the coating to hold well, the gloss must be removed from the nail plates using a buff.

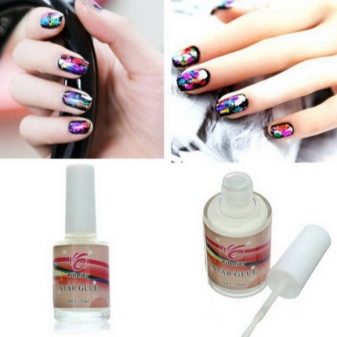
For the design, you will need a base and topcoat, an acid-free primer will be useful. It is he who will have to use if wrinkles occur during the distribution of the sticker. For pictures on a transparent base, prepare a pigmented gel polish. For thick film, one base will suffice.
In addition, if the nails are thinned, you will have to prepare a hardener. This substance is sold in bottles, like all lacquer products. Its layer will increase the thickness of the nails, which will be reflected in the wear of the slider.As a rule, the hardener has good tenacity, it will strengthen the adhesion of the nail with all subsequent layers.
Execution technique
It is not difficult to glue water stickers on your nails beautifully, but the work itself will require accuracy. You should also take into account the nuances at each stage of the technology. There are 4 known options for fixing the water slider. In fact, the technique will be the same, but only the type of substance applied under the slider itself will change in it. The underlays for the slider can be a transparent base, an undried top, a special white base and an ultrabond.
Let's take a look at the underlying technology.
- A thin layer of base coat is applied to the nails and placed in a lamp to dry completely.
- The base layer is coated on top with a pigmented white varnish and dried again.
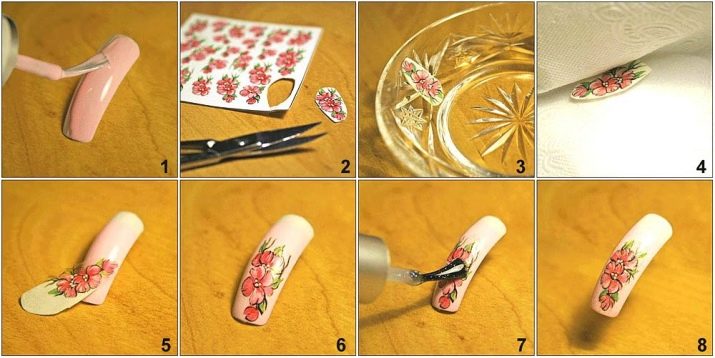
- Remove the protection from the sticker and place it face up on a wet napkin.
- A thin layer of base is applied to the nail, do not dry. The thinner the layer, the less likely the material will flow over the lateral ridges and cuticle.
- With tweezers, remove the working film and transfer the image to the nail over the sticky layer of the base.
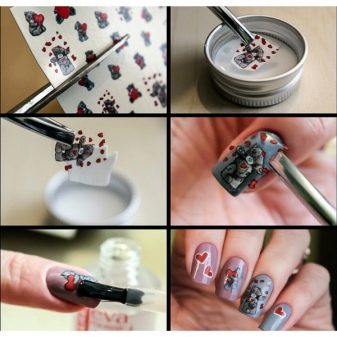
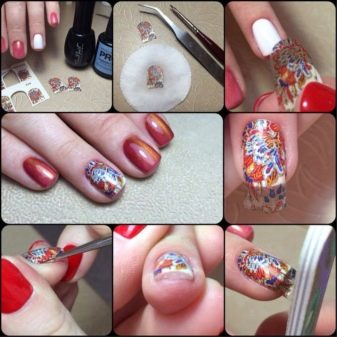
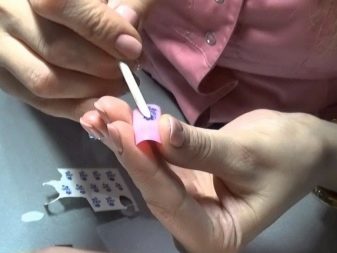
- Take a brush and distribute the picture as carefully as possible. It is advisable to adjust its size at the base of the nail before applying the decal, since when trimming it on a sticky base, the base material will flow outside the nail plate.
- The base with the picture is dried in a lamp. The drying time needs to be increased slightly to allow the material to dry completely. Otherwise, the layer will peel off very quickly.
- After that, cut off the excess material from the overgrown edge, cover the picture with a base layer, and dry it.
- On top of the base, they are sealed with a top, it is also dried.
- If a top with a sticky layer was used in the work, the residual stickiness is removed 30 seconds after drying.
If wrinkles form on the coating, they are removed with an acid-free primer. However, this work requires special care, since the composition can dissolve the picture to the ground. In this case, they barely touch the folds with a brush in order to remove only work defects. If a white base is used in the work, there is no need for an ordinary transparent material. Ultrabond is good for cases when you want to refresh a monochromatic manicure after a week of socks. It is characterized by a very thin applied layer thickness.

Some masters have their own approach to nail art with sliders. For example, they give the pictures the effect of hand painting, painting on some of the outlines of the images with gel paints or glitter. To make the design more interesting, they completely cover one nail with a sticker, and cut the other picture. After passing through it with acrylic paints, it looks very beautiful and really seems to be a professional drawing. This is a great opportunity to show the seasonality of manicure, which is one of the main fashion trends today.
You can also apply over the picture, in addition to paints, sparkles, glue rhinestones in the right places. To decorate the image, you can use kamifubuki or broths. You can make a different design on this basis: the main thing is to translate the image with high quality. If desired, you can add volume to it using a transparent gel or top. Someone uses water pictures even for an aquarium manicure, securely sealing them with several layers of modeling agent.
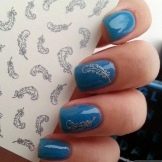
Interesting design ideas
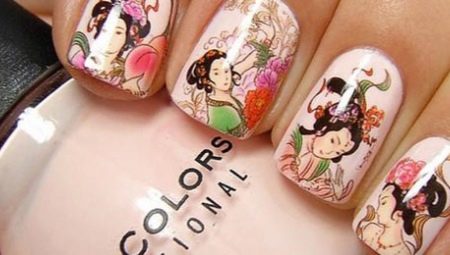
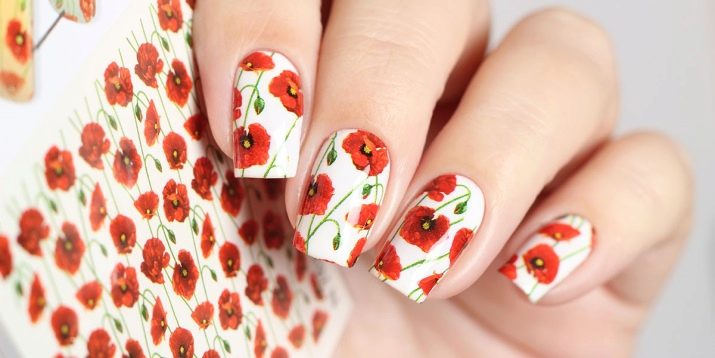
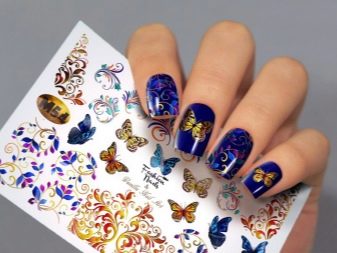
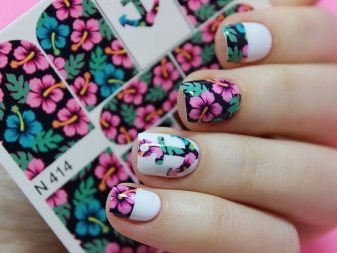
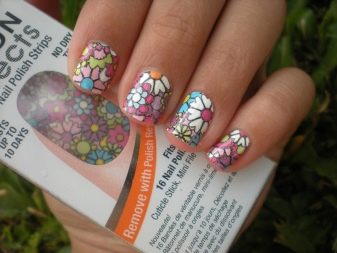
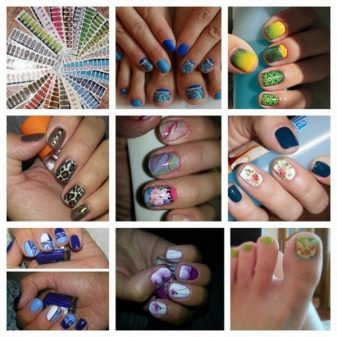
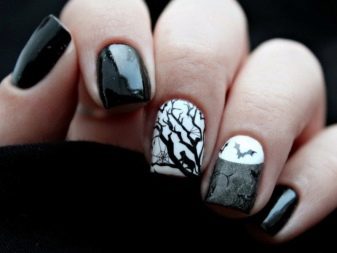
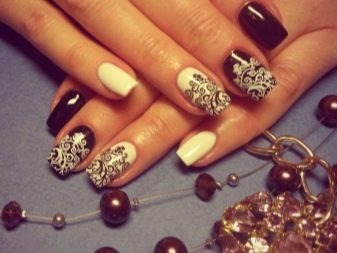
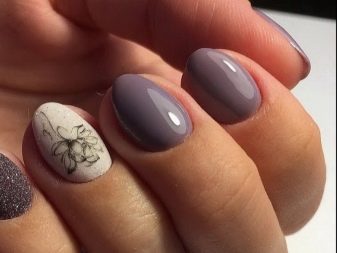
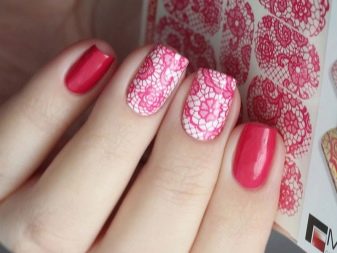
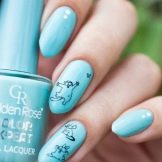
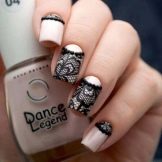
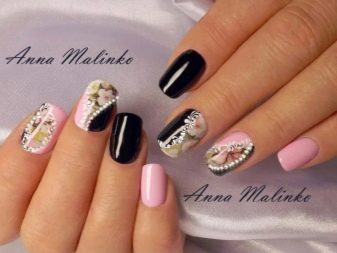
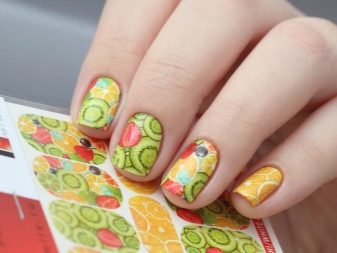
Examples of photo galleries will help you evaluate the possibilities of decorating nails with sliders. Beautiful lace design, worthy of an evening dress. Halloween option in neutral tones to maintain a special mood. Interesting design with floral designs on accent nails.
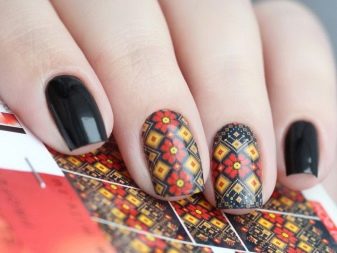
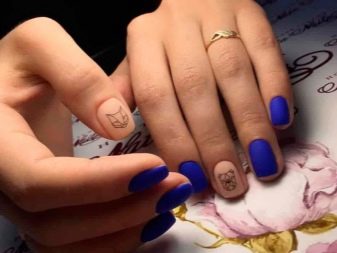
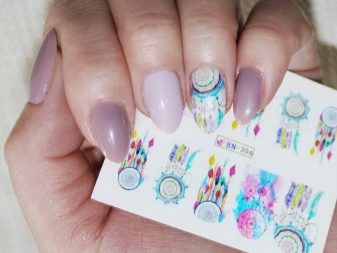
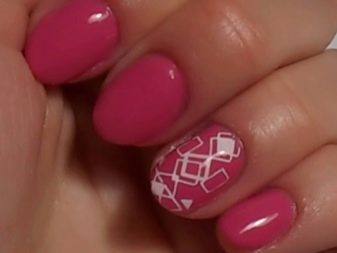
A harmonious solution for every day for the image of a city woman. Dreamcatcher designs are especially popular this year. The theme of lace or monograms leaves no woman indifferent. A chic solution in the spirit of geometry, simplicity and ease of design.
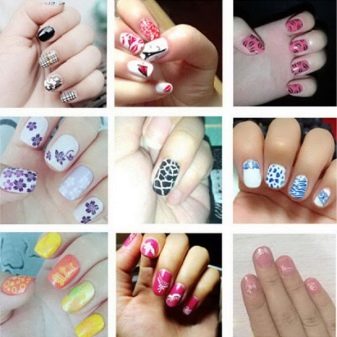
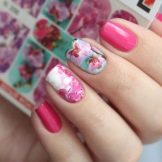
Great marshmallow manicure using a kawaii print.A successful solution for strict bows that fit into the established dress code. A beautiful design with a floral theme, able to embellish the image of a romantic nature. A variant of nail design for publication.
Delicate decoration of marigolds for a young fashionista. Stylish design that can brighten even the most laconic women's outfit.
For how to beautifully stick water-based stickers on your nails, see the next video.


