Why does the thread break in the sewing machine and what to do about it?
A sewing machine is not only a professional tailor's work tool. Many housewives have long appreciated the advantages of owning this technical device, which allows them to independently carry out minor repairs of clothes, sewing bed linen, and maybe mastering more complex basics of the art of sewing. Therefore, the situation when a thread breaks in a typewriter becomes very unpleasant. This degrades the quality of work and spoils the mood. What could be the reasons for such a nuisance and how you can deal with them - read below.
Common causes
Let's take a look at the most common causes of thread breakage on a sewing machine. There are, in fact, a lot of them.
Poor thread quality
A situation in which the car is just a victim of circumstance. Examine the thread: uneven thickness, lumps, knots - all this will tell you that you have purchased a poor quality product. The machine will tear such a thread over and over again.
Therefore, the only way out in this situation is to leave this spool of thread for manual darning, and get a new one for the machine: with a strong and elastic thread, uniform along the entire length.
Needle problems
There may be several of them.
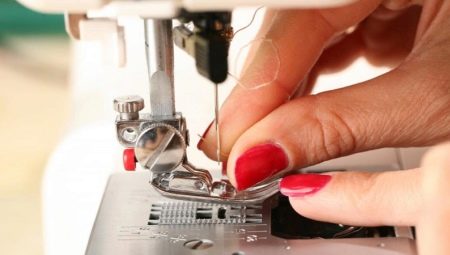
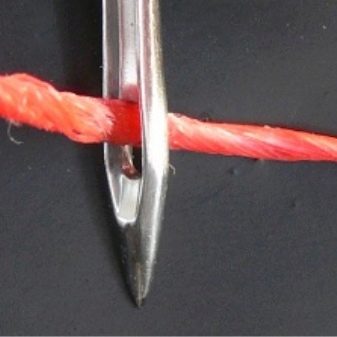
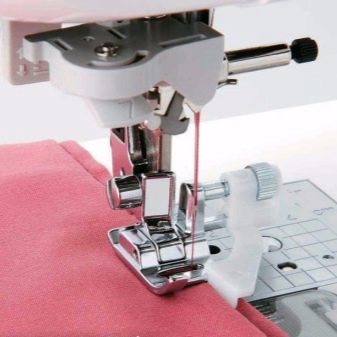
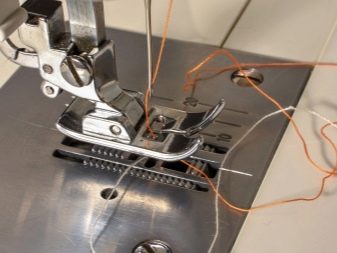
- Incorrect installation. Each needle designed for a sewing machine has a special groove stretched along its entire length. Regardless of the brand of the device, this groove should "face" in the same direction as the needle thread guide. If the position is correct, the thread moves freely when sewing and does not break. Check that the needle is inserted all the way, securely fastened with the screw. The passage of its "nose" next to the recess will also tell you about the correctness of its installation.
- Defective needle... If there are sharp edges in the hole where the thread is inserted, this means that every time you sew, the thread will be cut. Therefore, such a needle will have to be thrown away. Also, make sure that the needle is not crooked or damaged.
- Wrong needle selection. All needles are of different thickness. One is good at sewing silk, the other - jeans. If you do not take this into account and do not change the needle when changing fabric, you may also encounter thread breakage.
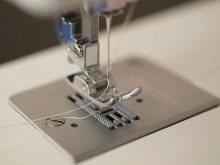
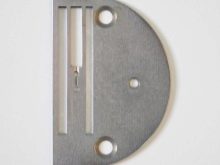
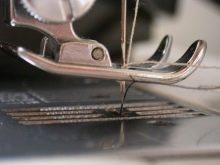
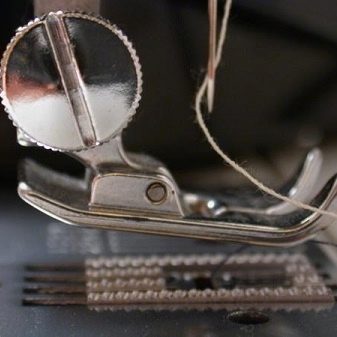
- Defective throat plate. If you operate your sewing machine frequently enough without paying attention to the correct positioning and centering of the needle, a situation may arise where it will hit the throat plate and scratch it. Over time, these scratches will lead to the fact that when sewing the line will begin to "go" to the side, the thread will begin to break, the quality of work will deteriorate.
The only correct solution is to install the needle as it should be, so that it goes into the hole provided for this and does not come into contact with the throat plate.
If the latter is already all in jaggedness, it is best to replace it first, and only then center the needle.
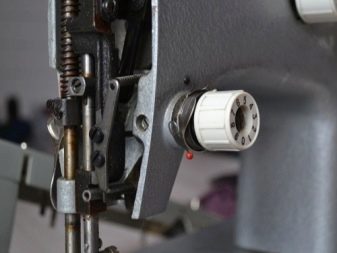
Voltage regulator
There may also be several options for malfunctions.
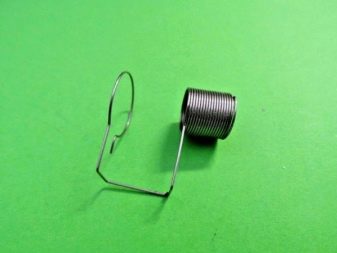
Incorrect spring setting
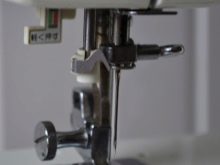
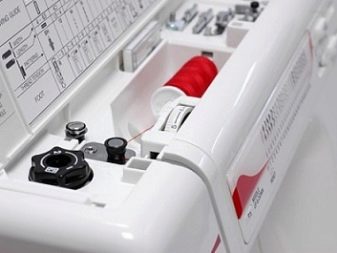
One of the most common causes of upper thread breakage is an incorrect spring setting in the tension adjuster. Please note that the wider curls of the spring should be closer to the body of the machine. Check the ease of its movement in the axis of the regulator (this is such a threaded rod). There are situations when its slot is too squeezed from the edge, and the tension cannot be adjusted. Way out: insert a screwdriver into this slot and slightly widen its edges to provide more free movement of the spring.
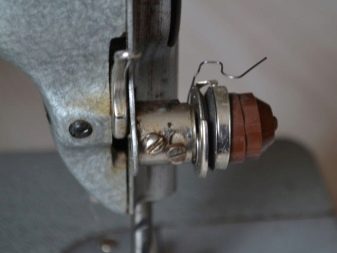
Improper assembly of the upper thread tensioner
Different sewing machines have a different upper thread tension regulator, but the principle of operation is the same. When the presser foot is fully raised, the spring should "squeeze out", release the pressure of the washers and release the thread from tension. When assembling or disassembling the tensioner, note to yourself that the pusher should be located in the slot of the regulator axis, "turned" in your direction with the flattened side. The squeeze washer must not be upside-down, the rod must not be serrated. When installing the compensation spring, adjust the optimal retraction force.
note that when the presser foot is fully raised, the washers should open the thread, allowing it to stretch freely. If the tension adjuster begins to wobble, the screw holding it may be loose.
You will have to remove the cover on the top of the machine, find this screw (from the end) and place a small piece of tin in the place of the clamp.
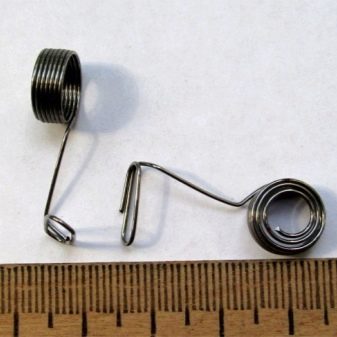
There is no compensation spring in the tensioner
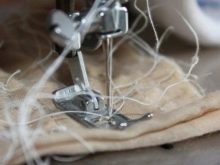
This part of the sewing machine is responsible for shaping the stitches. If it is not there, the upper thread sags, the thread begins to twist, and then breaks off. If you find such a problem, you will have to disassemble the tensioner and insert the necessary part, then reinstall it.
Other problems
Unfortunately, the above list is not a complete list of reasons for thread breakage in a sewing machine. Consider others as well.
- The pusher is incorrectly installed. This can happen if you have disassembled the device for any purpose and assembled it incorrectly. Look at how you installed the pusher: if the flattened side is facing the lever, then rearrange it.
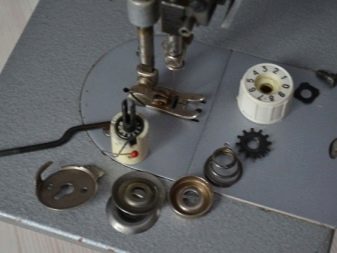
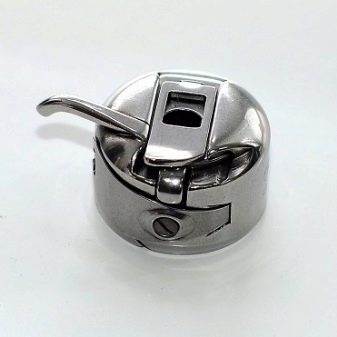
- Notches, surface irregularities... A sewing machine is a unit that has its own expiration date. If it is passed on from generation to generation, then it begins to undergo natural wear and tear. The thread slides over the surface - a groove appears on the part, preventing its free sliding. To eliminate this error, replace the bobbin case or grind the surface.
- Parts selected incorrectly. If you observe that the bobbin case is skewed during operation, it is difficult to fix, it means that it is not suitable in design. Check out the recommendations for the selection of parts and consumables specifically for your model of sewing machine.
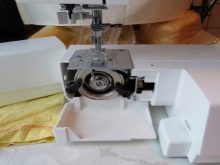
- The bobbin case has not been adjusted. This part has a small screw. How tightly it is tightened affects the breakage of the upper or lower thread. Remove the cap, make sure it is clean, loosen it slightly, reinstall it. Please note: experts advise you to first check the upper thread tensioner, and if this is not the case, then deal with the bobbin case.
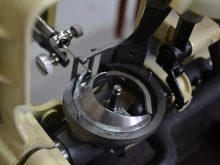
- The shuttle is defective. This is one of the most important parts of a sewing machine. If it is incorrectly installed or has defects, the upper thread is pulled incorrectly, as a result of which it breaks. Therefore, make sure that the hook and the needle always work in harmony, in unison.
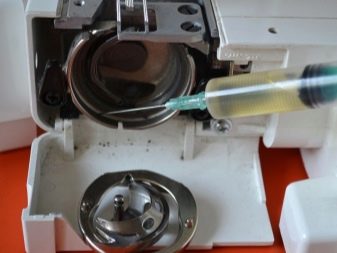
- Lack of lubrication. Such a reason is also possible. Most often it occurs when the machine is operated, but lubrication of units and parts is neglected.
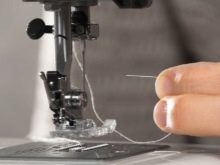
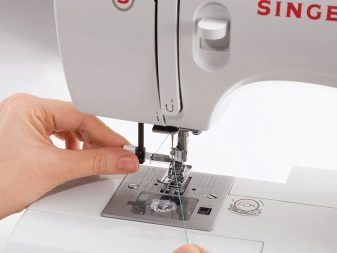
- Incorrect thread setting... If you were in a hurry and, while threading, missed any hole or groove, pull it out and start over.
How do I fix the problem myself?
It should be clarified right away - we are not talking about a global repair of the device, but about the elimination of minor troubles due to which your sewing machine breaks the thread.
Above all, keep in mind that a problem is always easier to prevent than to fix. It means that preventive examination, timely lubrication of parts, selection of high-quality threads for sewing, periodic replacement of needles should not be an accident, but a pattern.
But if the problem is caused not by a lack of care, but still by some kind of breakdown, then it is worth checking out the list of possible troubles that you can try to fix.
- Incorrect installation of the conical spring or tensioner spring... Disassemble, reinstall (or replace if worn out) the part and reassemble everything.
- Poor pusher performance. Install it as expected, if worn out - buy a new one.
- Release washer stopper. Reduce the flange of the washer or purchase a part without a flange.
- Absence / breakage of the compensation spring. Purchase a new part, install by adjusting the tension force.
- When there are scratches on the surface of the presser foot / stitch plate, grind them with tools or replace them.
- The streamlining of the bobbin case is disturbed: the screw is skewed, burrs appear. The cap must be either repaired (if possible) or completely replaced.
How to adjust the thread correctly?
Below is a quick guide to adjusting the thread tension.
- Find a tension adjuster. All machines have it in different places, so if you don't know where it is, check the user manual. If you do not have one, then look for a digital regulator that has nothing to do with the choice of the type or size of stitches.
- To increase the thread tension, turn this knob towards a higher number. To begin with, rearrange it by 1/2 division or 1 digit and check on a piece of cloth what the tie is. Adjustment should be done until the upper thread stops "peeking" from the back of the tie.
- To decrease the tension, you will have to turn the adjuster in the opposite direction - towards the lower numbers. Repeat the adjustment until a fully aligned screed appears.
If your sewing machine periodically breaks the thread, interfering with work and spoiling the result, check and eliminate all the above reasons for the malfunction of the unit.
If you are convinced that the problem is much more serious and lies in the breakdown of a complex part, contact the service center to specialists.
For information on why the thread breaks in the sewing machine and what to do about it, see the next video.


