How to properly thread the sewing machine?
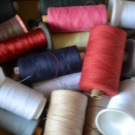
Without threading, no sewing machine can start. Thread is the component without which it is impossible to sew the same or different types of matter: in this case, one would have to resort to other methods and technologies, different from sewing.
Preparatory stage
Make sure there are no threads in the clipper that you don't need right now. If they are present, they are easy to pull out.
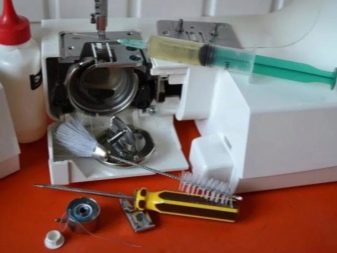
Check the position of the upper thread tensioner. It must be serviceable and functional, all parts must be in place. If there are lint left from the old threads, clean the tensioner with a brush. Pull out and inspect the hook, bobbin and cap for nicks.
Think back to the last time you lubricated a mechanism. If it was a long time ago, for example, more than six months have passed - disassemble the machine, check the condition of the mechanisms.
Clean them if necessary. Use industrial oil or engine oil to lubricate rubbing moving parts. Assemble the machine, plug it in and run it idle for a minute.
Make sure that during a test run, all mechanisms work smoothly, clearly. There should be no slowdownwhen you are not expecting it, as well as the movement of mechanisms with a noticeable effort.
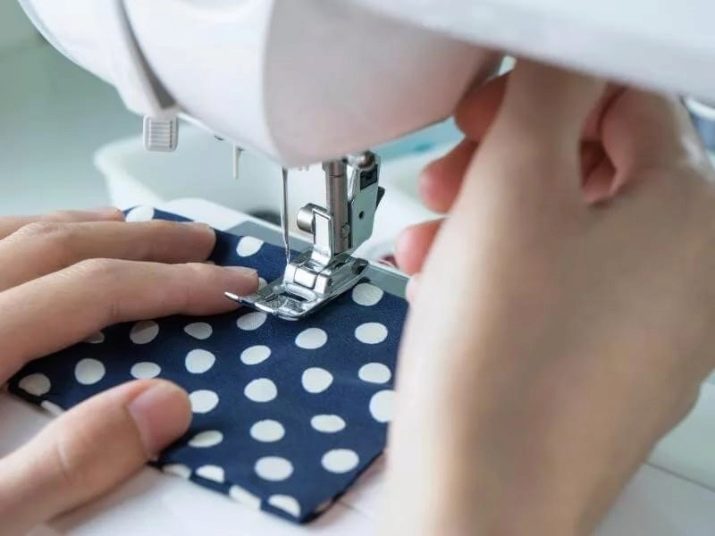
With the hook in place, insert a needle that matches the thickness of the upper thread you are going to use for sewing fabrics of a specific thickness and texture. For household sewing machines, needles with a flask cut along one side are used.
Refueling nuances, depending on the type of machine
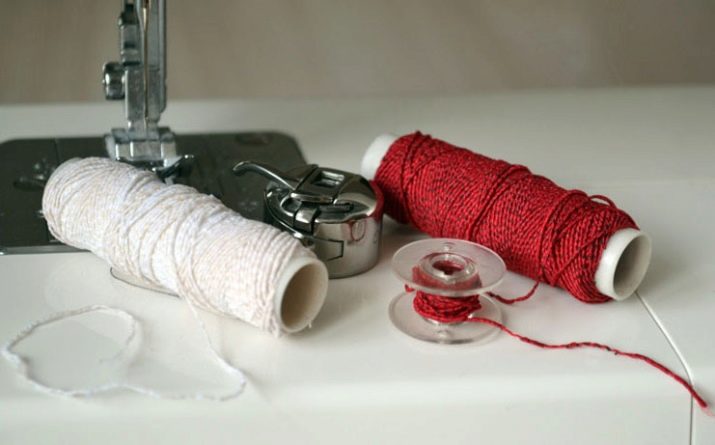
It is not difficult to thread the sewing thread correctly.In any sewing machine, there are only 2 stages of threading: the upper thread (into the needle) and the lower thread (through the shuttle mechanism).
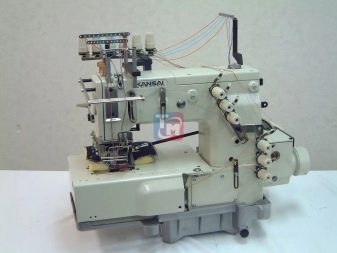
A machine with two or more needles is the lot of true professionalswho, according to the project of sewing an item of clothing or accessory, need the same number of seams at the same time. How many needles, so many stages of threading: each needle sews its own thread, independent of the "neighbor". Multi-needle and multi-bobbin machines are, in fact, a sewing mini-conveyor that speeds up sewing as many times as the number of needles used on this device.
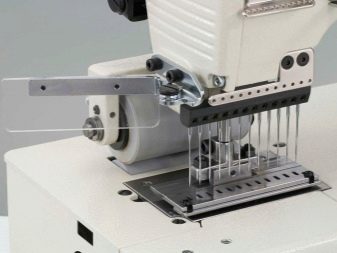
The simplest option is a twin-needle sewing machine, which uses the upper two threads. They are inserted from the same side. Each needle uses its own "escape" on the needle bar. The bobbins on the typewriter are located at the top on either side of the working axis of the needle bar.
But it is not recommended to use the needle threader with a double (triple or more) needle - you can damage the needle adjacent to the needle that is being threaded with it.
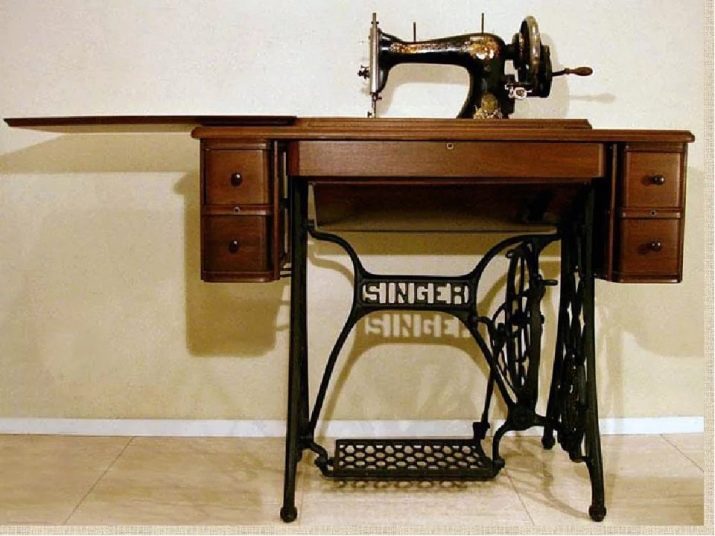
In single-needle household Soviet machines, for example, the old generation Singer, Podolsk, Chaika, PMZ, the filling of the upper and lower threads is approximately the same according to the general scheme. There is no need to give any special advice here. The sequence of actions can be any - it doesn't matter whether you insert the upper or lower thread first, the result will be the same.
But before proceeding with threading, it is necessary to introduce a division of the machines according to the type of drive: manual, foot and electric (electromechanical device).
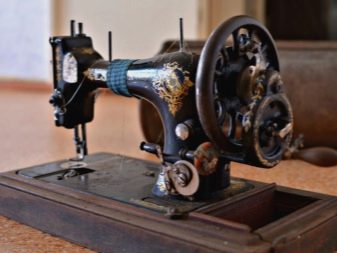
Manual
A manual typewriter was previously considered the type in which, instead of an electric motor with a drive shaft, a special lever was combined with a transmission gear, which, in contact with the main gear, spun it, forcing the rest of the mechanisms to work from the kinetic energy transmitted by this "twist".
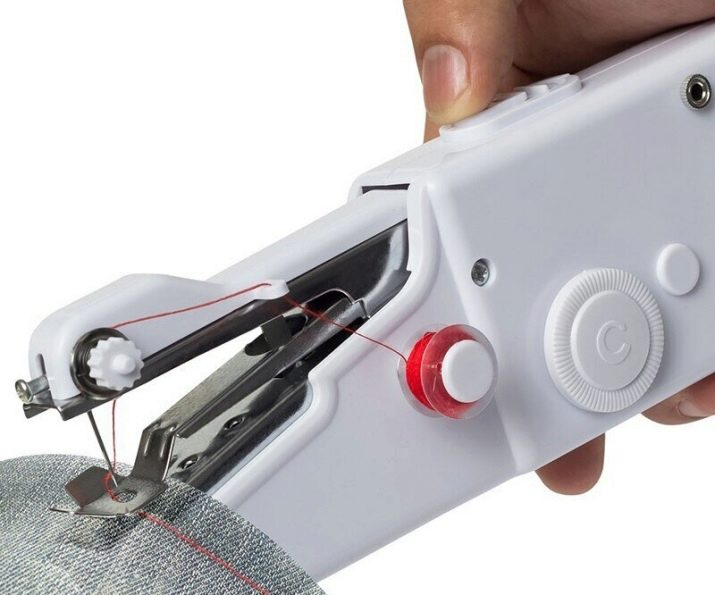
But today in online stores they sell the simplest single-thread sewing stapler - a portable device with one spool, which, in addition to a needle holder, has a simple thread guide, a tensioner (like the one in Soviet typewriters), and a simple shuttle. The bobbin mechanism - and with it the bobbin thread - is completely absent, that is, the "stapler" stapler is "one-sided". The upper (single) thread is pulled through in almost a matter of seconds. If the thread is chosen exactly according to the thickness and stiffness of the fabric, you can start sewing, but you will have to move the fabric manually at each stitch.

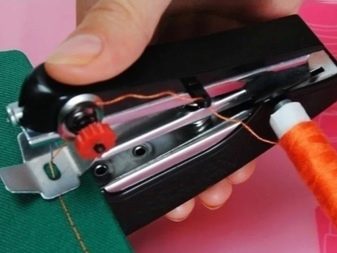
There is also a motorized (electric) version of the sewing stapler - a single-thread portable sewing machine. It is equipped with the simplest collector motor powered by direct current with a voltage of several volts. The serrated fabric mover moves the fabric automatically. However, on such a typewriter there are no protective guides to prevent the fabric from slipping to the side and the appearance of a crooked seam.
Sewing is started with a button on the top, but adventurous users take it off and connect such a machine through a switch pressed by the foot. The fact is that hands must hold and guide the fabrics to be sewn on both sides - otherwise, the seam, again, will come out crooked.
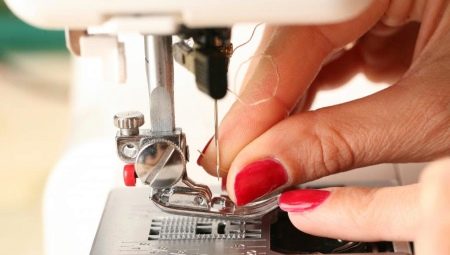
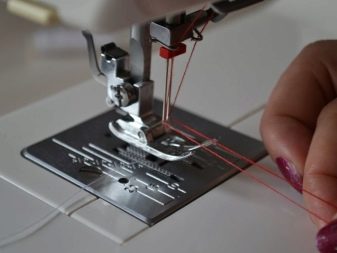
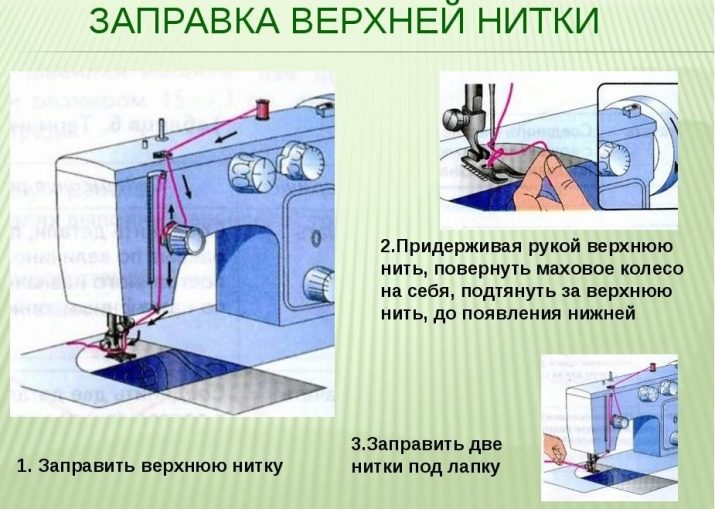
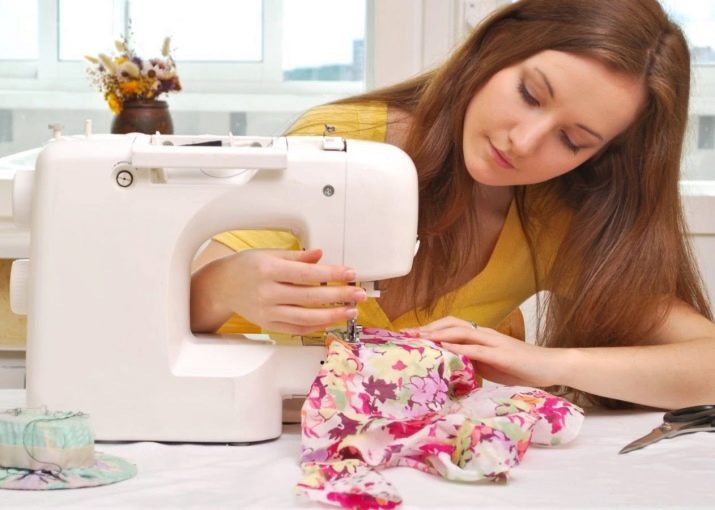
So, to thread the upper thread in a classic sewing machine (and not in the sewing stapler we just talked about), do the following.
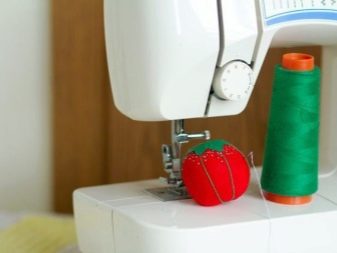
- Place the spool on the pin at the top of the body and unwind half a meter of thread (or more) from it.
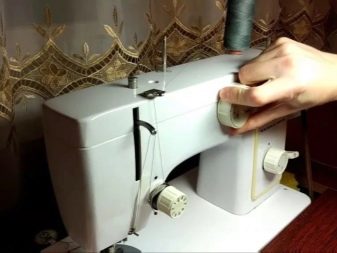
- Pass the needle through the upper thread guide and tensioner, which has a spring loaded screw (or nut on a bolt). The thread is clamped between the staples facing the convex side to each other.
- Thread the thread through the eye of the tensioner lever and then into the “escape” on the needle bar.
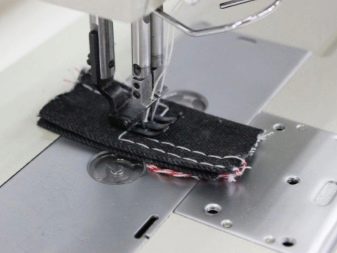
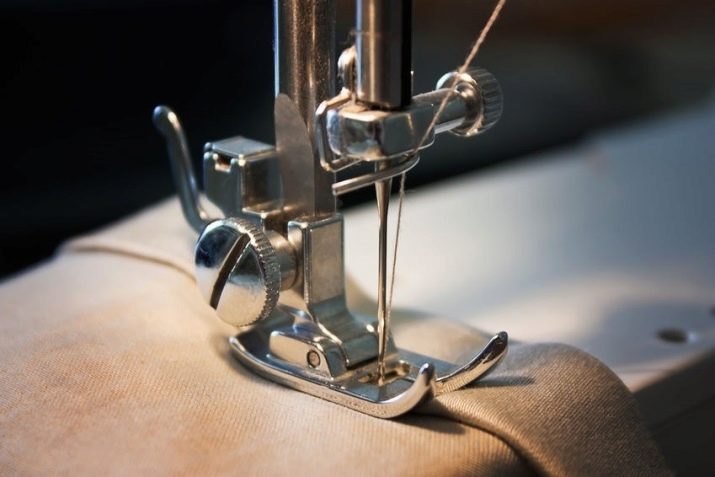
- Pass the thread through the eye of the needle already inserted into the holder, pass it through the cut on the foot - and pull it to the side (away from you).
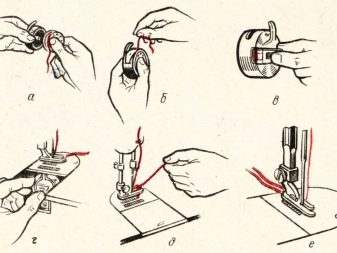
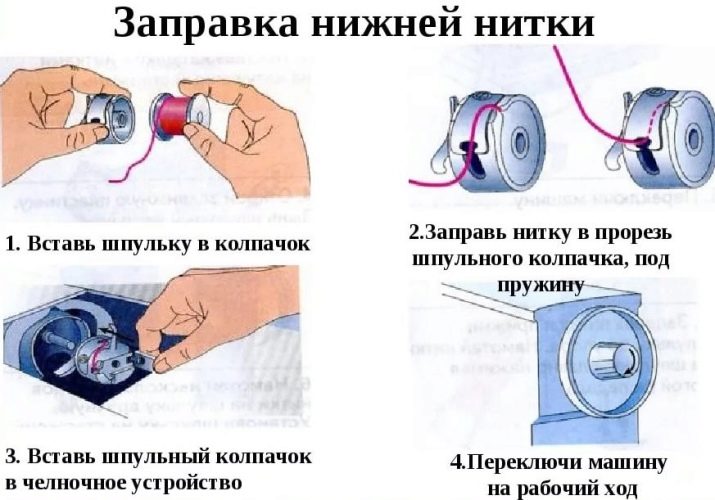
Follow the steps below to skip the bobbin thread.
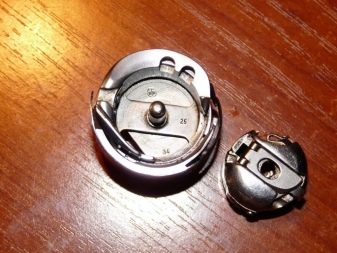
- Open the lower compartment by sliding the protective (cover) plate to the side and pull out the bobbin cap.
- Insert the bobbin onto the bobbin winder shaft and fix it there.
- Set the machine to bobbin winding mode. At the same time, the needle bar mechanism and the shuttle will be immobilized - the force from the "twist" will be transferred directly to the "winder", and not to the main mechanisms that carry out sewing. Switching between the sewing and bobbin winding modes is carried out using a special lever that withdraws the intermediate shaft of the main mechanism and transfers it to the transfer gears of the winder.
- Place the spool of thread on the lower pin located just below the bobbin winder.
- Unwind some thread from this spool and pass the end to the bobbin.
- Lower the pinch roller holding the bobbin in place and start rotating the twist lever. With your other hand, guide the thread onto the bobbin so that it does not wrap around or get tangled.
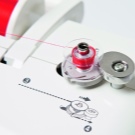
- Unwind 10-20 cm of thread from the bobbin. Insert the filled bobbin into the bobbin, and the bobbin itself into the hook. It should snap into place in the holder.
- Pass the end of the thread through the hook tensioner.
- Close the protection plate and bring the end of the thread off the bobbin under the foot - into the same cut. Pull the thread to the same side as the top.
Now you can prepare the fabrics for sewing.
Be sure to move the selector lever (next to the bobbin winder) back to the Sewing position.
Foot
Leg machines of older generations in terms of threading are generally no different from manual machines. The mechanisms and devices that make up their composition are placed on the body and under it in the same way. The only difference is that The sewing operator does not rotate the hand crank, but rhythmically shakes with both feet a long transverse pedal, which is brought to the external gearbox by means of wooden or plastic guides. The large gear ratio on the drive wheel transmits the torque to the machine's drive shaft via an external drive belt.
From a distance, such a device resembles an elevator car at the entrance of an apartment building, which works the other way around: the motor raises the elevator car to the desired floor through the transmission wheel, and the car itself, dropping back down, rotates the engine through the same gear wheel. Old foot machines, like manual ones, are completely autonomous - they do not need electricity.
To thread a foot sewing machine, follow the instructions above for handheld sewing machines. Currently, foot sewing machines have been supplanted by the simplest manual units and much more advanced electrical ones.
Electric
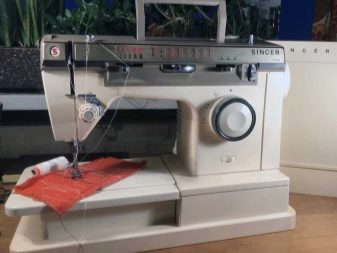
Refueling an old (Soviet) electric sewing machine, for example, "Podolsk" or "Singer", is no different from its manual predecessors. Only the "Seagull" differs in the location of the tensioner, guides and the upper thread tension lever - they are located in the front, on the user's side, and not on the side. But the threading of the upper thread at the "Seagulls" is about the same.
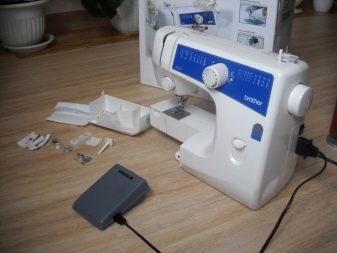
Modern sewing machines, such as those made by Brother, the procedure for the upper and lower threads is as follows.
- Put the coil on its pin - on top of the machine body.
- Pull some of the thread off the spool.
- Secure the end of the thread to the bobbin. Modern bobbins have two holes opposite each other - thread both at once. Wind a few turns to prevent the thread from slipping off the bobbin.
- Place the bobbin on the rewinder pin - it is close to the main spool shaft.
- Slide the latch to the leftso that the bobbin does not jump out when winding the thread.
- Start bobbin winder using the foot pedal.
- After winding a full bobbin, extract it, sliding the catch back.
- Remove the coilwith which you wound the thread on the bobbin, and replace it with the one you want. The thread should be slightly thicker than the thread used on the bobbin.
- Pass the thread from the spool past the slit in the thread guide. It is located at the top of the machine body, but much farther than the bobbin winder.
- Thread the thread into the U-shaped channel on the machine body. Thread it through the disc-shaped tensioner.
- Unfold the thread and wind it up along the continuation of the channel. Pull it through the drawer - it has an outlet. Pass the thread through it.
- Pull the thread down to the needle - and insert its end into the needle itself. Before that, pass it through the last guide.
- Pass the thread through the slit on the foot. Take the thread to the side.
- Open the hook compartment cover. It is placed next to the needle. If there is another protective cover under the main (additional) one, remove it too.
- Unwind about 10 cm of thread from the bobbin you just wound. Insert the bobbin into its seat. Pull the thread off the bobbin a little to make sure it spins effortlessly.
- Close both covers (if there are really two of them, and not one).
- Pull the end of the thread up... Fold it into a loop. Pass the bobbin thread through this loop. Turn the handwheel so the upper thread pulls the lower thread. This is necessary in order for the seam when sewing fabrics to turn out the way it should eventually be.

The difference between modern and old sewing machines is that the thread travels a longer path, while hiding under the edge of the device.
Possible mistakes
If the machine does not sew properly, or the thread breaks or slack, make sure that you haven't made any of the following mistakes.
- The thickness of the needle and the size of the hole (eyelet) do not correspond to the stiffness and thickness of the stitched layers of fabric.
- You missed the tensioner, thread guides, or violated the sequence of threading and threading.
- You are trying to sew with no upper or lower thread.
- The machine is de-energized. You have not turned it on.
- You have wound too much thread on the bobbin, making the first thread difficult to rotate.
- The upper thread is equal in thickness (or less) than the lower thread.
- You are using too coarse threads - for example, pure cotton, not synthetics (or semi-synthetics).
- You have chosen the wrong type of seam, which is unacceptable at this stage and for the fabric being sewn now.
- The upper thread tensioner is too loose or too tight.
- The bobbin and its cap are noticeably broken over the years or during careless storage. Chips and notches appear on the bobbin.
- The machine was not lubricated on time. It rotates with noticeable effort, overcoming it. From this, the speed dropped significantly. The machine sews in jerks, constantly changing the number of stitches per second (and minute), that is, its speed, speed is questionable.
- The upper thread tensioner is clogged, worn out.
- The spools of thread lay for several years and lost their characteristics: strength, elasticity, smoothness.

Other signs, such as sagging stitches, can indicate errors. The reason is that the upper and lower thread tensioners have not been carefully adjusted. Ideally, it should be the same.
Conclusion
Threading from above and below in any machine - be it a device with a manual, foot or electric drive - is not difficult. Having threaded the threads, check their tension. If everything is done correctly, the machine will work without problems in all cases.
For how to properly thread the sewing machine, see below.


