How to set up a sewing machine?
No matter how perfect, "advanced" and reliable the sewing machine turns out to be, an experienced craftsman checks its setting before each session. This is vital for the trouble-free operation of the unit for a number of years before it is repaired after a breakdown or replaced with another one.
What parameters can be adjusted?
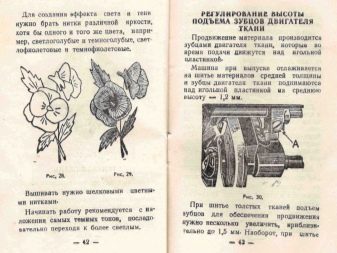
The need to fine-tune the operation of the sewing machine is a consequence of not quite correct selection of threads of the appropriate thickness for a specific material. A needle that matches the fabric and thread is no less important. For example, thick and coarse fabrics require a higher needle number and a lower thread size. Then set the following settings.
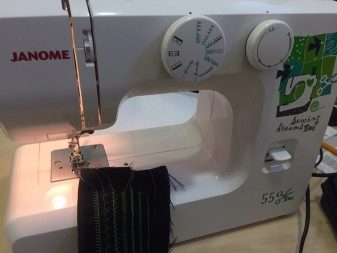
- Stitch length (pitch) - 2 mm. Thin fabric requires more frequent stitches, thick fabric, on the contrary, but no more than 4 mm. The thickness of the fabric (its total value for several stitched layers) on electronic sewing machines with the help of a regulator is set on a scale. The up position of the adjuster means that the feed rollers will not rotate while advancing the fabric. The lower the arrow on the adjuster, the longer the stitch will be.
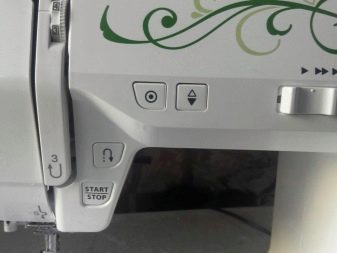
- Reverse (fabric is fed in reverse) - the movement of matter towards the tailor. You can enable this mode using the adjusting (multi-position) lever by setting the desired value. The stitch length remains the same - there is no need to pull out the fabric and stop the process.
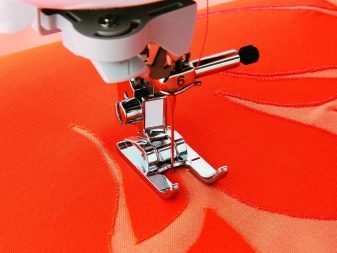
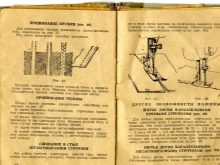
- Force applied by the foot to clamp the fabric. Sewing lighter fabrics, such as silk, requires only a slight decrease in the presser foot pressure.Thick and coarse fabrics require increased pressure to prevent the fabric from accidentally shifting, resulting in a crooked seam. The adjustment of the downforce acting on the fabric is carried out with a screw, on the handle of which the divisions are applied.
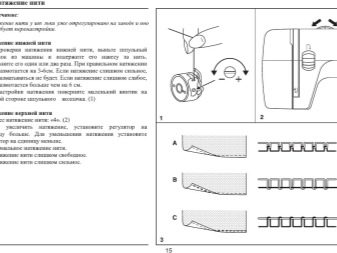
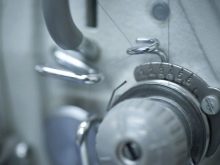
- The tension of the thread should be such that the lower and upper threads are twisted in the middle of the sewing layers of fabric. The seam looks the same on both sides. It is necessary to adjust the screw on the tensioner itself.
Fundamental rules
Even a beginner can independently adjust the parameters of the sewing machine. It is necessary to follow the instructions for use of the product, but when something is not completely clear, contact a more experienced tailor.
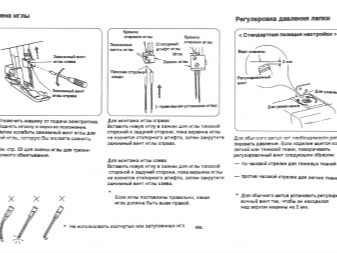
- Adjust the spring with which the thread is fed up to the needle. Find the position at which the thread is untwisted when it is locked with the bobbin.
- Adjust the thread tension you want - it is carried out by means of the shuttle adjusting screw mechanics and from the front on the machine itself.
- Test the device after adjustment... You will need an unnecessary flap. After sewing the test stitches on the machine you just set up, check that there are no dangling stitches. If so, the upper thread tensioner is too tight, loosen it. Repeat the test stitching - the seam with the correct tensioner setting will come out even, uniform, not overtightened. In this case, in the middle there are nodules that are not palpable during a detailed examination.
- The correct presser foot pressure value is obtained by turning a separate screw... In most models of electromechanical and electronic sewing machines, it is present in the access area and turns without much effort on the part of the user. This is necessary for accurate and quick - within a few seconds - adjustments. Do not over tighten or excessively loosen this screw. In the first case, the fabric may tear, in the second, the seam will come out skewed, since the presser foot does not press the fabric layers properly.
- Make sure that the electric drive is serviceable and functionaln. Achieve the optimum speed of its drive shaft (the number of revolutions per minute, sufficient for quick and comfortable work). This parameter is set using the knob on the foot pedal. There are times when the machine starts abruptly even when the pedal is pressed lightly. The pedal itself also needs to be cleaned regularly.
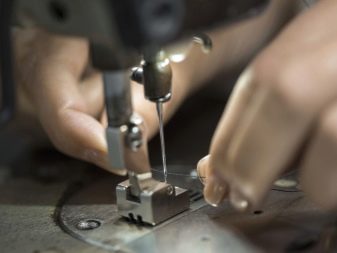
- Finally, check that the needle clamp is working properly. The needle should not be blunt, otherwise it will tear the material every time it is pierced in a new place before applying a new stitch.
These rules are also suitable for tinting an old manual sewing machine.
Step by step description of the process
Depending on the model and year of manufacture, the setting of the sewing machine may differ.
After downtime
If the sewing machine is idle, the step-by-step guide is as follows.
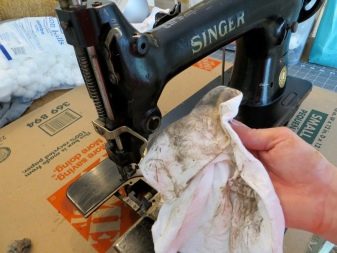
- Disassemble the device and check which parts are oxidized. Remove rusty deposits and lubricate them. If some part has collapsed (for example, the machine has stood for a long time in high humidity conditions), try to find a replacement for it. If the parts are out of production - perhaps contact a turner or milling machine for its manufacture (show the specialist the drawing and what is left of the old part). Action makes sense when the rarity is valuable in itself, and it is worth trying to restore it.
- Raise the presser foot and run the machine without thread.so that the oil spreads over rubbing surfaces.
- Change the needle (if it was originally) or put a new one right away.
- Thread the thread of the required thickness and strength, run the typewriter on an unnecessary piece of cloth.
If the machine sews well, start full-fledged sewing.

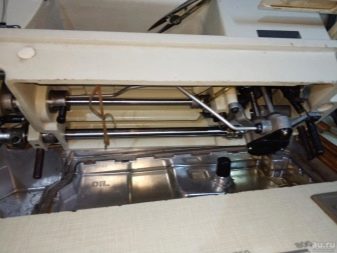
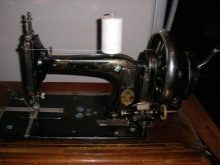
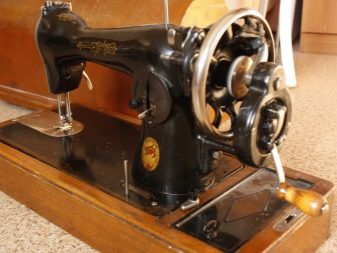
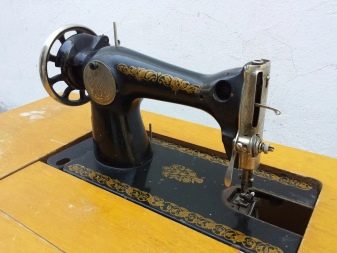
How to set up a PMZ machine?
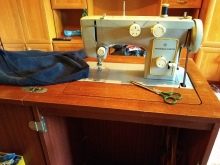
PMZ is able to sew fabric of any thickness and density. It is not a problem to sew several layers of different elasticity and thickness together with its help.Although this machine has been around for almost a century, it is still used by experienced seamstresses to this day. This is one of the few devices created literally for centuries. To customize the Podolsk model, do the following.
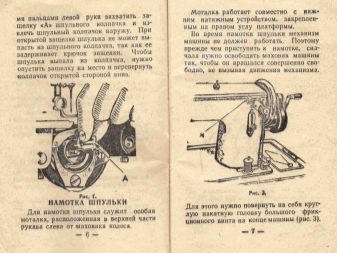
- Wind the required amount of thread onto the bobbin. The winder is located at the back, next to the flywheel, with which the thread tensioner also interacts. Place the bobbin on the rewinder and the thread spool on the pin on the top of the body. Pass the thread under the tension washer and secure the end of the thread to the installed bobbin. Pull the rewinder frame downward until the pulley rim and spinner are in contact. Turn the handwheel to wind the thread onto the bobbin. Run the free edge of the thread to fill the bobbin evenly.
- To install a bobbin with thread, secure it in the cap so that there is a beveled notch on top. Through the latter, the thread unwinding during operation comes out. Further, the same thread bypasses the pressure spring and exits through the end slot. Lock the bobbin cap, pull the end of the thread out and close the hook compartment.
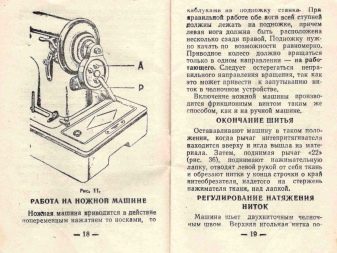
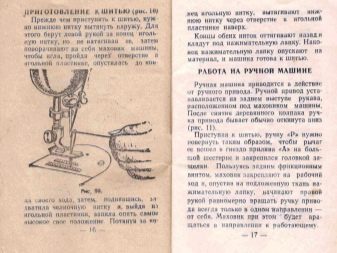
- When threading the needle, be sure to block the handwheel with the locking screw, turning it towards the worker sitting at the machine.... Before this, move the mechanism that moves the needle using the drive handle to the extreme left position. In this case, the cut of the needle bulb should be turned to the left. The pulling lever is retracted to the uppermost position, then the upper thread is threaded into its eye. At the same time, the handwheel scrolls towards the seam. Pass the thread through the thread tensioner and thread guide and thread the needle through the thread.
- Pull the bobbin thread outward, turning the twist.
If everything is done correctly, then when dipping, the needle catches the bobbin thread from the hook. Then it rises upward, and both threads are passed through the stitched layers of matter.
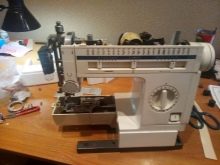
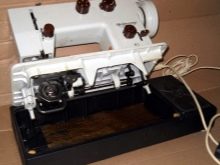
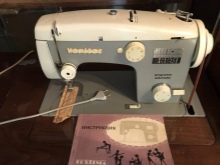
Setting up "Seagulls"
In the "Seagull" typewriter, the tuning algorithm is similar to the "Podolsk" one, but slightly different. After disassembling, cleaning and lubricating, assembling the clipper, do the following.
- Install the thread and needle. To set the correct thread, turn the handwheel until the needle bar and thread tensioner are in their uppermost positions. Insert the spool into the spool seat as far as it will go. Turn the spool with a flat cut towards the foot, fix it with the screw so that it does not fall off during operation. Pass the thread through the thread guide, the presser mechanism, the tension lever, the loop of the needle clamp, and the needle hole.
- Wind the bobbin bobbin, making sure it is full. Insert the bobbin into the bobbin and thread the end outward.
- Turn the spinner pull up both threads and place them under the sewing foot.
The "Chaika" machine has a disc with different working positions. If the material is thick and rough, the teeth of the disc protrude outward. In the case of fine fabrics, they are hidden. After completing the setting, lower the foot with the needle, turn the twist towards you. You can start the sewing process by placing the fabrics to be sewn into the stapler.
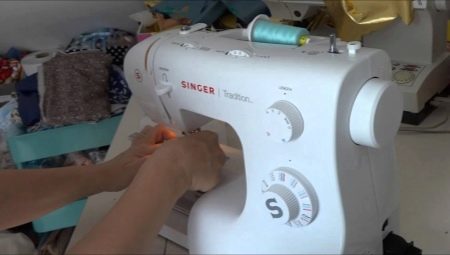
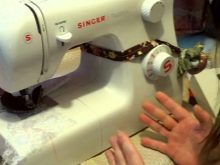
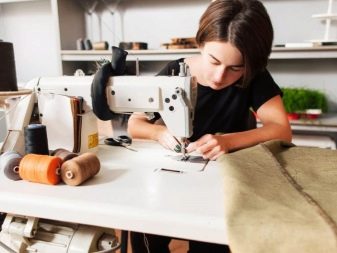
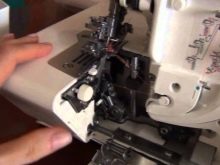
Customizing modern models
Use the instructions included in the kit. Most of the newer models function in the same way, but the step-by-step instructions may vary. Do the following:
- adjust the optimal positions of the working parts using special adjustment rollers;
- adjust the position of the bobbin so that its cap protects the thread from unwinding excessively;
- Normally, the thread moves in a strict sequence: first through the metal holes, then through the tensioner, the thread pulling lever, the drain hole on the needle holder and through the end of the needle.
The parts with which the thread is properly tensioned are located within the shuttle screw, as well as on its end face (upper and lower thread).
After finishing the adjustment, make a test seam on an unnecessary piece of cloth. The indicator of the correct seam is small knots in the middle of each stitch, while there are no dangling loops.

The correct position of the presser foot is adjusted using the appropriate spring. If the foot is not debugged, the fabric will tear or the seam will easily open at the slightest tension. Be guided by the thickness and stiffness of the fabric you want to sew the parts of.
Also set the required number of revolutions per minute. The electric motor shaft speed regulator is located on the foot pedal. If the engine speed controller is unstable, disassemble and clean its contacts. With the complete wear of its current-carrying parts, a complete replacement of this component is required.
If this machine has a tooth adjuster, insert a needle of a suitable height, which will affect the length of the stitch. The thin thread should form a stitch no longer than 2 mm. For thick threads, the stitch length is 3-4 mm.
When is adjustment required?
Setting up the sewing machine is necessary in the following cases:
- before the start of sewing another product, for which fabric of a different thickness and texture is used, as well as a thread of a different denomination;
- after a long period of inactivity - moreover, it may require repair, cleaning and lubrication of parts and mechanisms;
- in the process of planned prevention.
Failure to readjust the sewing machine can result in at least a breakage of the needle, entanglement of threads and material damage. The latter is especially undesirable when the matter is "clean", ceremonial, and you do not have an additional amount of it at hand now.

Even sewing machines of the lower price range - from several thousand rubles - are able to work without any problems for ten years. It doesn't matter if you use the typewriter every few months or it works hard and productively for several hours a day - adjusting, checking its work is important so that this work does not stand.
Setting up an old sewing machine "Podolsk" is presented below.


