All about bobbins for sewing machines
A sewing machine consists of a huge number of different parts, each of which is responsible for a specific process. Among them, it is worth noting such an important detail as the bobbin. Correct operation of the sewing machine is impossible without it.
Device
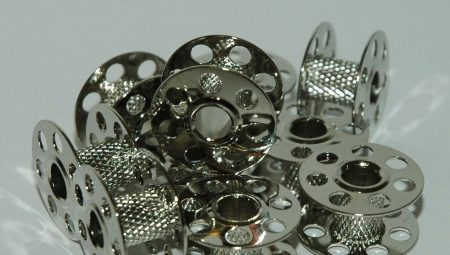
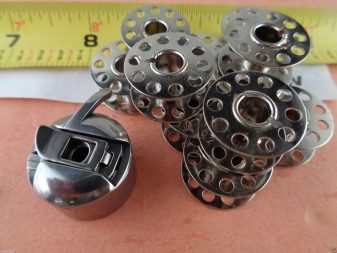
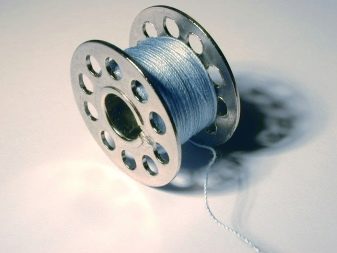
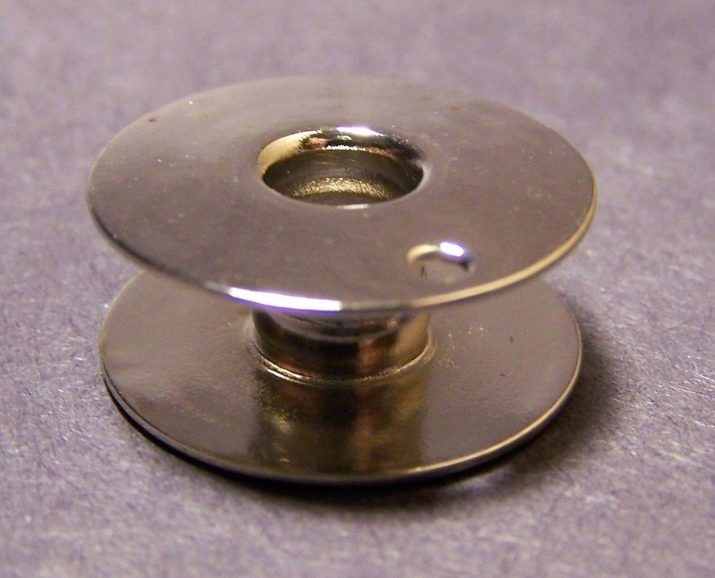
The sewing machine bobbin is a small spool with a diameter within 2.5 centimeters. It is intended for winding the thread. The bobbin itself is placed in the bobbin case, which many people mistakenly call the bobbin. Very often it is he who becomes the cause of various breakdowns. Therefore, the walls of the cap must be sufficiently smooth and even, without chipping, so that the bobbin inside can turn very easily.
For better operation of the machine, many specialists put a special gasket made of thin oiled paper on the bottom of such a cap. This is so that the bobbin can move more easily without breaking the thread.
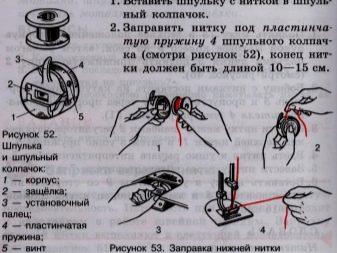
The bobbin case itself consists of a leaf spring, a small latch, a housing, a small screw, and a locating pin. The bobbin cap fits into the holder.

Principle of operation
A device as small as a bobbin is of great importance in the operation of a sewing machine. She is responsible for the quality of the stitching. If the thread is wound by hand on the bobbin, the seam may become uneven.
The bobbin works as follows. The thread that comes from above grabs the bobbin thread. This is done by turning the shuttle completely. Then he passes the bobbin, as well as both threads, through the buttonhole, resulting in a stitch.
Views
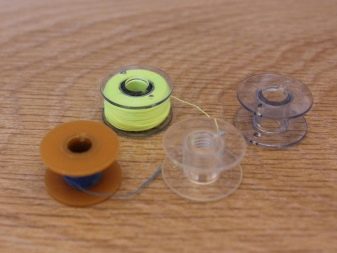
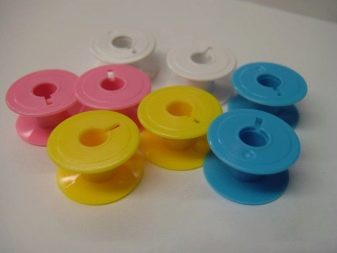
There are two types of bobbins, each with advantages and disadvantages. Some are made of metal and others are made of plastic.
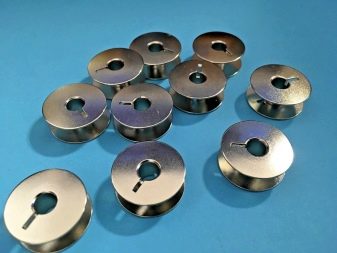
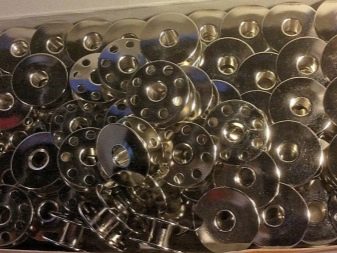
- Metal bobbins most commonly used for industrial sewing machines. After all, the loads in factories are too large, and parts made of plastic may simply not be able to withstand them. In addition, metal bobbins look much more solid, and their service life is longer.
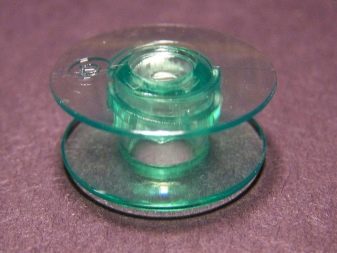
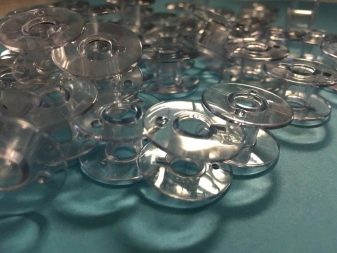
- Plastic bobbins are more often used for household machines. They weigh much less. Some are transparent, allowing seamstresses to control the amount of thread remaining. In addition, the plastic bobbin moves over the cap much more easily. Another advantage is its low price. However, the plastic bobbin also has several drawbacks, among which it is worth noting the appearance of jags on it as a result of the needle brushing its walls. This leads to the fact that the thread begins to break. In addition, the service life of such bobbins is not very long.
How to choose?
First of all, when buying a bobbin, you need to pay attention that there are no chips on it, and its surface is smooth. Since it will be difficult to visually check its parameters, then you need to take the old bobbin with you to the store. Otherwise, it may not fit the sewing machine. In addition, you need to check the bobbin in operation while still in the store.
In the event that the bobbin is purchased for work at home, you can purchase a plastic model. But professionals should pay attention to products made of metal.
How to fill, insert and customize?
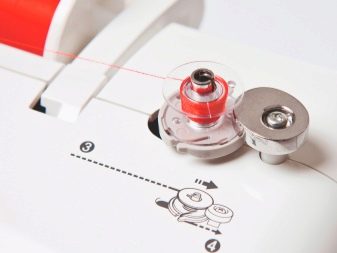
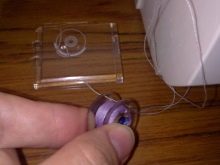
Novice seamstresses need to familiarize themselves with the basics of working with a classic sewing machine. It is necessary to learn not only how to insert the bobbin into the hook, but also to thread the thread. However, first you need to properly wind the thread around the bobbin. To do this, you need to place the spool of thread on the holder located on top. This must be done so that the thread is removed from it counterclockwise.
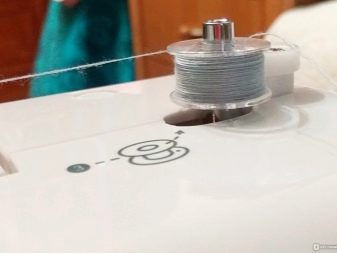
Next, pull the thread and loop it through the tensioner, and then secure the end of the thread directly to the bobbin. It is necessary to wind the thread several times so that it is well fixed. After that, the bobbin must be installed on a special pin. Then it must be moved to the right side so that you can fix the bobbin for winding the thread. At this point, a click must be heard, indicating that the bobbin is in the right place.
To start the process of winding the thread onto the bobbin, you must press the sewing machine pedal or the desired button, if available. After a few turns, you can stop the pedal and cut the end of the thread if it sticks out of the hole.
Then you need to continue winding. When the bobbin is completely wound, the process may stop automatically, or you will have to stop it yourself. After that, the bobbin must be removed from the pin, and the retainer must be returned to its original position. The thread that goes from the spool to the bobbin must be cut so that its length is within 8-9 centimeters.
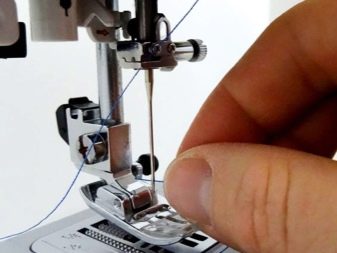
After that, you can start threading the thread that comes from above. To do this, place the spool on the pin located on the upper right side of the sewing machine. Then you need to unwind the thread from it and pull it through the thread guide, and then draw it down. Next, the thread must be pulled through the second thread guide directly into the eye of the sewing machine. The length of the tail of the thread must be at least 12 centimeters. After that, it must be held under the foot of the sewing device.
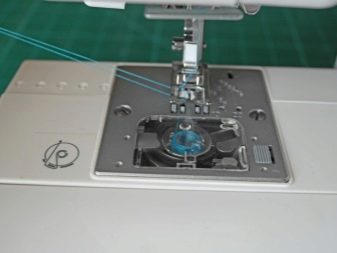
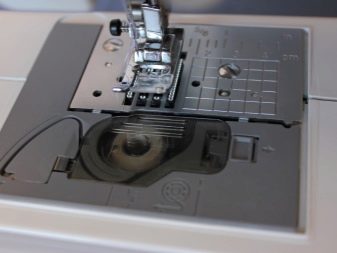
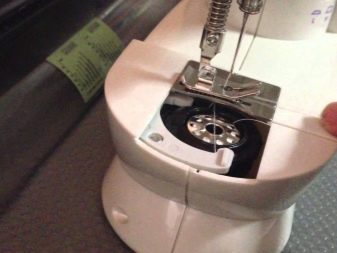
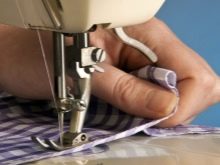
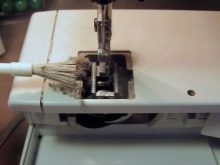
When the upper thread is threaded in, all that remains is to deal with the thread that comes from the bottom. To do this, the cover must be completely removed from the shuttle, which is located directly below it. It should be removed without much effort. If you can't do this, you need to look in the instructions on how to do it.
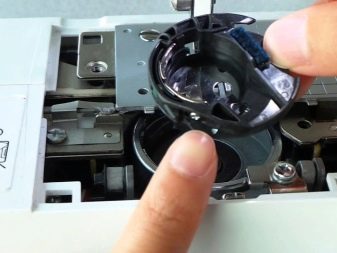
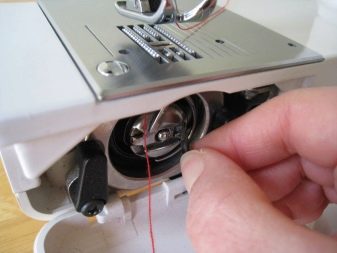
Some sewing machine models have another cover that protects the hook. It must also be removed.... After that, you need to insert the bobbin into the hook, which is located directly under the needle.
Before that, you need to unwind 12 centimeters of thread from it. This length will be needed in order to pick up and pull the thread going from bottom to top using the upper thread.
After inserting the bobbin, pull the end of the thread to the right. In the event that everything is done correctly, the bobbin will move in the hook without difficulty.... After that, you need to close the lid.
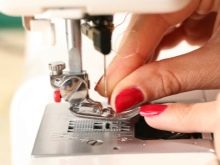
With the help of the handwheel, which is located on the right side of the sewing device, pull the thread up. It must be cranked several times, moving towards you. In this case, the edge of the upper thread must be held with the left hand. This should be done until the upper thread completely pulls out the lower one.
In the event that it did not work to pry off the thread, you need to check the compartment where the shuttle is located again. Make sure the thread moves easily enough. If it is difficult to move, it may mean that there is a lot of thread wound around the bobbin. In this case, it is better to unwind all the excess, and then try to pull the thread one more time.
Trouble-shooting
The most typical malfunctions in the operation of the sewing machine are:
- breakage of the upper or lower thread;
- gaps in the line that occur as a result of the installation of a low-quality thread;
- loop stitching.
Thread breakage from the top may occur because the bobbin case spring has loosened slightly. To fix such a problem, you need to either tighten it or buy a new cap. In addition, such a malfunction can occur as a result of improper threading. In this case, simply pull out the thread and thread it correctly.
Lower thread breakage most often occurs as a result of using an unsuitable bobbin for the sewing machine. In this case, you need to purchase a suitable part... In addition, thread breakage may occur if the screw on the bobbin case protrudes too much. In this case, he grabs the bobbin thread and tears it. It is even easier here: the screw must be tightened with a screwdriver.
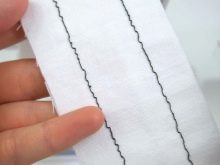
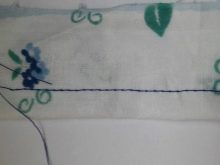
If the thread is not wound correctly on the bobbin, loops will appear at the bottom. To fix the problem, you need to change the bobbin or simply rewind it in a new way.
It is very common to see the stitch looping. This can occur as a result of thread scraps, pieces of dirt, or simply fleece getting under the cap plate. In this case, it will be necessary to clean the device and adjust the thread tension.
In addition, to avoid damage, it is imperative to carry out regular preventive examinations. It consists in cleaning the machine parts.
This can be done using a special brush that comes with the sewing machine. If it is not there, then you can purchase it in its special store or order via the Internet. With the help of a brush, you can reach the most difficult to reach places and remove dirt or thread scraps.
In addition, before starting work, it is imperative to check the bobbin for chips so that the line is straight during sewing and the thread does not break. Ideally, it should be flat and smooth. If you are not lazy and do such preventive examinations regularly, you can avoid breakdowns.
Summing up, we can say that Such a small and nondescript at first glance detail like a bobbin can be very important for the correct operation of a sewing machine. After all, without her, the seamstress cannot make a single stitch. That's why it is very important when buying it to choose the option that is ideal for your sewing machine.

The following shows how to assemble a bobbin from a sewing machine.


