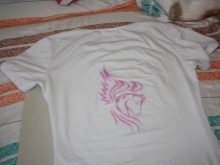
Drawings on T-shirts with your own hands
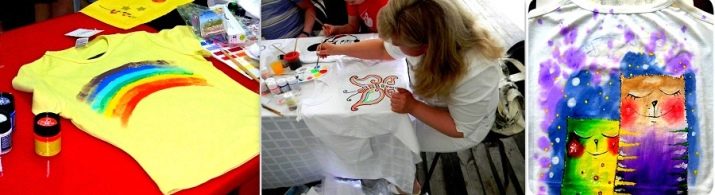
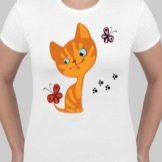
The fashion for creative pictures and catchy inscriptions on T-shirts never goes away. It transforms, popularizes: either cartoon characters, or comic book characters, or life-affirming phrases, or quotes from famous people, but the essence remains the same - something unusual that attracts attention to clothes. Do-it-yourself drawings on T-shirts will be an excellent alternative to the multiplied version of the print on things from the mass market. This is an opportunity to choose a base of any quality and color, and to express your individuality. A hand-painted T-shirt can become the owner's business card or a great gift for a significant event.

How to make a print with acrylic paints?
A long-lasting design at home can be applied using the method of cold or hot batik, felt-tip pens on fabric, aerosol cans, using a decal, but acrylic is the most reliable and popular. There are several ways to apply a print with acrylic paints:
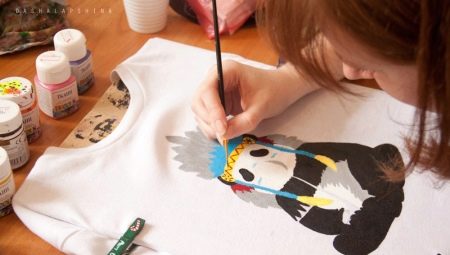
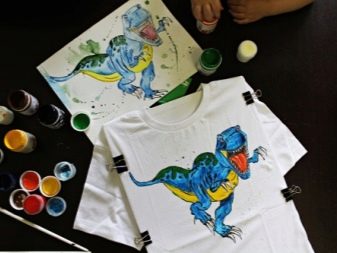
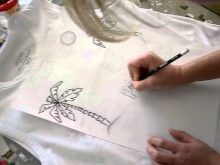
- Copying a drawing from paper. This method does not require any special artistic talent, only accuracy. The drawing can be done by hand or printed on a printer. All outlines should be dark and visible through the fabric of the T-shirt. For convenience, it is better to glue the finished drawing on thick cardboard, evenly pull a T-shirt over it and fix it with pins around the edges. Next, you need to carefully trace the contours using a simple pencil or felt-tip pens on the fabric, and start filling with color;
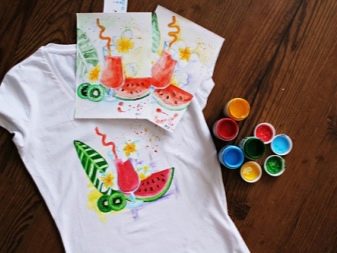
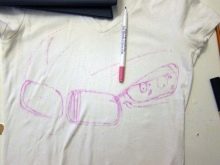
- Freehand drawing on fabric... This is a technique for the self-confident, which gives more room for imagination. You can pre-draw the outlines, or you can immediately start working with paints, creating a work of art on your T-shirt. The method is more suitable for light-colored materials, and those cases where some carelessness in the drawing is acceptable;
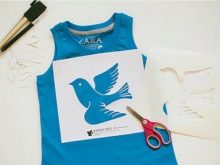
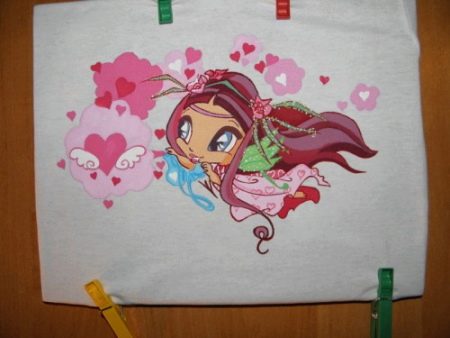
- Stencil application. The easiest way to guarantee good results. Drawing on a stencil is convenient because the picture can be copied many times on T-shirts, for example, for the whole family, the school KVN team, uniforms for competitions, or just a group of like-minded people who wants to be recognized in the crowd. To make the picture look more interesting, you can overlay stencils of different sizes, change the angle of inclination and colors;
- Screen printing. Designed for complex patterns of several colors. It is applied using special screen printing ink and mesh, roller and other tools. This method is not suitable for beginners.


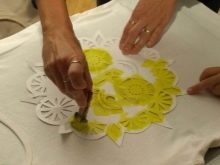
Stencil painting
Of all these methods, stencil painting is the most common. It is simple to implement, economical in time and satisfactory in terms of results.
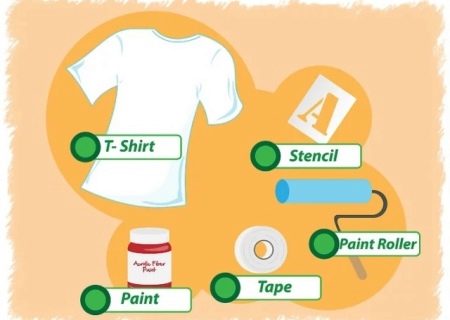
To complete the painting, you will need: a cotton T-shirt, a stencil or cardboard for it, acrylic paints, a small ink roller, a tray for diluting paints, gloves, scissors or a stationery knife, masking tape, an iron.
The procedure is performed step by step:
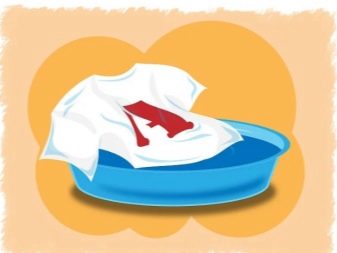
- Washing... Many people want to skip this point, but it is necessary to complete it. Acrylic paints are best applied to cotton items, and cotton tends to "shrink" when washed. The drawing will not shrink with the size of the T-shirt, it will deform, and the works will be spoiled along with the T-shirt and the gift of translated materials.

After washing, the T-shirt must be well dried and ironed with an iron so that the basis for the pattern is as even as possible;

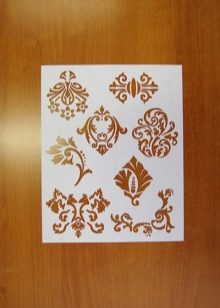
- Stencil blank... While the shirt is drying, there is time to apply the design to thin cardboard. You need to cut out the contours very carefully, without chipping, otherwise the edge of the pattern on the fabric will turn out to be uneven. For the first try, you can buy a stencil in a store or glue a printout from the Internet onto cardboard;

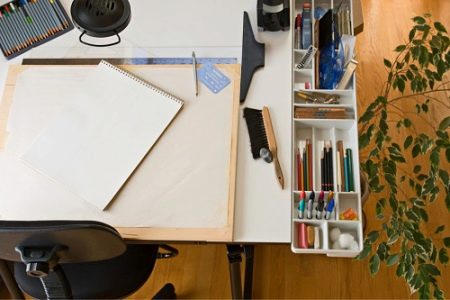
- Preparation of the work surface. A flat, hard surface, such as a desk or coffee table, is suitable for drawing. All the necessary tools are placed side by side, on the side of the working hand. Acrylic is difficult to wash off, so it is better to cover the table with old newspapers, and start the creative process in old clothes;
- T-shirt preparation... A clean, ironed item must be placed on the work surface, straightened so that there are no folds and irregularities. It is recommended to put a thick layer of paper or cardboard inside so that the acrylic does not get printed on both sides of the T-shirt, unless the idea implies this. Next, a stencil is applied to the T-shirt. To keep it in place during painting, the edges must be glued with paper tape;
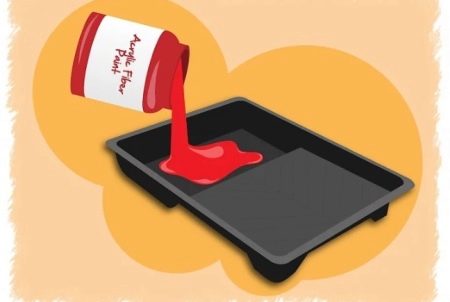
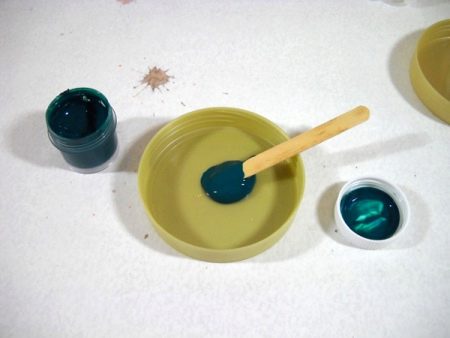
- Dilution of paints... So that acrylic does not begin to dry out ahead of time, pour the desired color into the tray or mix it from several different ones immediately before applying. In order for the paint to lay evenly, the roller must be evenly impregnated with acrylic. To do this, it is dipped several times in the tray until it gets a little heavier, and then a test smear is made on a sheet of paper. If the layer is dense, you can start painting;
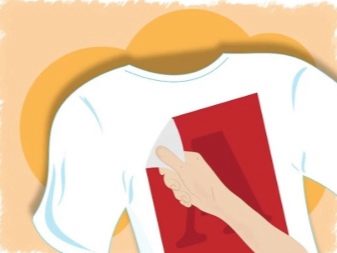
- Drawing a picture. With firm movements horizontally and vertically, roll up the stencil with a roller. You can go over the edges of the picture, but not over the edges of the paper; it will not be superfluous to apply a second coat of paint. When it dries a little, you can remove the stencil and leave the drawing to dry completely;

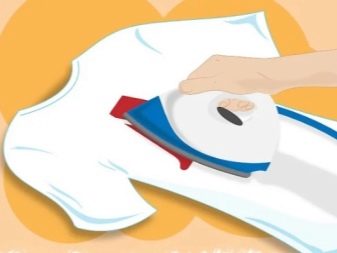
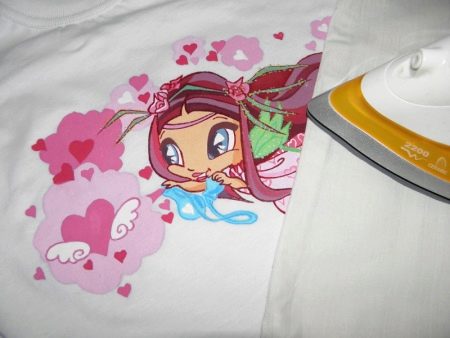
- Thermal impact... The paint will fix better if you iron a fresh print with a hot iron through a thin cotton towel. The T-shirt can then be worn and washed.The first few times it is recommended to do this in cold water on your hands, and the next - in a typewriter with the rest of the things.
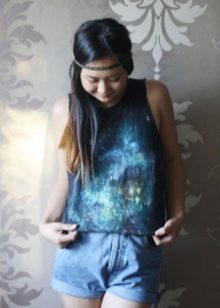
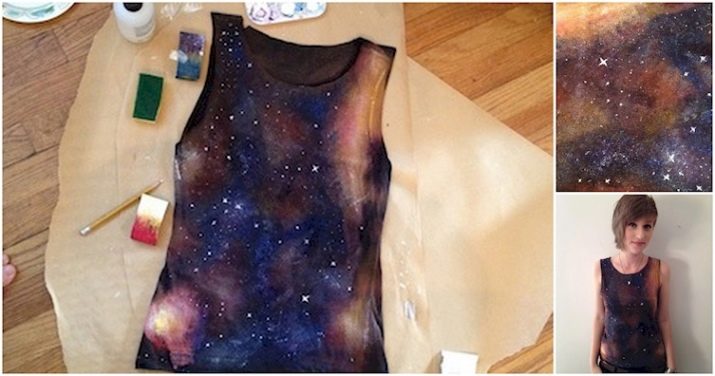
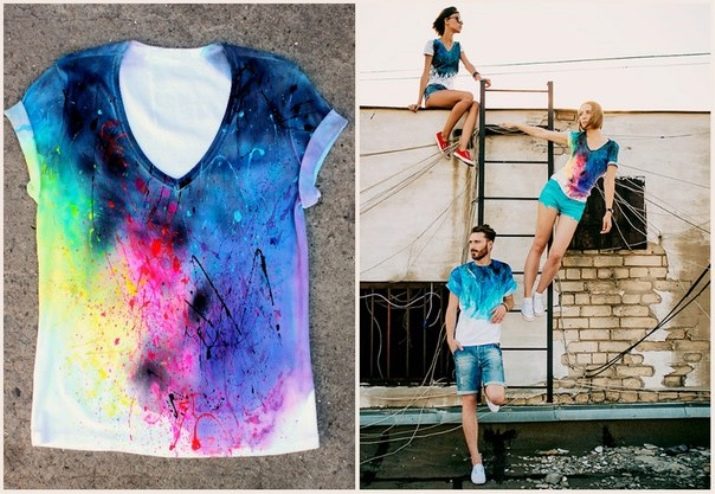
How do I create an abstraction?
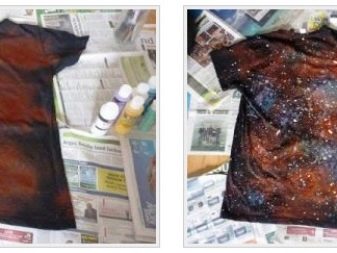
A boring old T-shirt can be revived with an unusual space print. You don't need to draw stencils of planets for this, all you need is a T-shirt, acrylic, gloves, bleach in a spray bottle and a few brushes.


If the T-shirt is new, it must first be washed and dried. The old one should be clean and ironed. It is better to apply abstraction on fabrics of bright or dark colors; it will not look so impressive on white and light colors.
The drawing process begins with the preparation of the work surface, in this case the floor. It is worth being located away from the walls so as not to splatter them with paint, and carefully cover the creative zone with newspapers. Then you can start working materials.
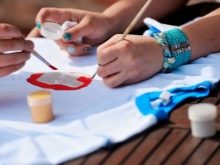
First of all, you need to dilute a small amount of bleach with water in a container with a spray, prepare brushes and paint bottles of your preferred colors.
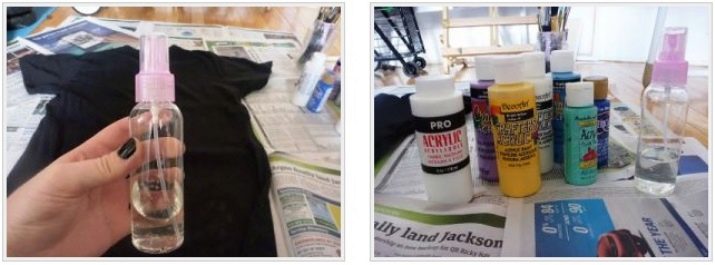
From arm's length, apply a bleaching solution to the T-shirt, wait for it to change color and dry. Then, having opened the paints, alternately dipping a brush in different colors, spray the T-shirt with them. It is more convenient to work on very small details with a toothbrush, spraying a small layer of paint directly over the fabric.
If desired, you can repeat the procedure with the second side of the product after the print on the front side is completely dry.

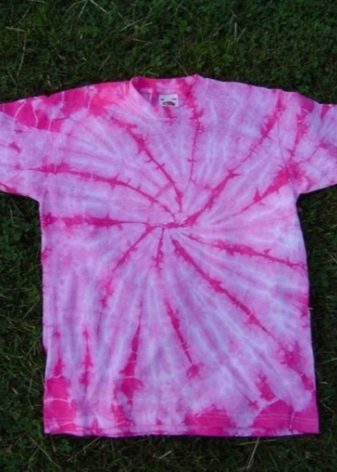
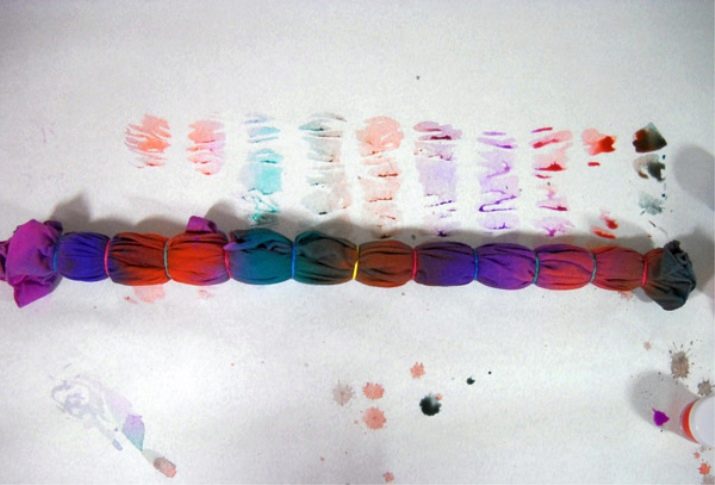
Drawing in nodular technique
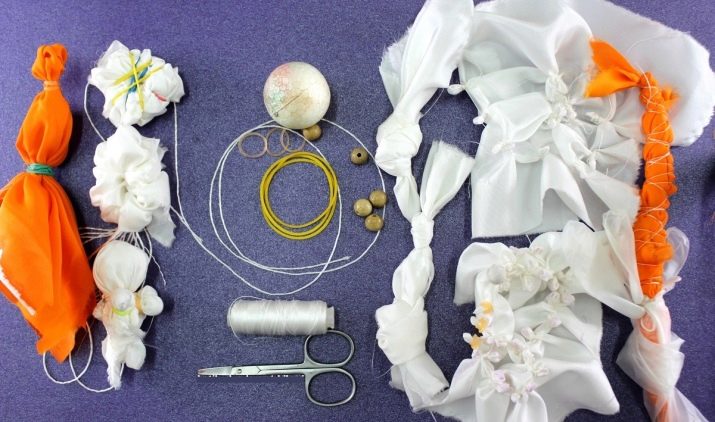
The knot technique is essentially a type of batik. The main difference from traditional painting on fabric is that, as a reserve (a substance that separates one colored fragment from another, preventing the paints from mixing), not a special adhesive solution is used, but threads, strings and cords.
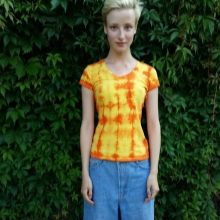

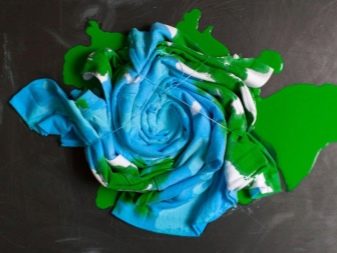
With the help of threads, knots of different sizes are fixed on the fabric, which are dipped into the paint. As a result, the paint fills only the fragment that is separated by threads, and diverges in beautiful "rays" along the creases on the fabric.
Making the knots is easy enough. There are no patterns or special rules, the fabric can be folded and bandaged as you like. The main thing is to decide how large or small the colored fragments will be, and carefully separate one from the other with the help of threads or a string.
It is better to take white threads so that they do not fade during dyeing. Of course, this can give an additional element of decor, but it can also ruin the whole idea.
In addition to threads, buttons and pebbles are often used to fill one or another piece of fabric to make the paint more interesting.
Nodular staining is performed in stages.
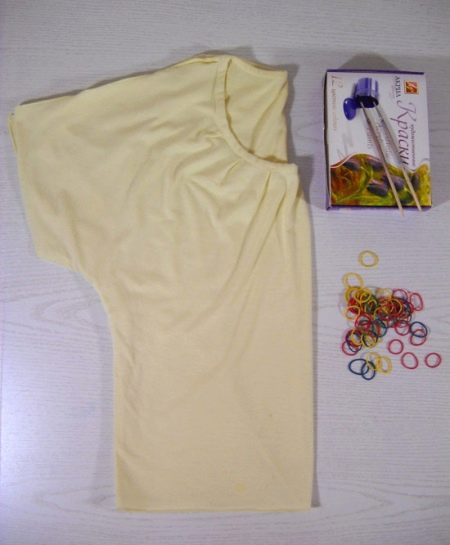
Preparation
The first stage is the selection of the fabric and its preliminary preparation. Batik is applied to cotton, silk or woolen items; color is preferred white. Depending on your idea, you can spray, strip, stain, or print the t-shirt before tying the knots.
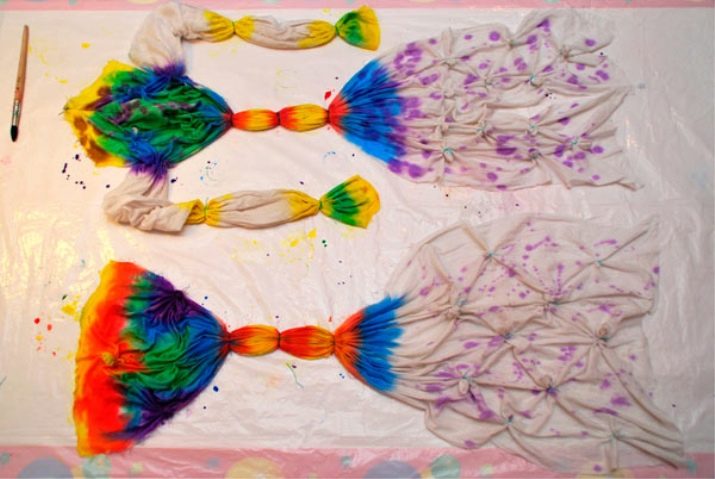
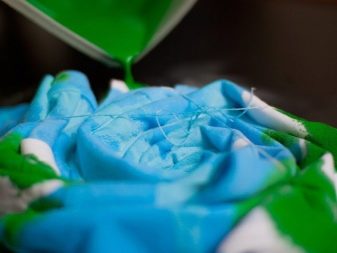
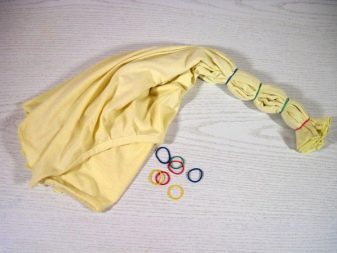
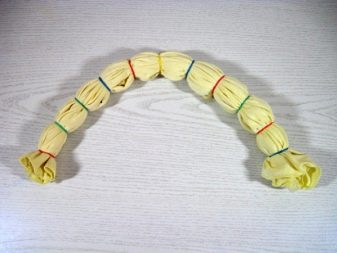
Forming knots
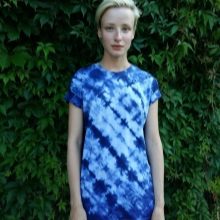
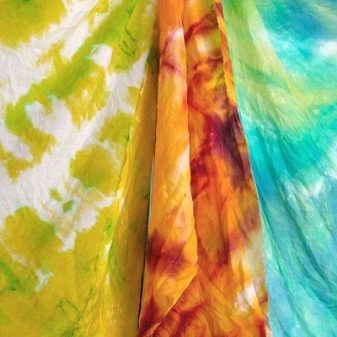
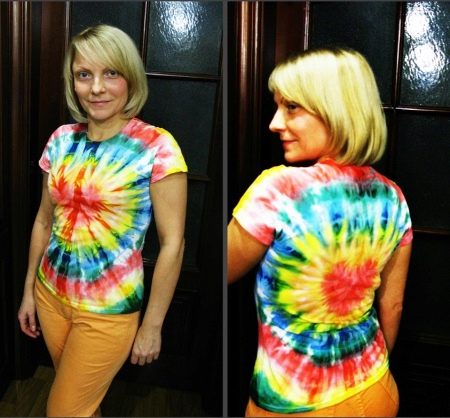
The second stage is the most important. It depends on how the drawing will end up. After twisting the fabric in a certain way and tying knots, you can get circles, flowers, stripes, or you can make them arbitrarily, and then the pattern will be unpredictable and original.
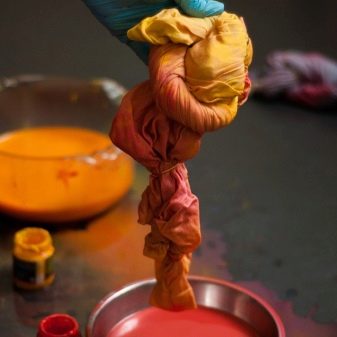
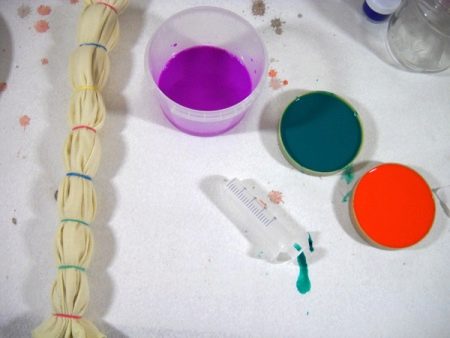
Filling nodes with color
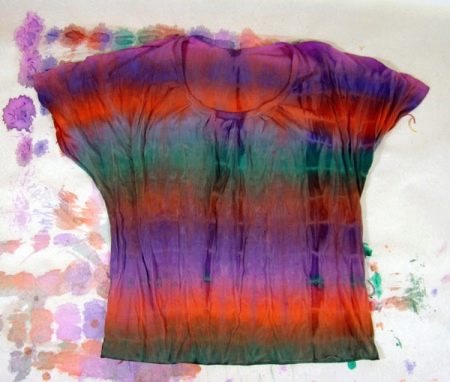
The third stage involves choosing a staining method. The most reliable is to alternately lower the knots in a container of boiling colored water. This method guarantees the penetration of paint into all layers of the fabric and gives the effect of flowing from one color to another.
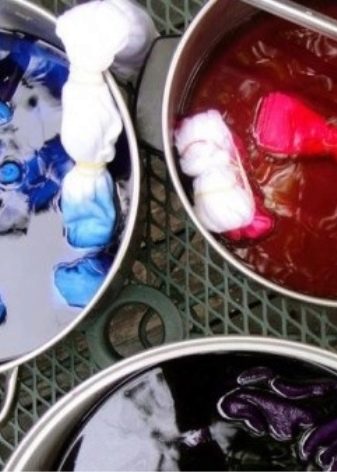
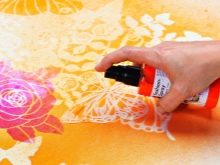
The fastest is using spray paint. For a lasting effect, it is enough just to spray it on the texture of the fabric for a few seconds, but there is a risk that the knot will not be completely painted over.
The longest and most costly method in terms of materials, but also the most beautiful as a result, is the use of pure paint.... If you want smooth and soft transitions, the knot should be moistened before dipping it in the paint. If the priority is a bright, saturated ornament, the fabric of the T-shirt can be left dry. So, to dye a T-shirt with clean paint, first of all decide on the colors of your future T-shirt, put them in molds and dilute with a little warm water.
It is important to respect the proportions of paint and water. If the ratio of paint is higher, then the color of the picture on the T-shirt will be more saturated. But at the same time, it is not necessary to make the solution very thick, otherwise it will lead to coarsening of the tissue. The solution should not be too watery, as this will lead to color loss when the shirt dries.
Then we proceed directly to dyeing the T-shirt. We take a syringe, pour the solution into it and begin to squeeze the solution onto the T-shirt.
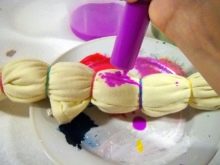
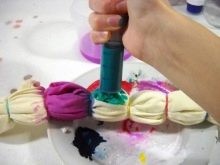
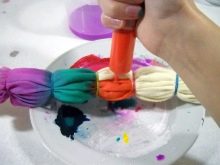
The more knots and colors involved, the more interesting the print will be.
Fixing paint
When the product is dry, you need to iron it with an iron through a thin fabric without a pattern, so the paint will fix better and last longer.
The fifth stage is final... It is optional, but nevertheless, you shouldn't skip it. The knotted technique requires the use of a large amount of paint, which may start to wash out during the first wash. To prevent this from happening, a day after fixing the paint, the T-shirt must be moistened and rinsed in running water, washing out the excess amount of acrylic. After that, the product is ready to be worn and washed along with other things.
Master class on painting at home
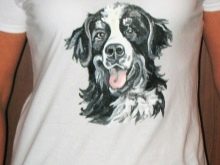
Drawing a picture on things with your own hands is a time consuming process, but not difficult. The classic version on a white T-shirt is carried out as follows: drawing a pattern according to a template, creating a contour, filling with color, fixing the paint with an iron.
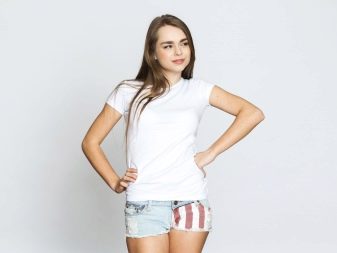
First you need to choose the T-shirt itself. A simple cotton thing of a single color is most suitable for acrylic paints.

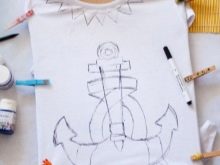
This is followed by the selection of the picture. It can be invented from the head or borrowed from the Internet, the main thing is that the picture is clear enough.
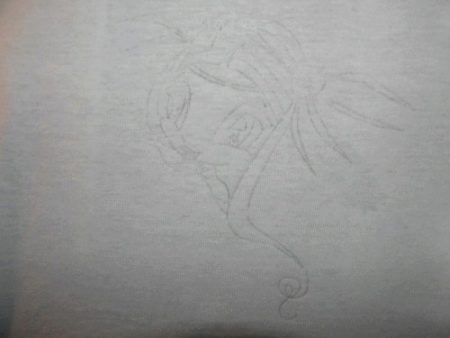
You can transfer the image to the T-shirt using a soft woodless pencil or felt-tip pens on the fabric. Copy paper is also suitable, but you need to be careful with it - you will not be able to correct the incorrect movement.
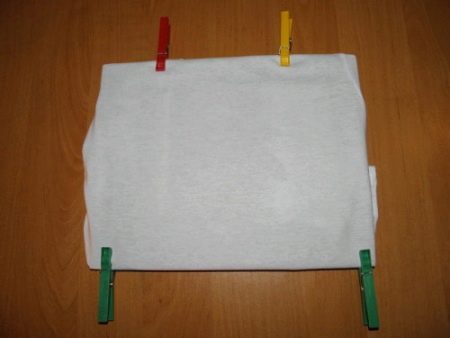
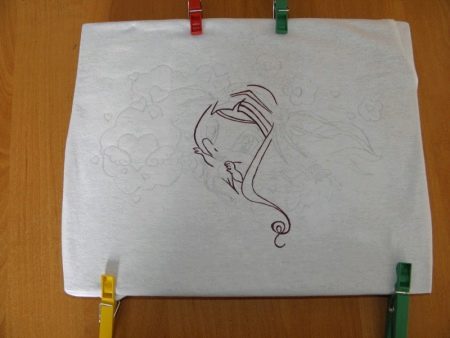
To prevent the fabric from shifting during work, the drawing must be glued to thick cardboard and placed inside the T-shirt, and fastened on top with clothespins or tailor's needles.... You cannot stretch the fabric, otherwise the contours of the image will blur.
The drawing is applied neatly, without pressing too much on the pencil... The lines should be thin but noticeable.
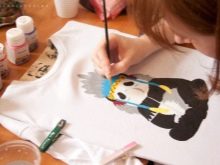
When the picture is fully translated, it's time to start painting over the outline.... To do this, it is recommended to use ready-made fabric contours, applicators or just the thinnest brush. In order not to smear the paint, move from top to bottom along the main picture.
When the main contour is dry, details are worked out.
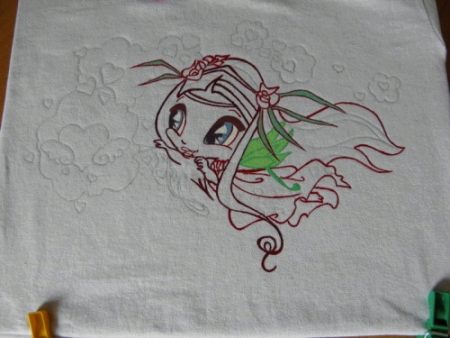
You need to fill the drawing with paint without haste, carefully saturating the fabric with acrylic. It is best to start with lighter tones and then tone them down with darker ones. Each color needs a little dry before the next one can be applied.
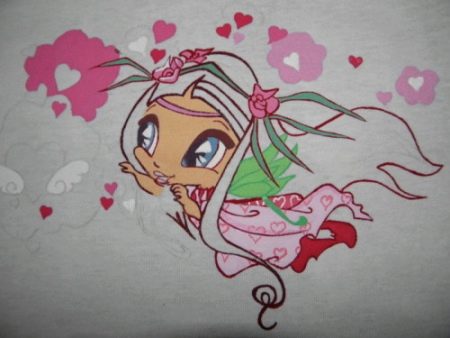
When the drawing is completely painted over, it is recommended to rework the contours. It is difficult not to stain it with paint while you work, so it can look messy and ruin the overall impression. After reworking the contour, the picture is finished.
It remains to wait until the paint is completely dry (from 24 to 48 hours) and fix it with an iron. The temperature regime should correspond to the type of fabric, without the use of steam. To prevent the paint from sticking to the sole of the iron, iron the T-shirt through a cotton napkin or turn it inside out.
The product is ready. It perfectly tolerates repeated washing on hands and in a washing machine, does not fade or stain other things.

Interesting ideas
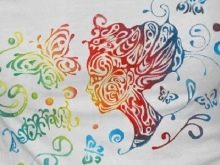
Do-it-yourself drawings and inscriptions on T-shirts can be completely diverse.
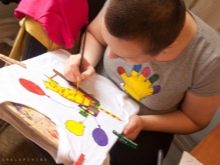
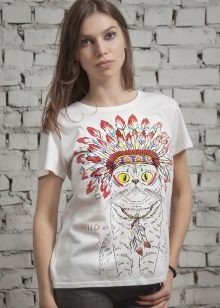
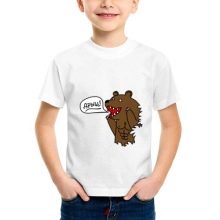
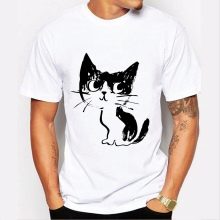
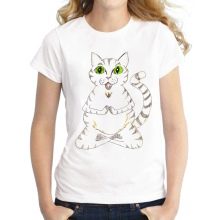
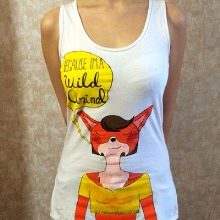
You can time them to coincide with a significant event, for example, make T-shirts for the bride and groom, or make an original birthday greeting. Funny prints on the round tummies of expectant mothers, T-shirts with ironic pictures and phrases, romantic patterns, bright batik, funny inscriptions, cartoon characters for children and adolescents look interesting.


With the help of a picture, it is easy to indicate your belonging to a profession or subculture, to express your beliefs and interests, or just to get into a trend. All you need is imagination, tools and a little patience.


Great!
Thank you, everything is very detailed! Great tips and tricks.
Interesting and detailed. Thanks.